Building the Drag Car
1 Introduction
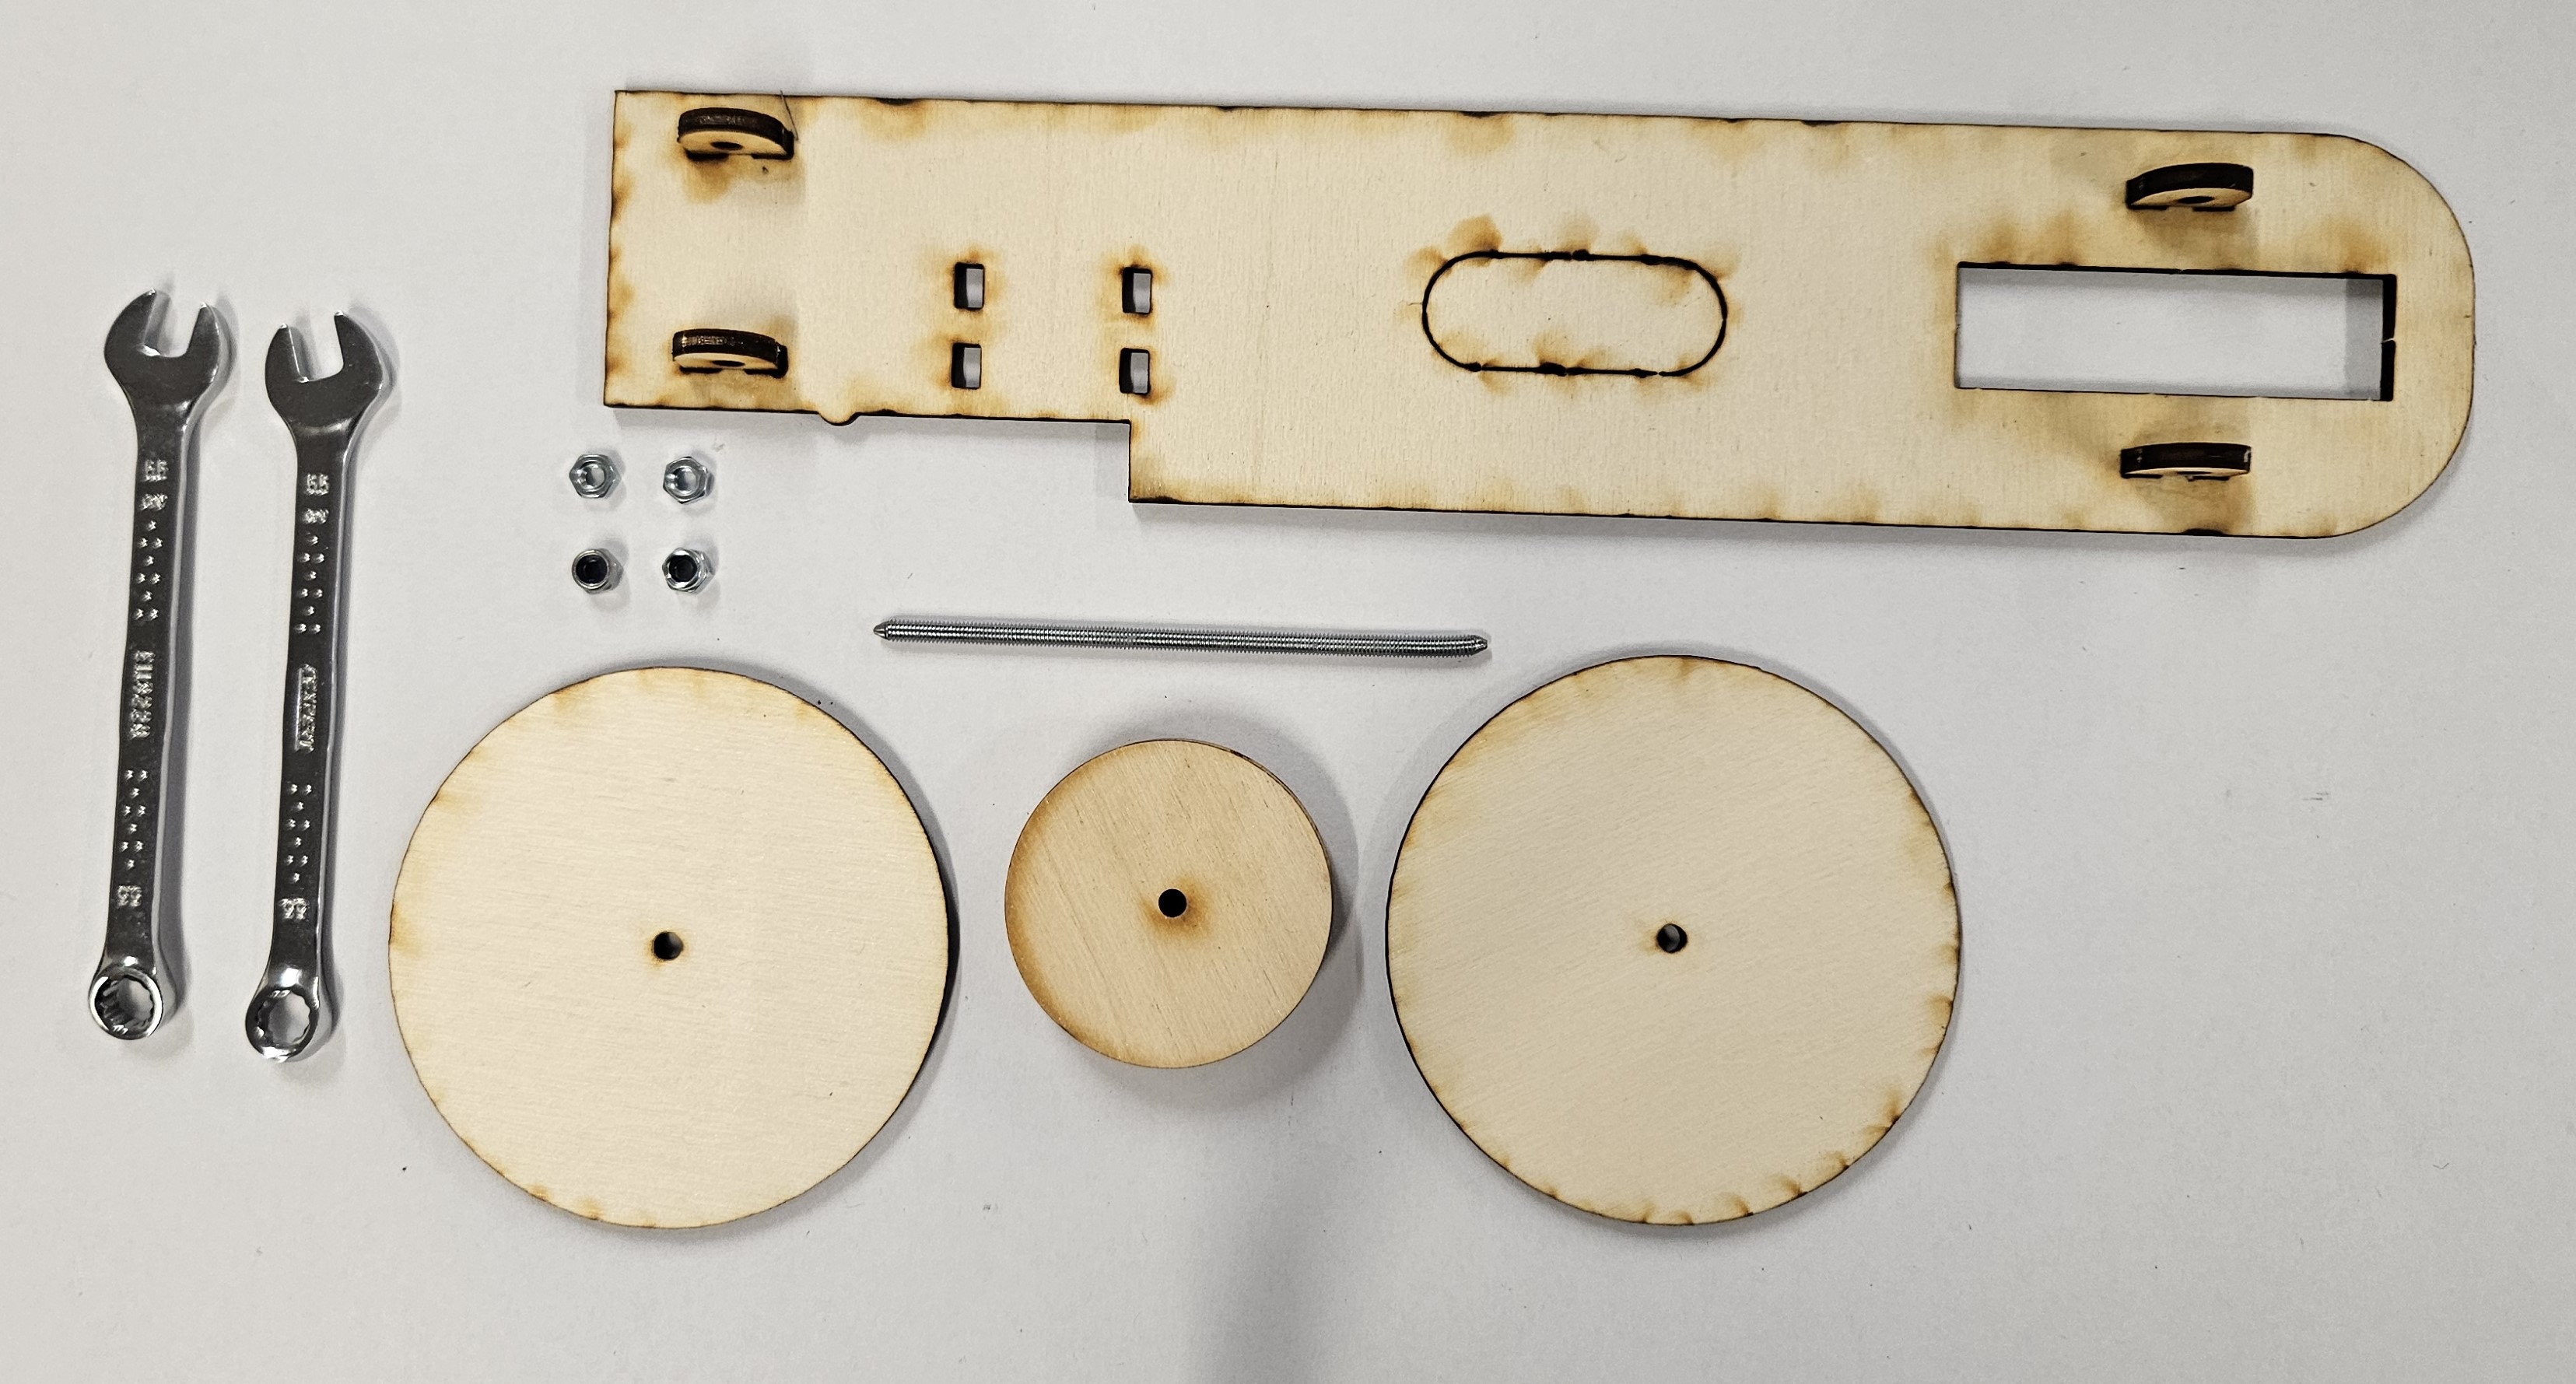
- To be build a successful Drag racer, you will need to read and follow the instructions carefully.
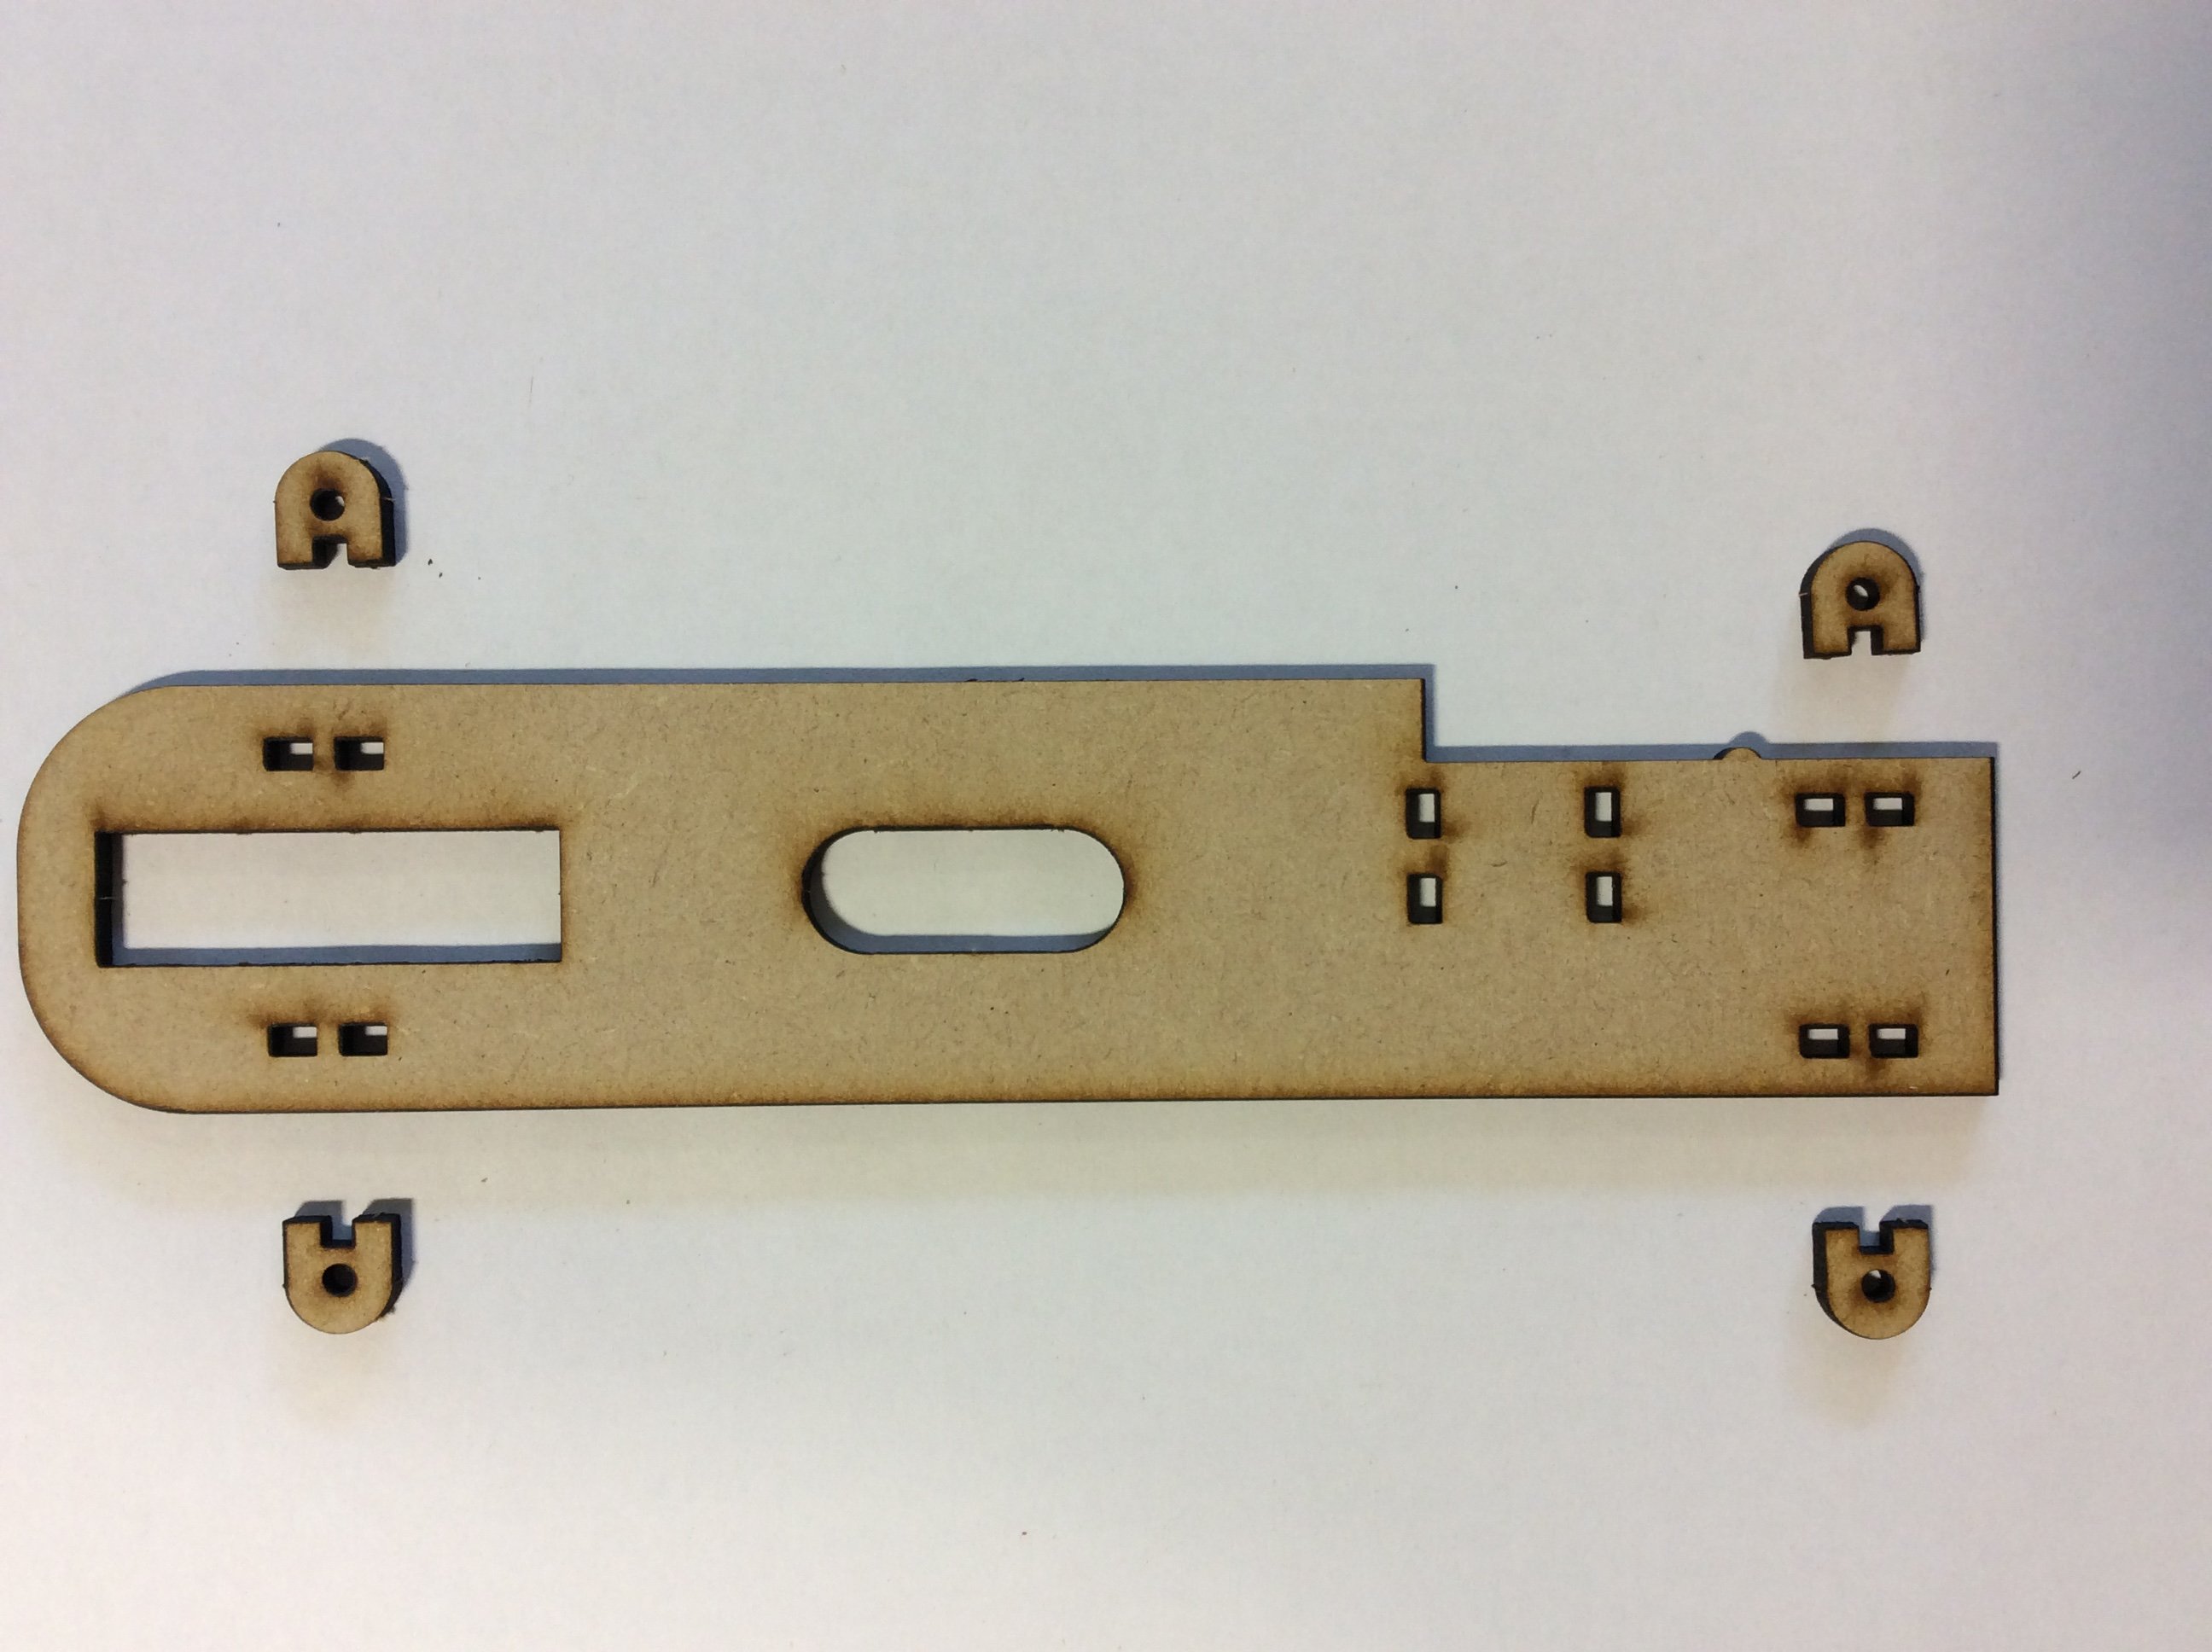
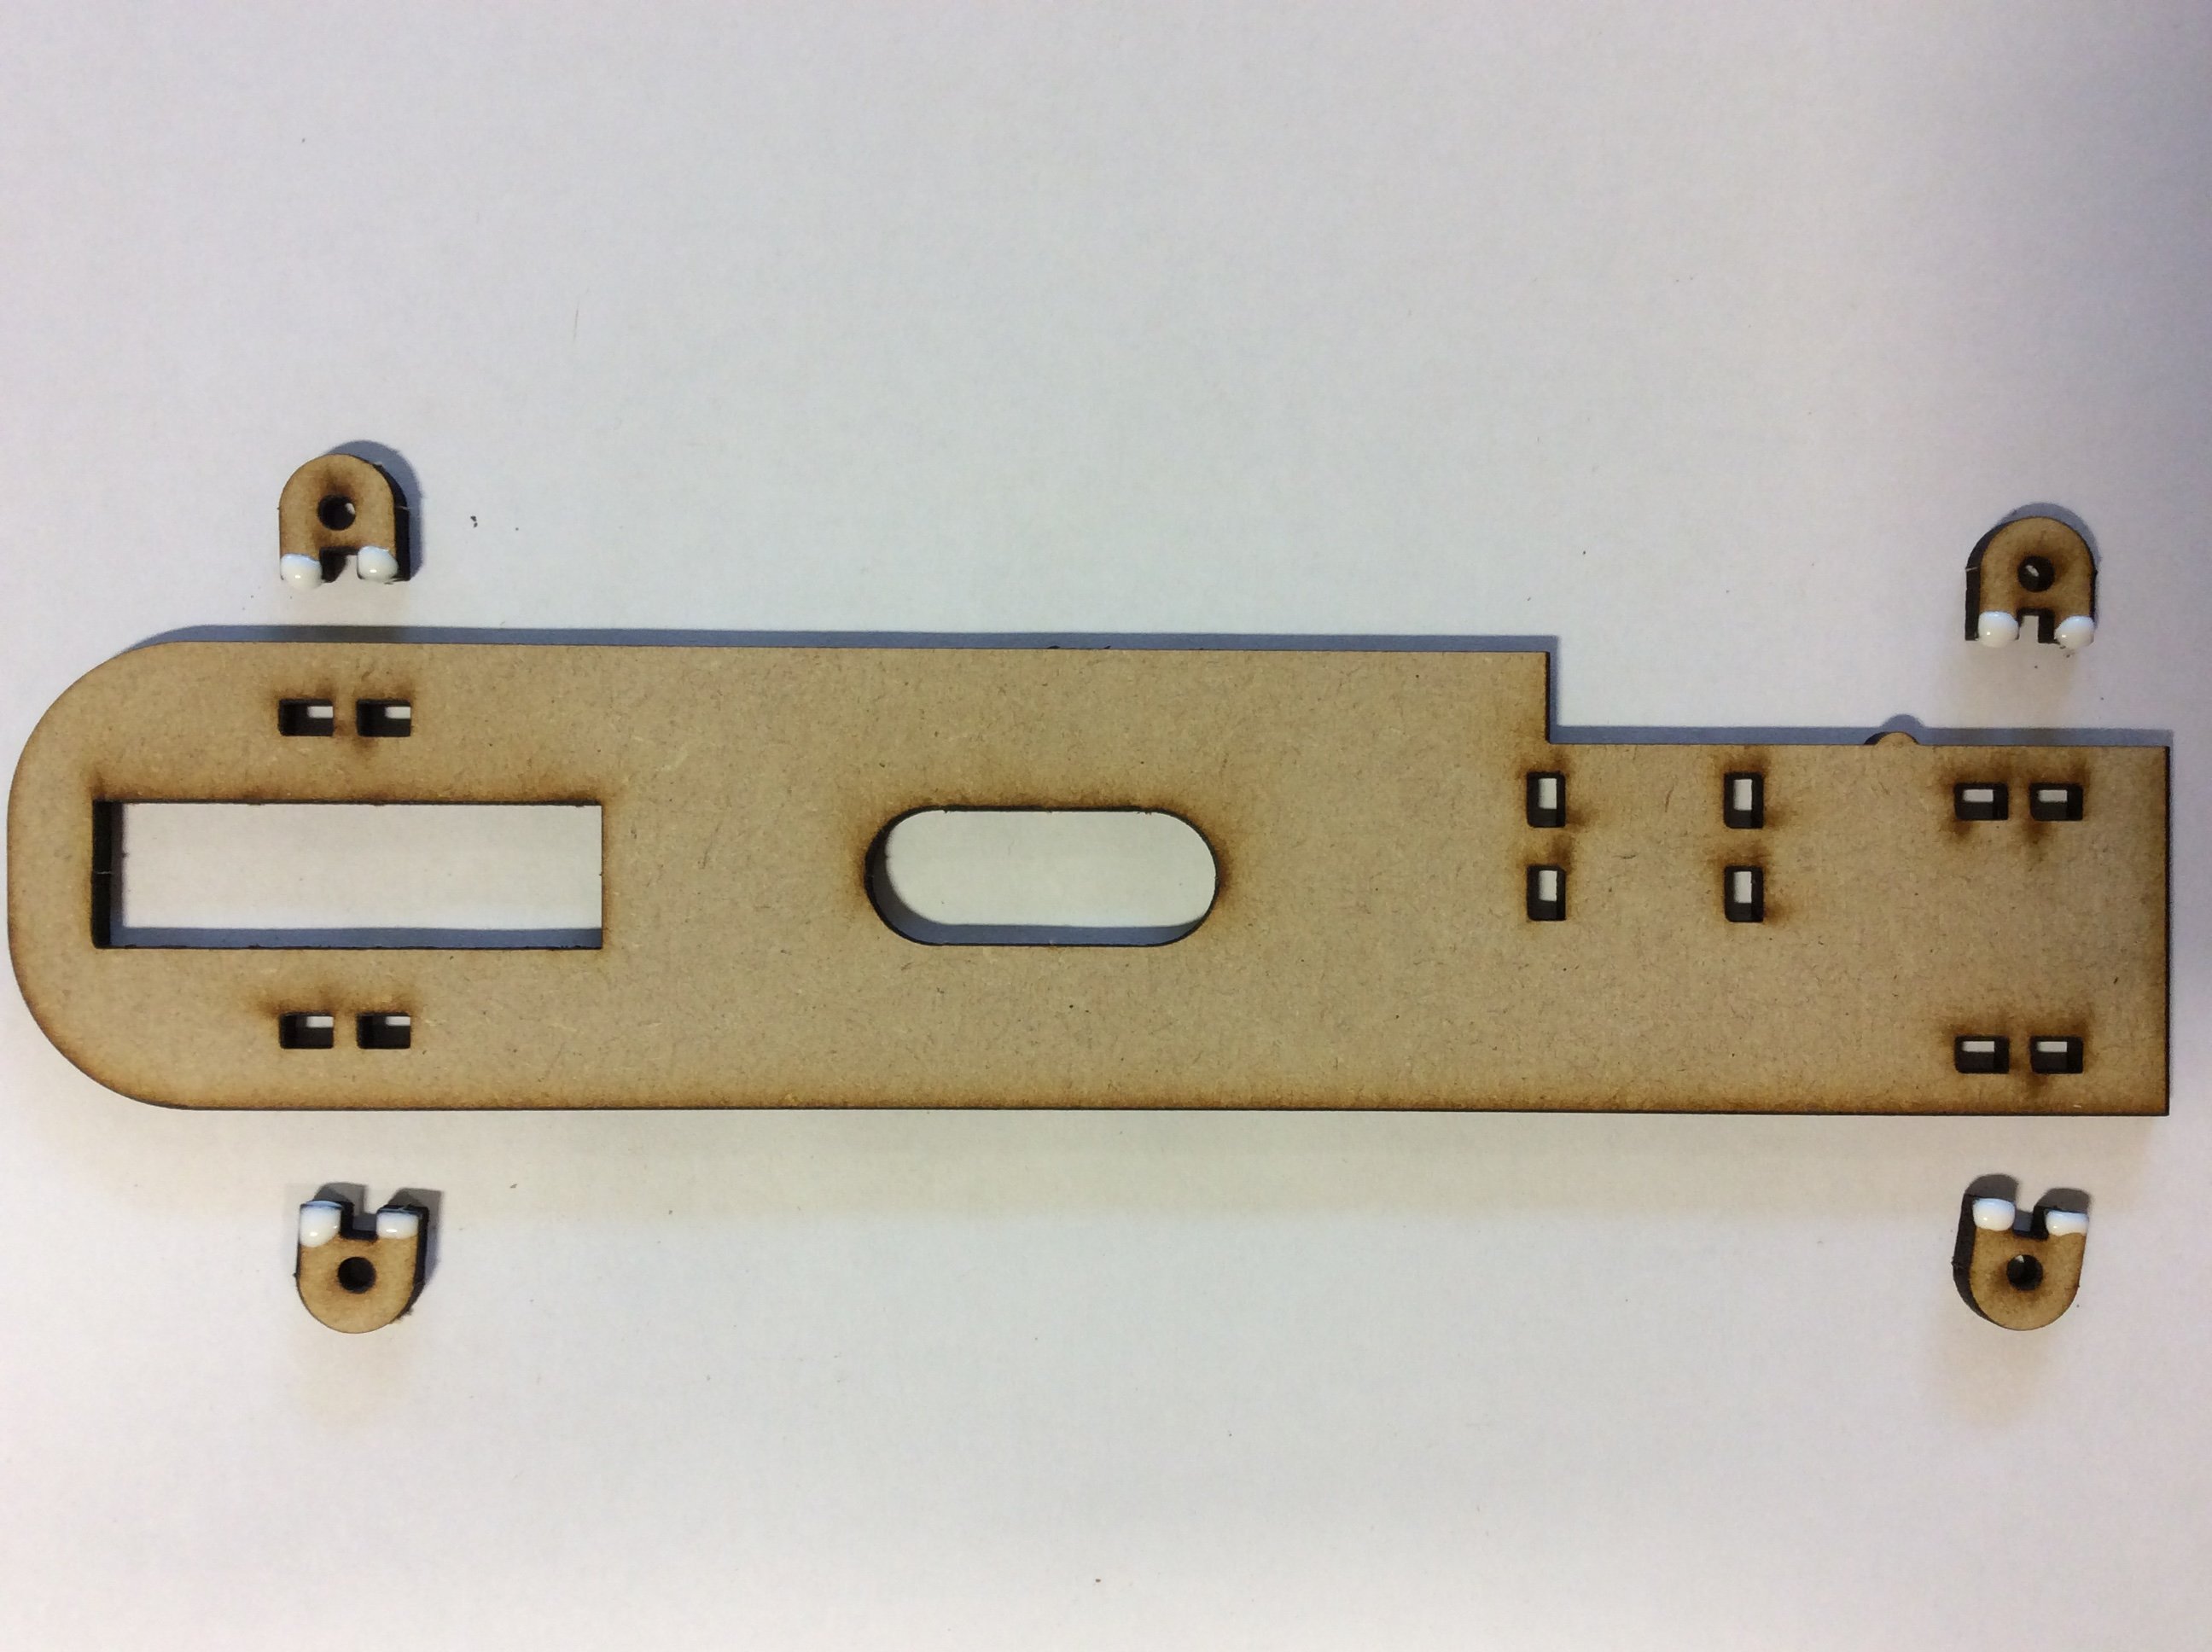
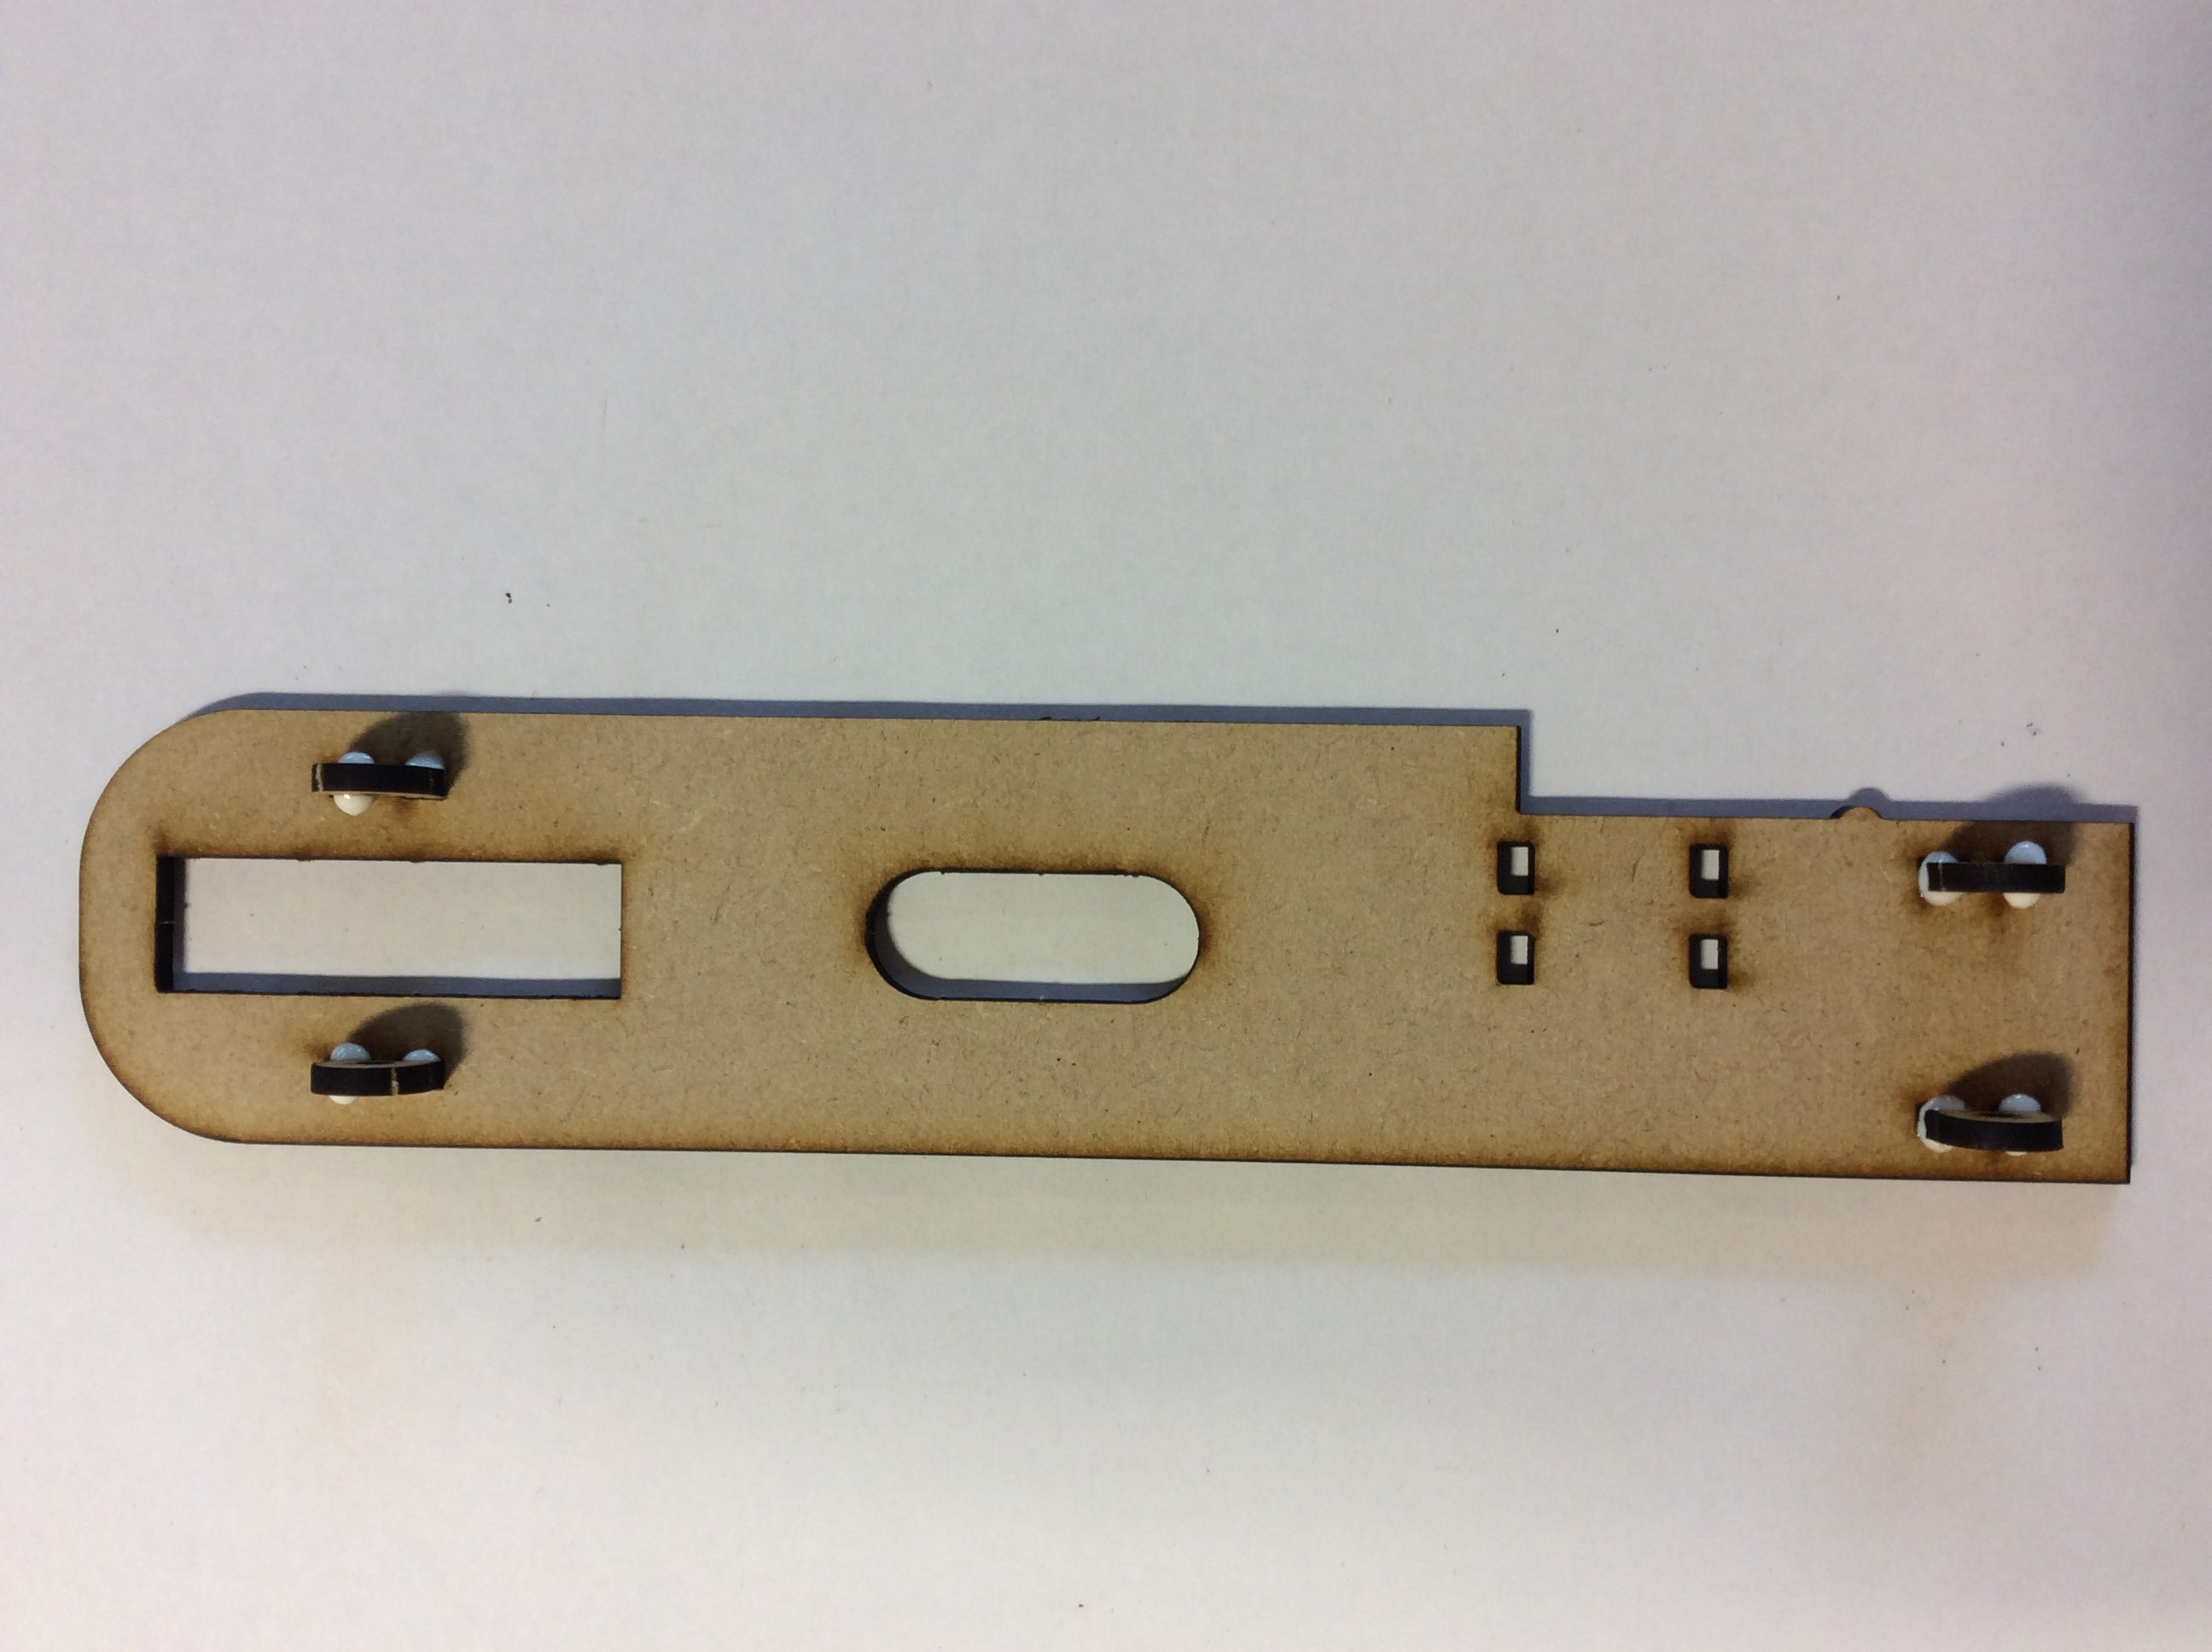
- Body
- Now you will need to glue the axle mounts in place, follow the pictures below.
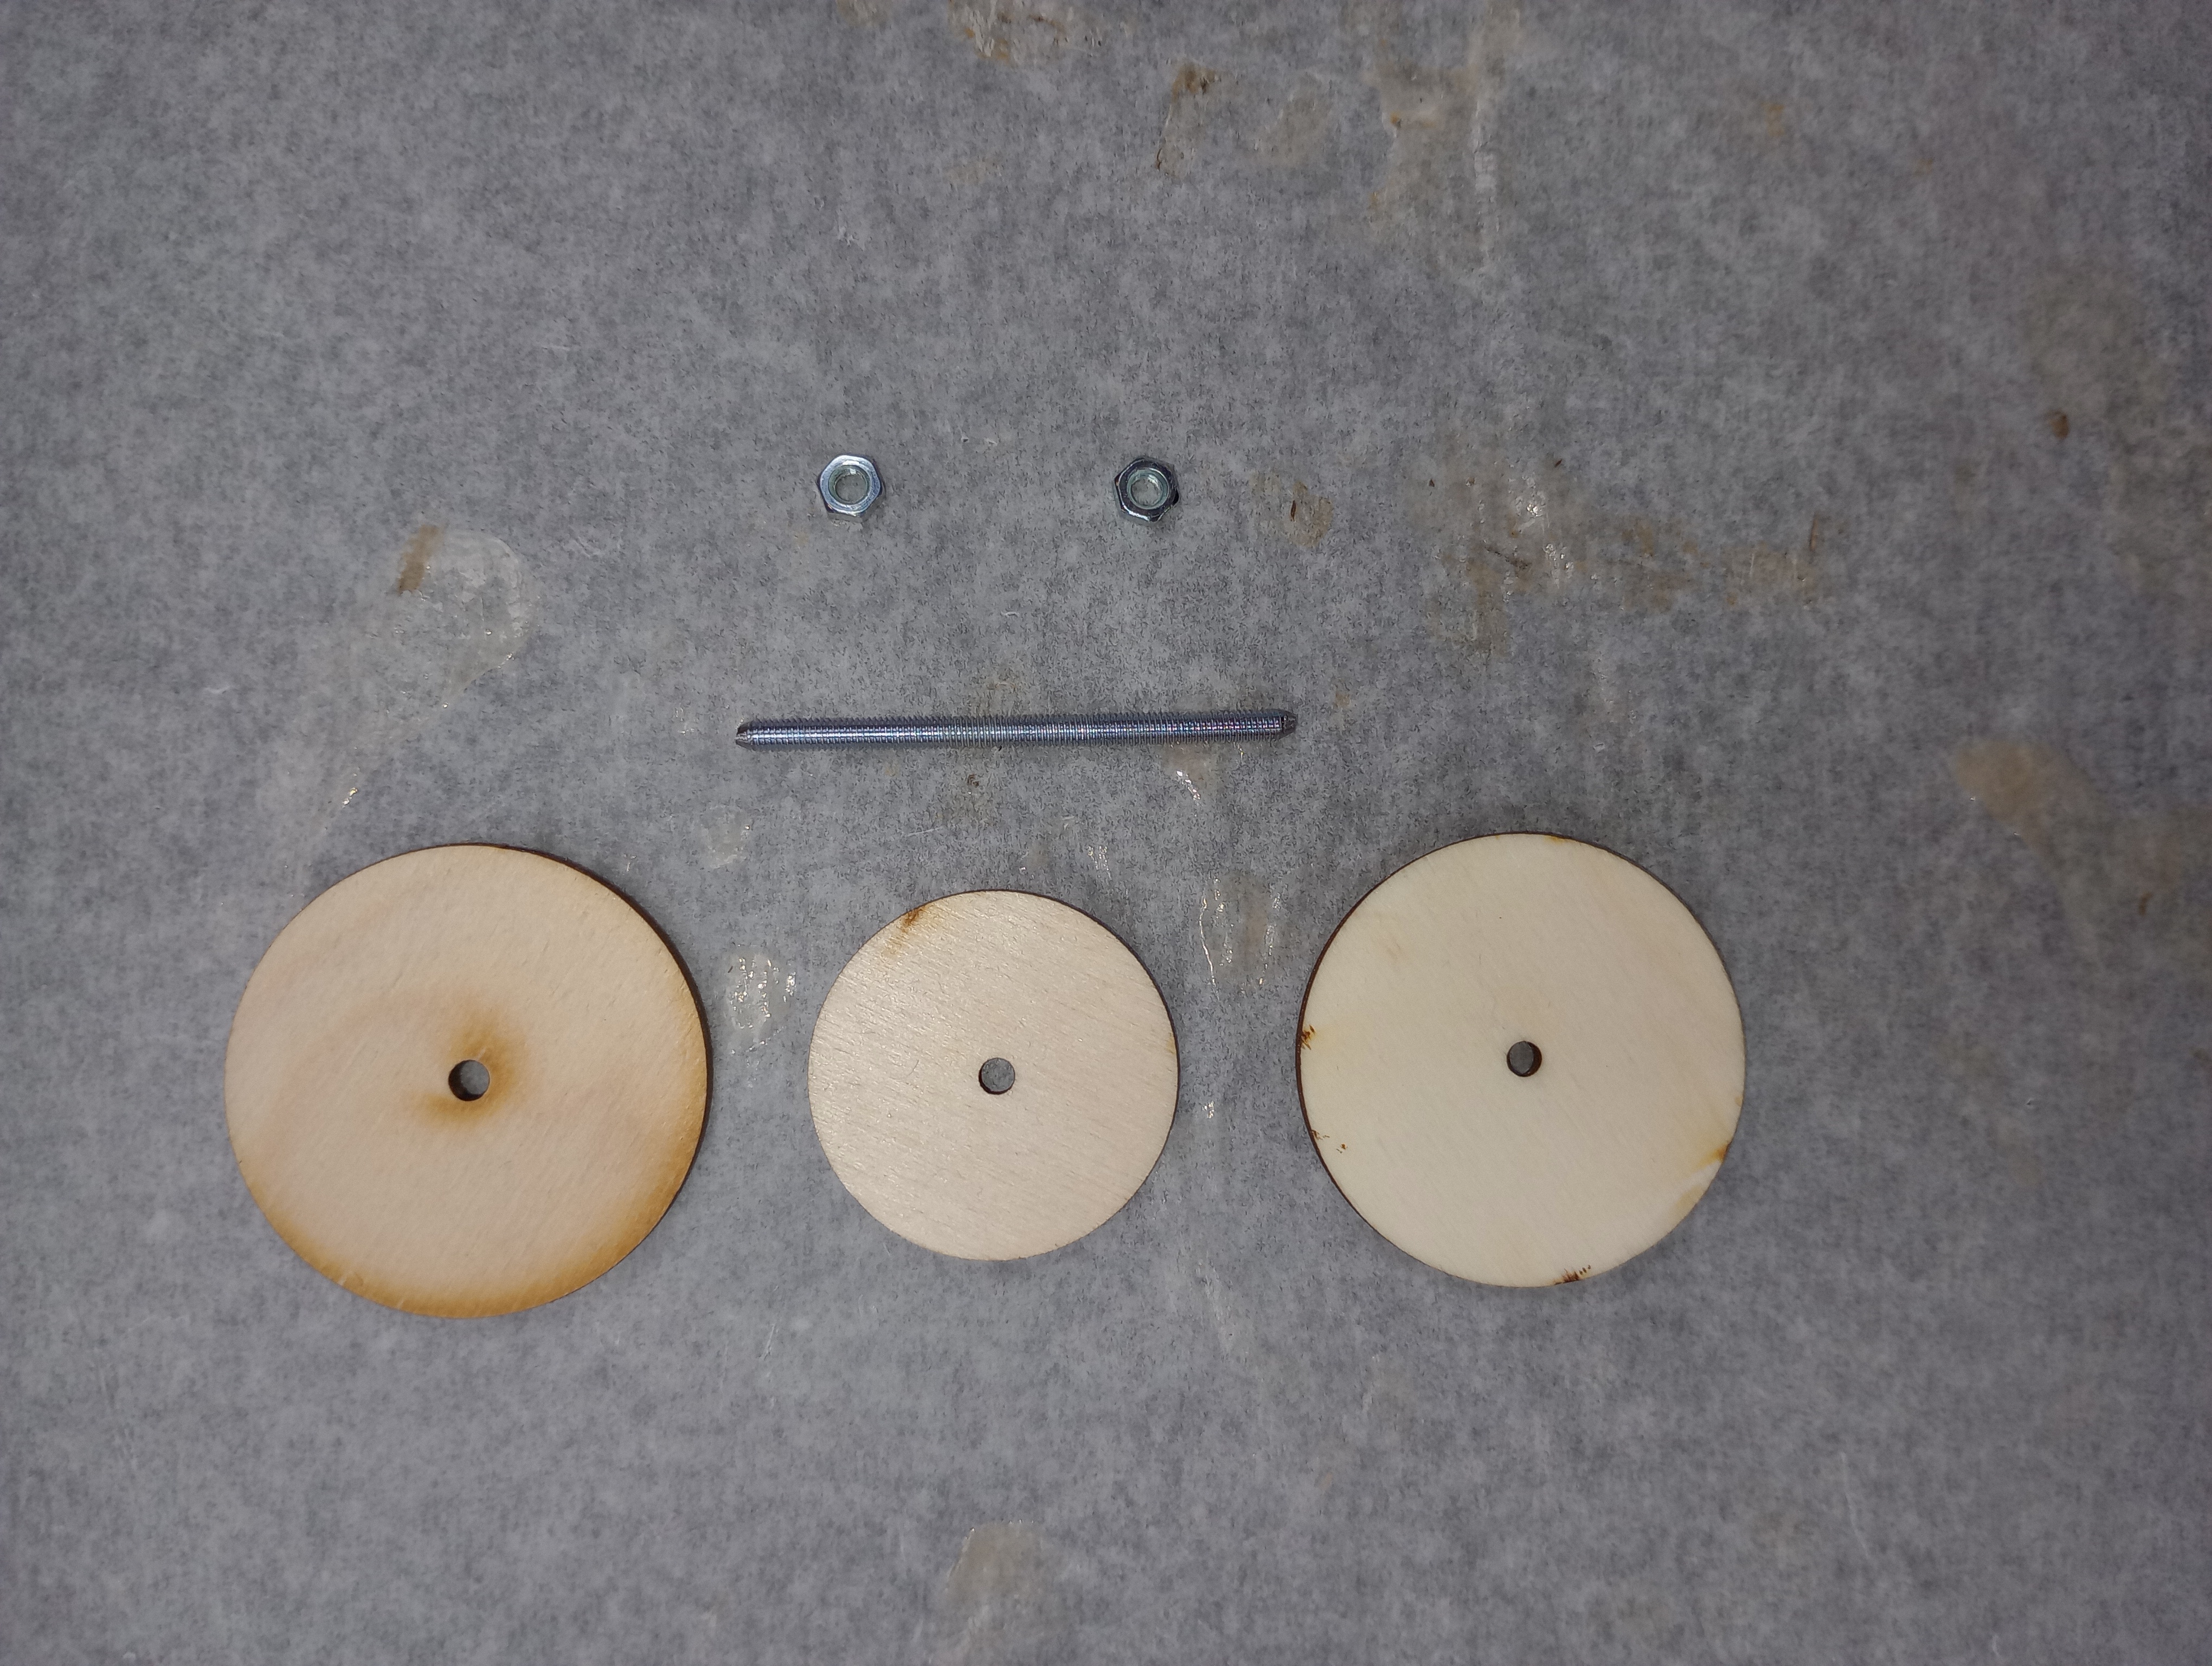
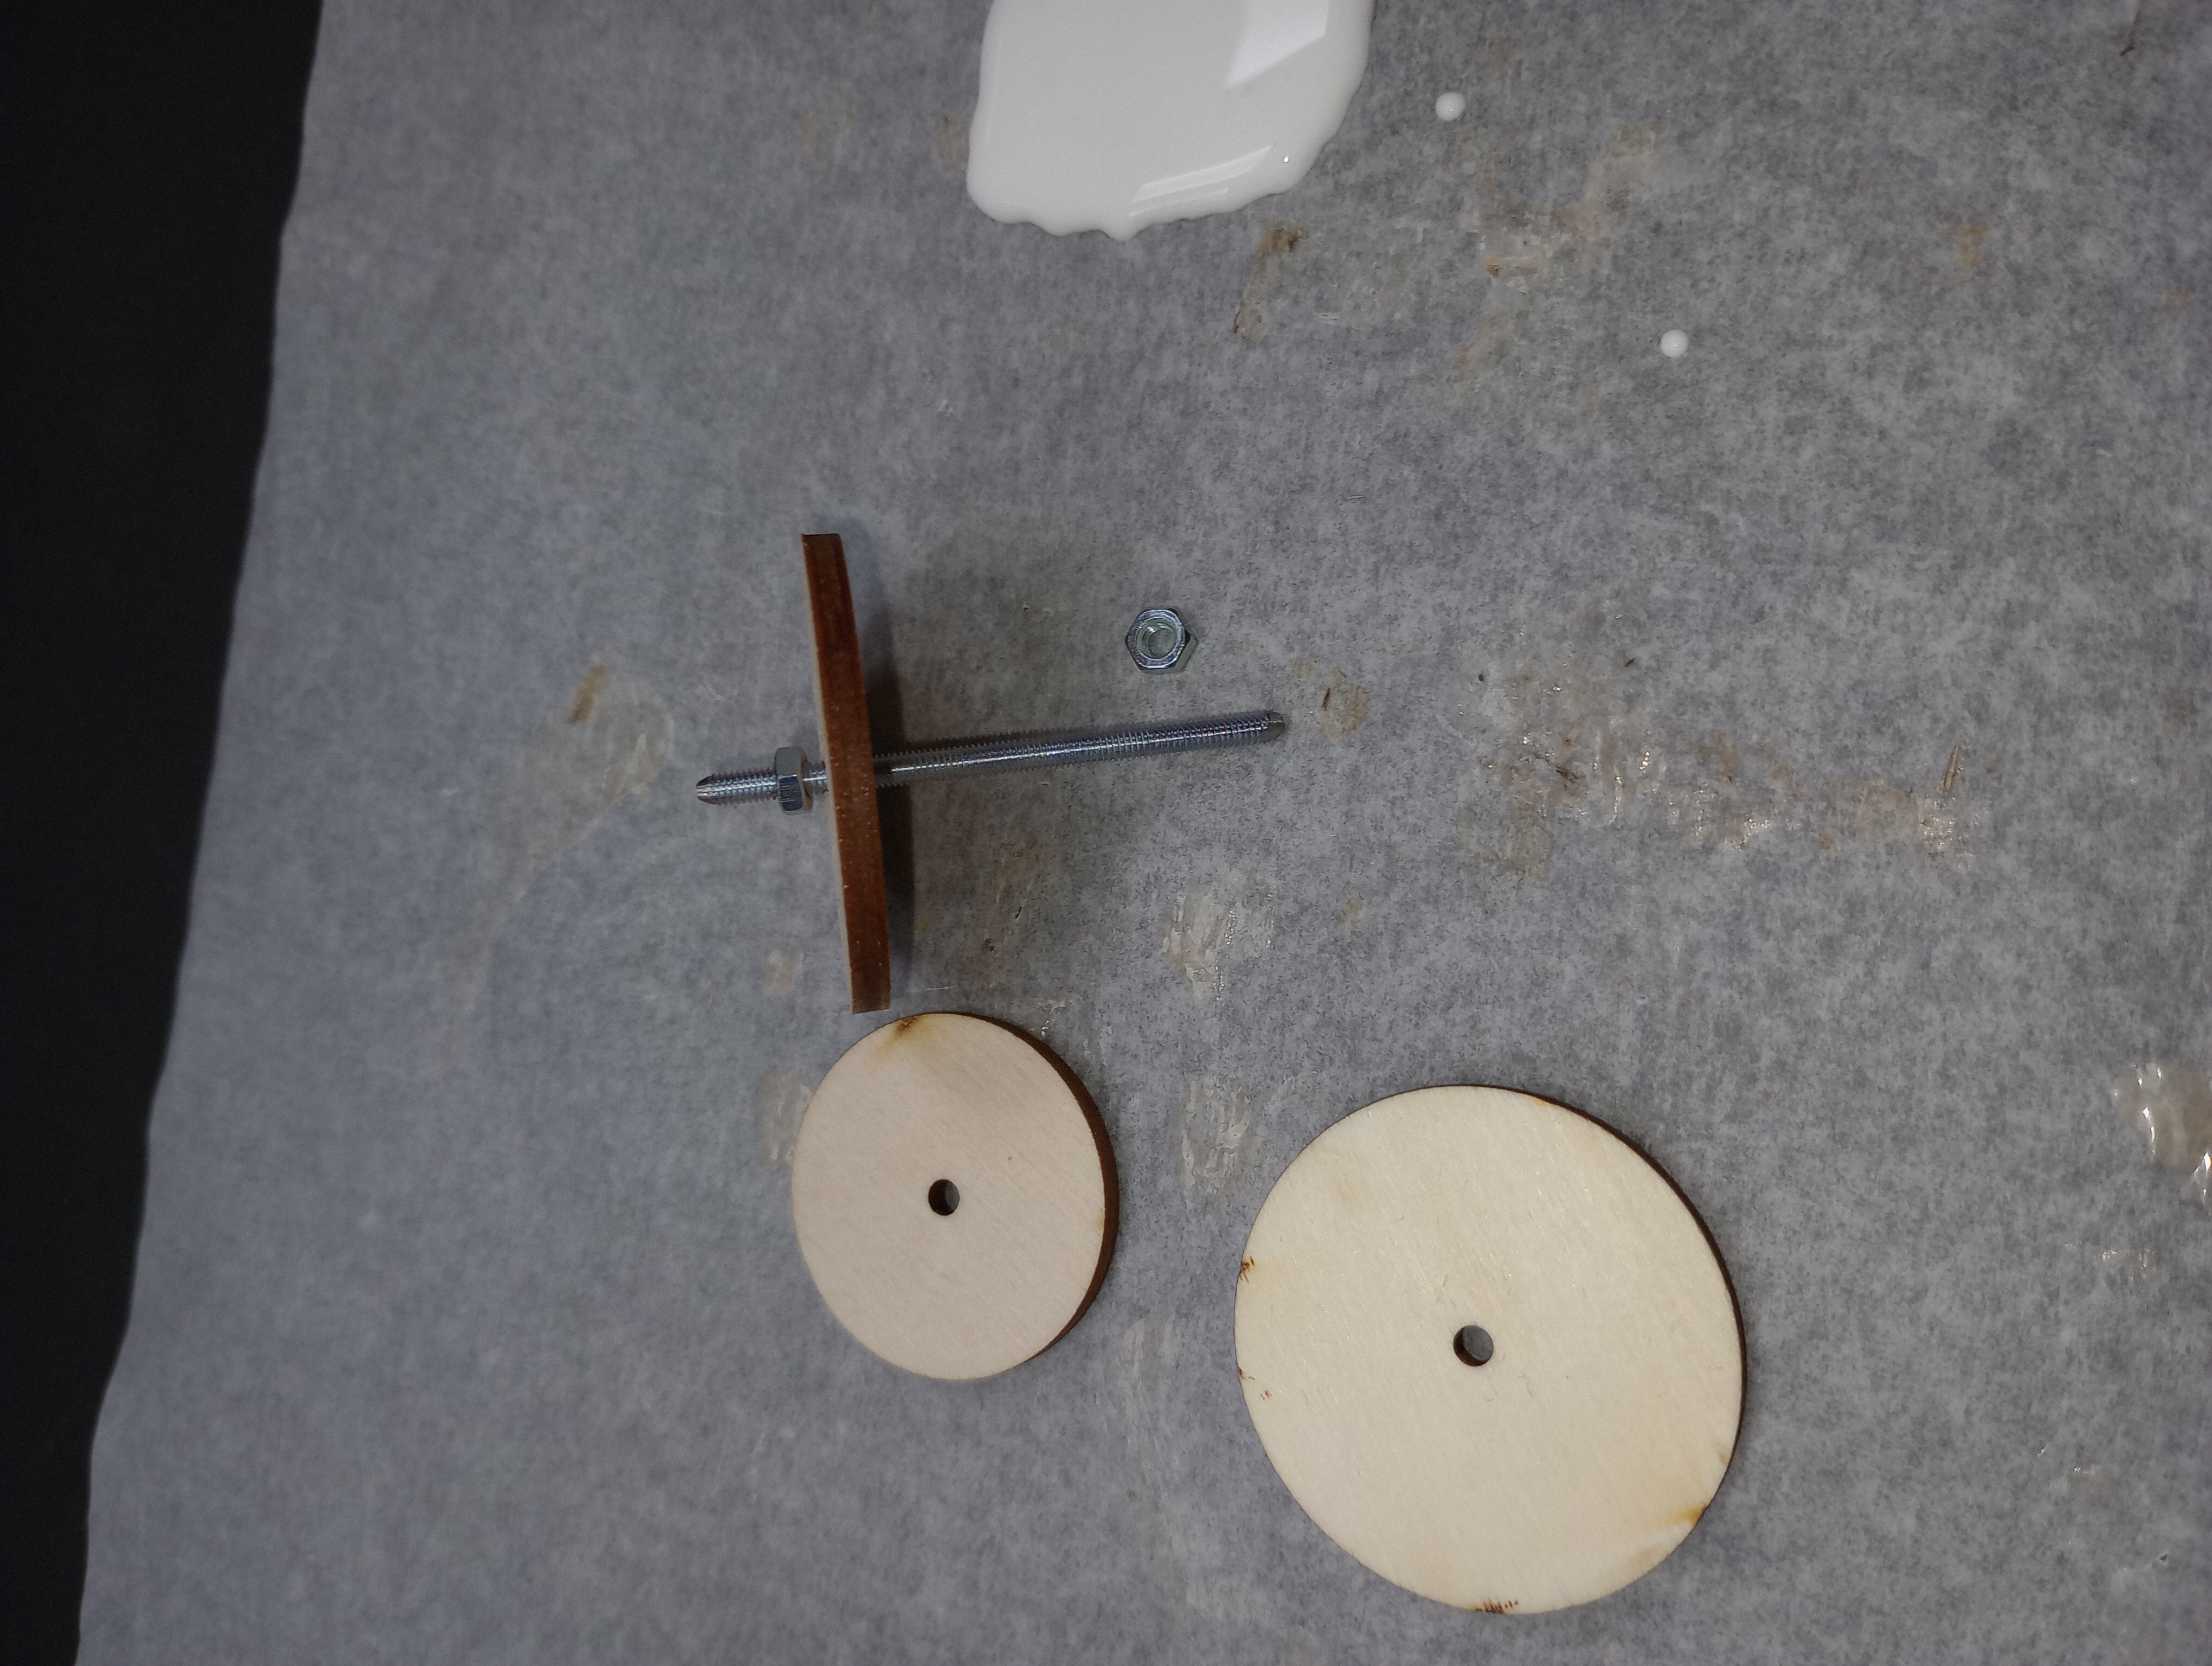
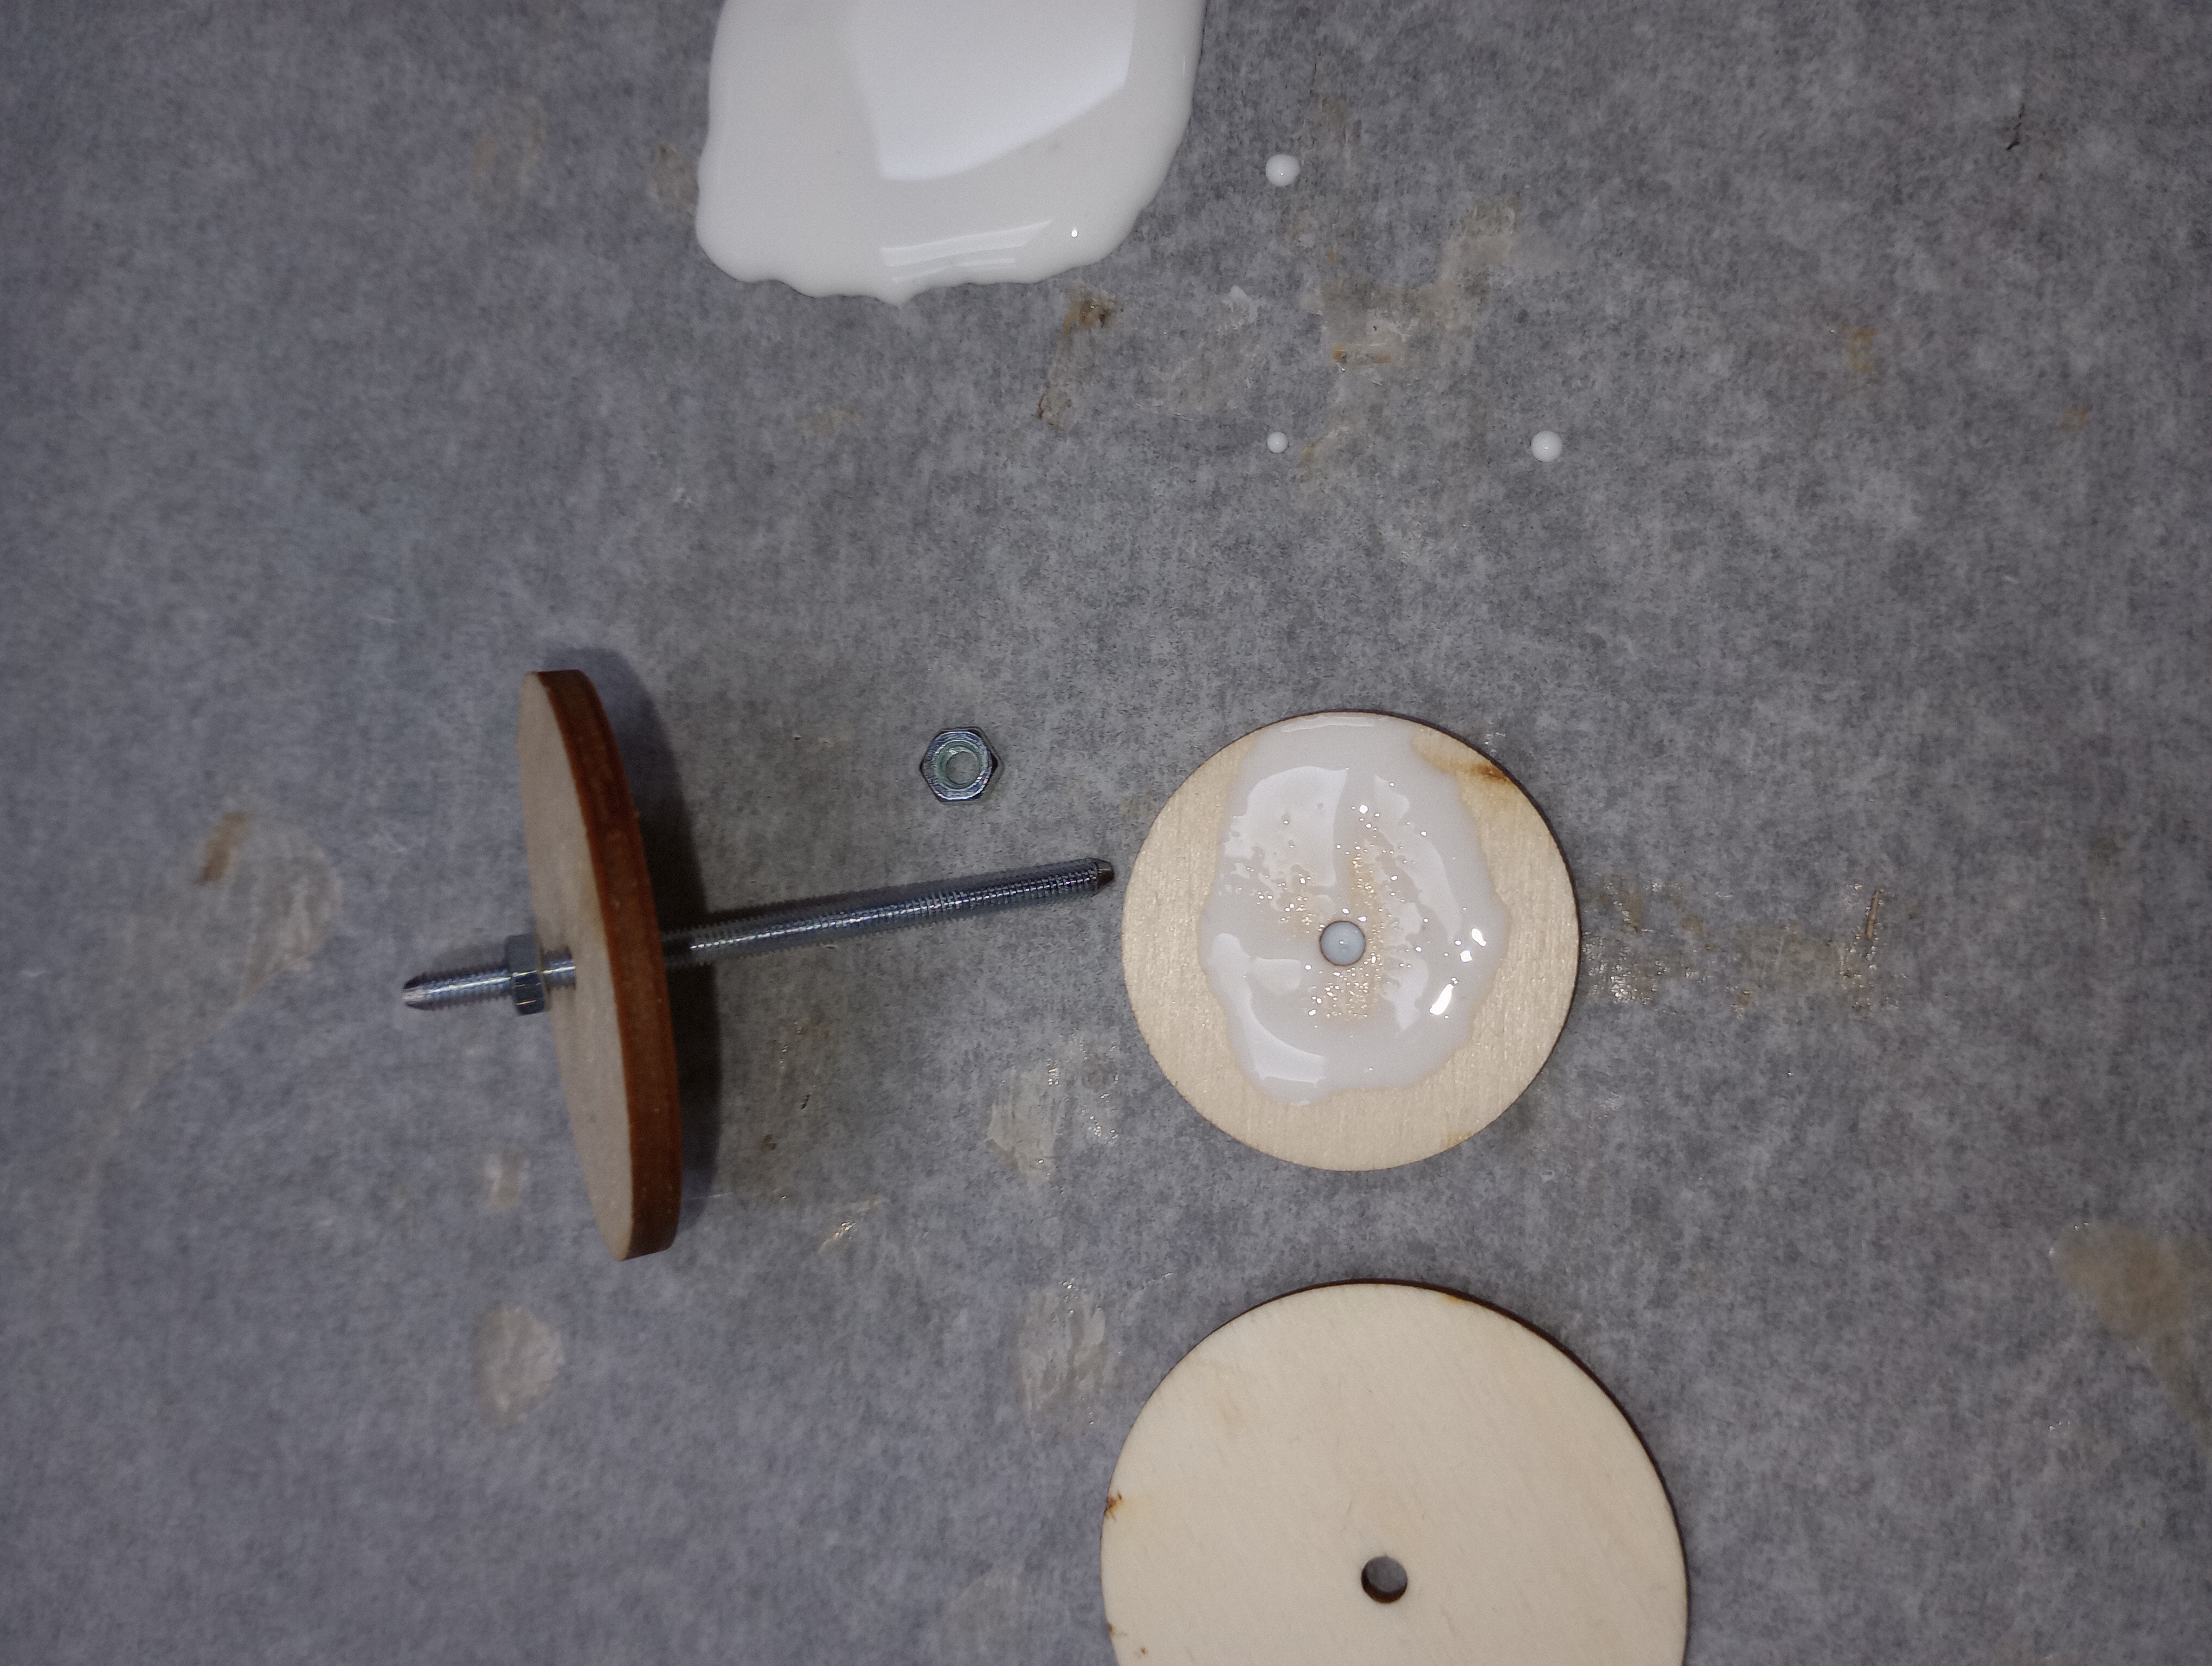
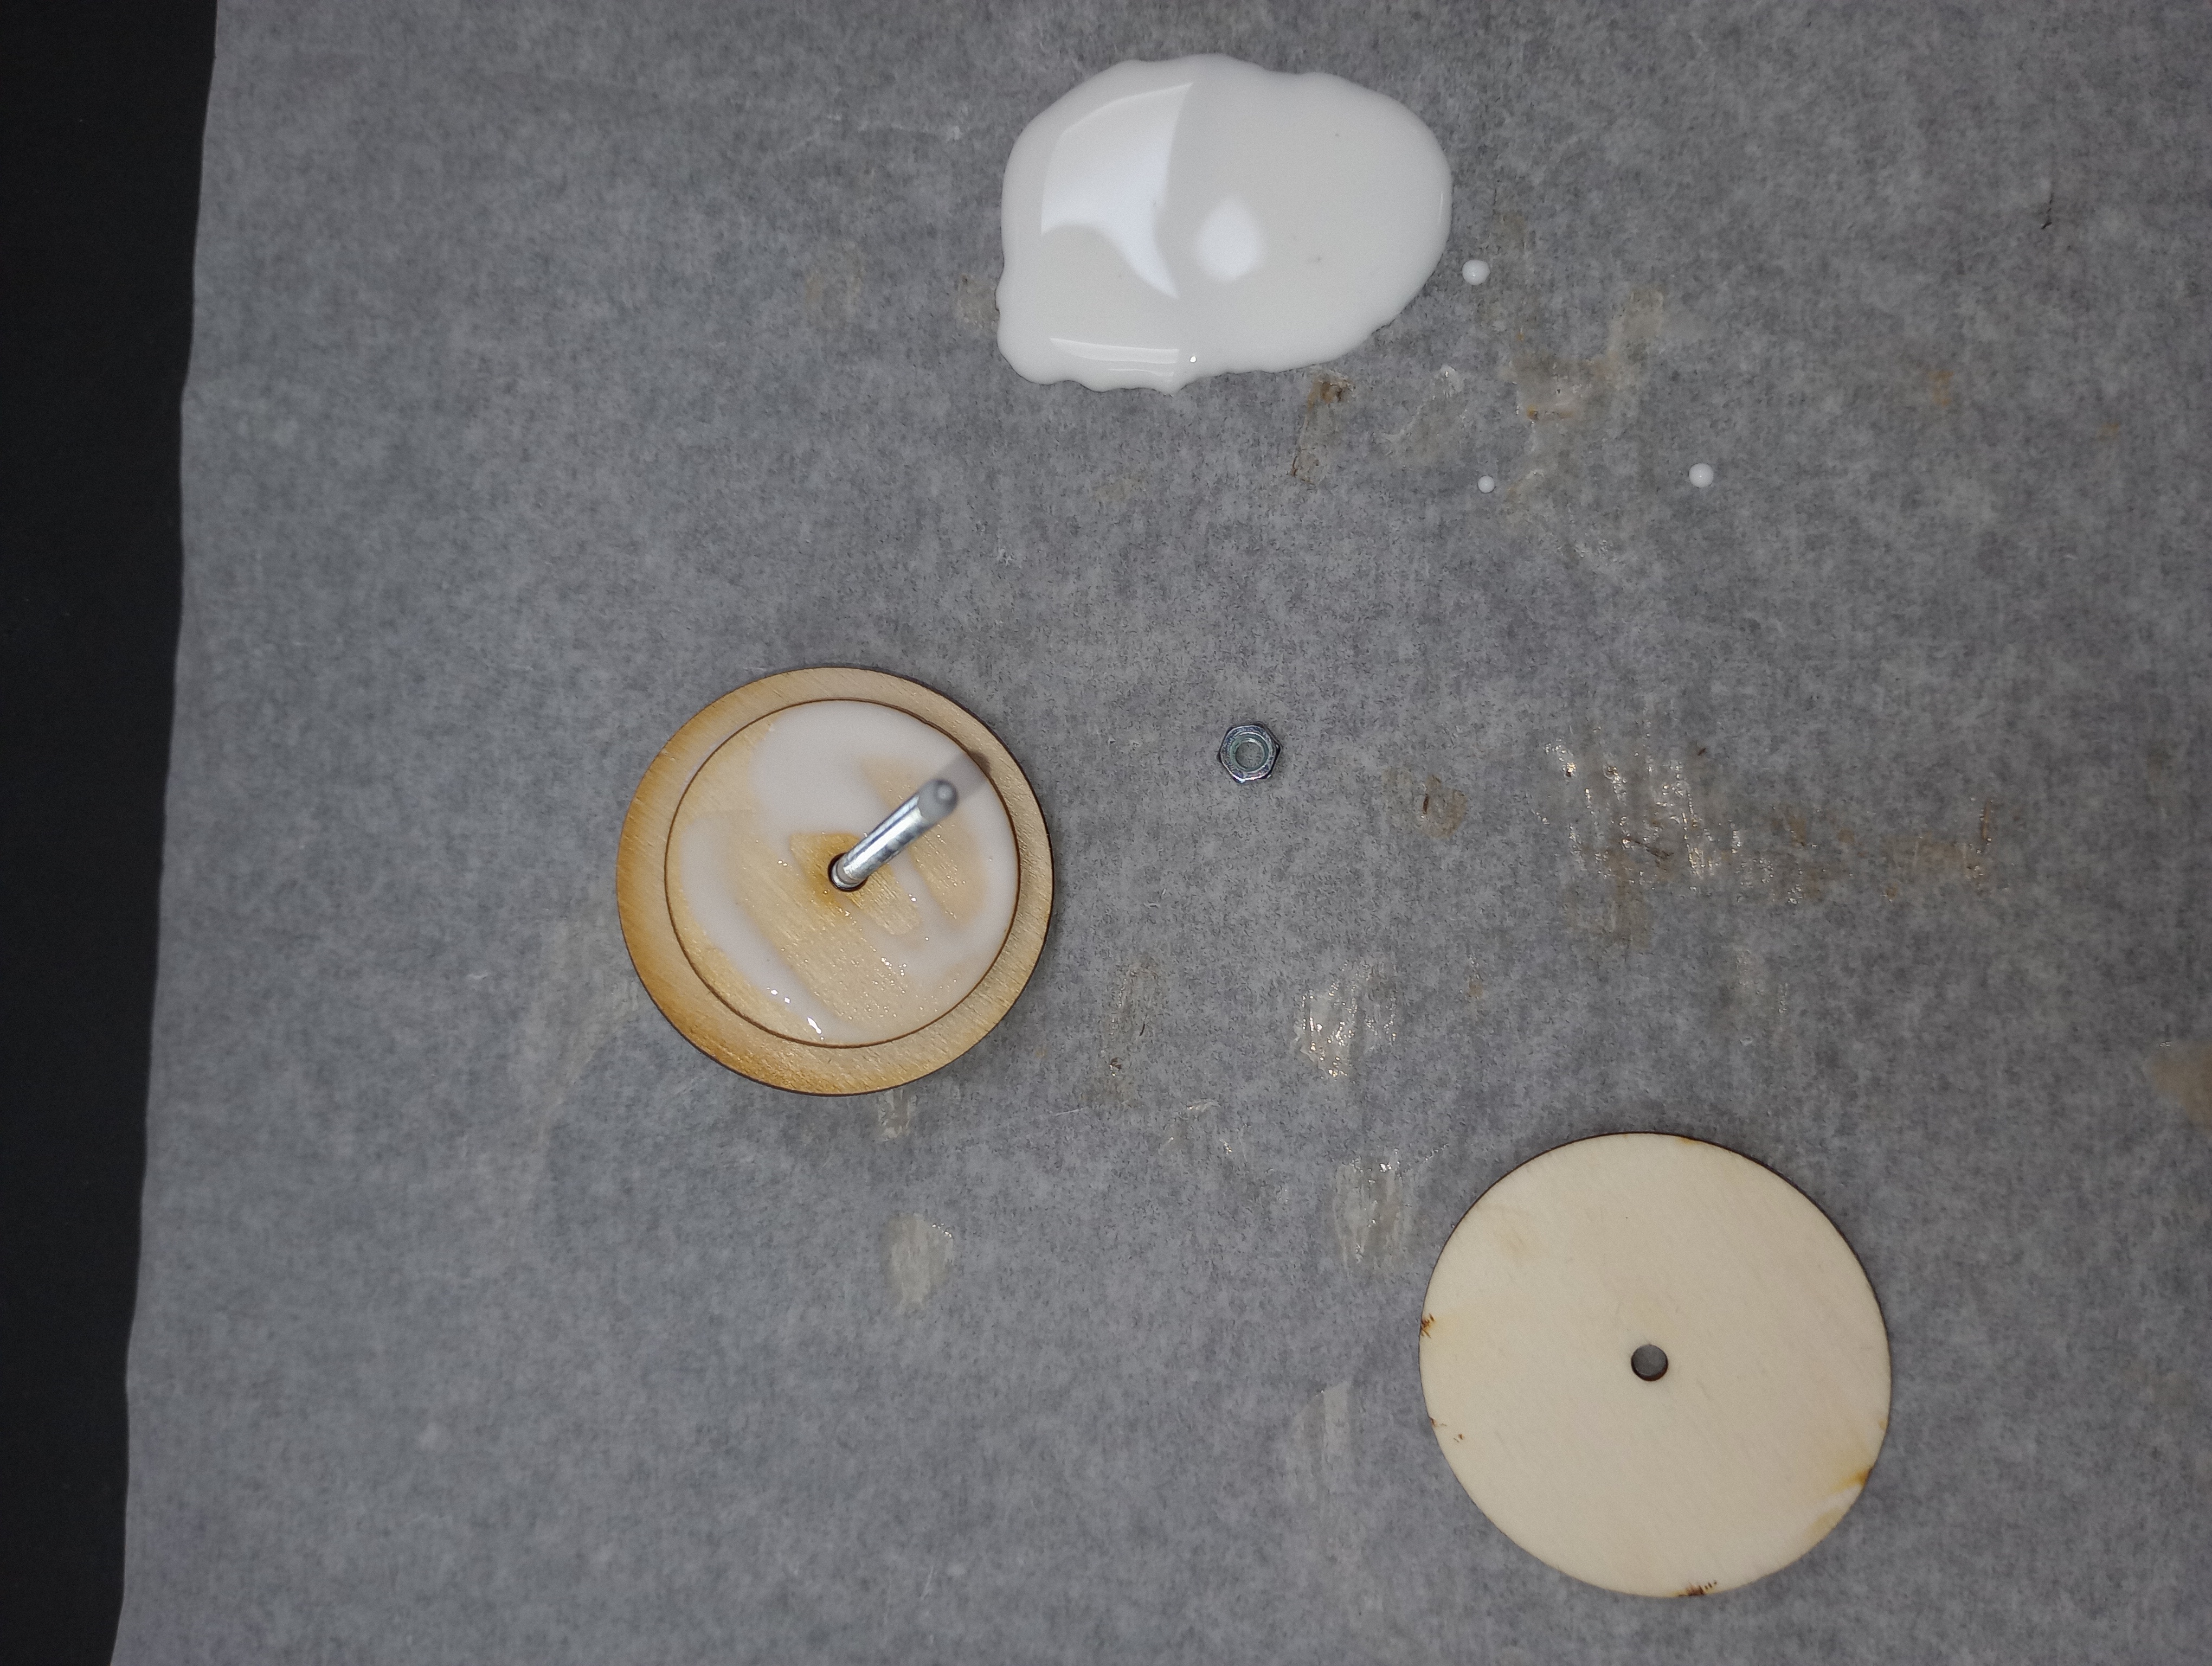
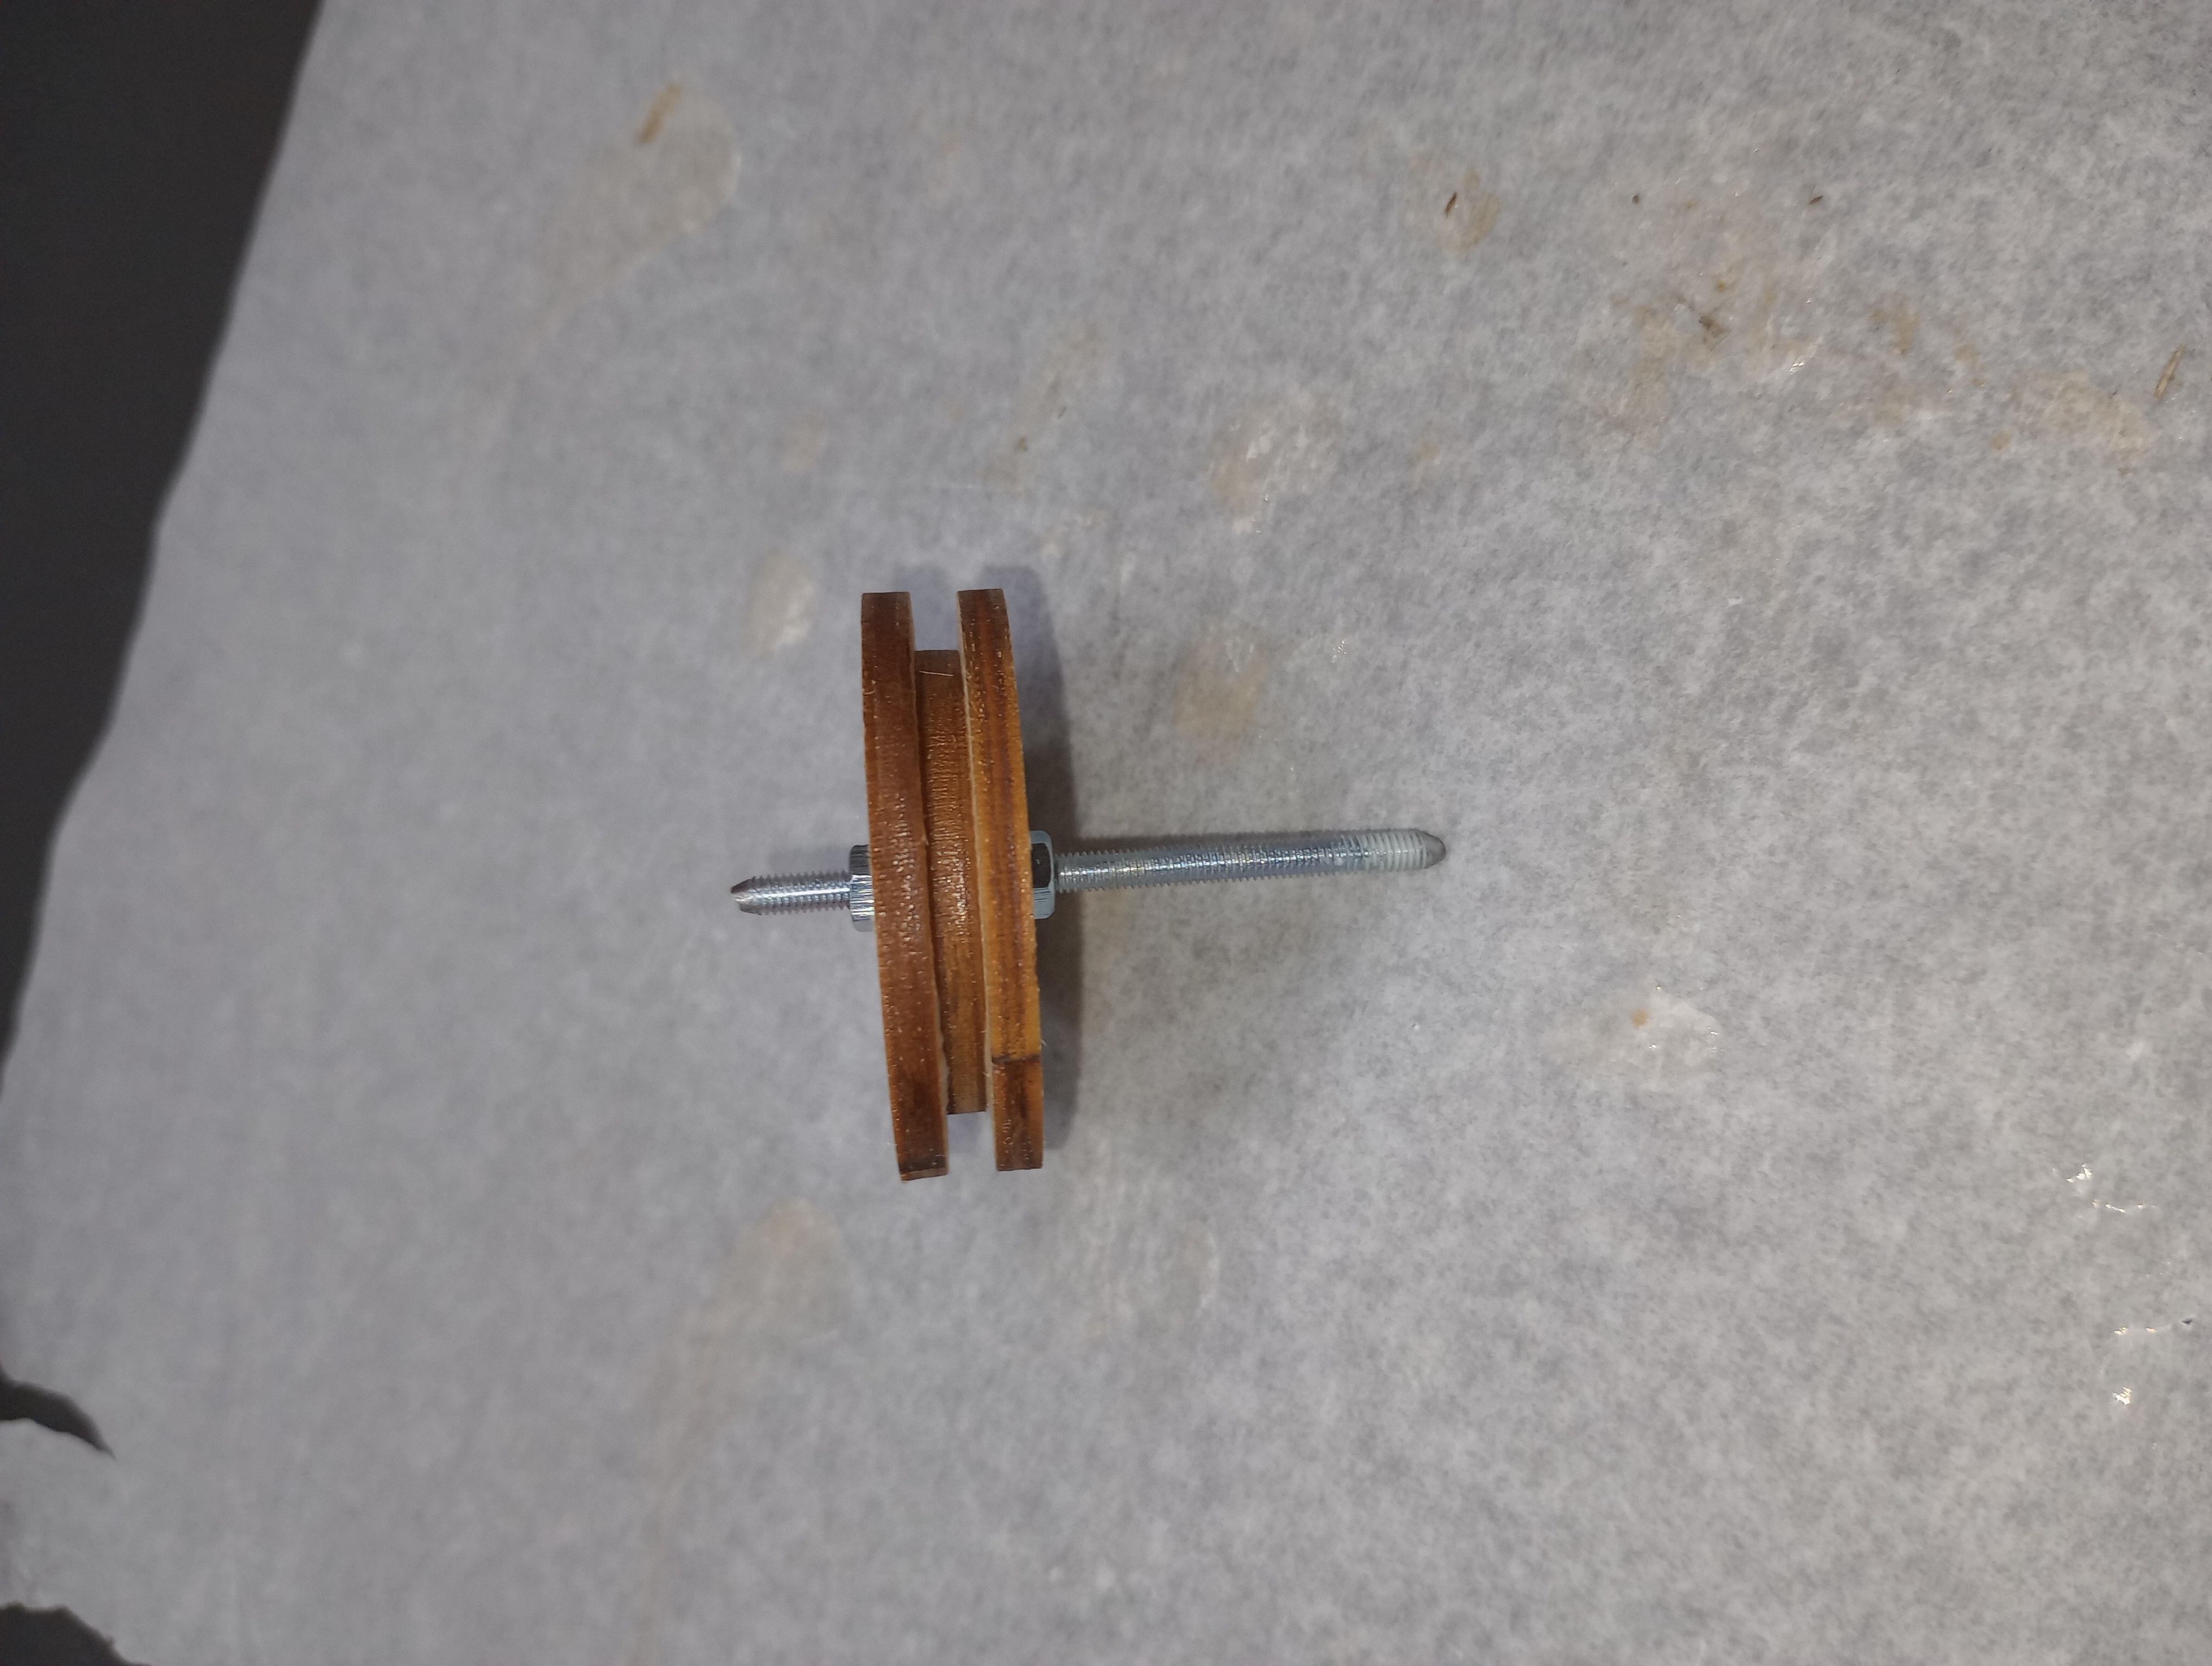
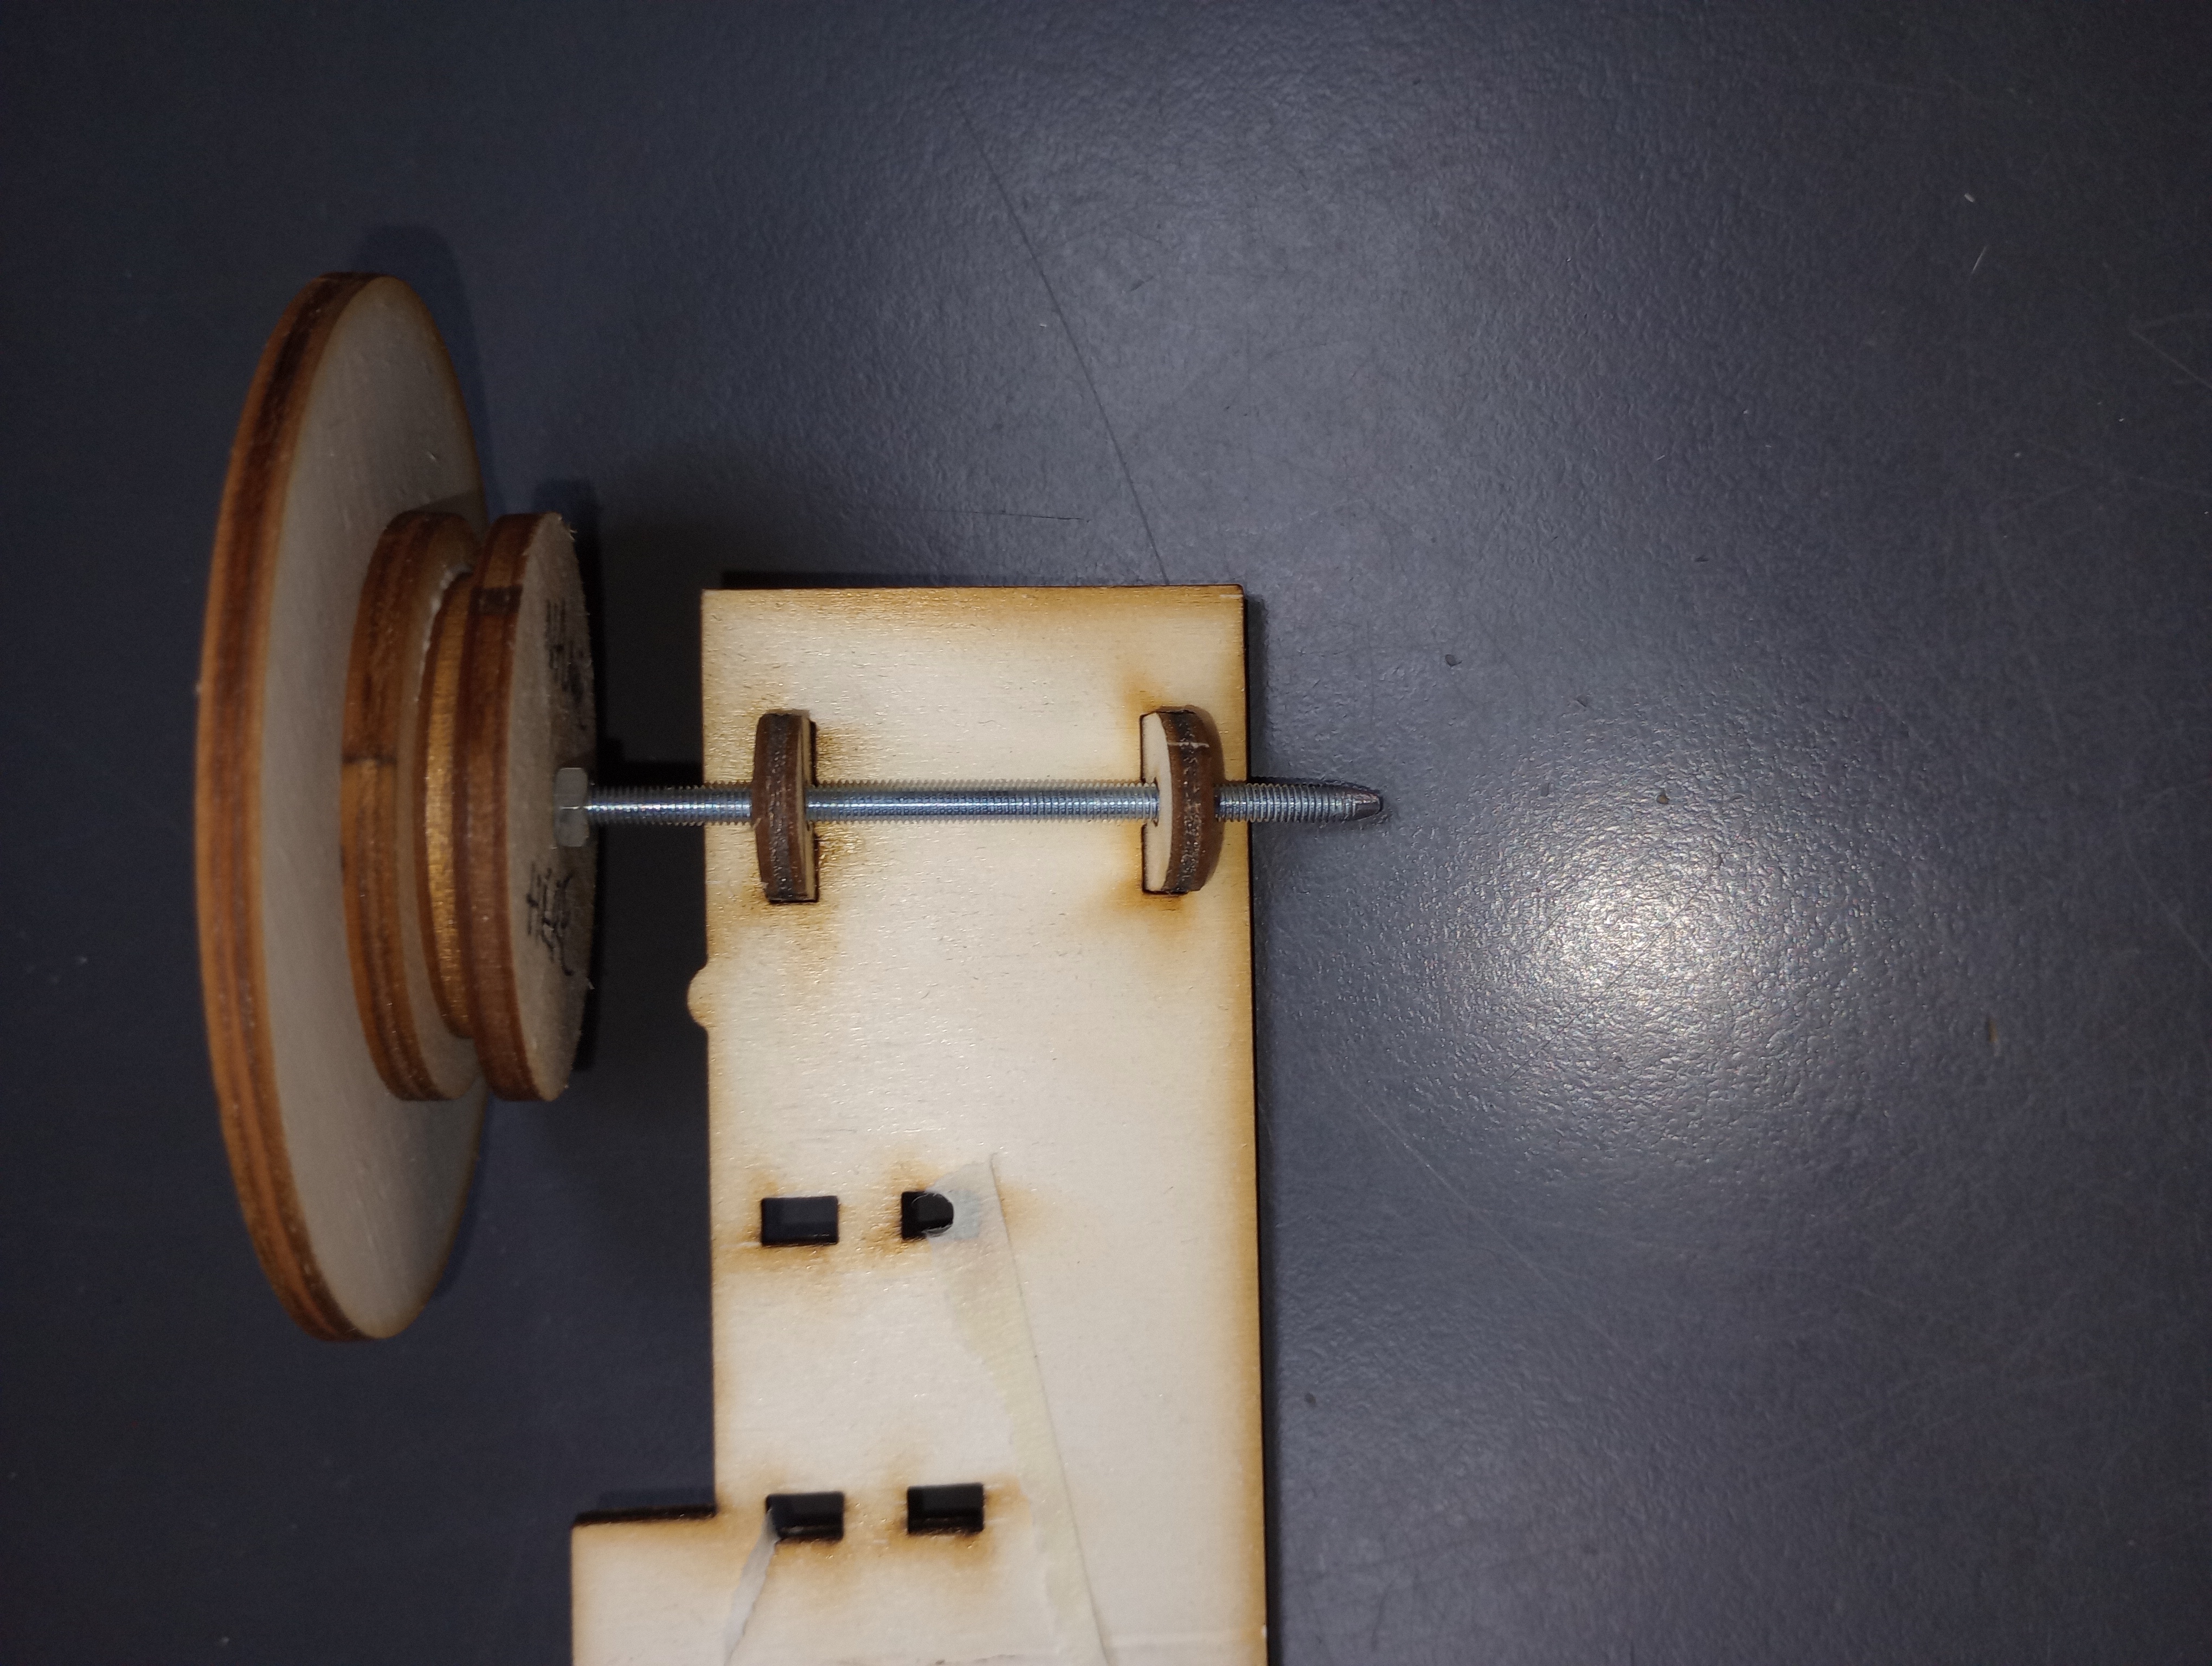
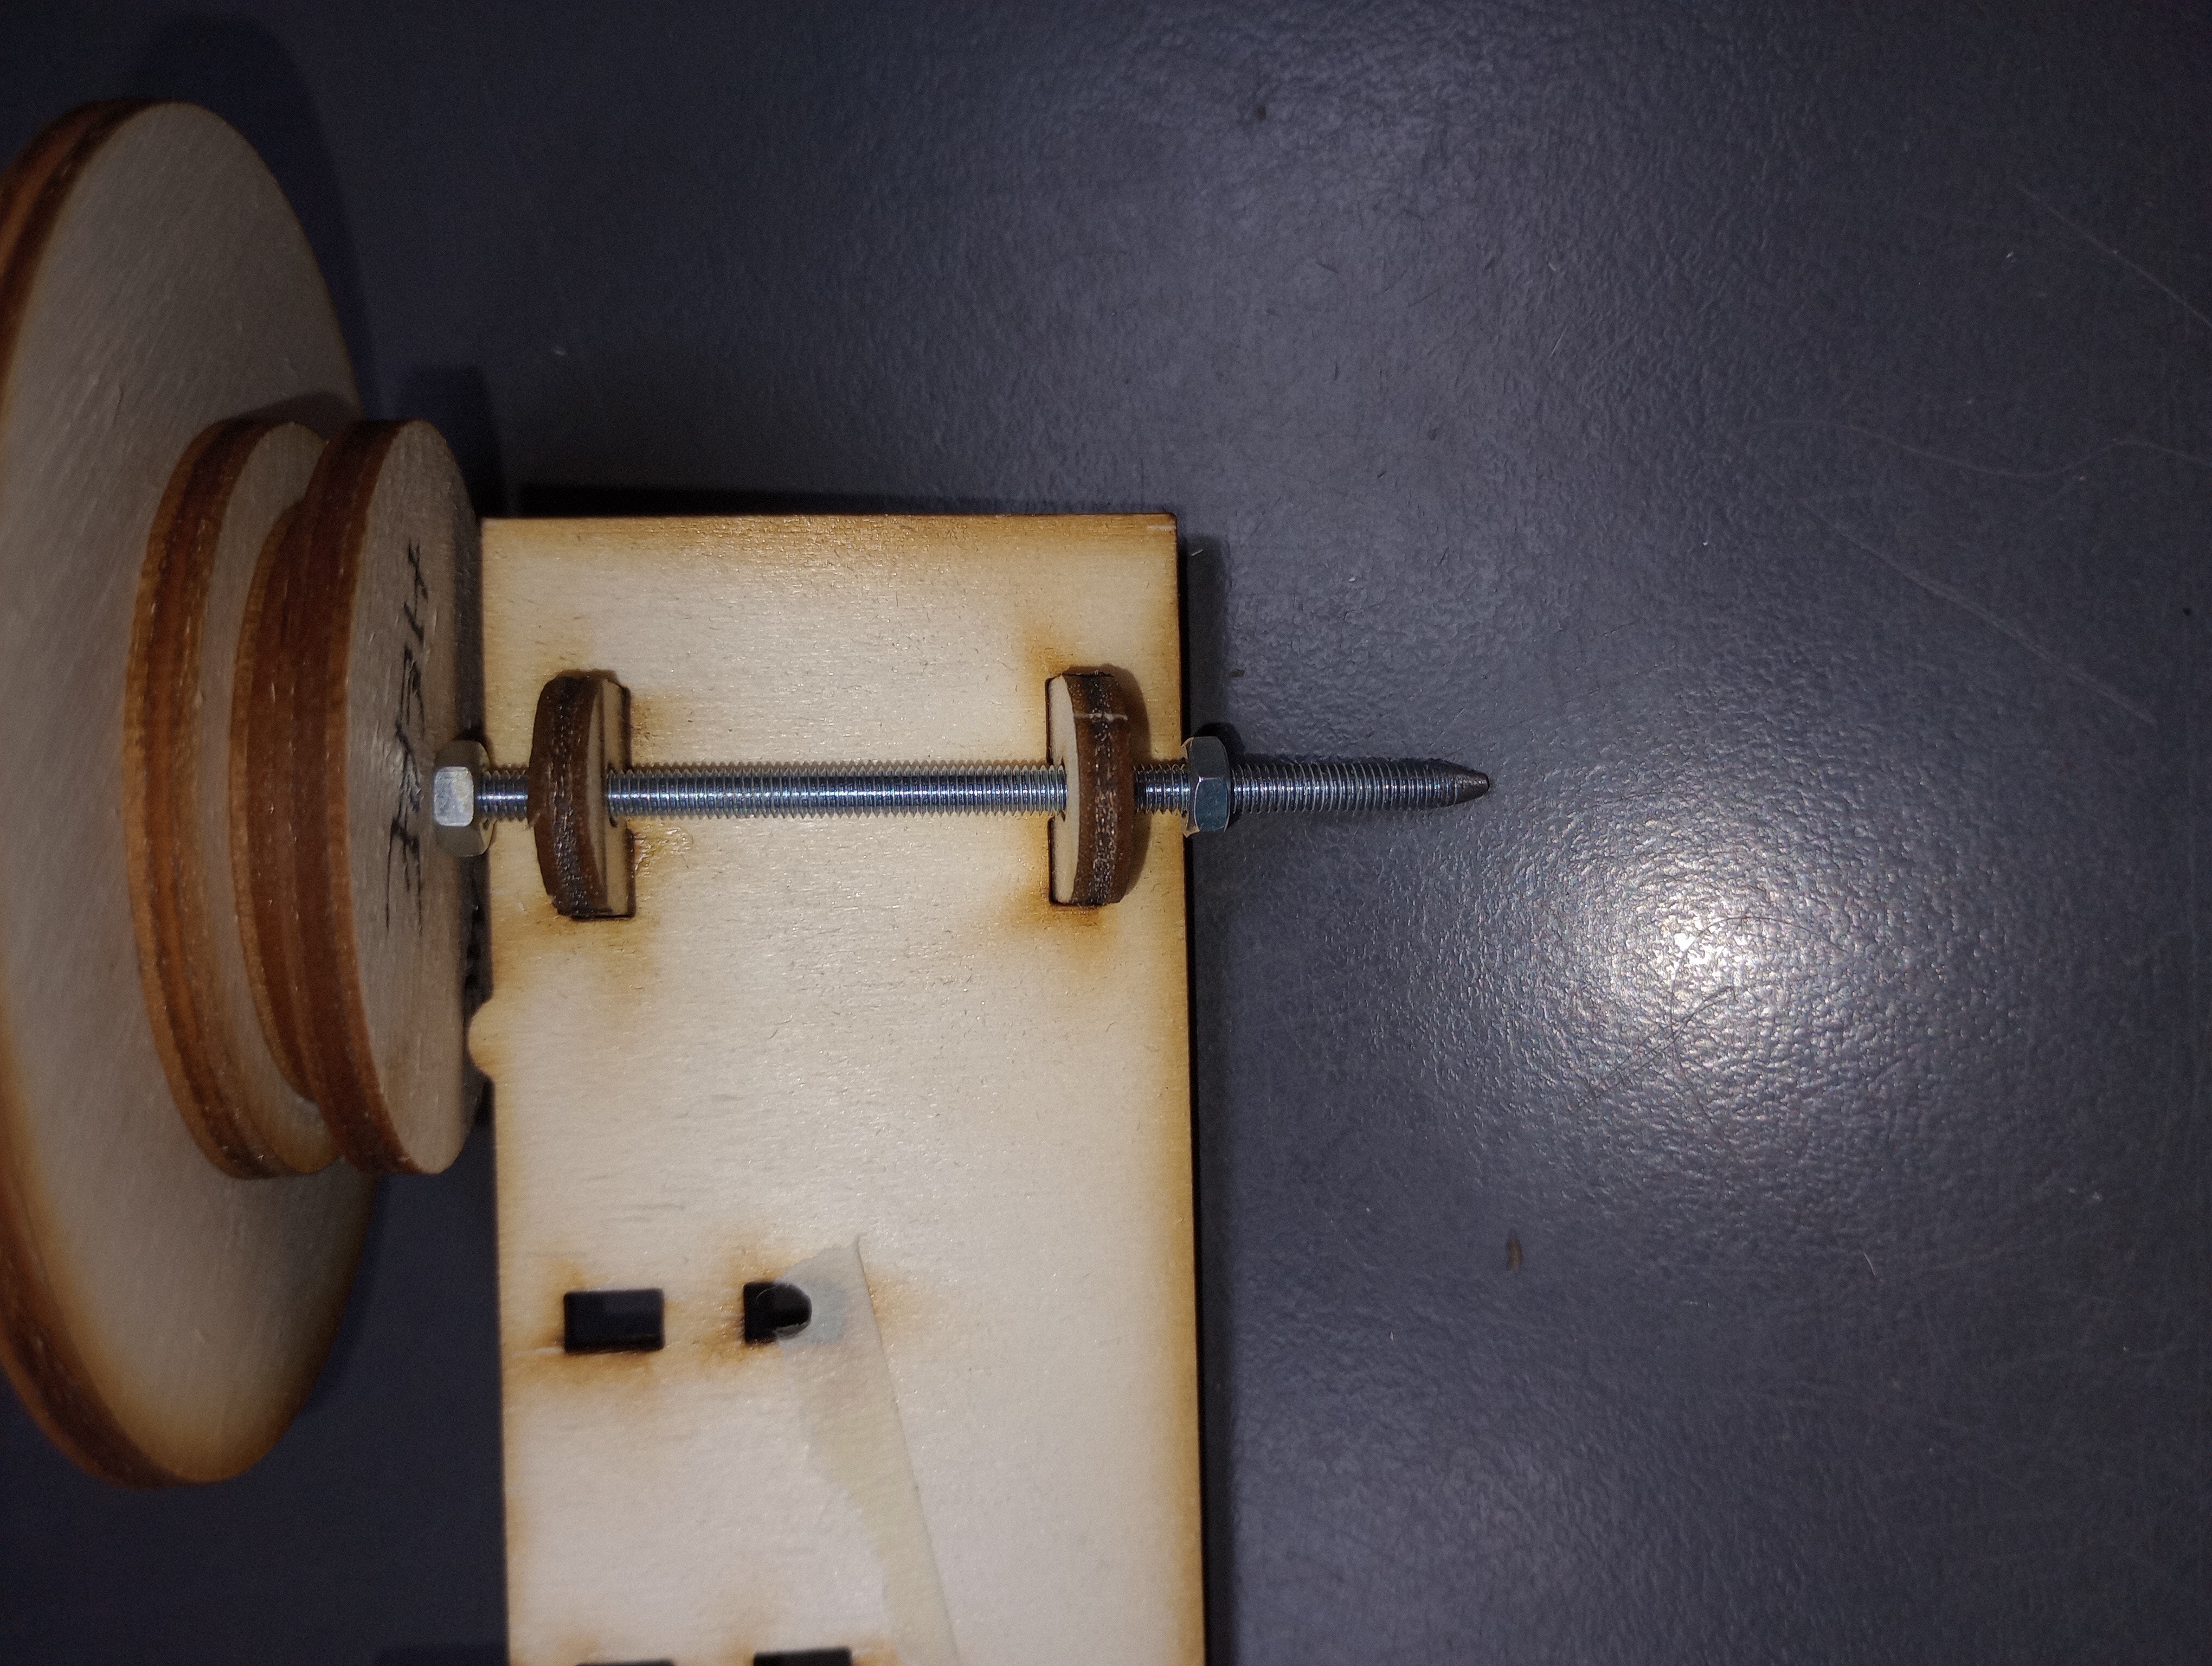
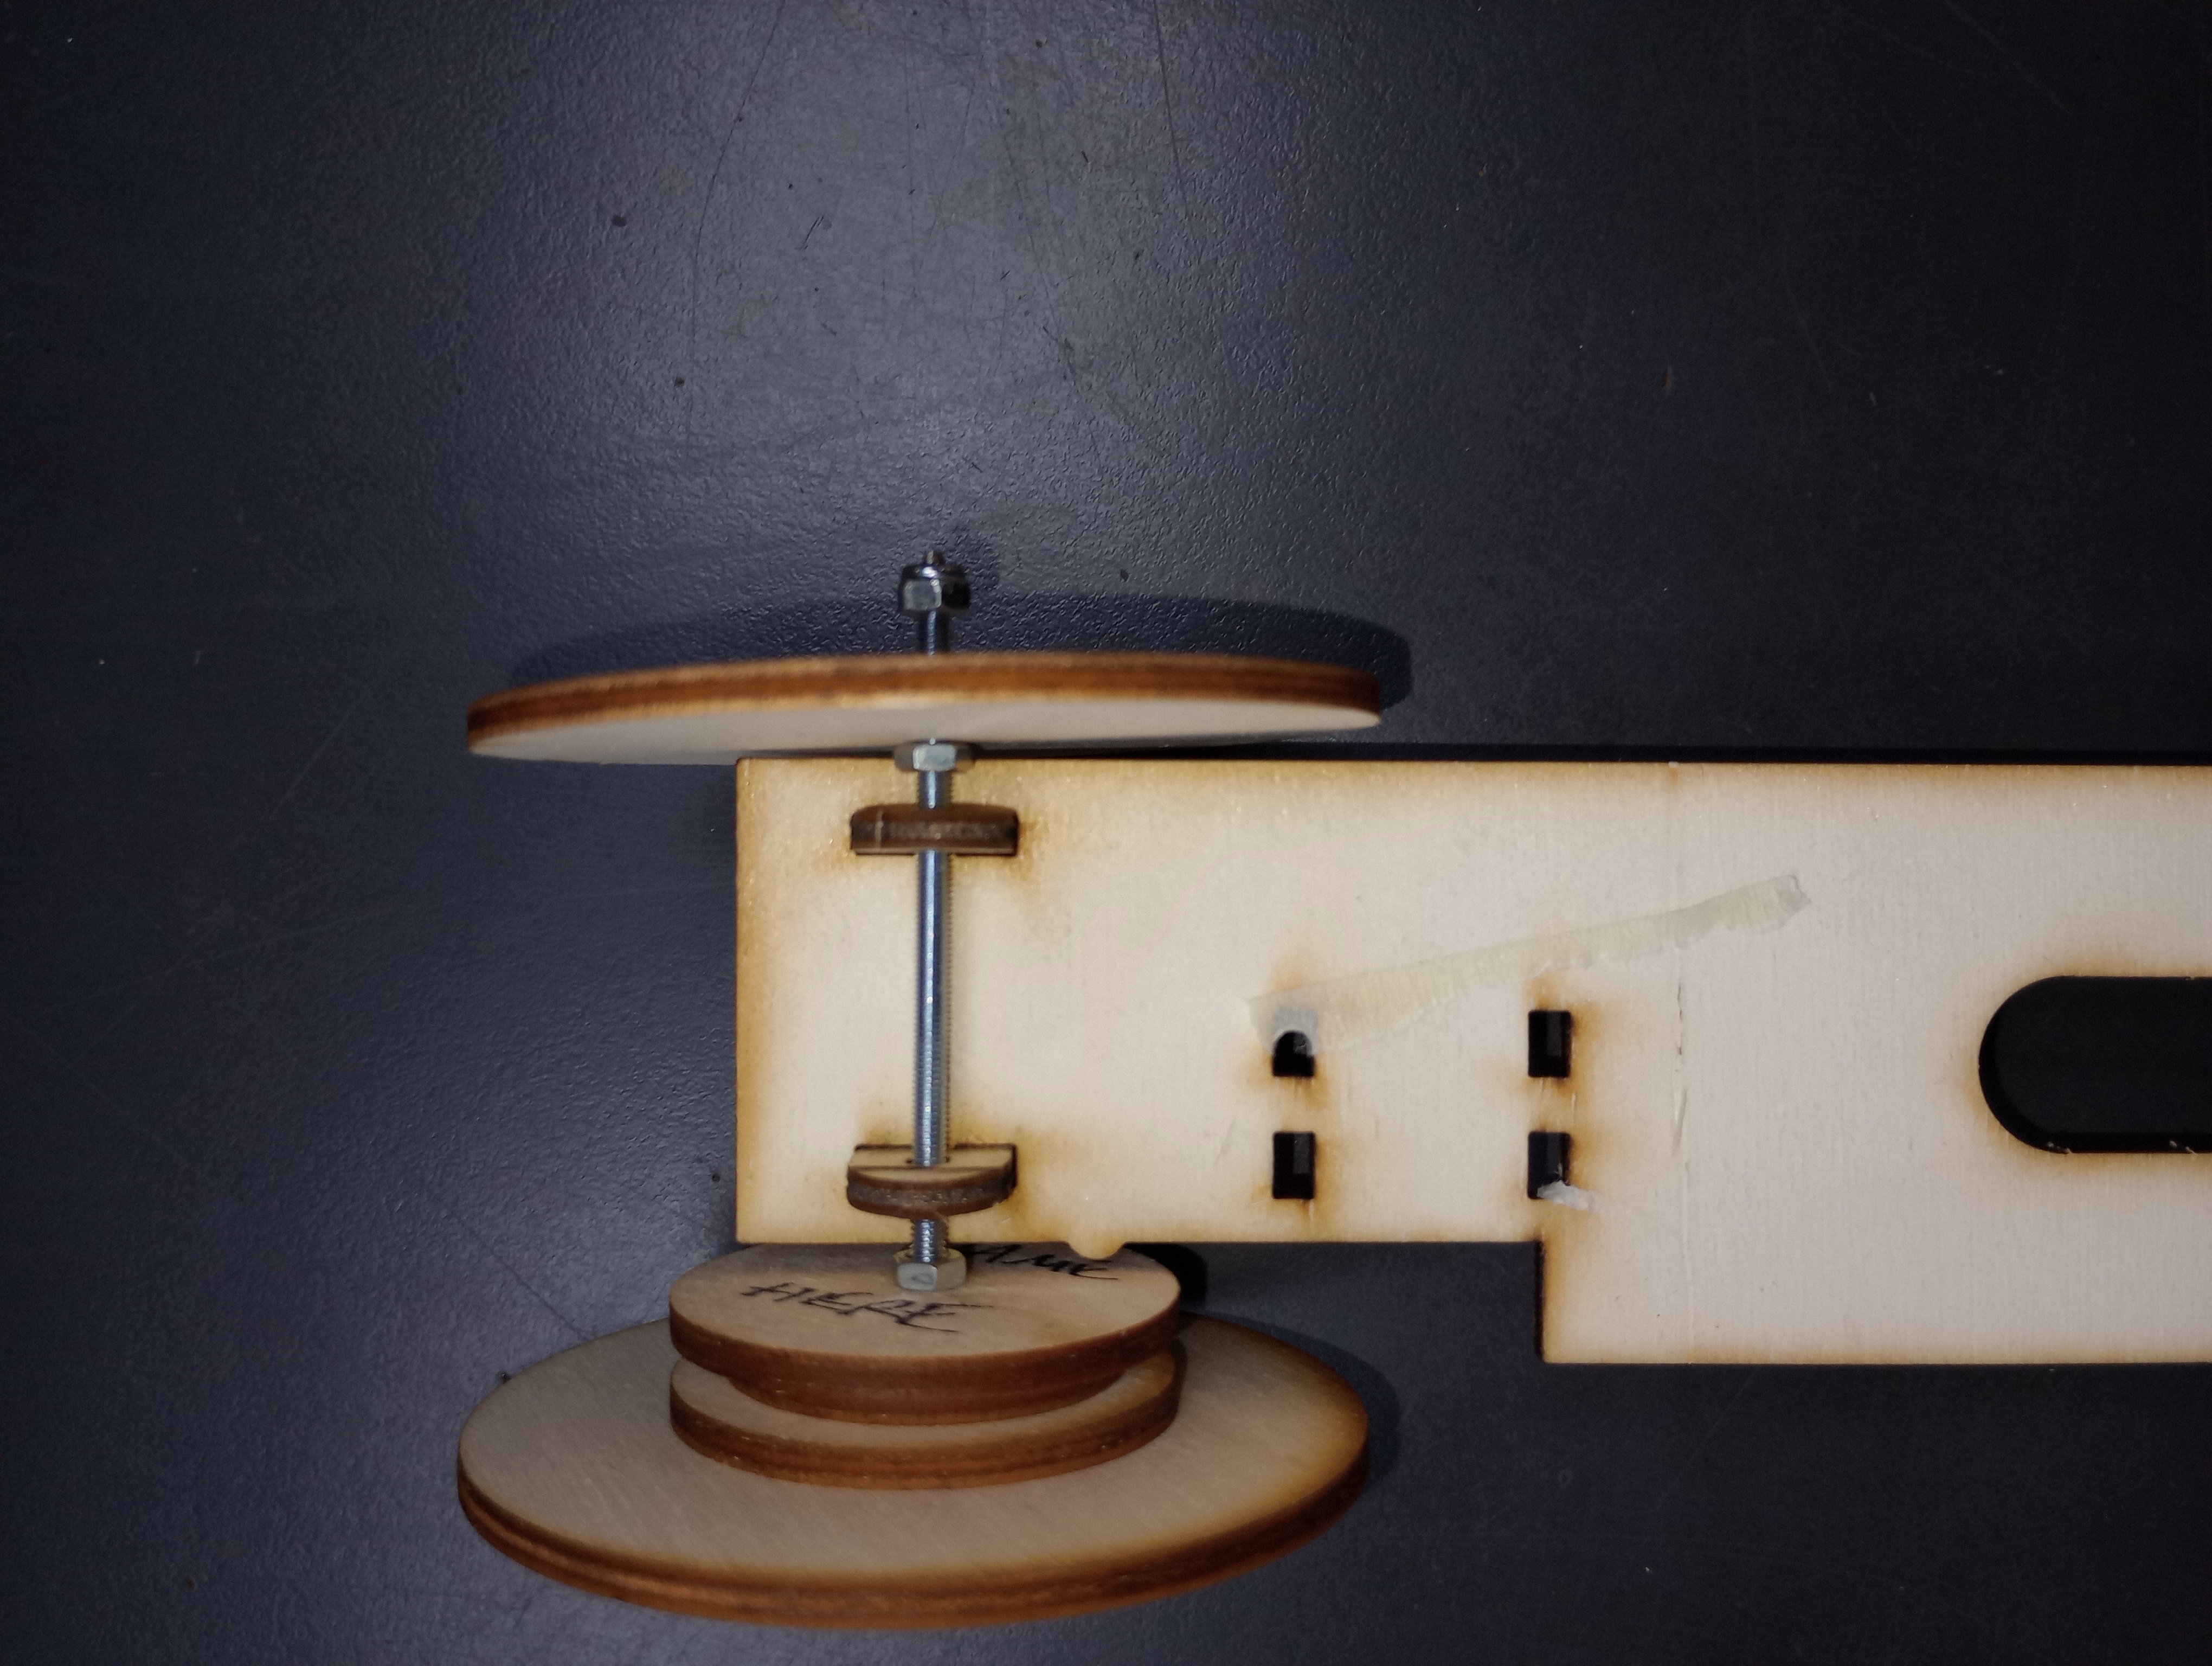
Pulley
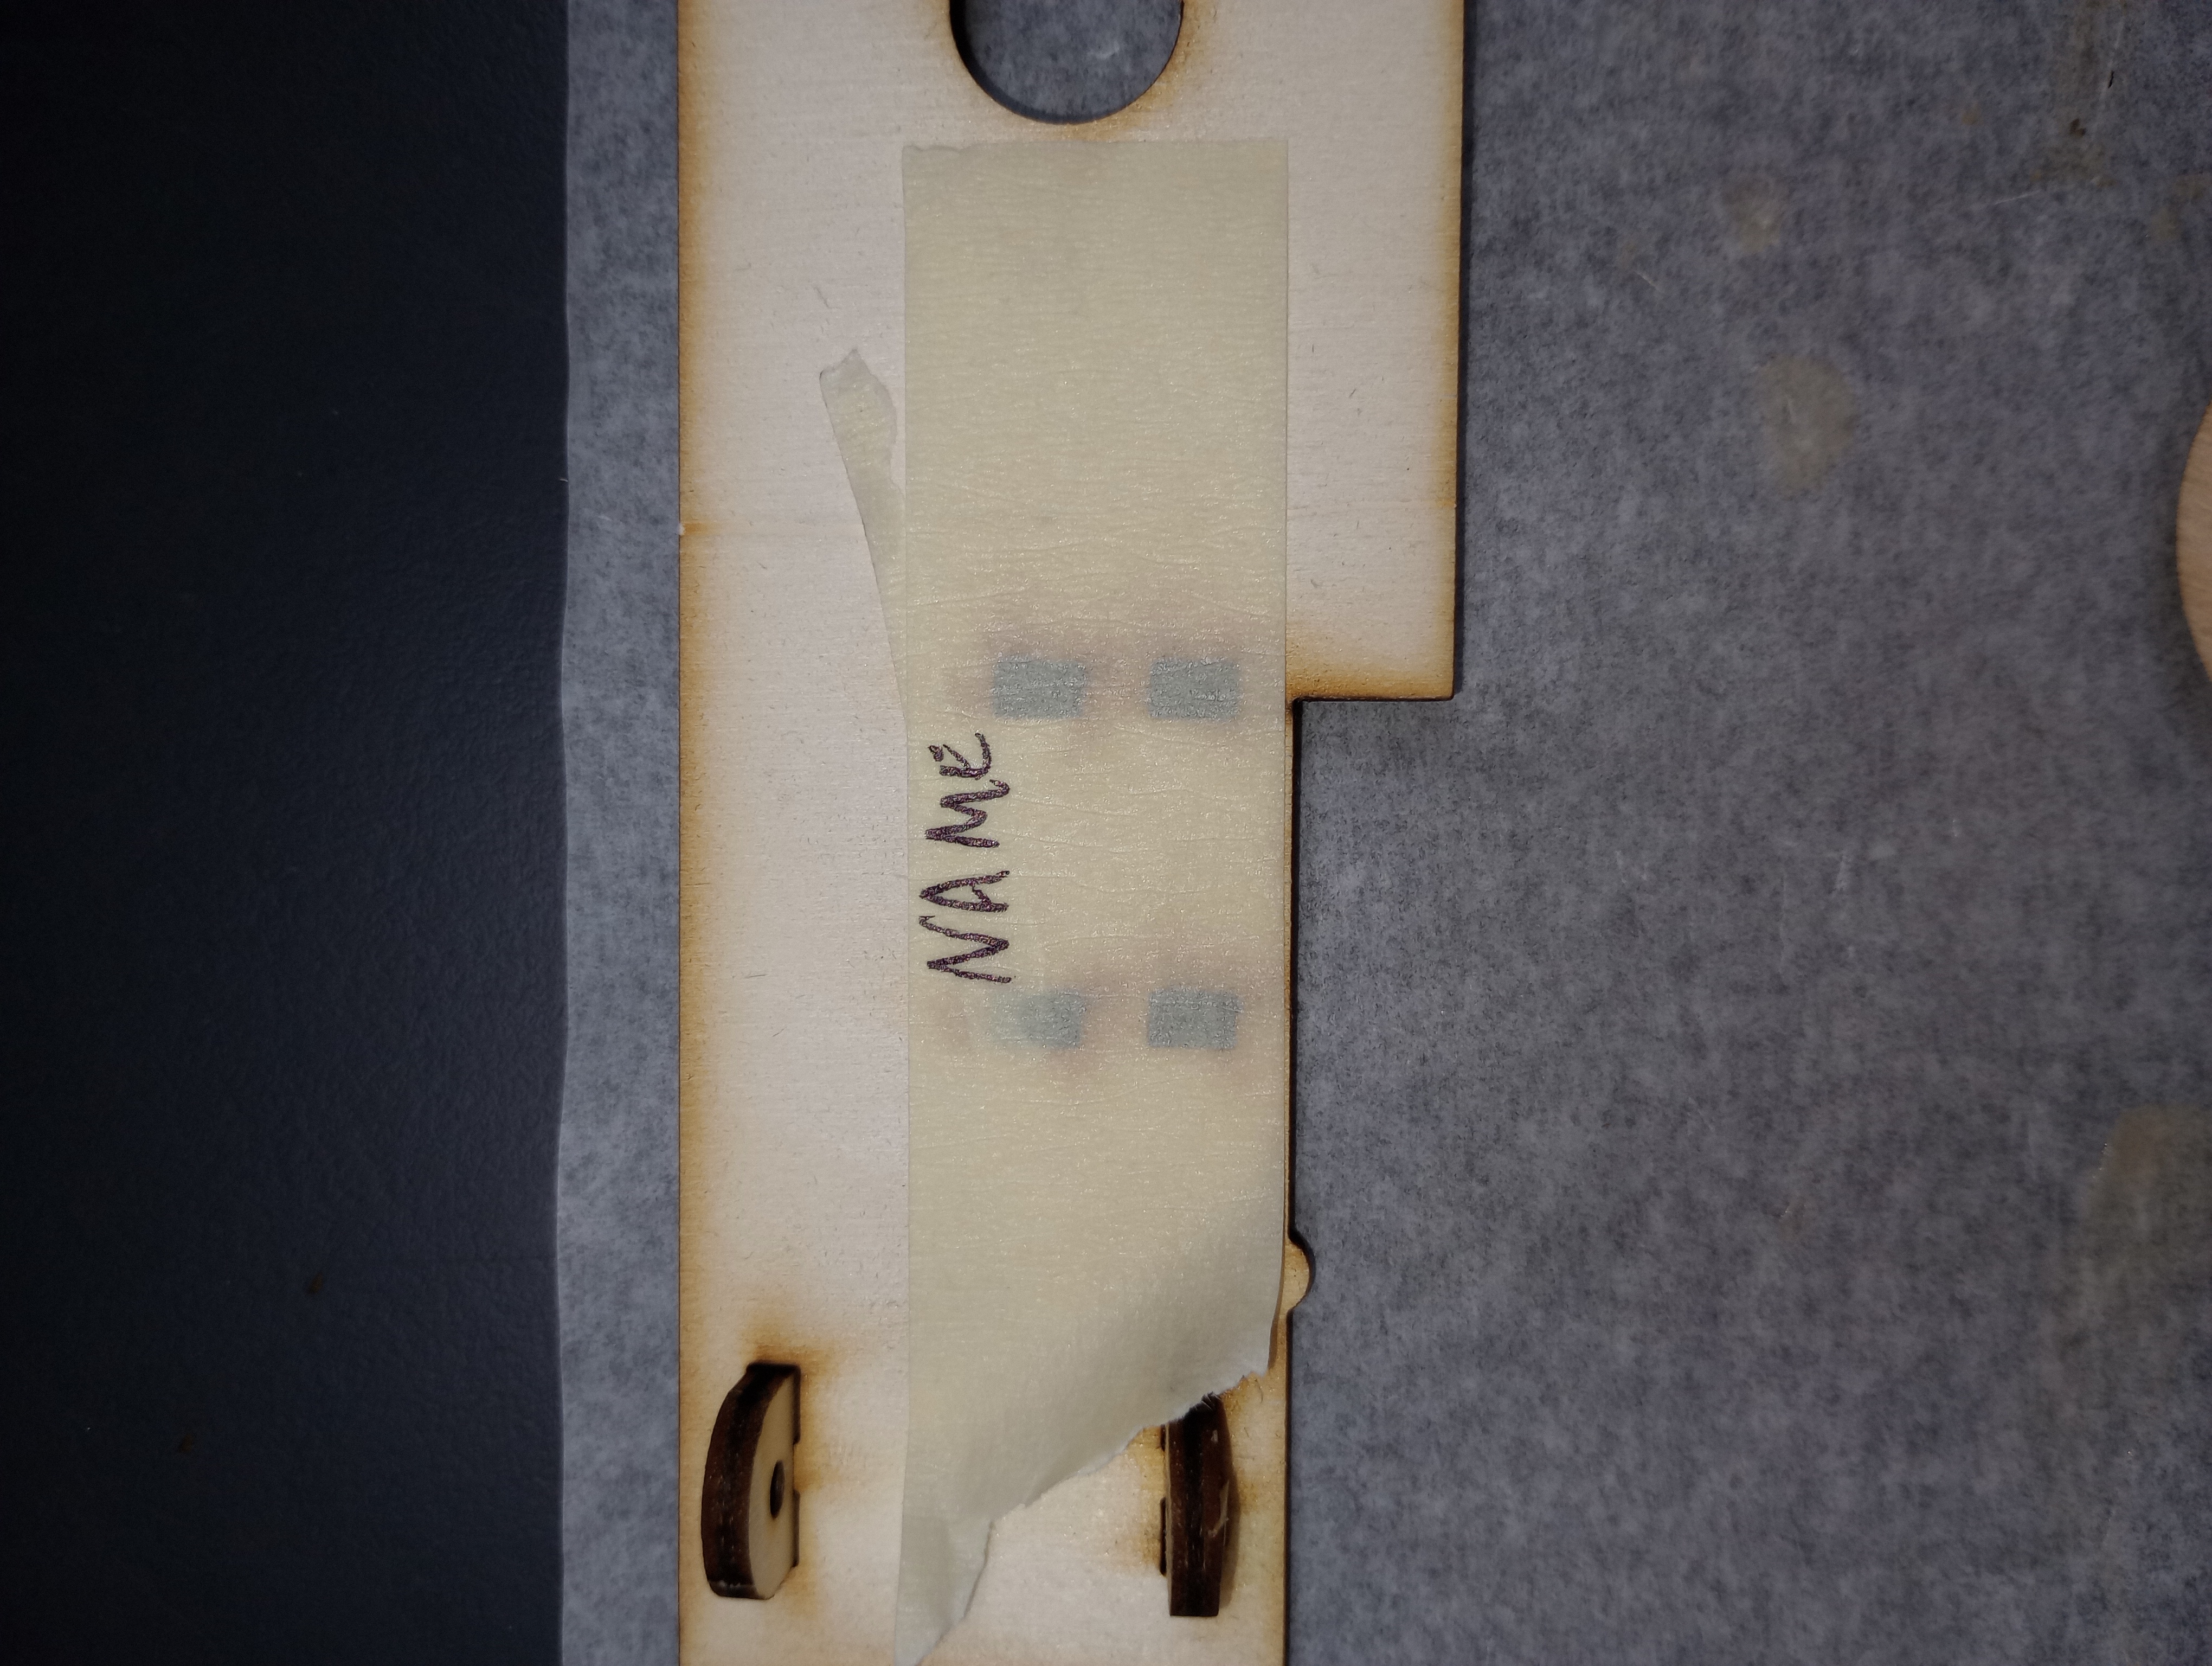
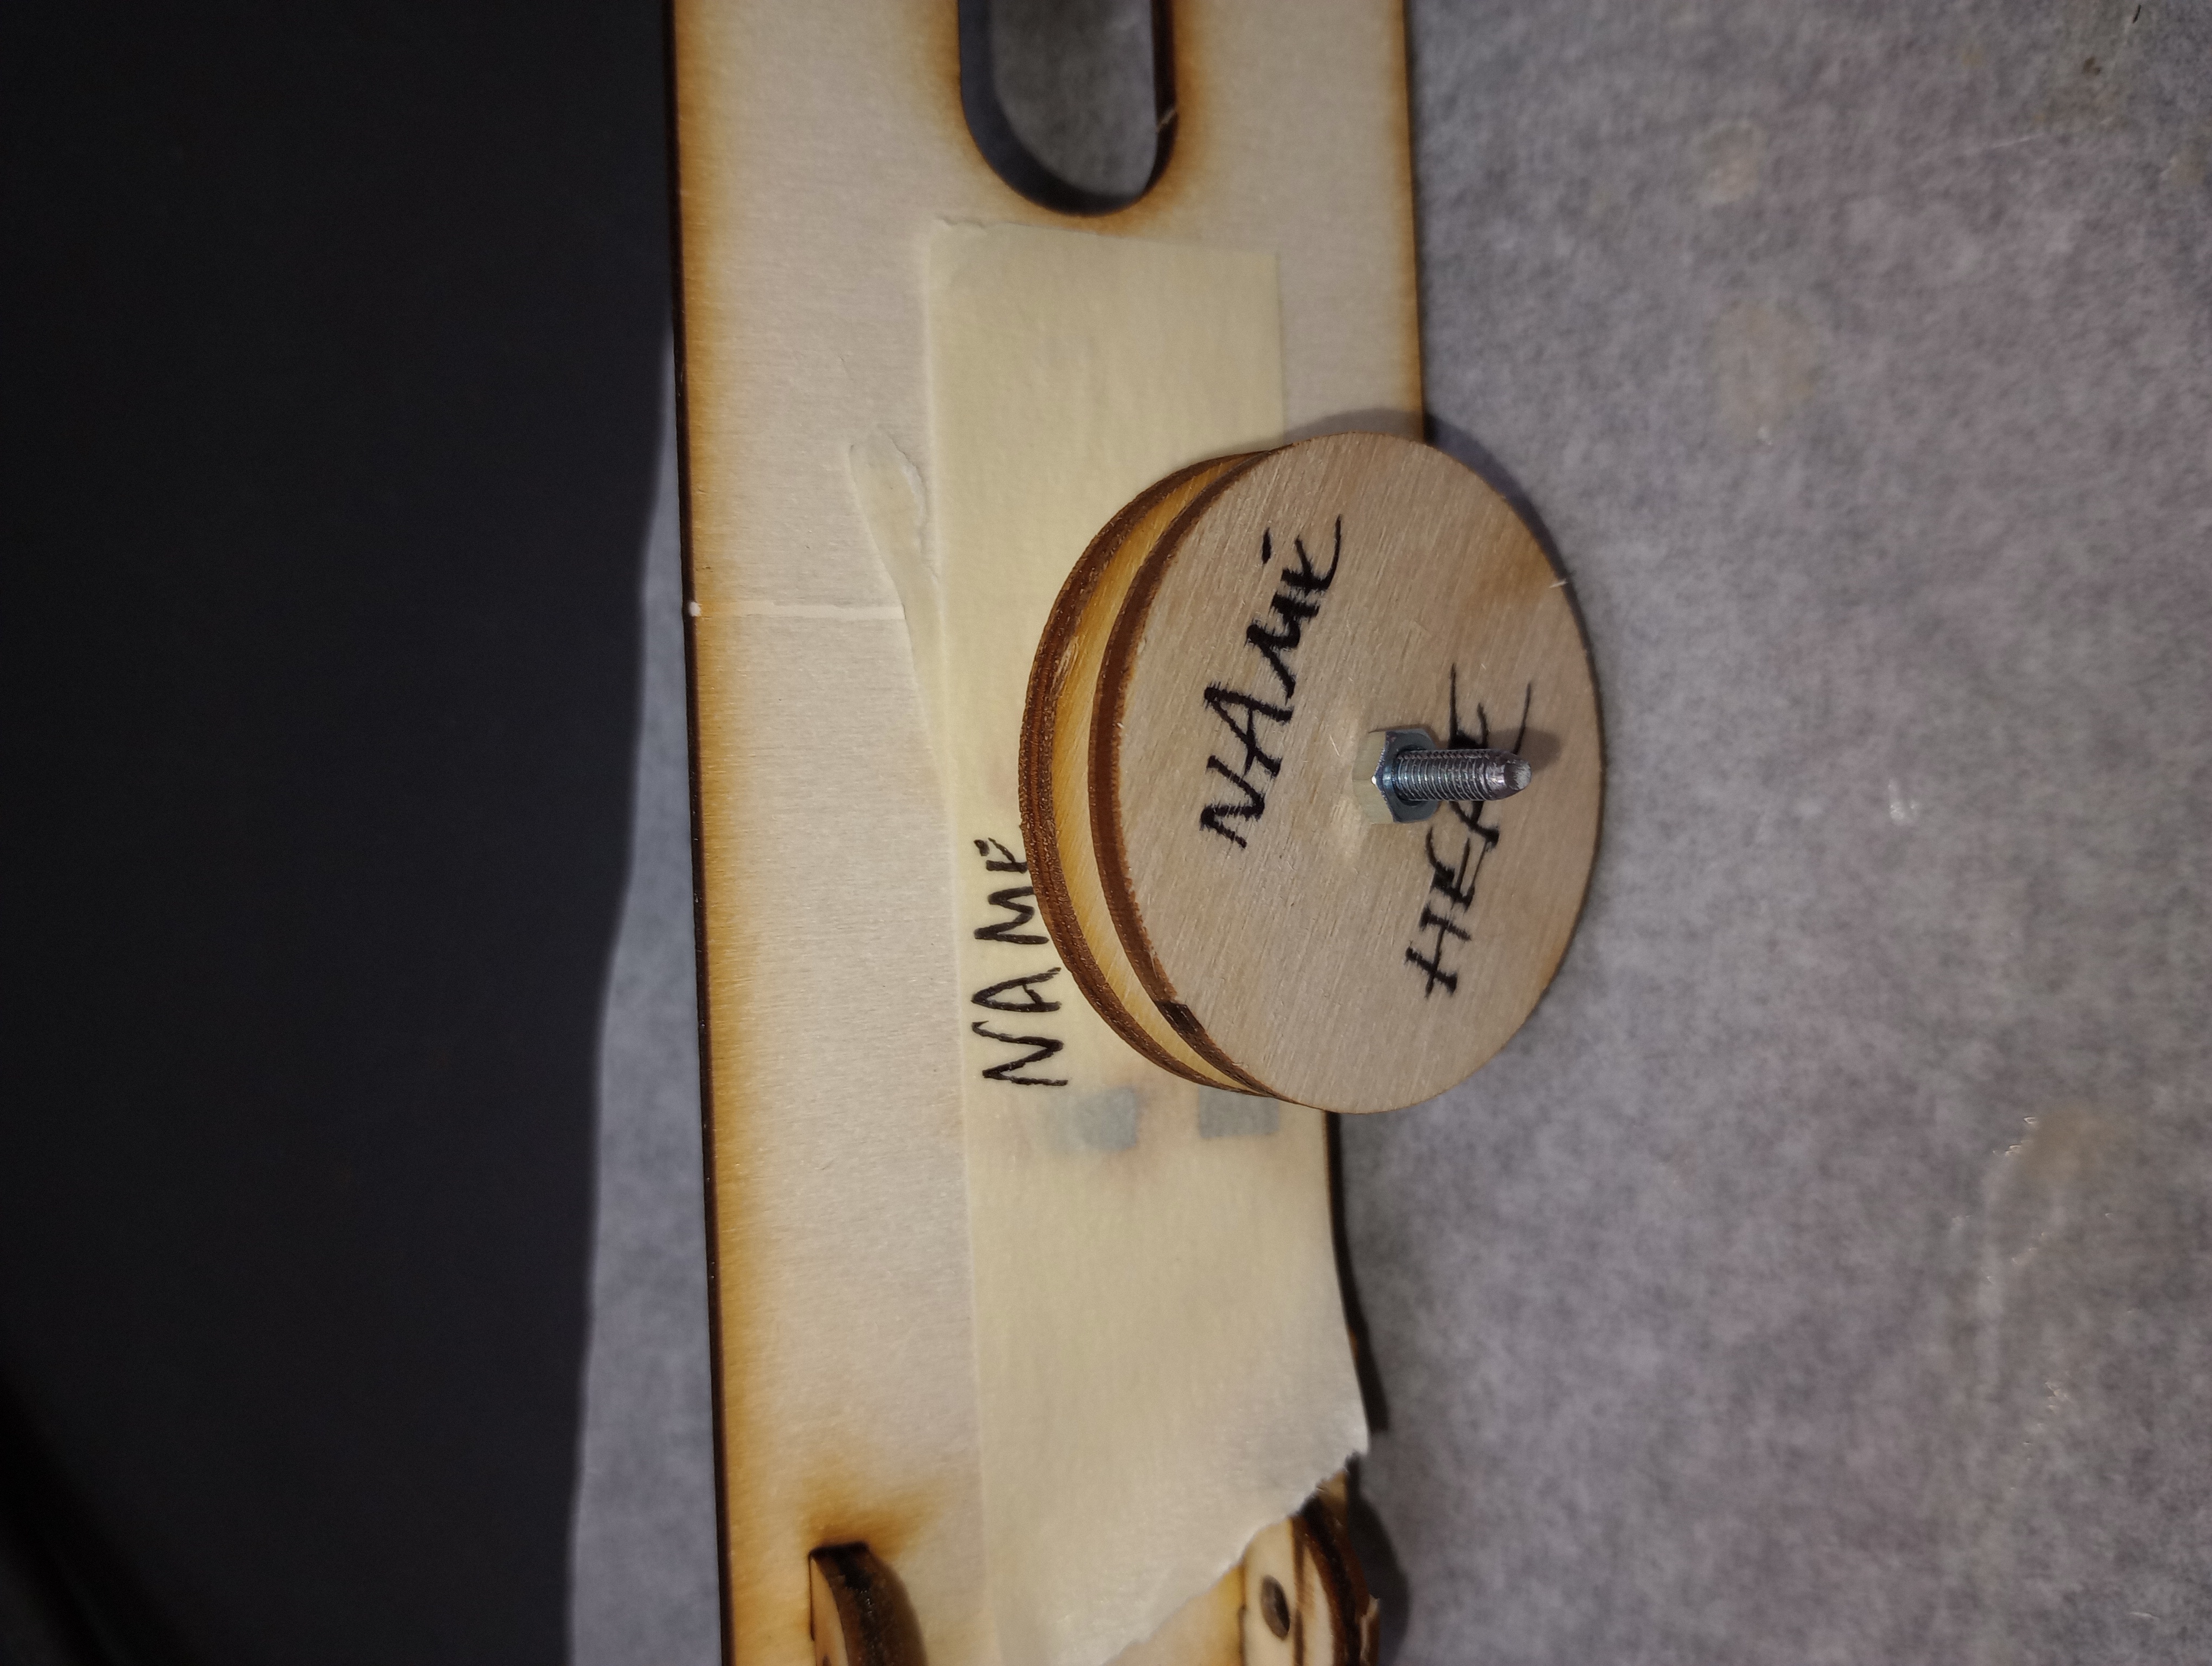
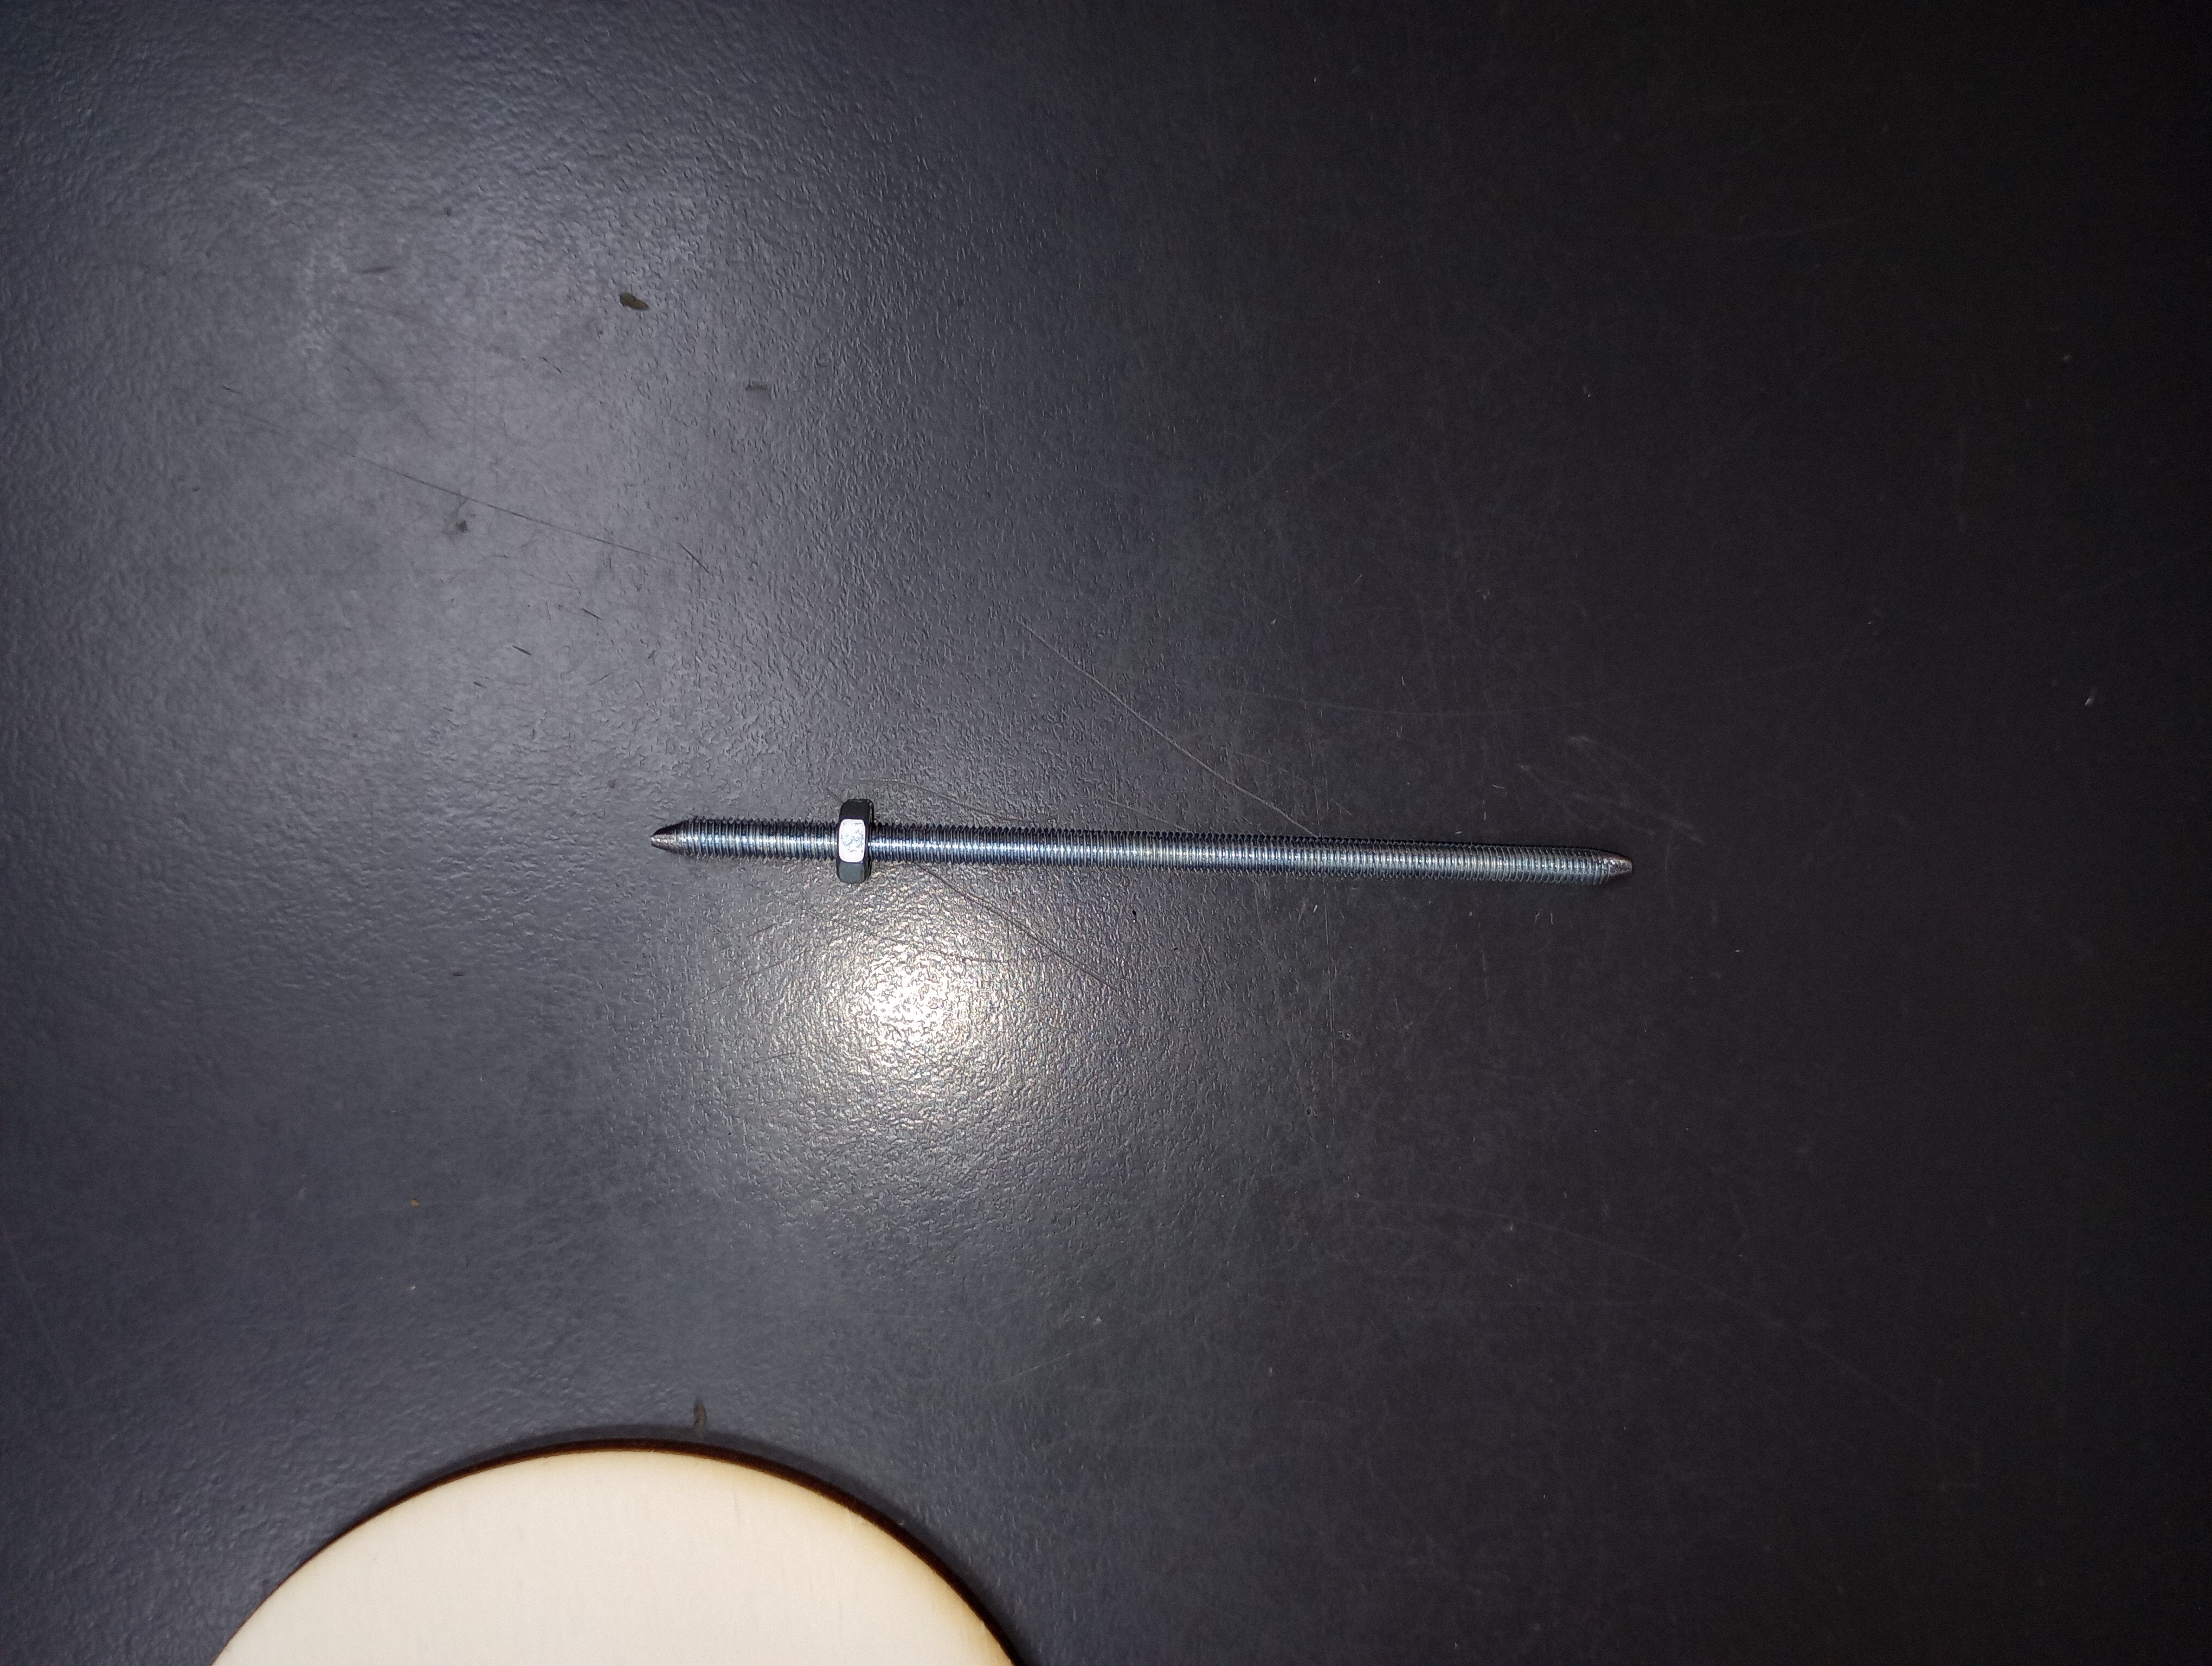
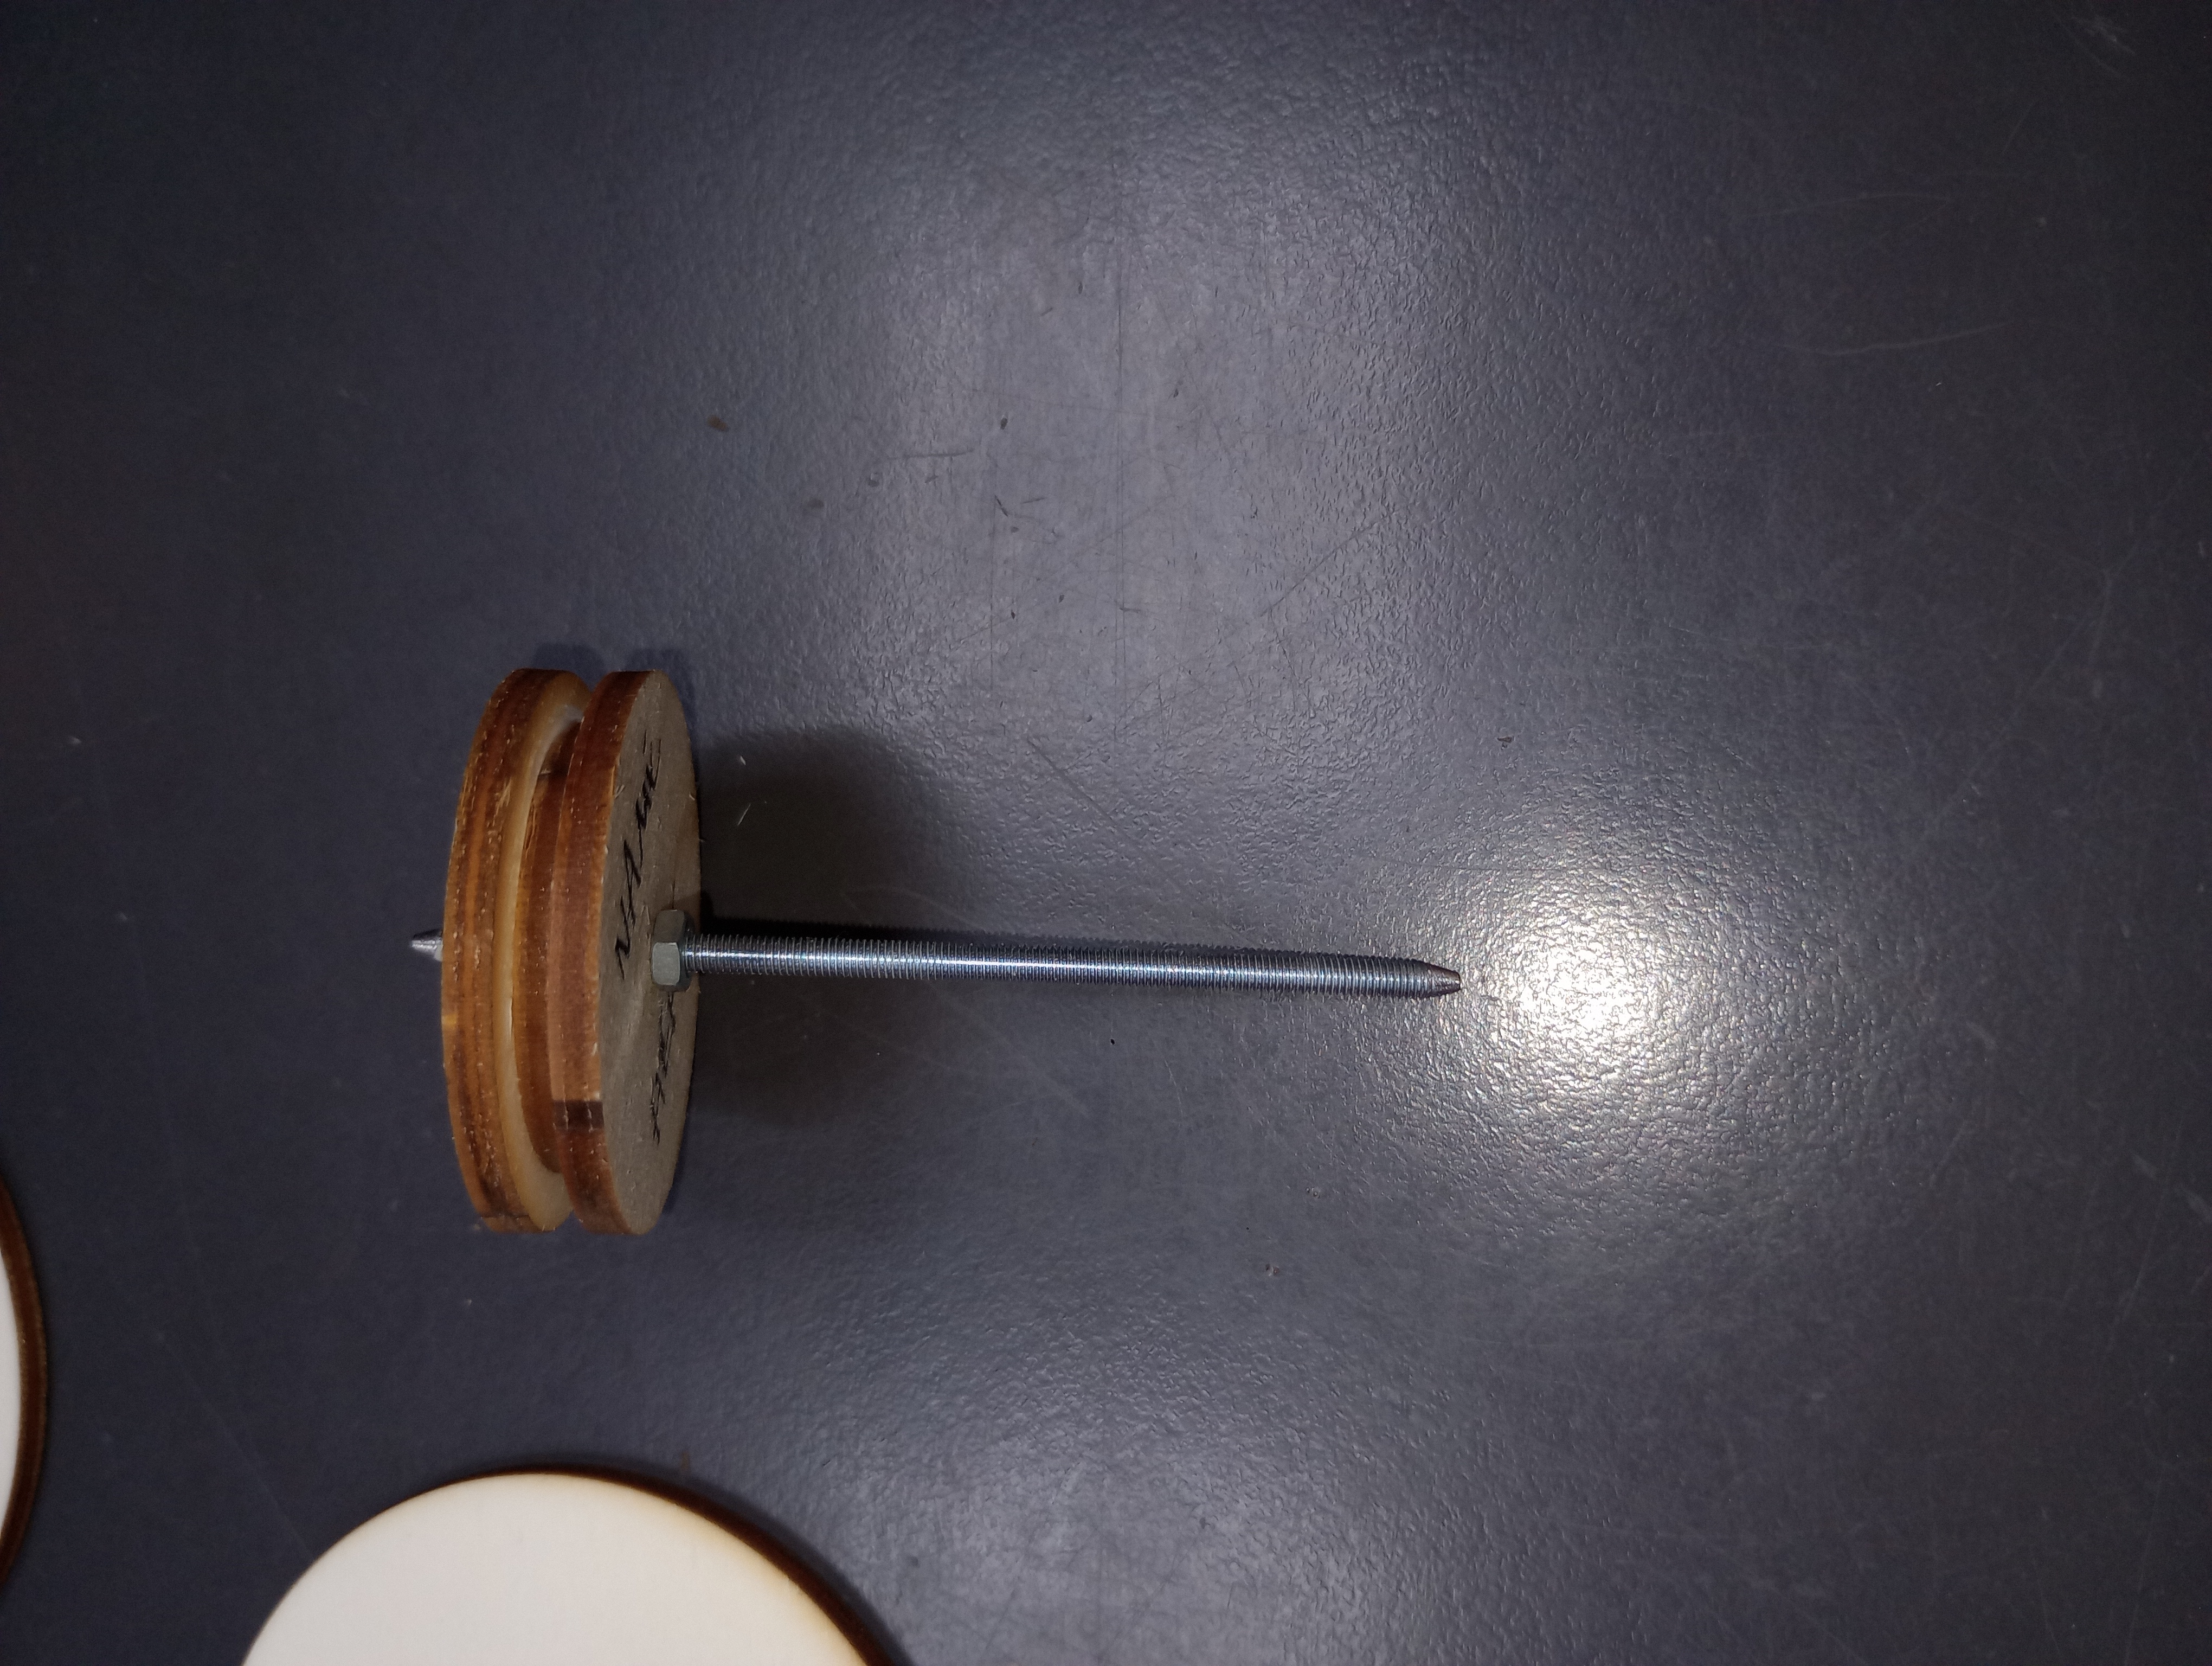
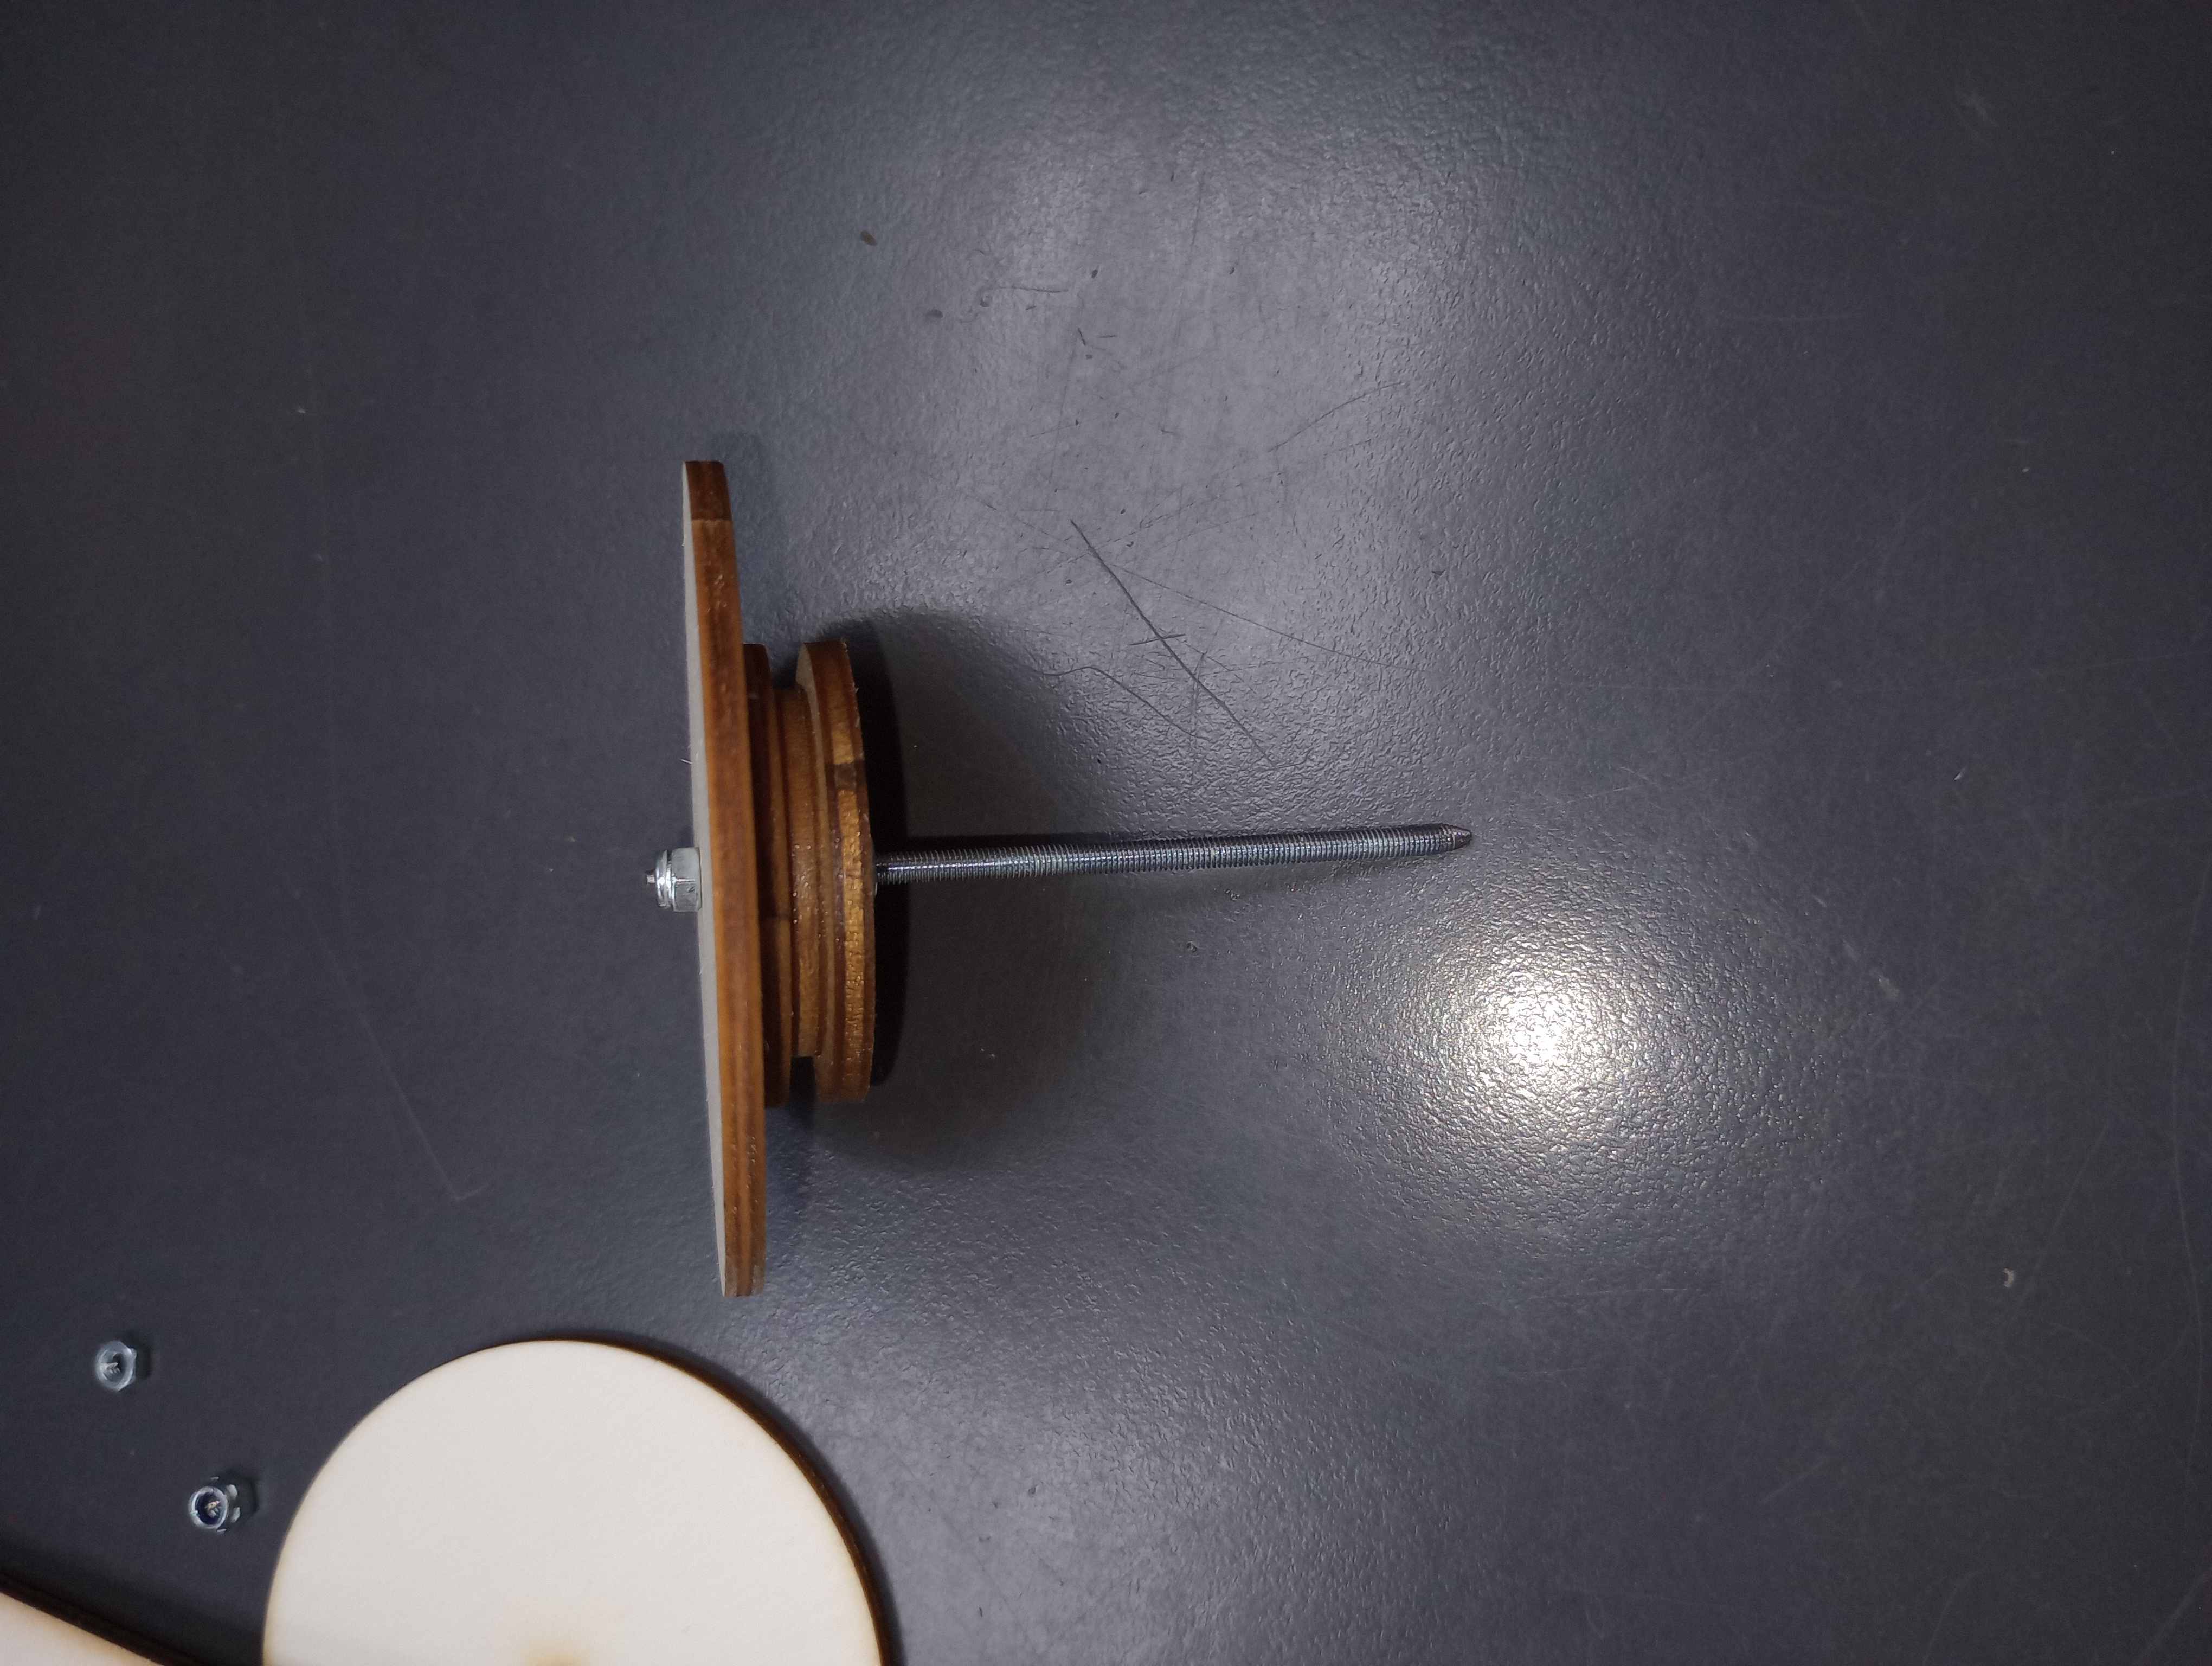
The three parts of the driven pulley need to be glued together. To help them keep aligned and pressed together we are going to glue them and feed them onto the front axle with some standard M3 nuts to hold them straight until next lesson. Make sure you write your name on the pulley. This can be straight on to the wood as you can install the pulley inside so you don't see it later.

Rear Axle and Pulley
- You will now need to remove the driven pulley from the front axle you glued earlier and check you have all the parts below.
Wind down a normal nut approximately 20mm.
- Add the pulley - name out or in; up to you!
Add the rear wheel.
Add a Nyloc to the end of the axle and tighten the normal nut on to the wood of the rear wheel.
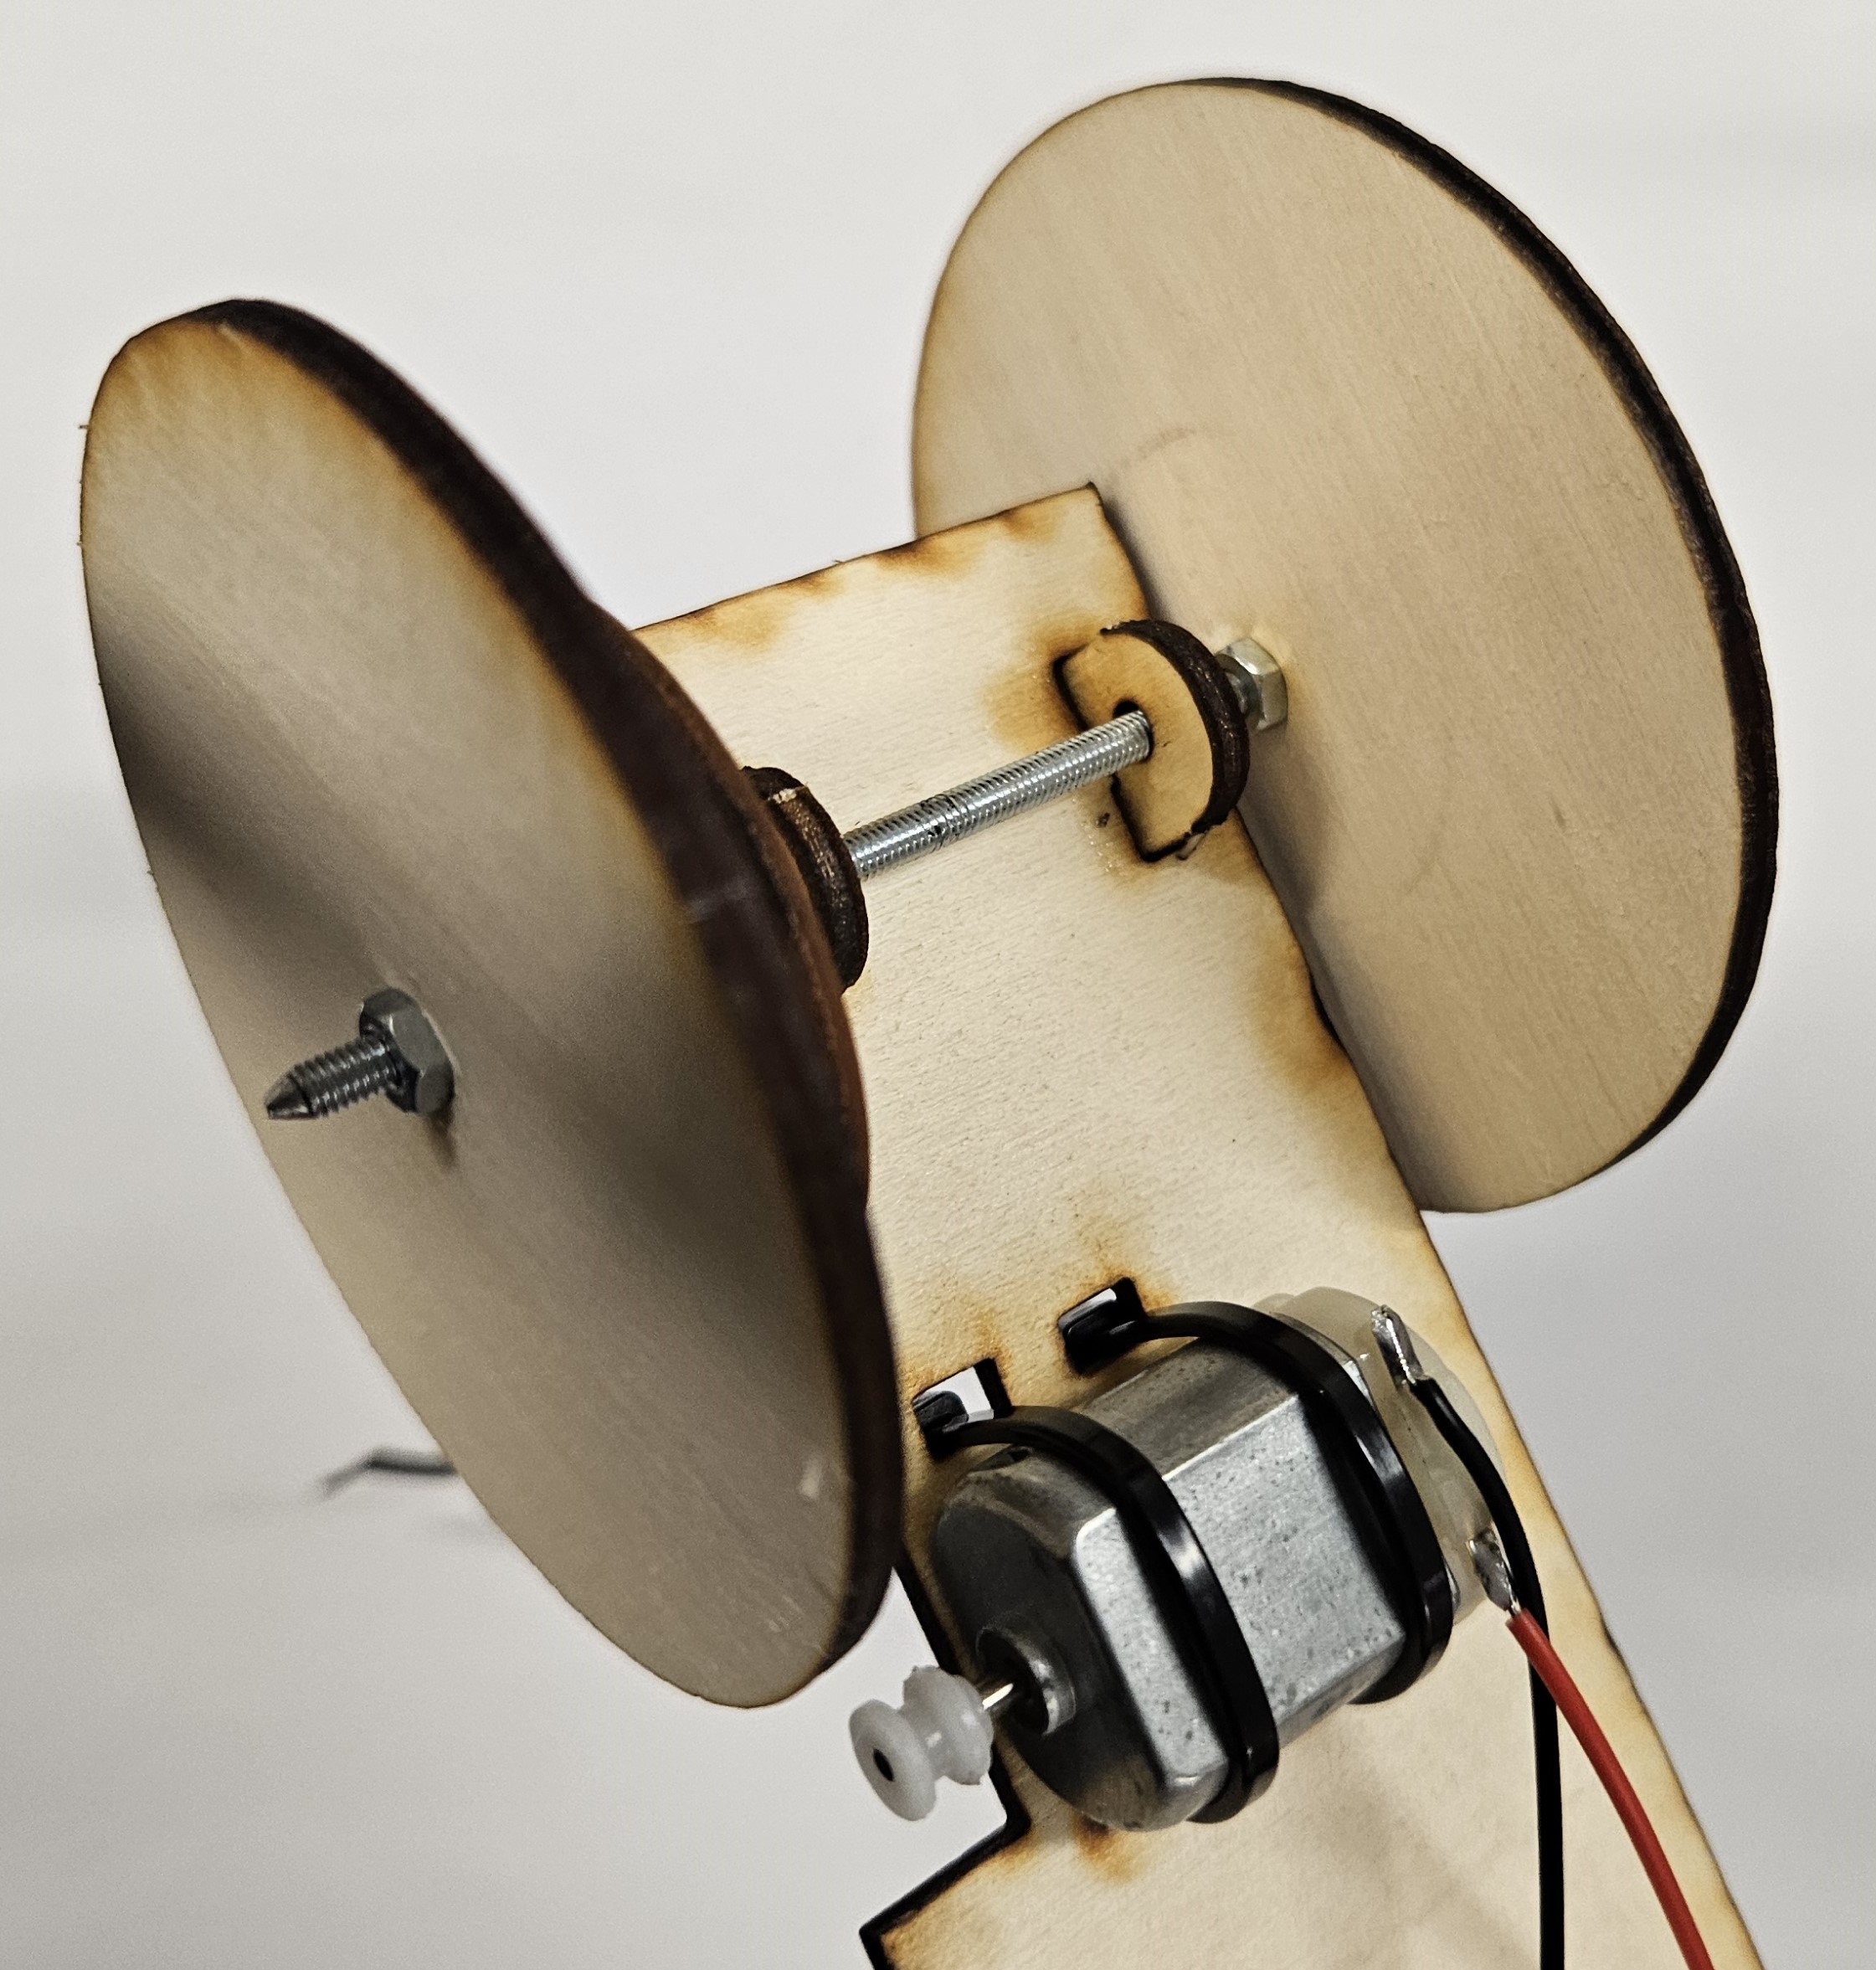
Then slide the axle through the axle mounts.
Add another normal nut to be level with the side of the chassis.
Add the final rear wheel and a Nyloc to the end of the axle.
Final checks. - does the pulley spin at the same time as the wheel it is attached to? Does the wheels/axle assembly spin freely? If not tighten the normal nuts onto the wood of the wheels.
Front Axle Mounts
- The front axle follows a different process.
- First, remove the 2 nuts previously put on the axles.
- Now feed the axle through one side and place a nut on the one end.
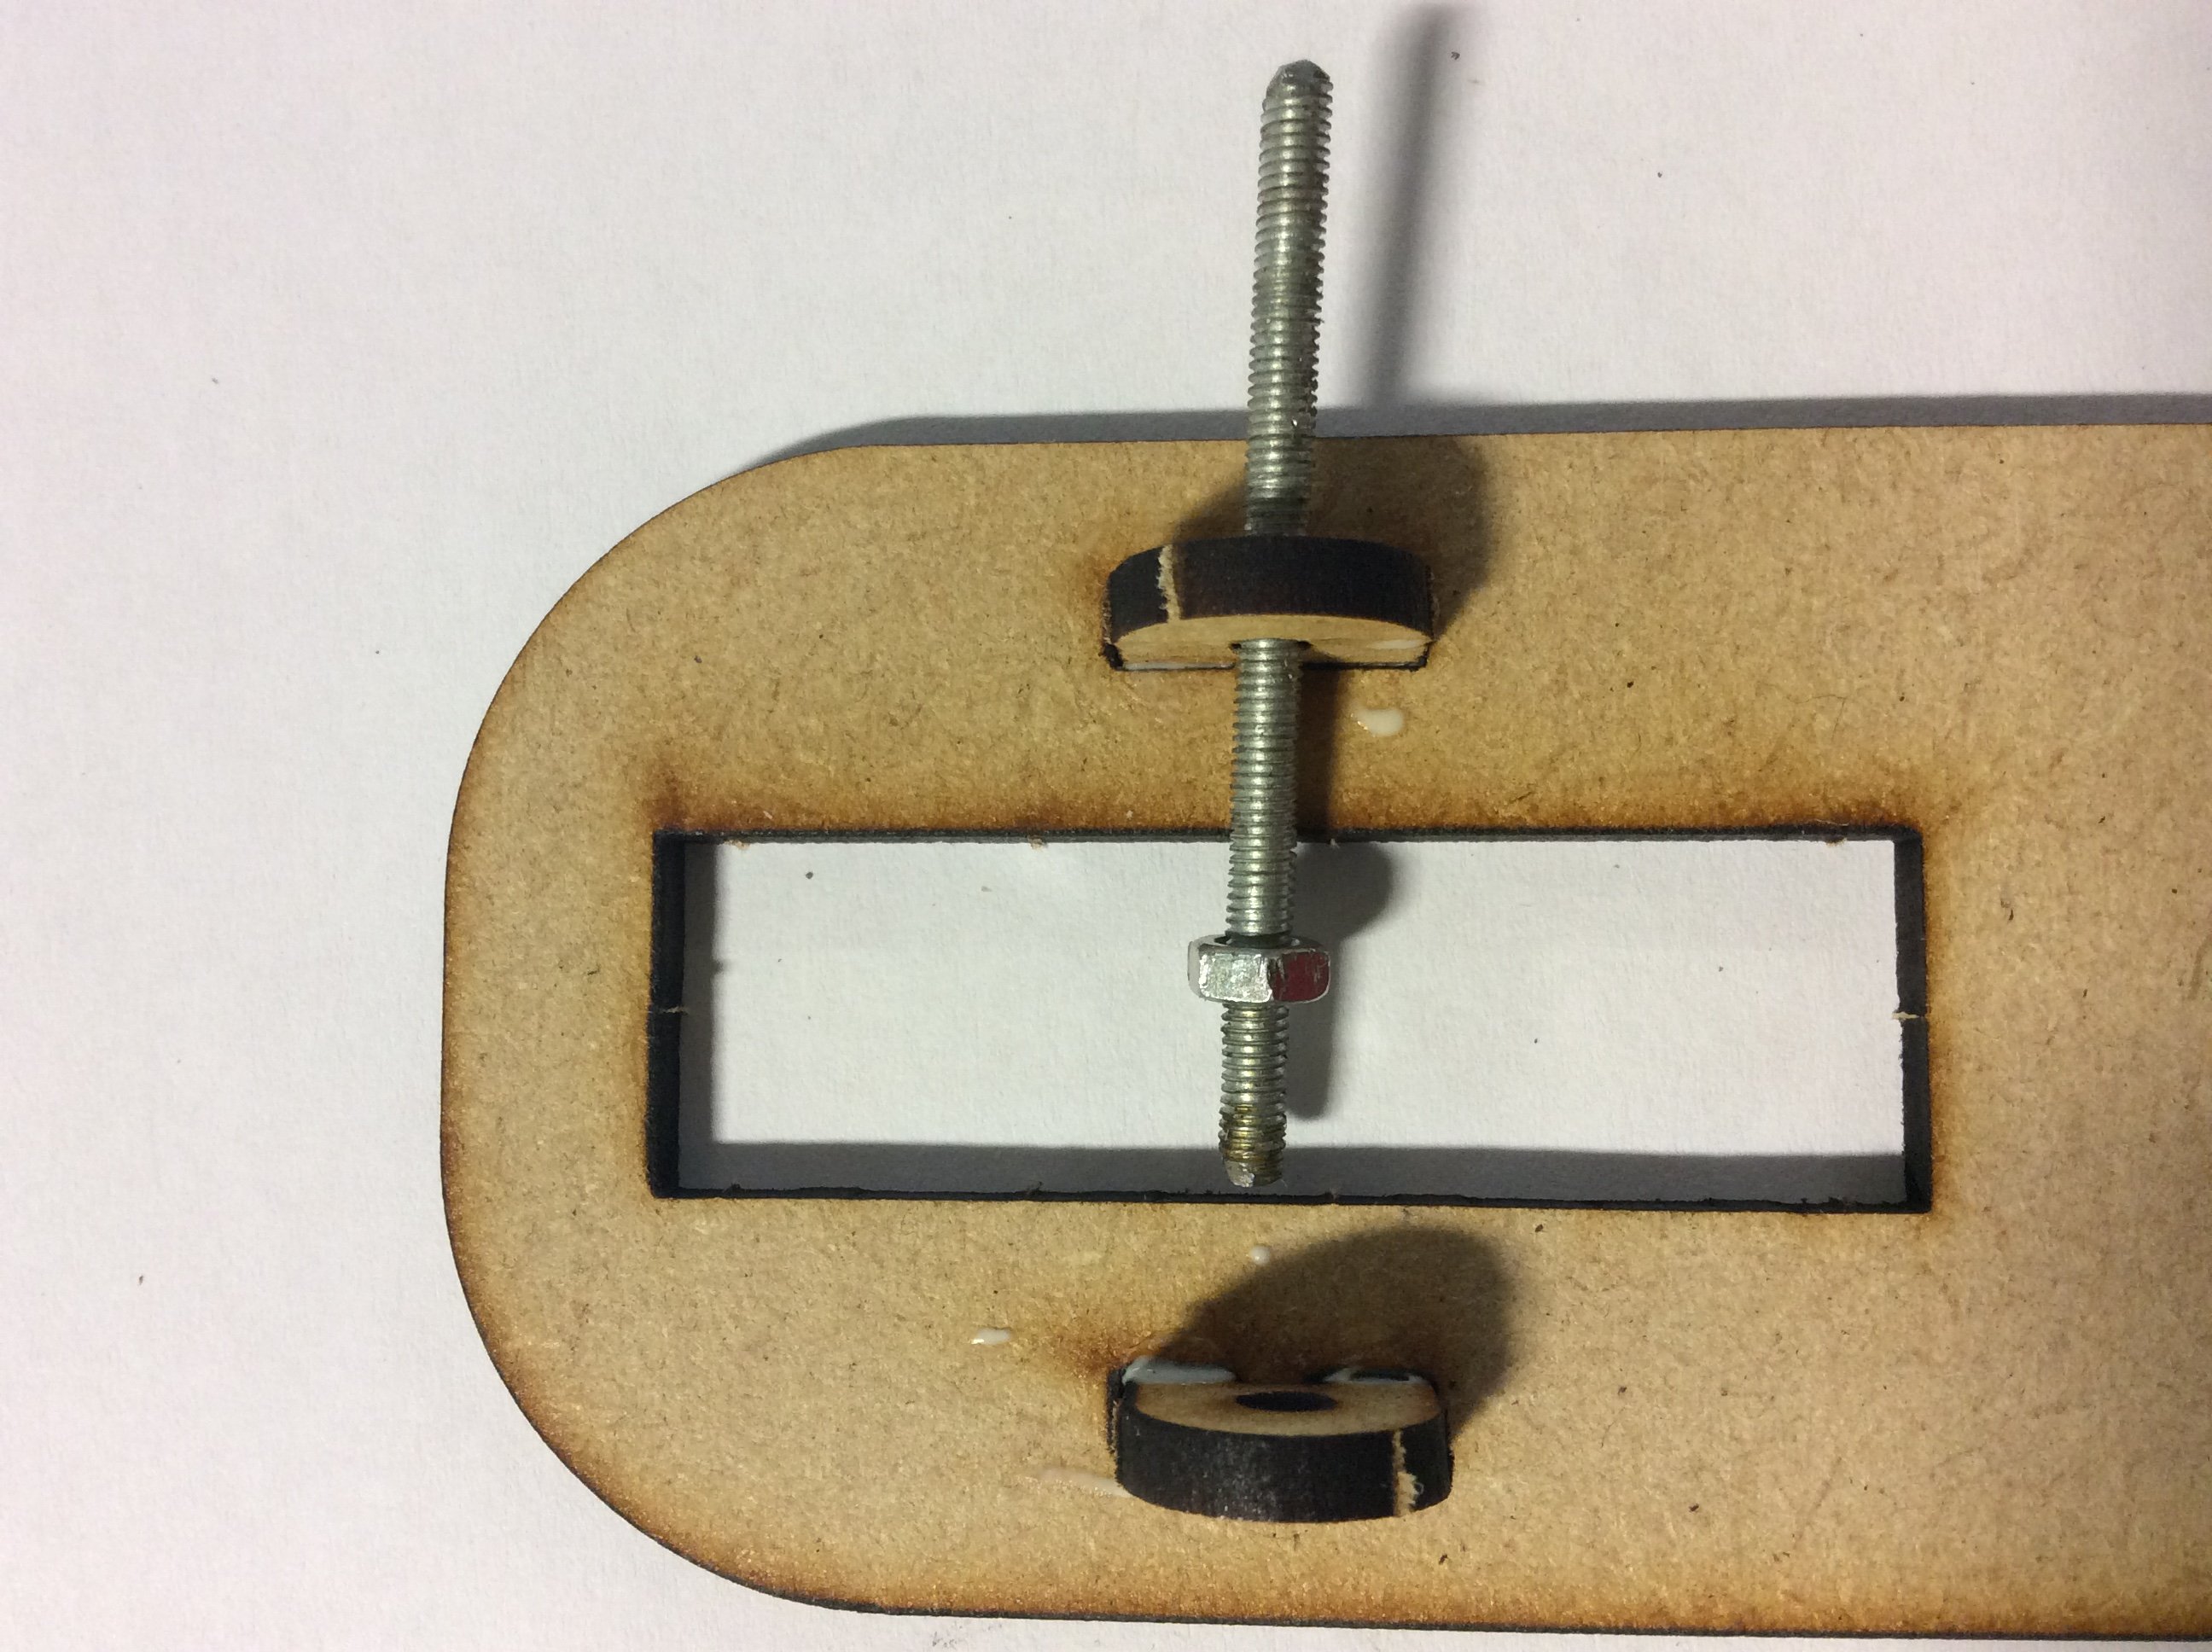
- Now slide the wheel between the axle and the hole provided. and place a nut on the other side.
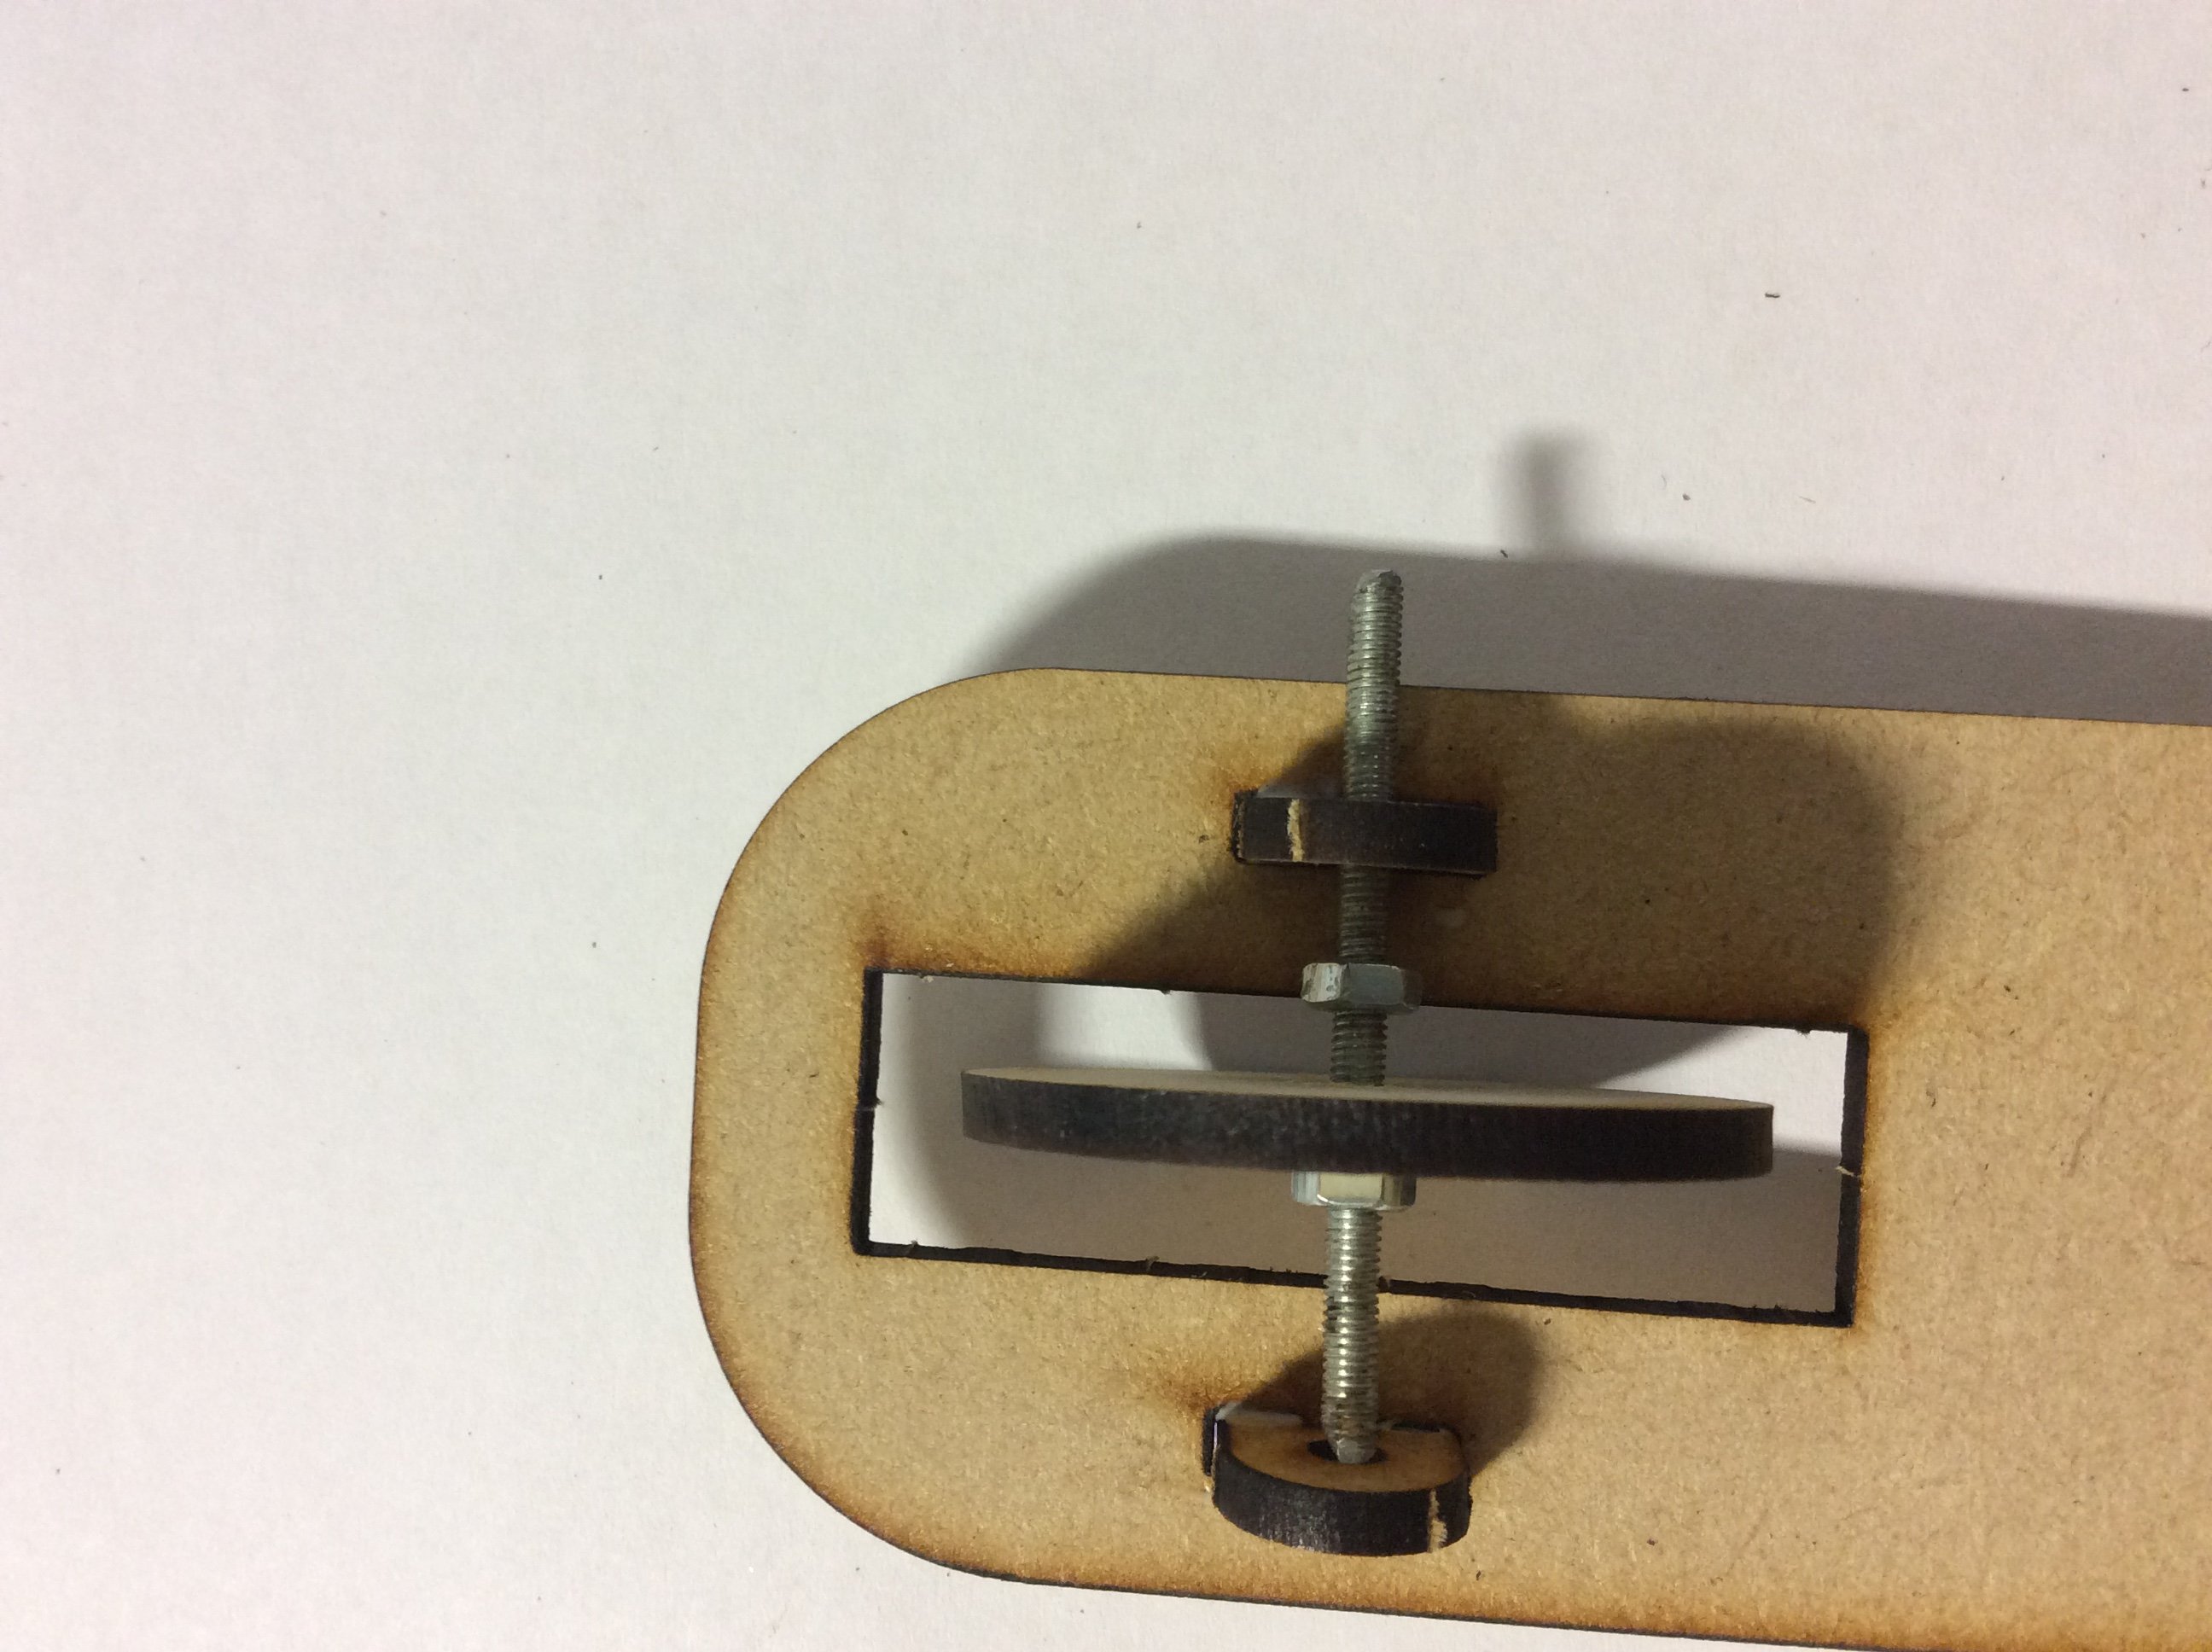
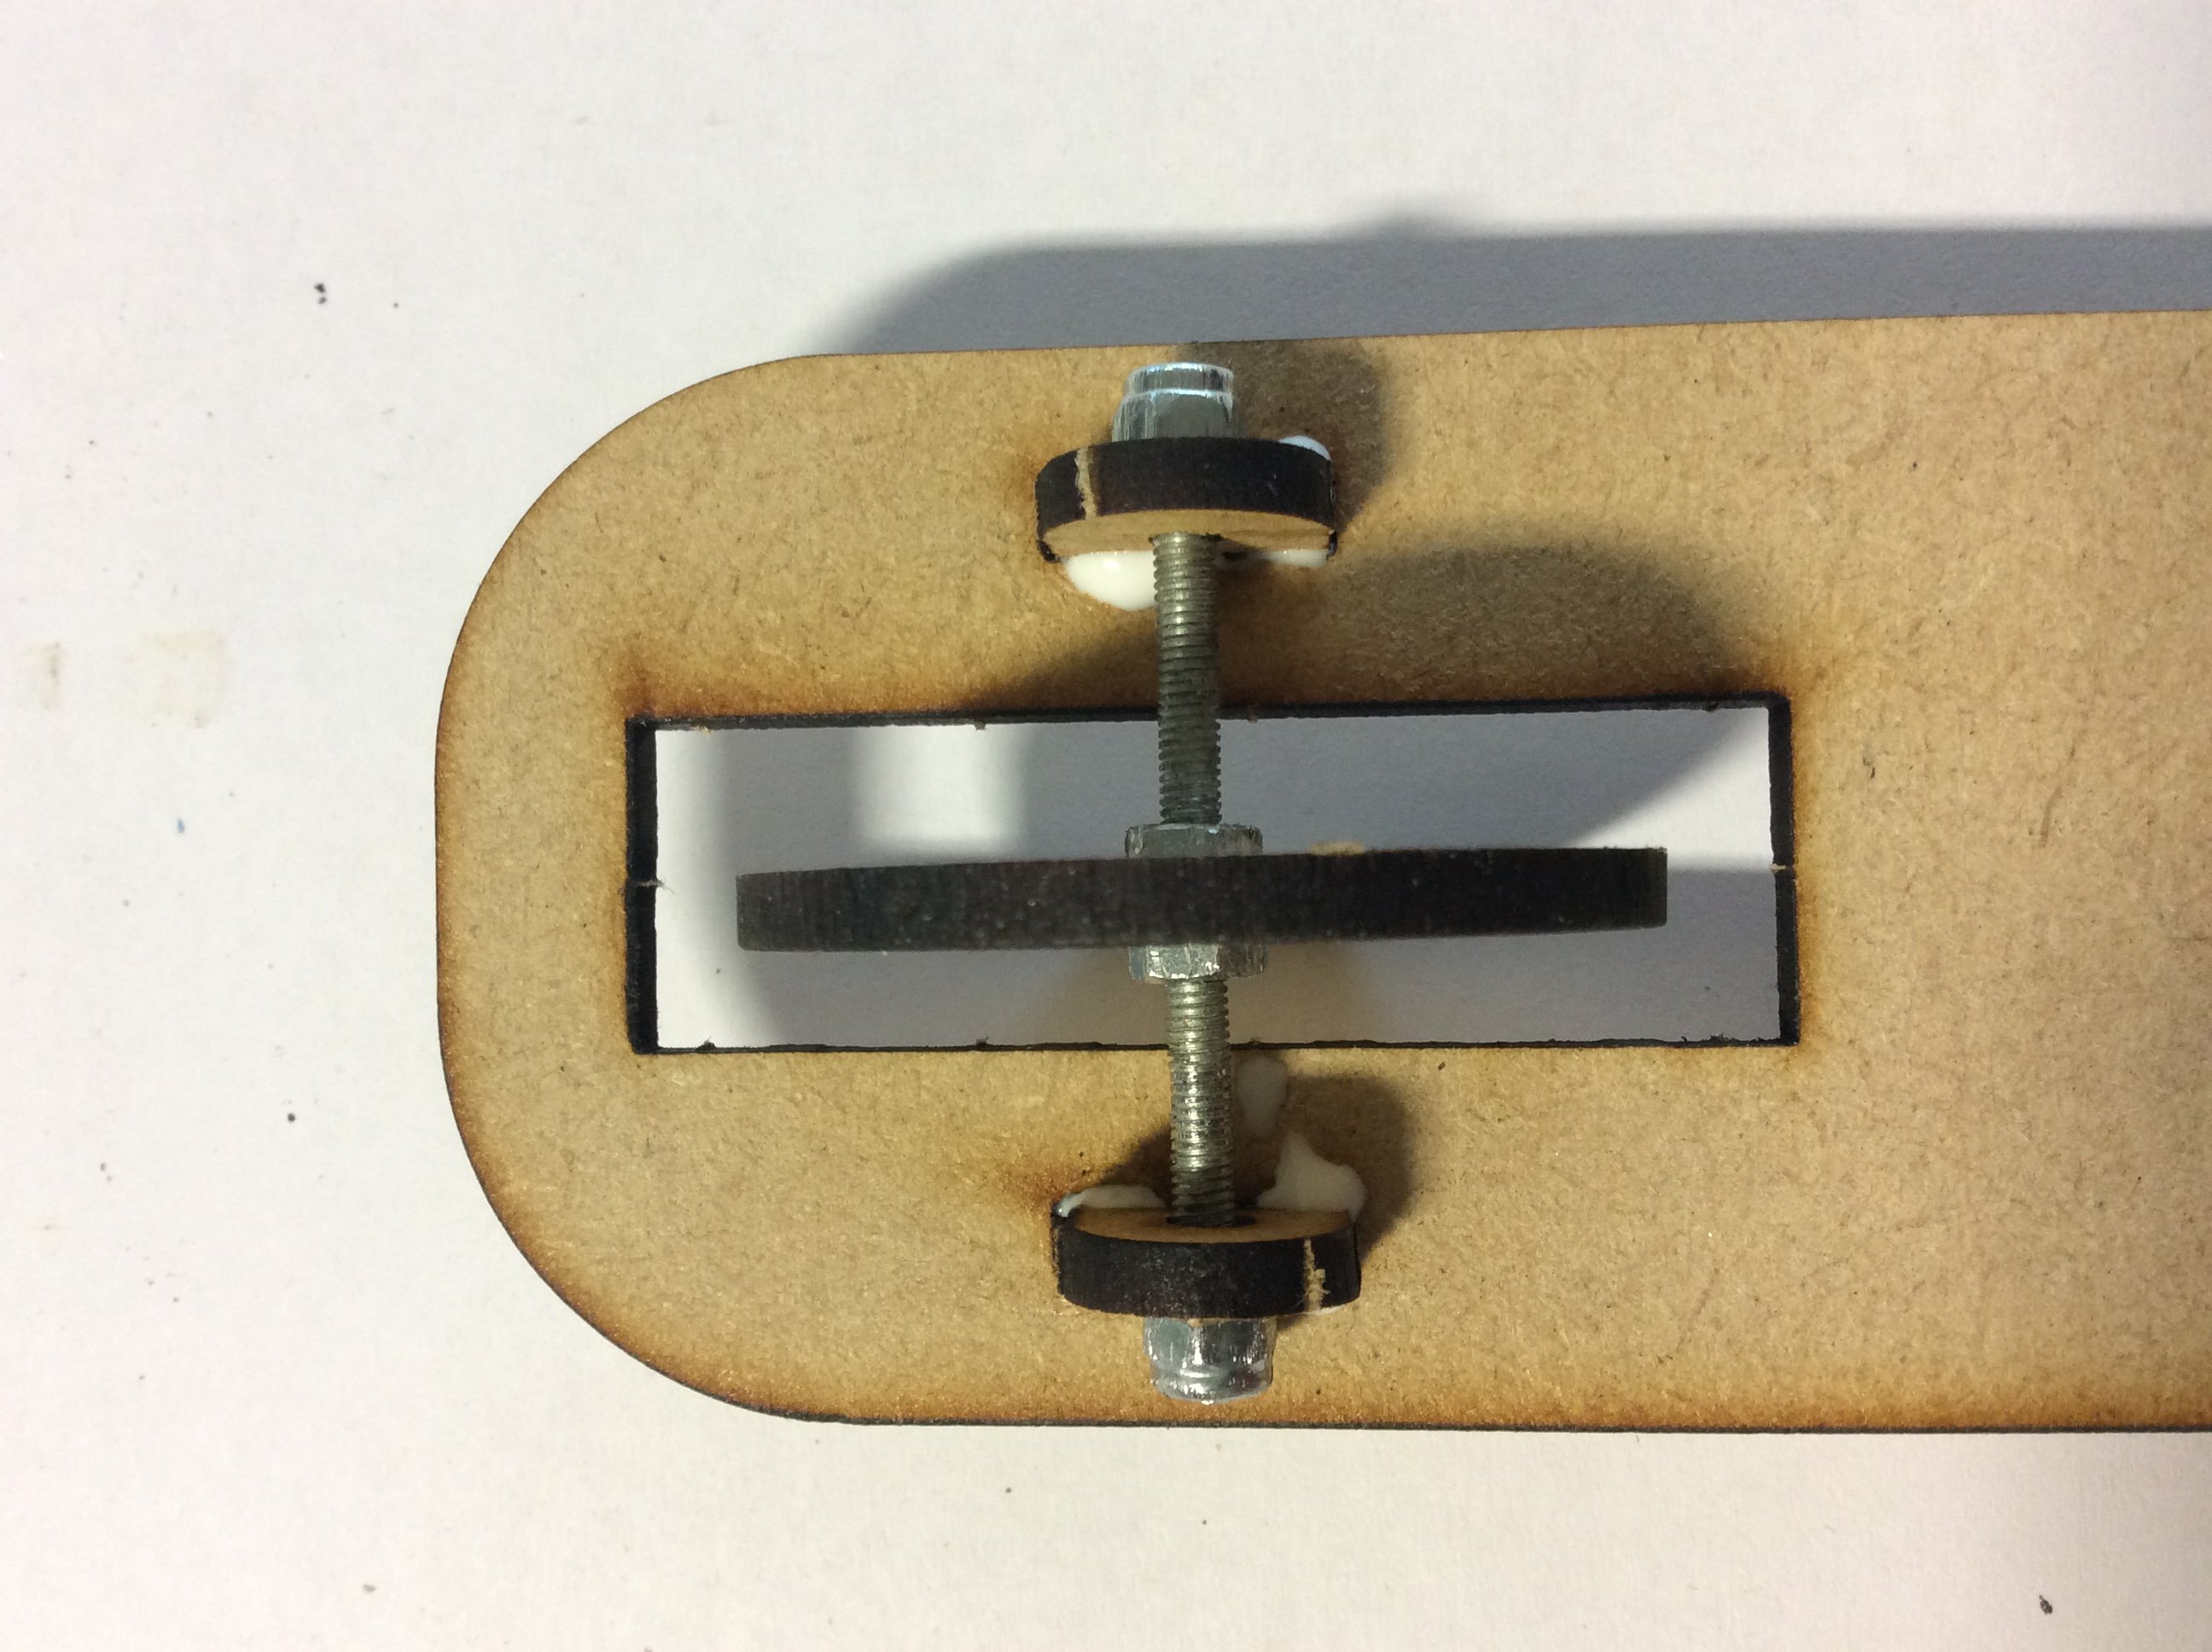
- Now tighten the nut onto either side of the wheel, ensuring it is in the centre.
- Now add a 'nylock' nut to either side of the axle mounts.
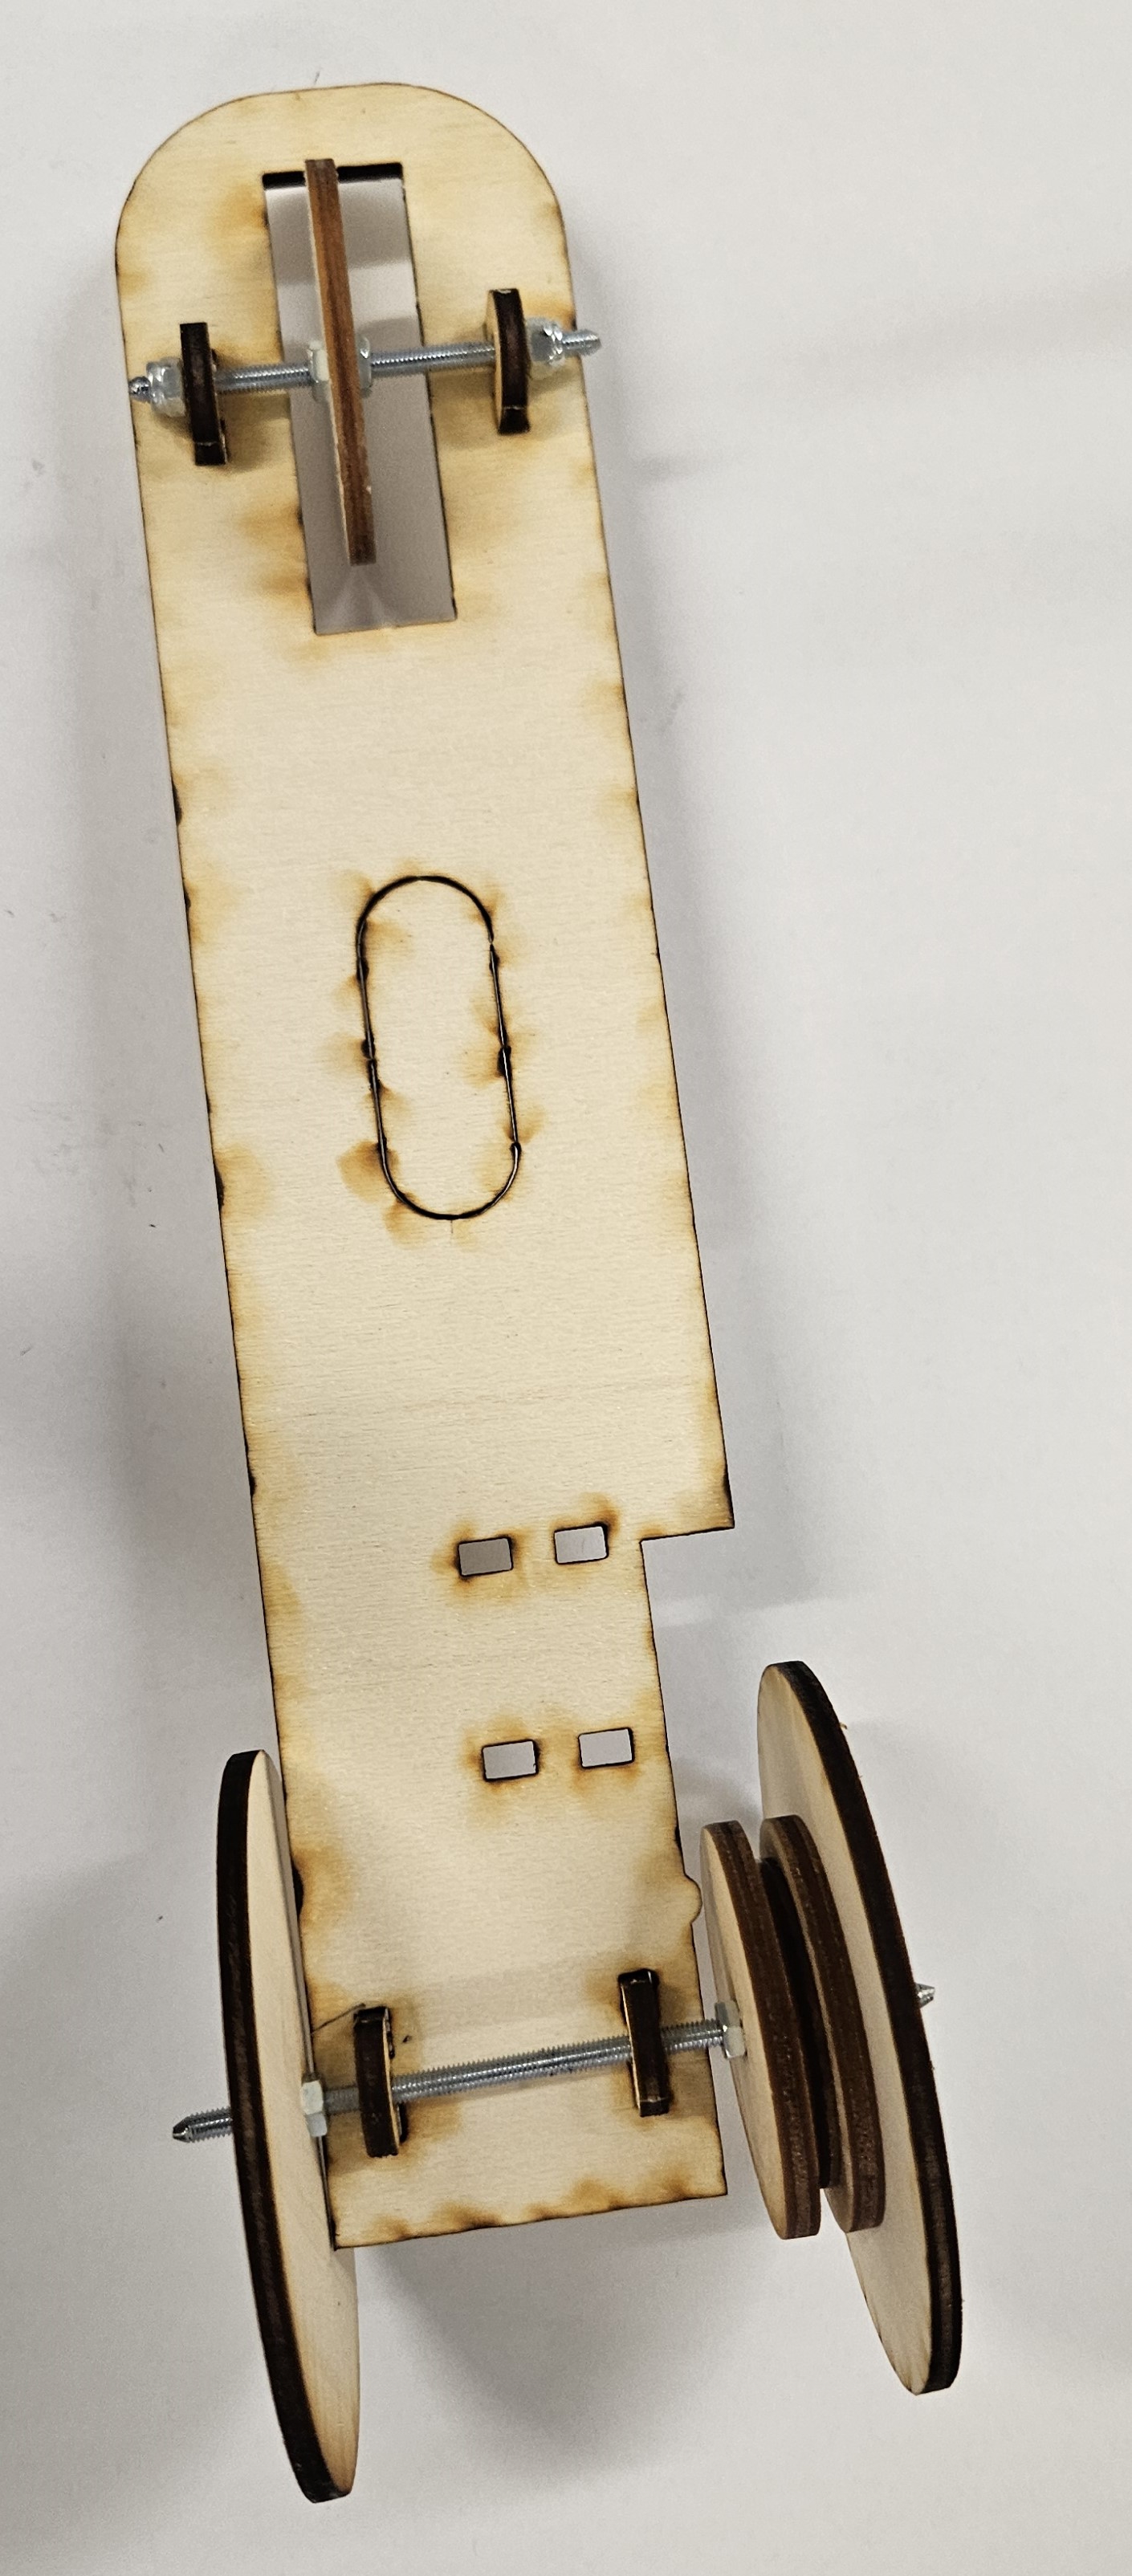
- Your completed chassis should now look like this.
Drive pulley
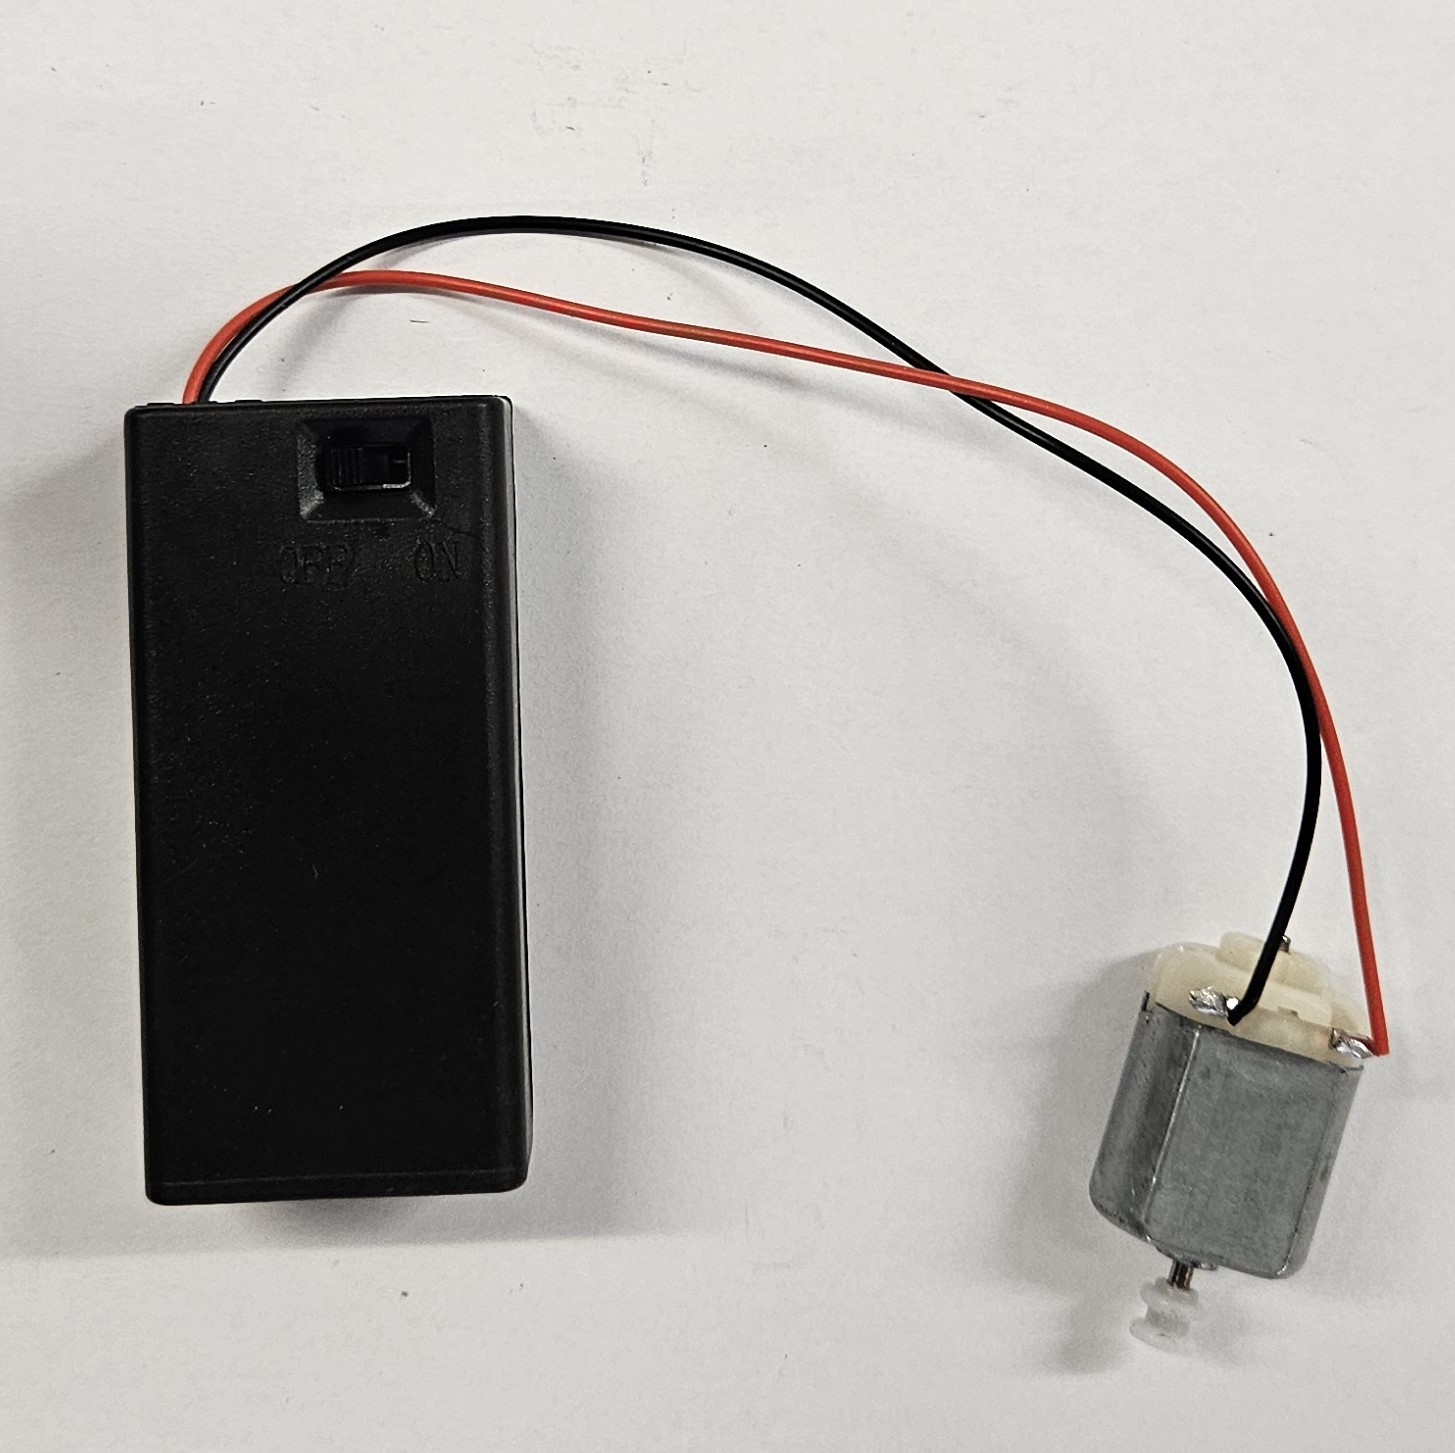
- Now put the motor together and mount it to the chassis.
- First, you will need to solder the battery holder to the motor.
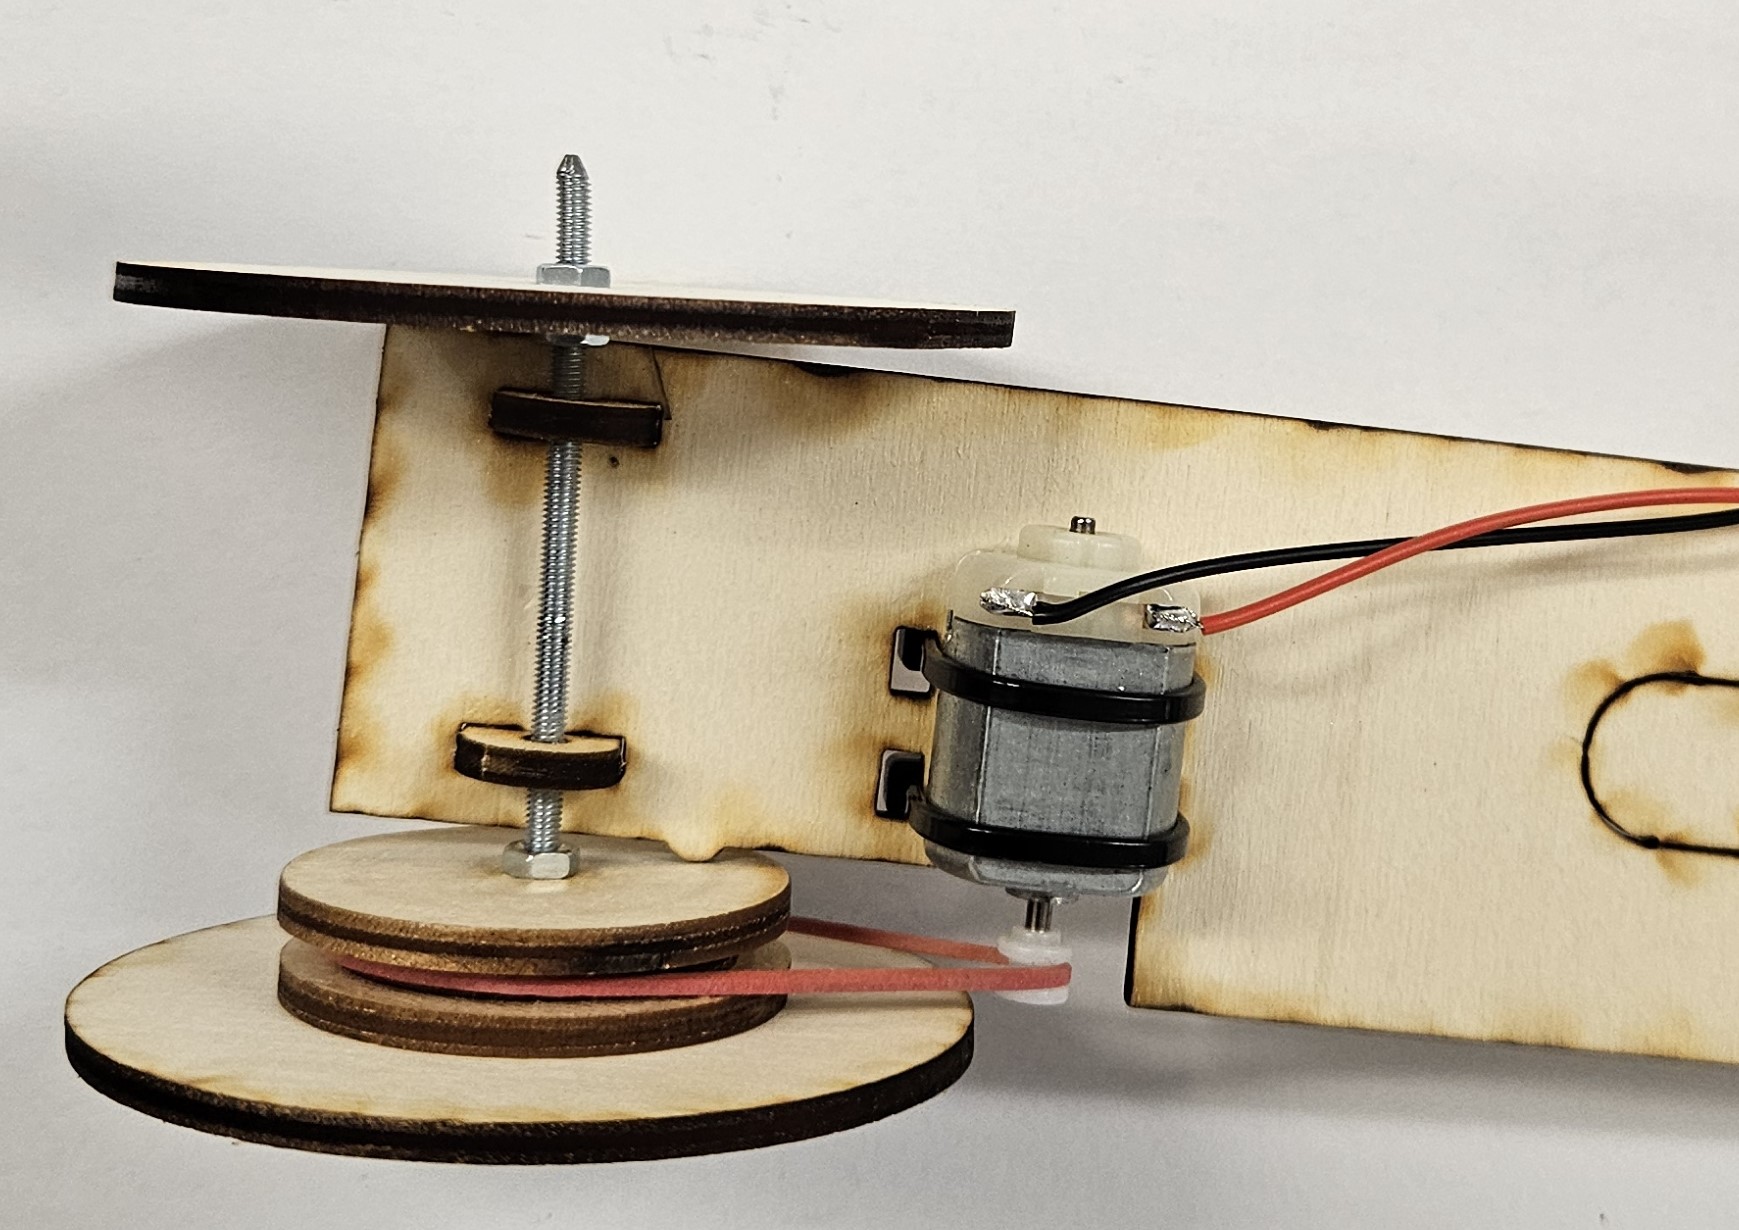
- Now fit the front pulley by pushing them onto the motor. Place the back of the motor on the table to prevent the rotor pushing through the housing.
- Make sure the pulley do not touch the motor, or it will not turn.
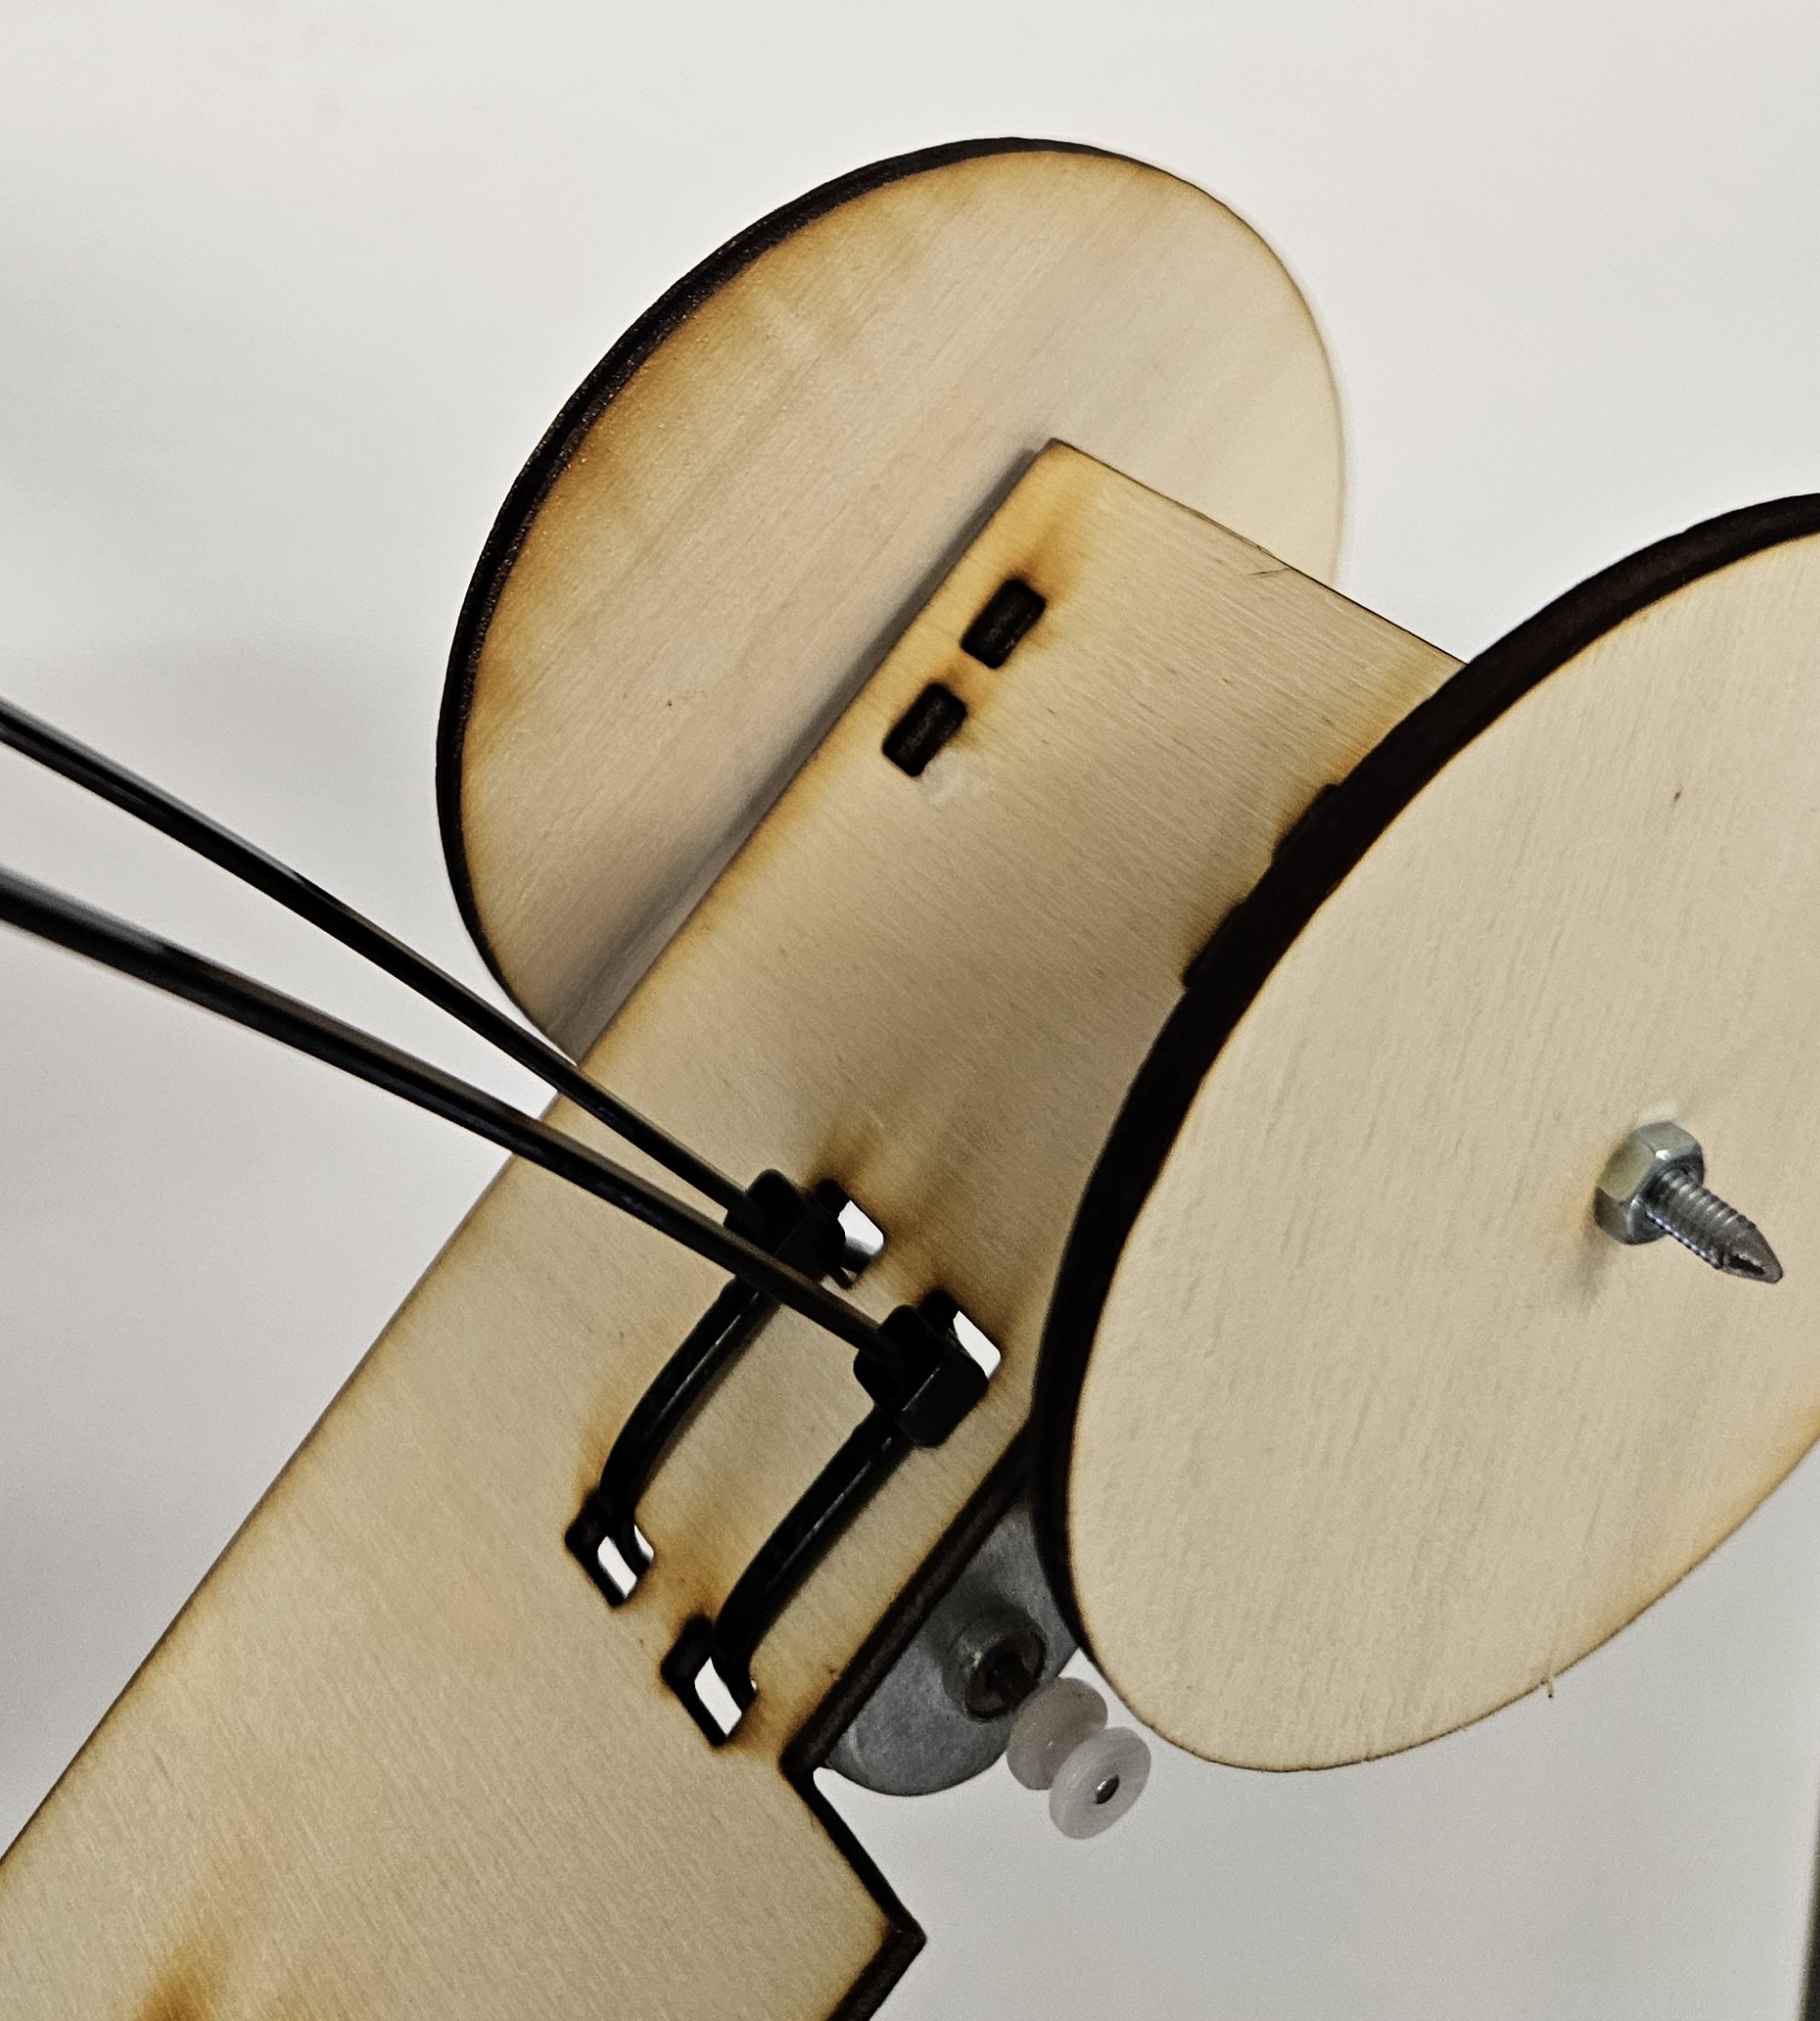
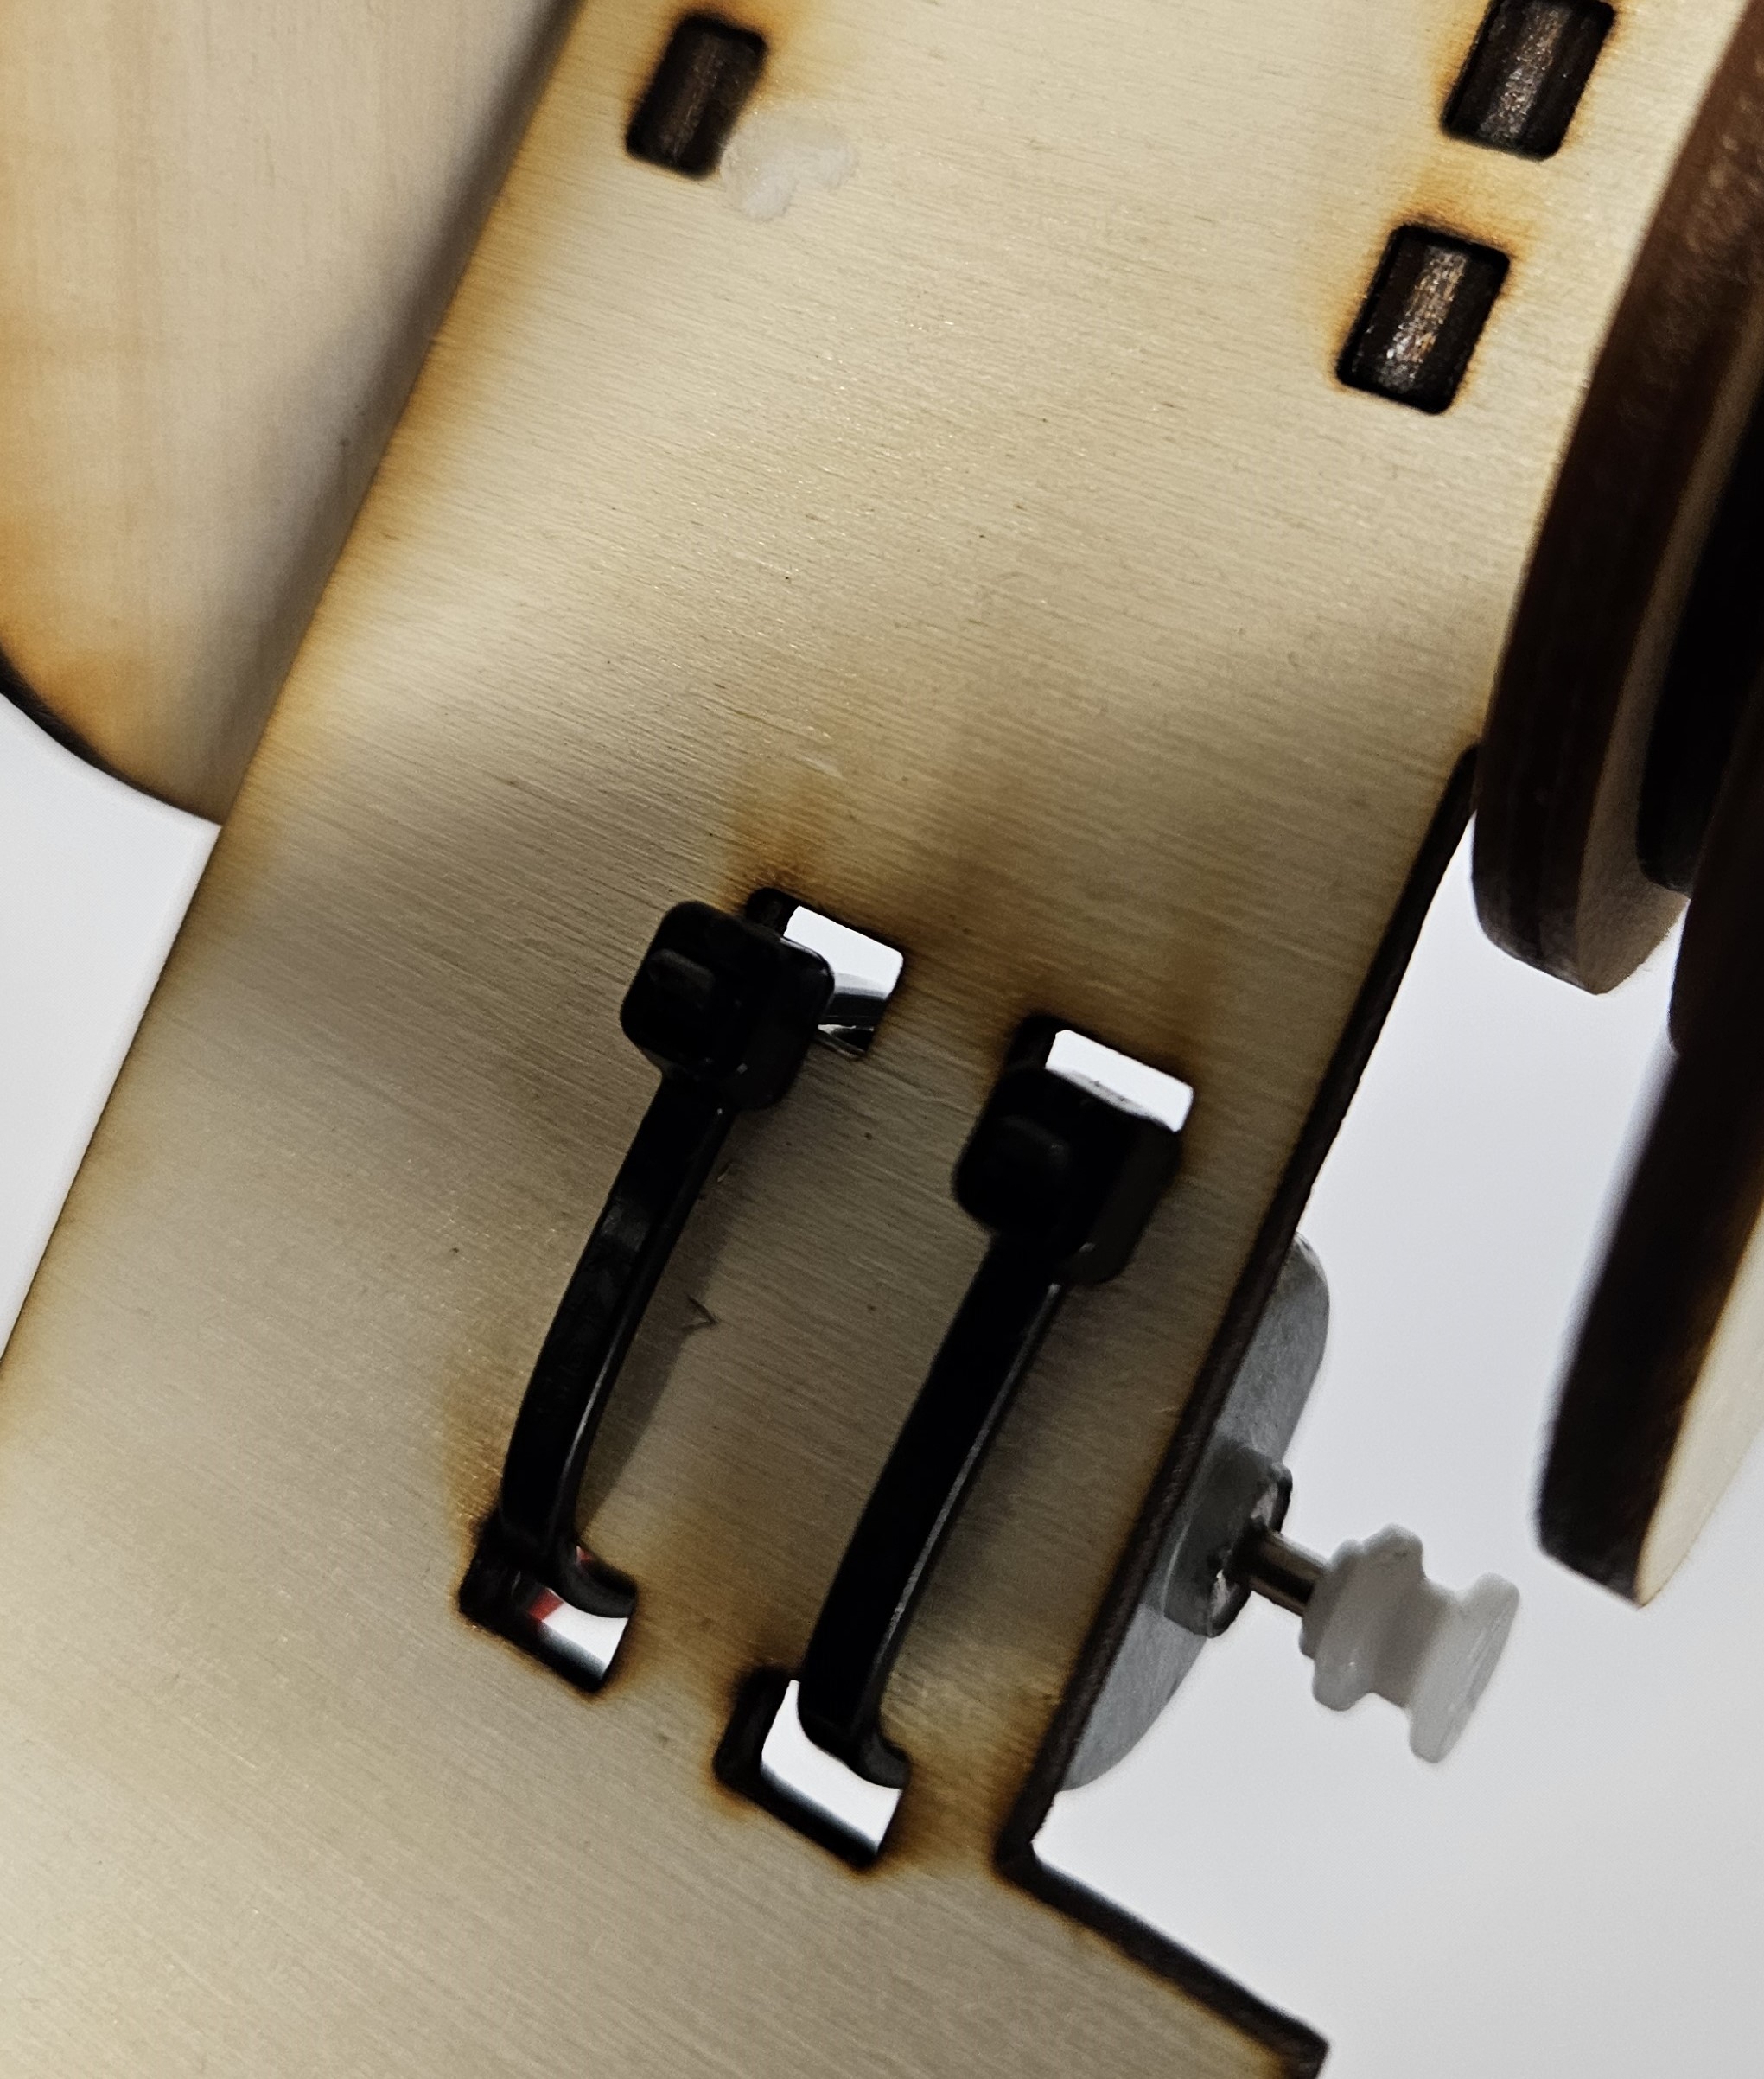
- You can now cable tie the motor in place.
Motor mount
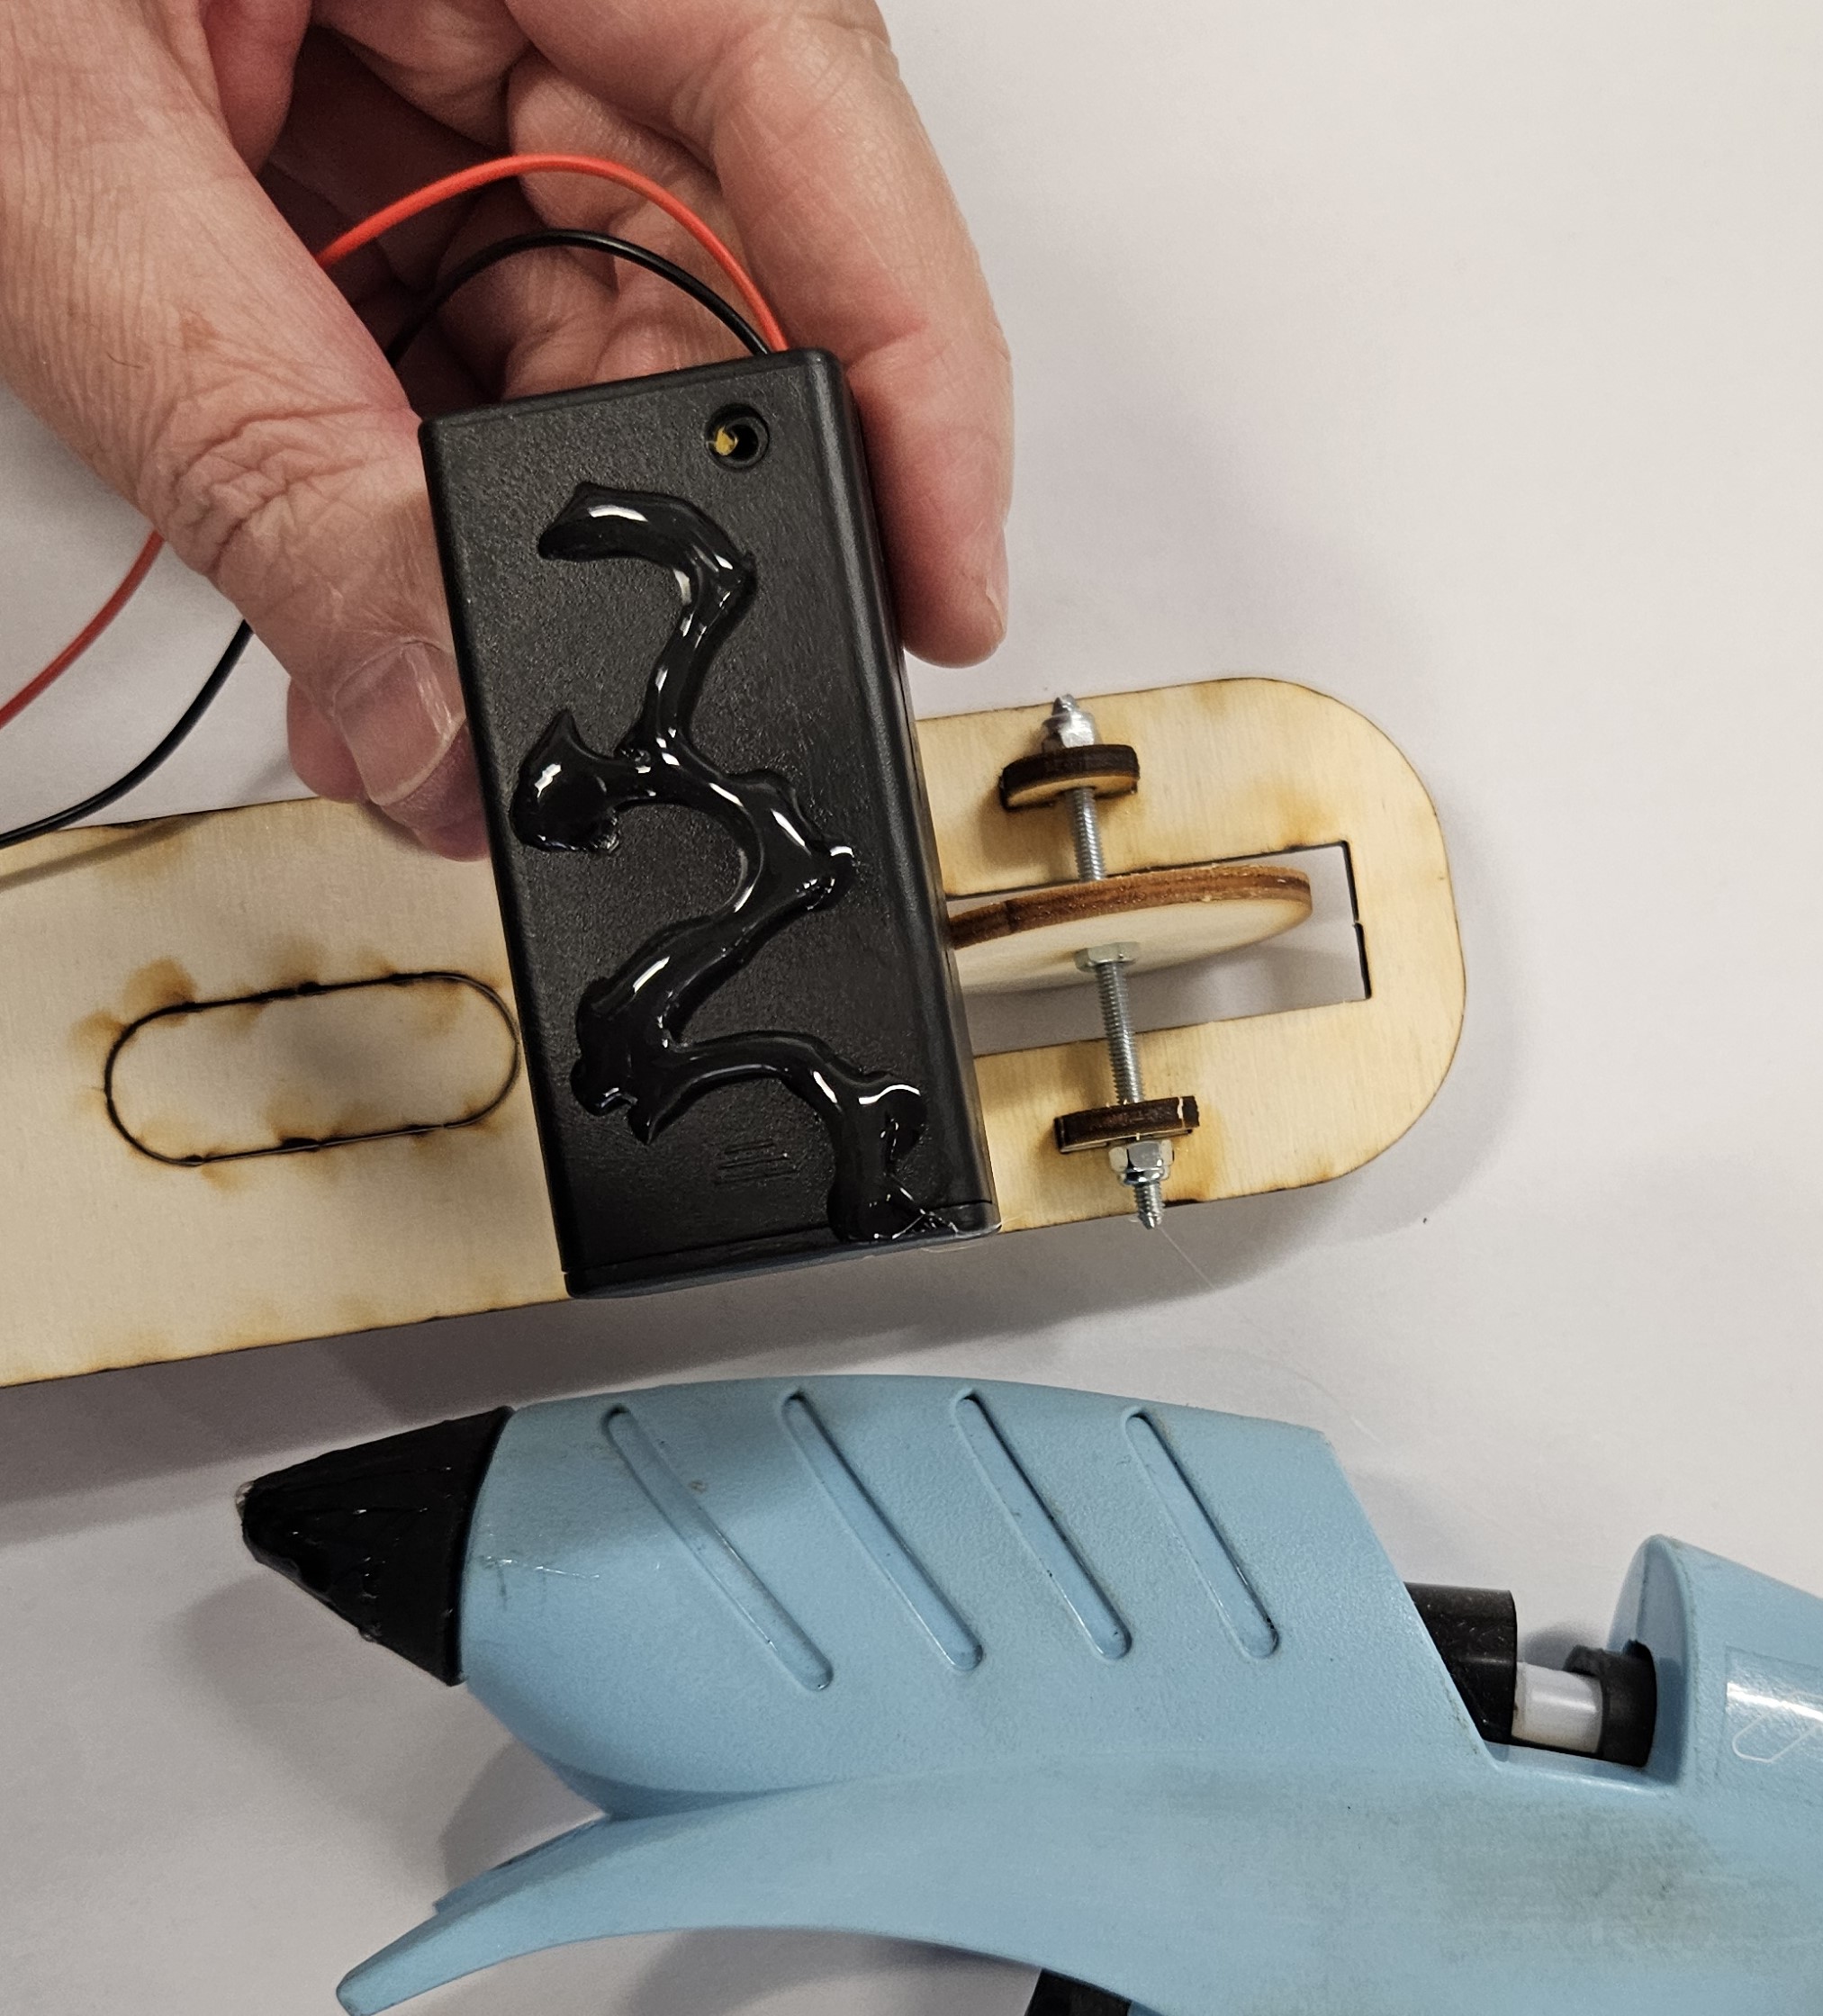
- You can now glue the battery box in place.
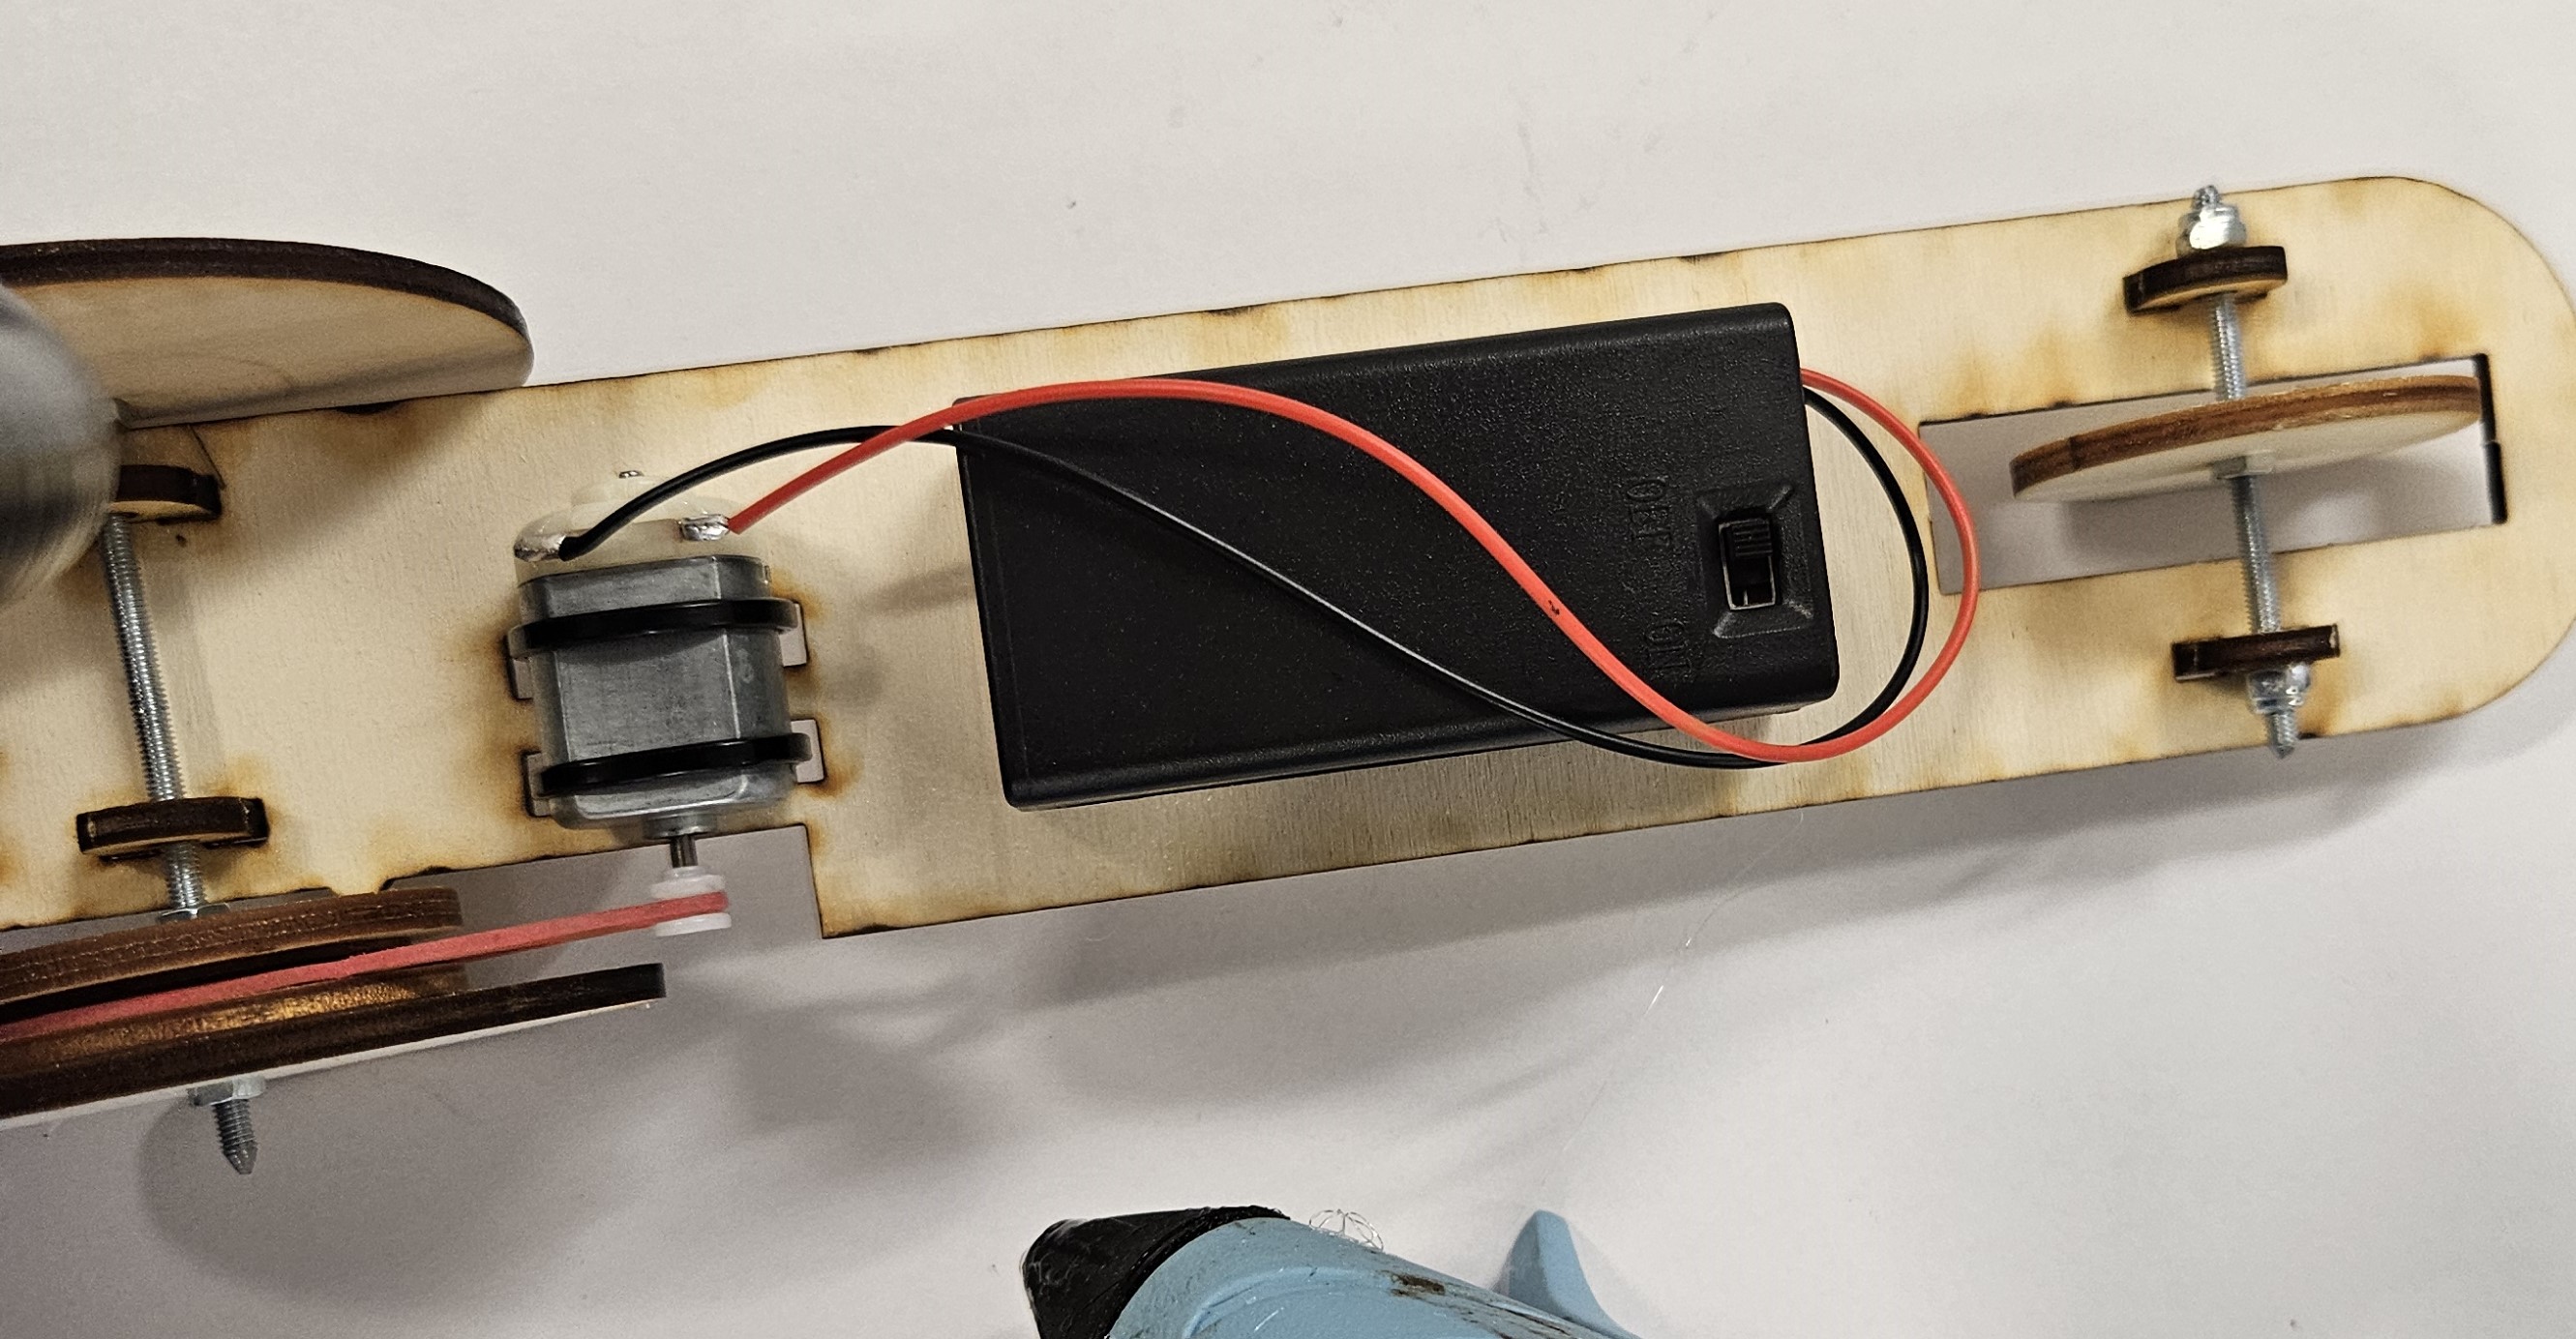
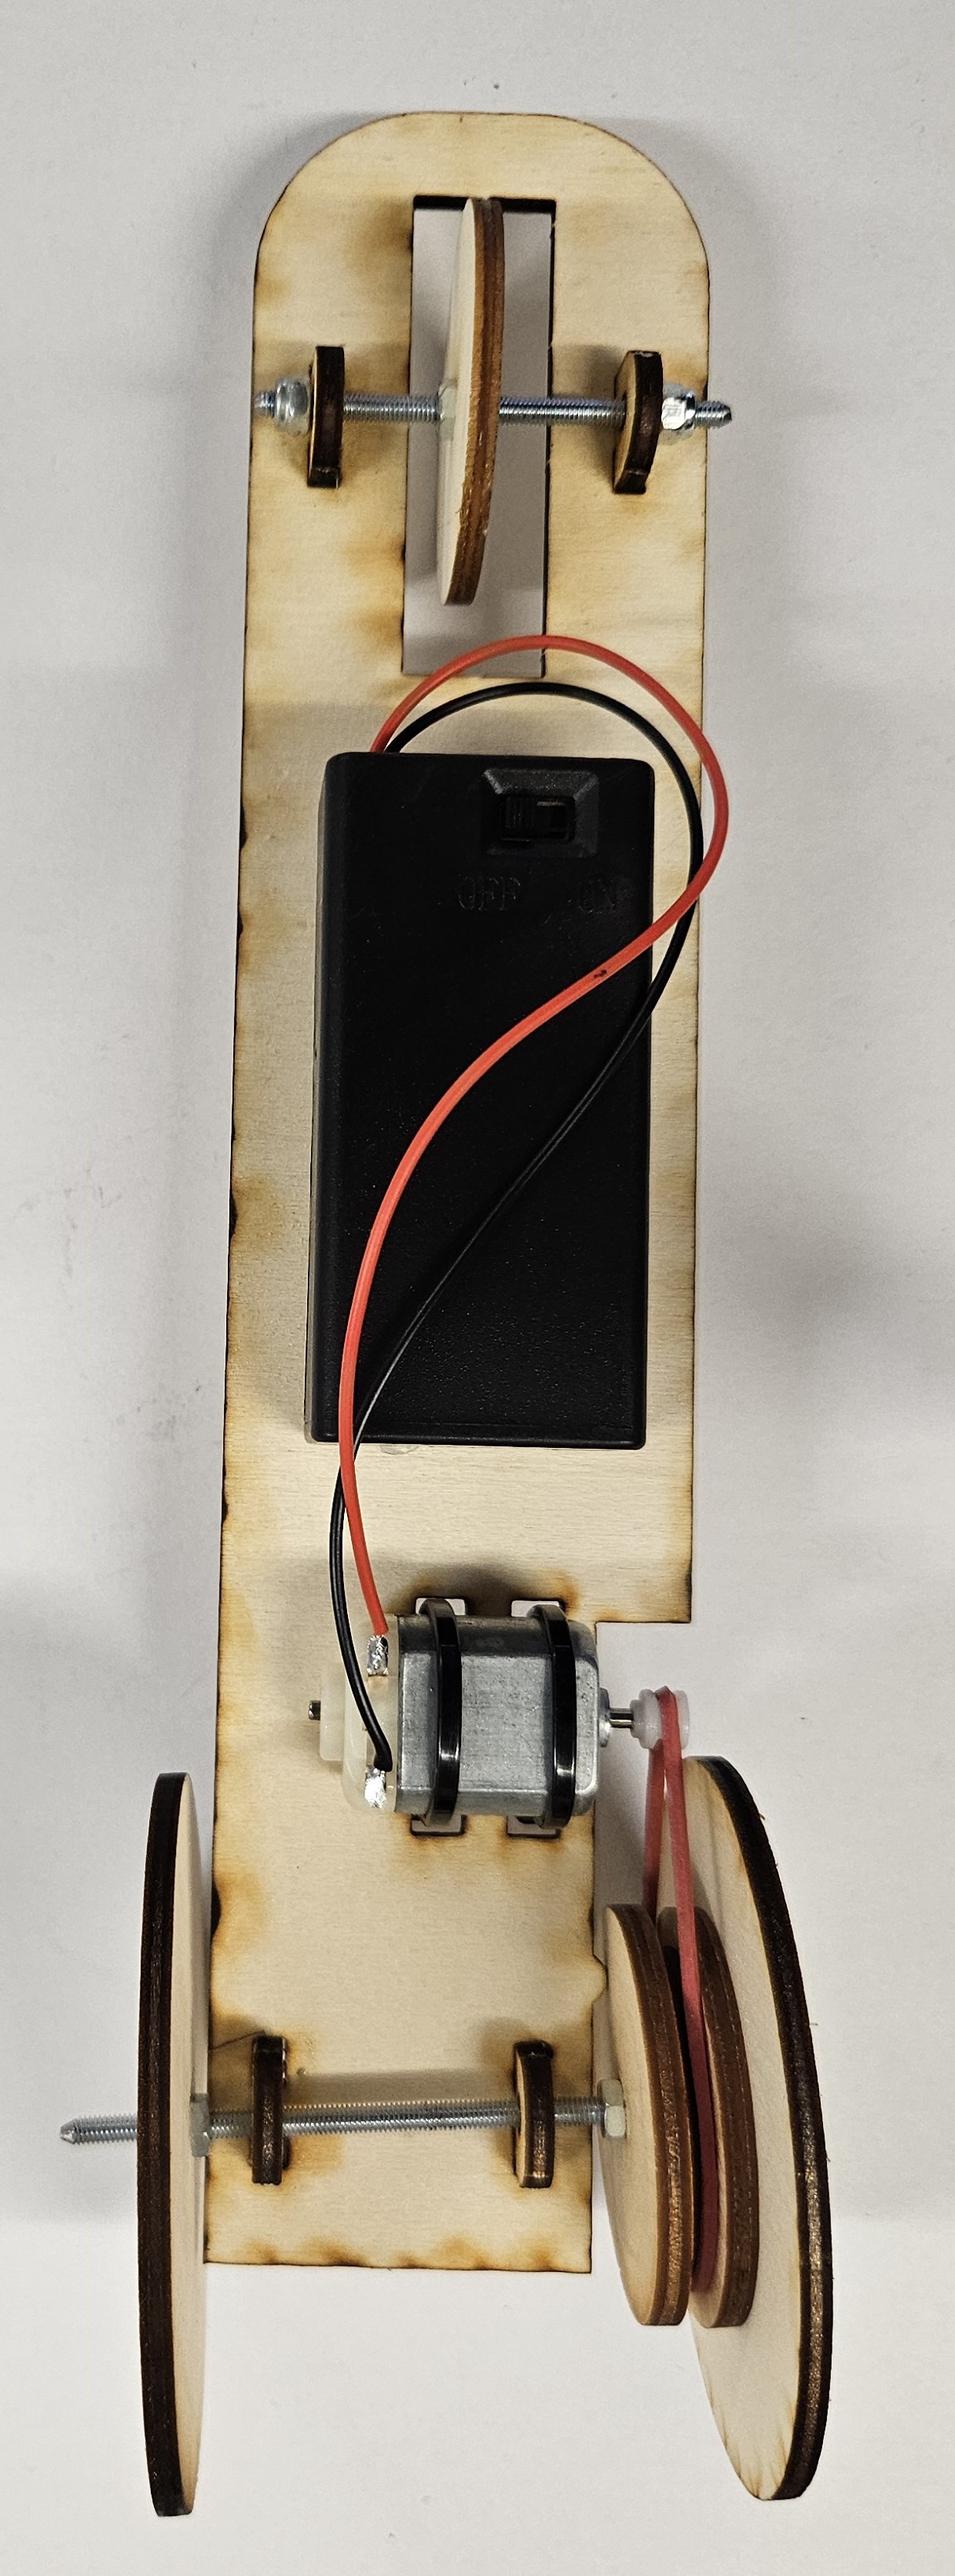
Finished drag car
- Mount the elastic band and you should have a complete chassis with electrics.