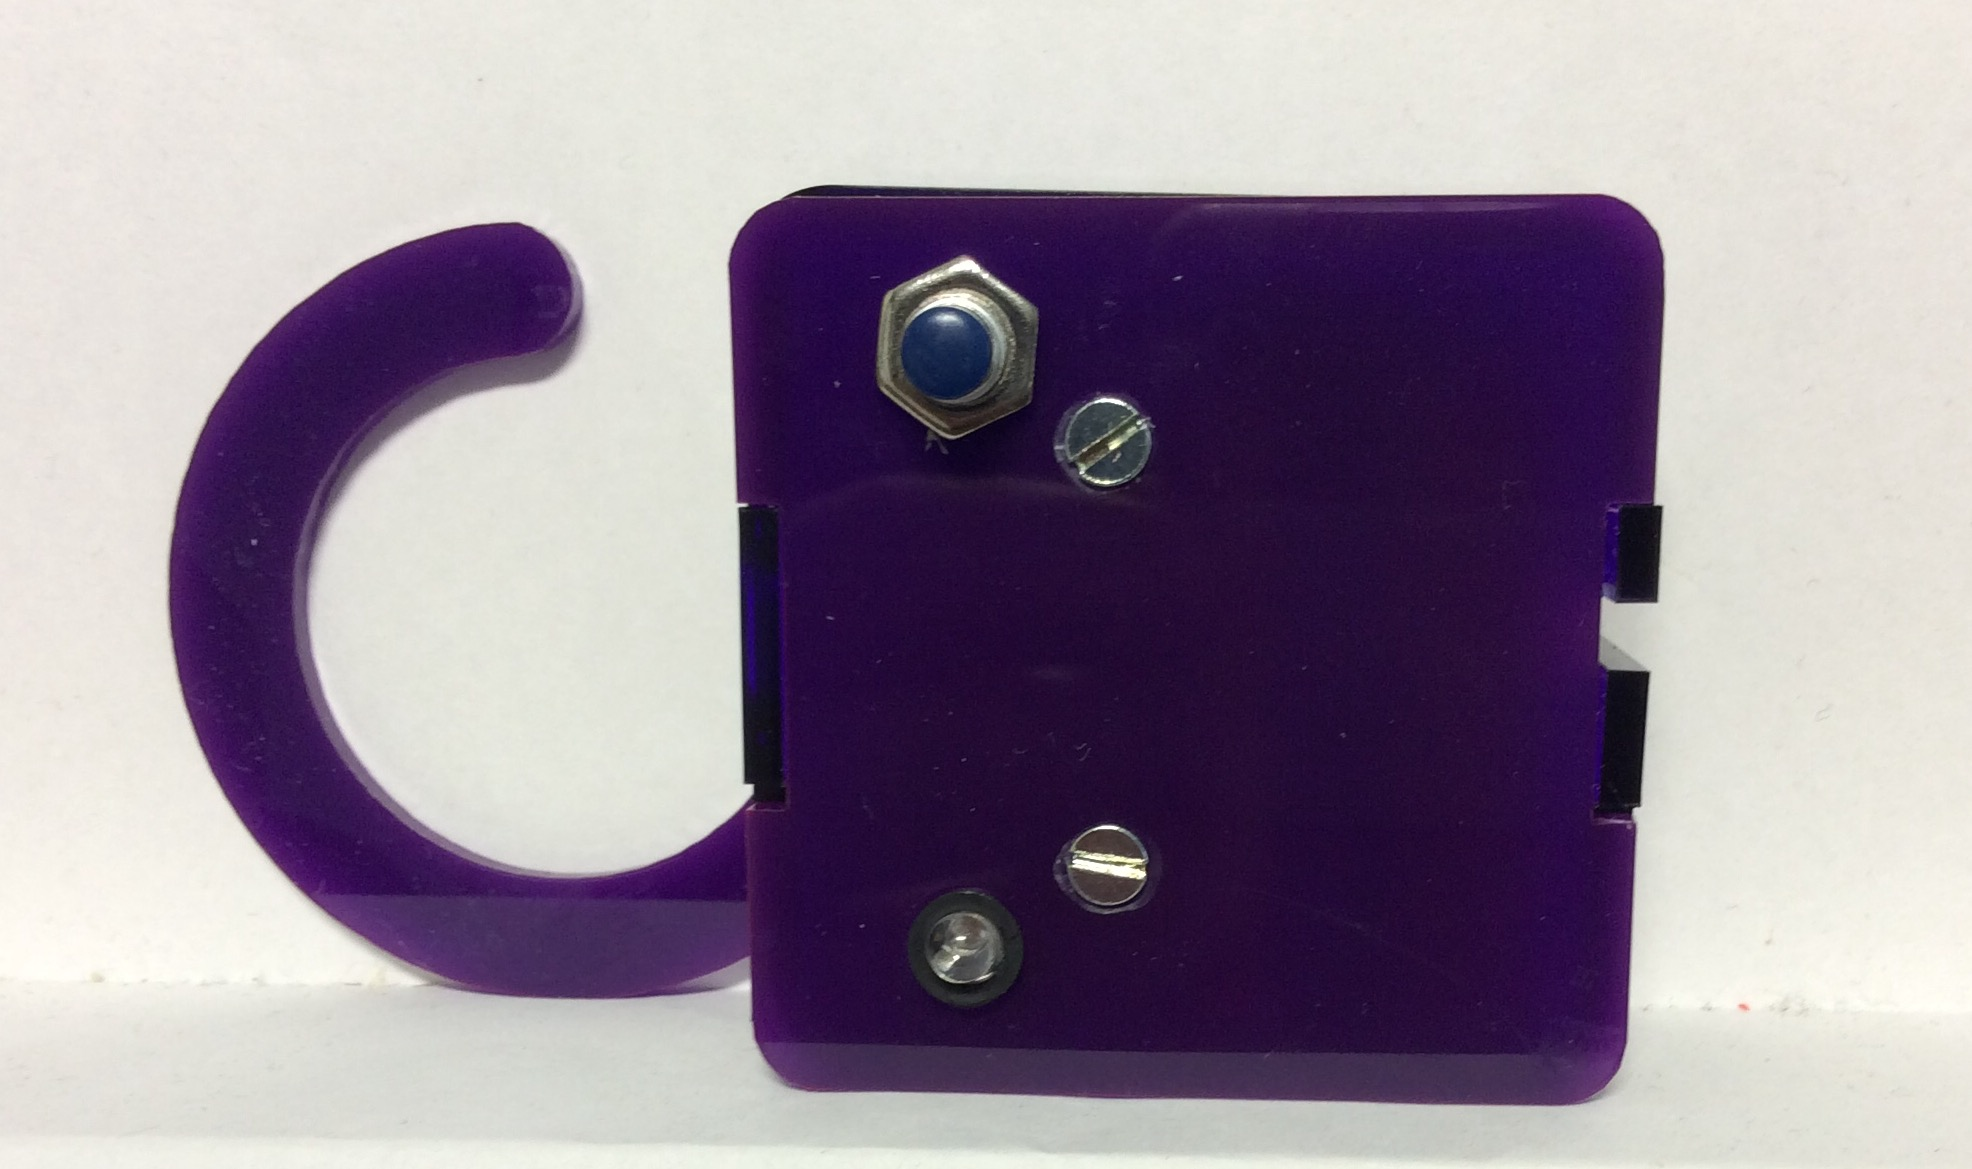
The Door Buzzer
1 Assembling your door buzzer
Badge It - Silver
- Firstly, follow the instructions given to you by your teacher and line bend the outer frame of your project.
- Take a photo of the completed line bent frame and upload it to the silver badge on www.bournetolearn.com
Build It
- MAKE SURE YOU HAVE TAKEN PHOTOS OF BOTH SIDES OF THE PCB BEFORE CONTINUING.
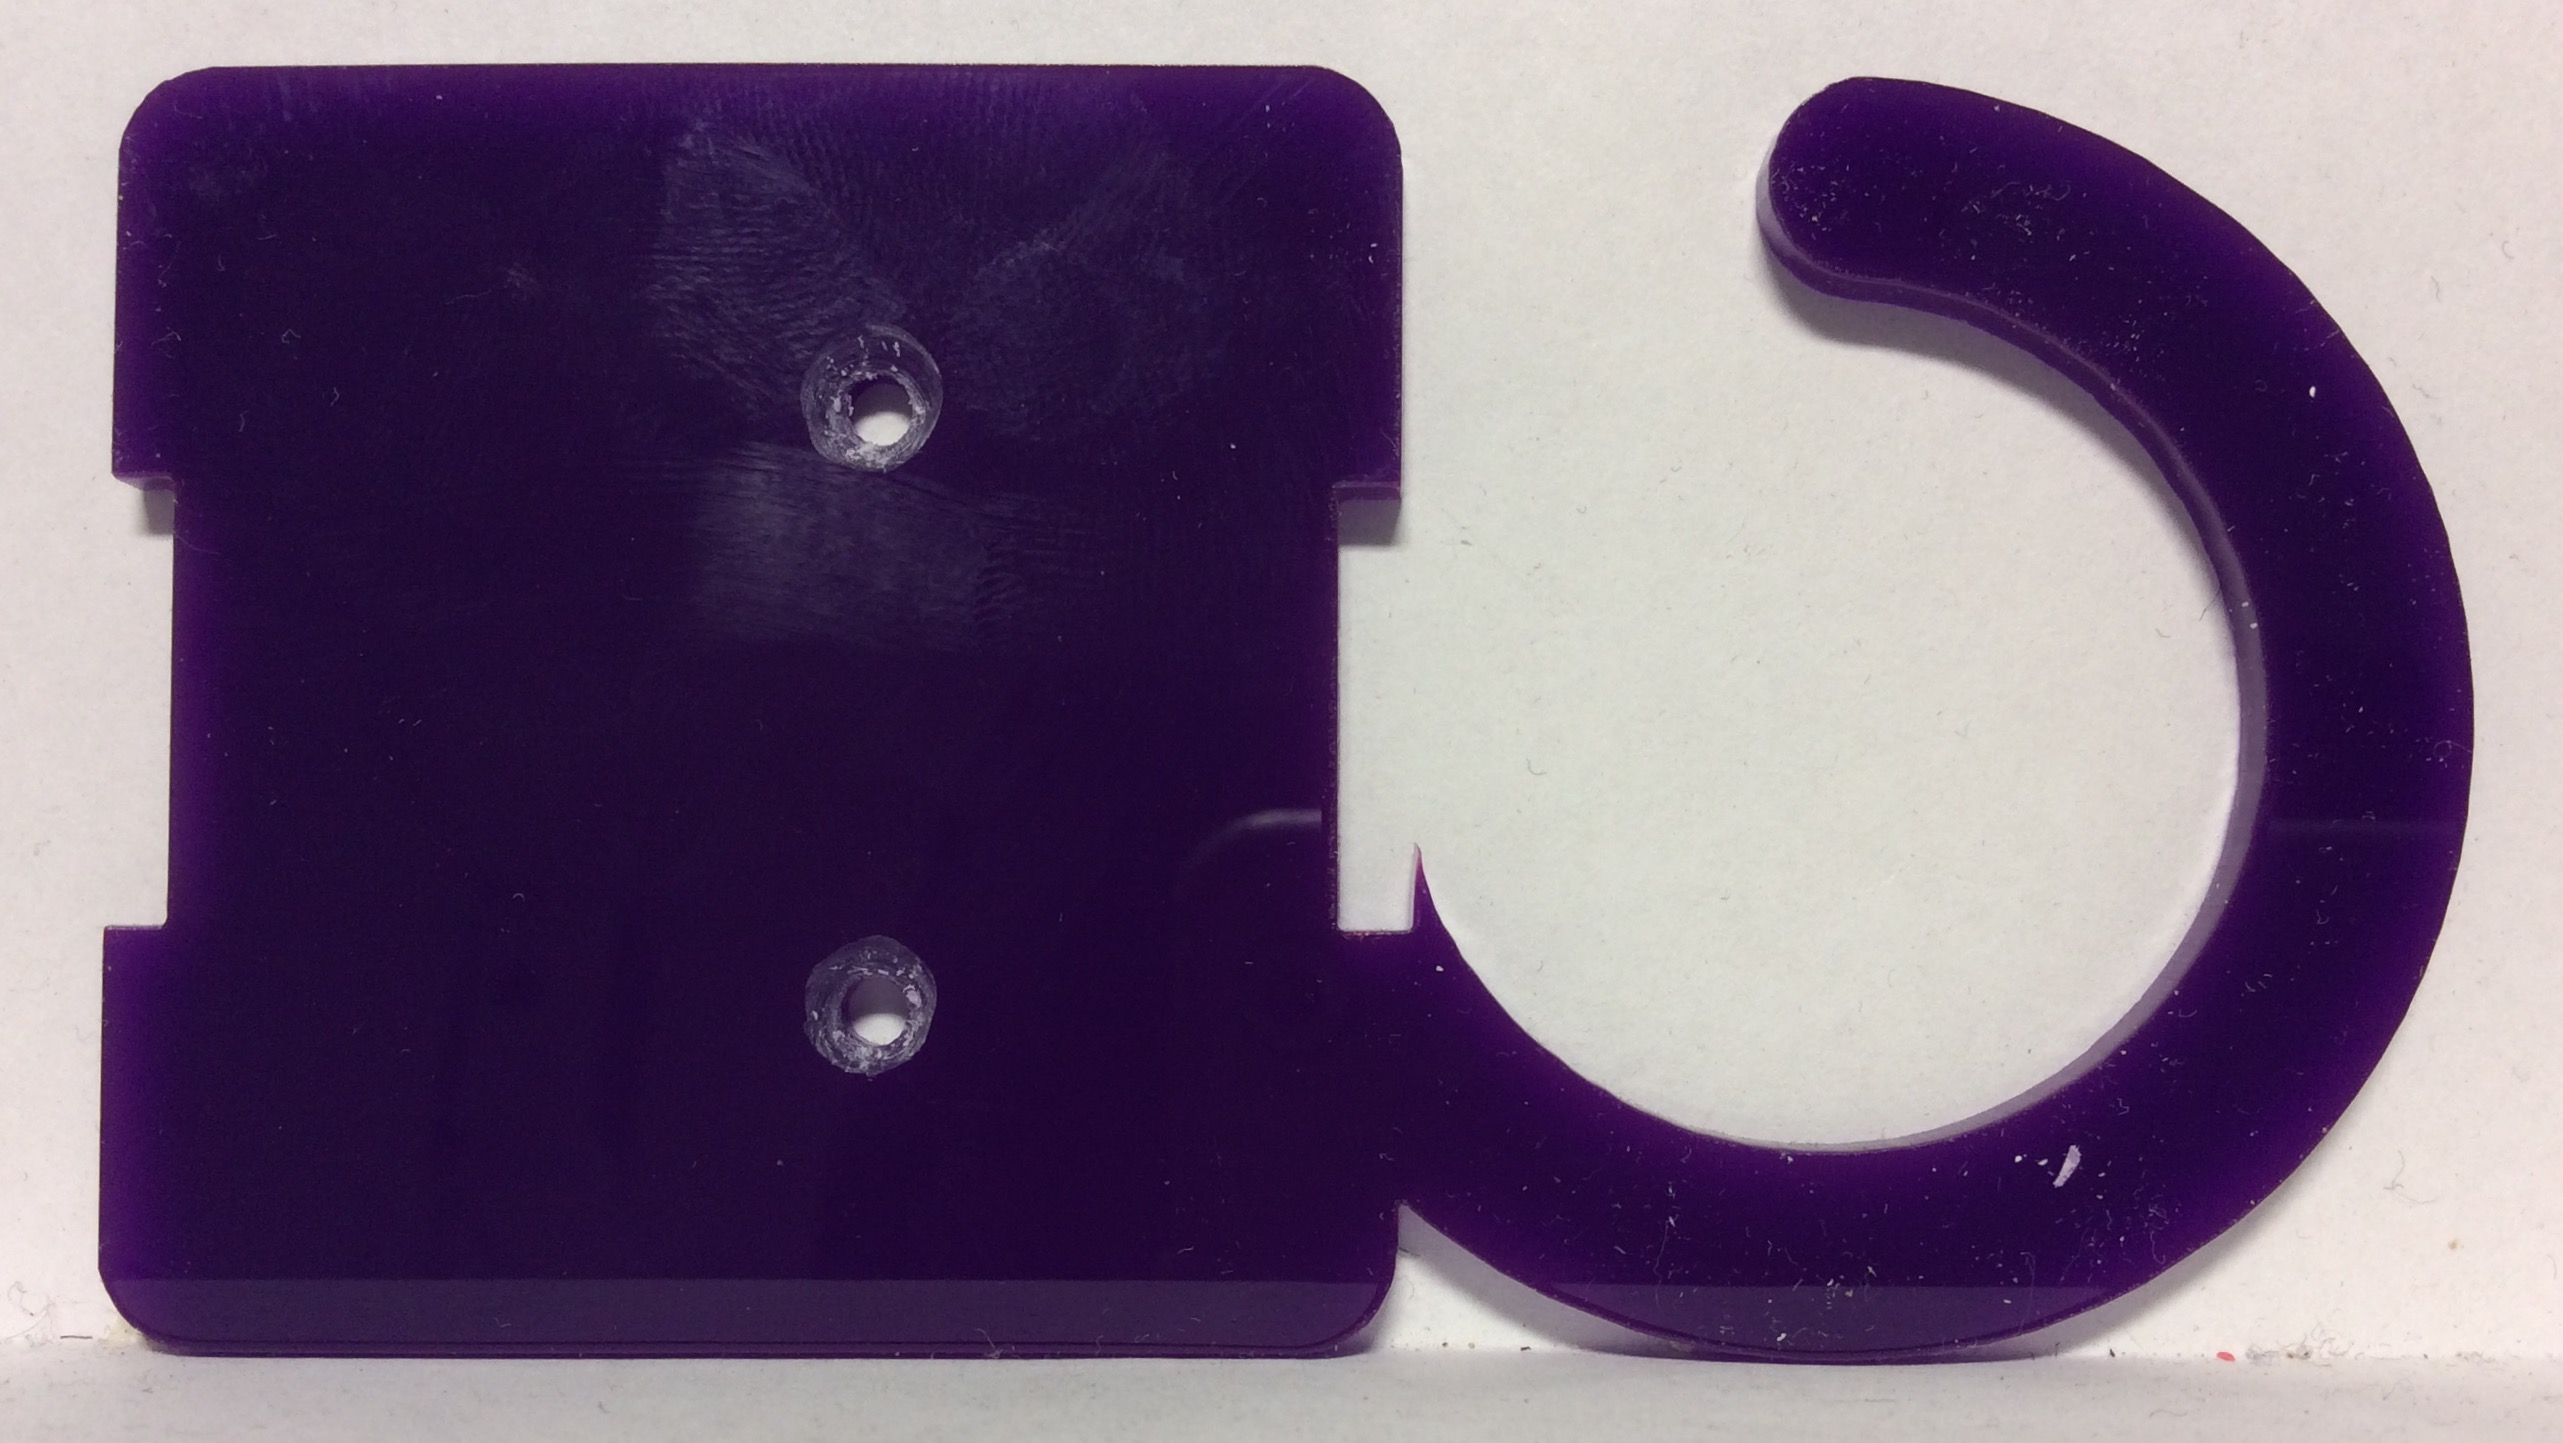
- The first task is to countersink the back of the door buzzer case.
- Use a countersink-cutter to create the countersinks as shown below.
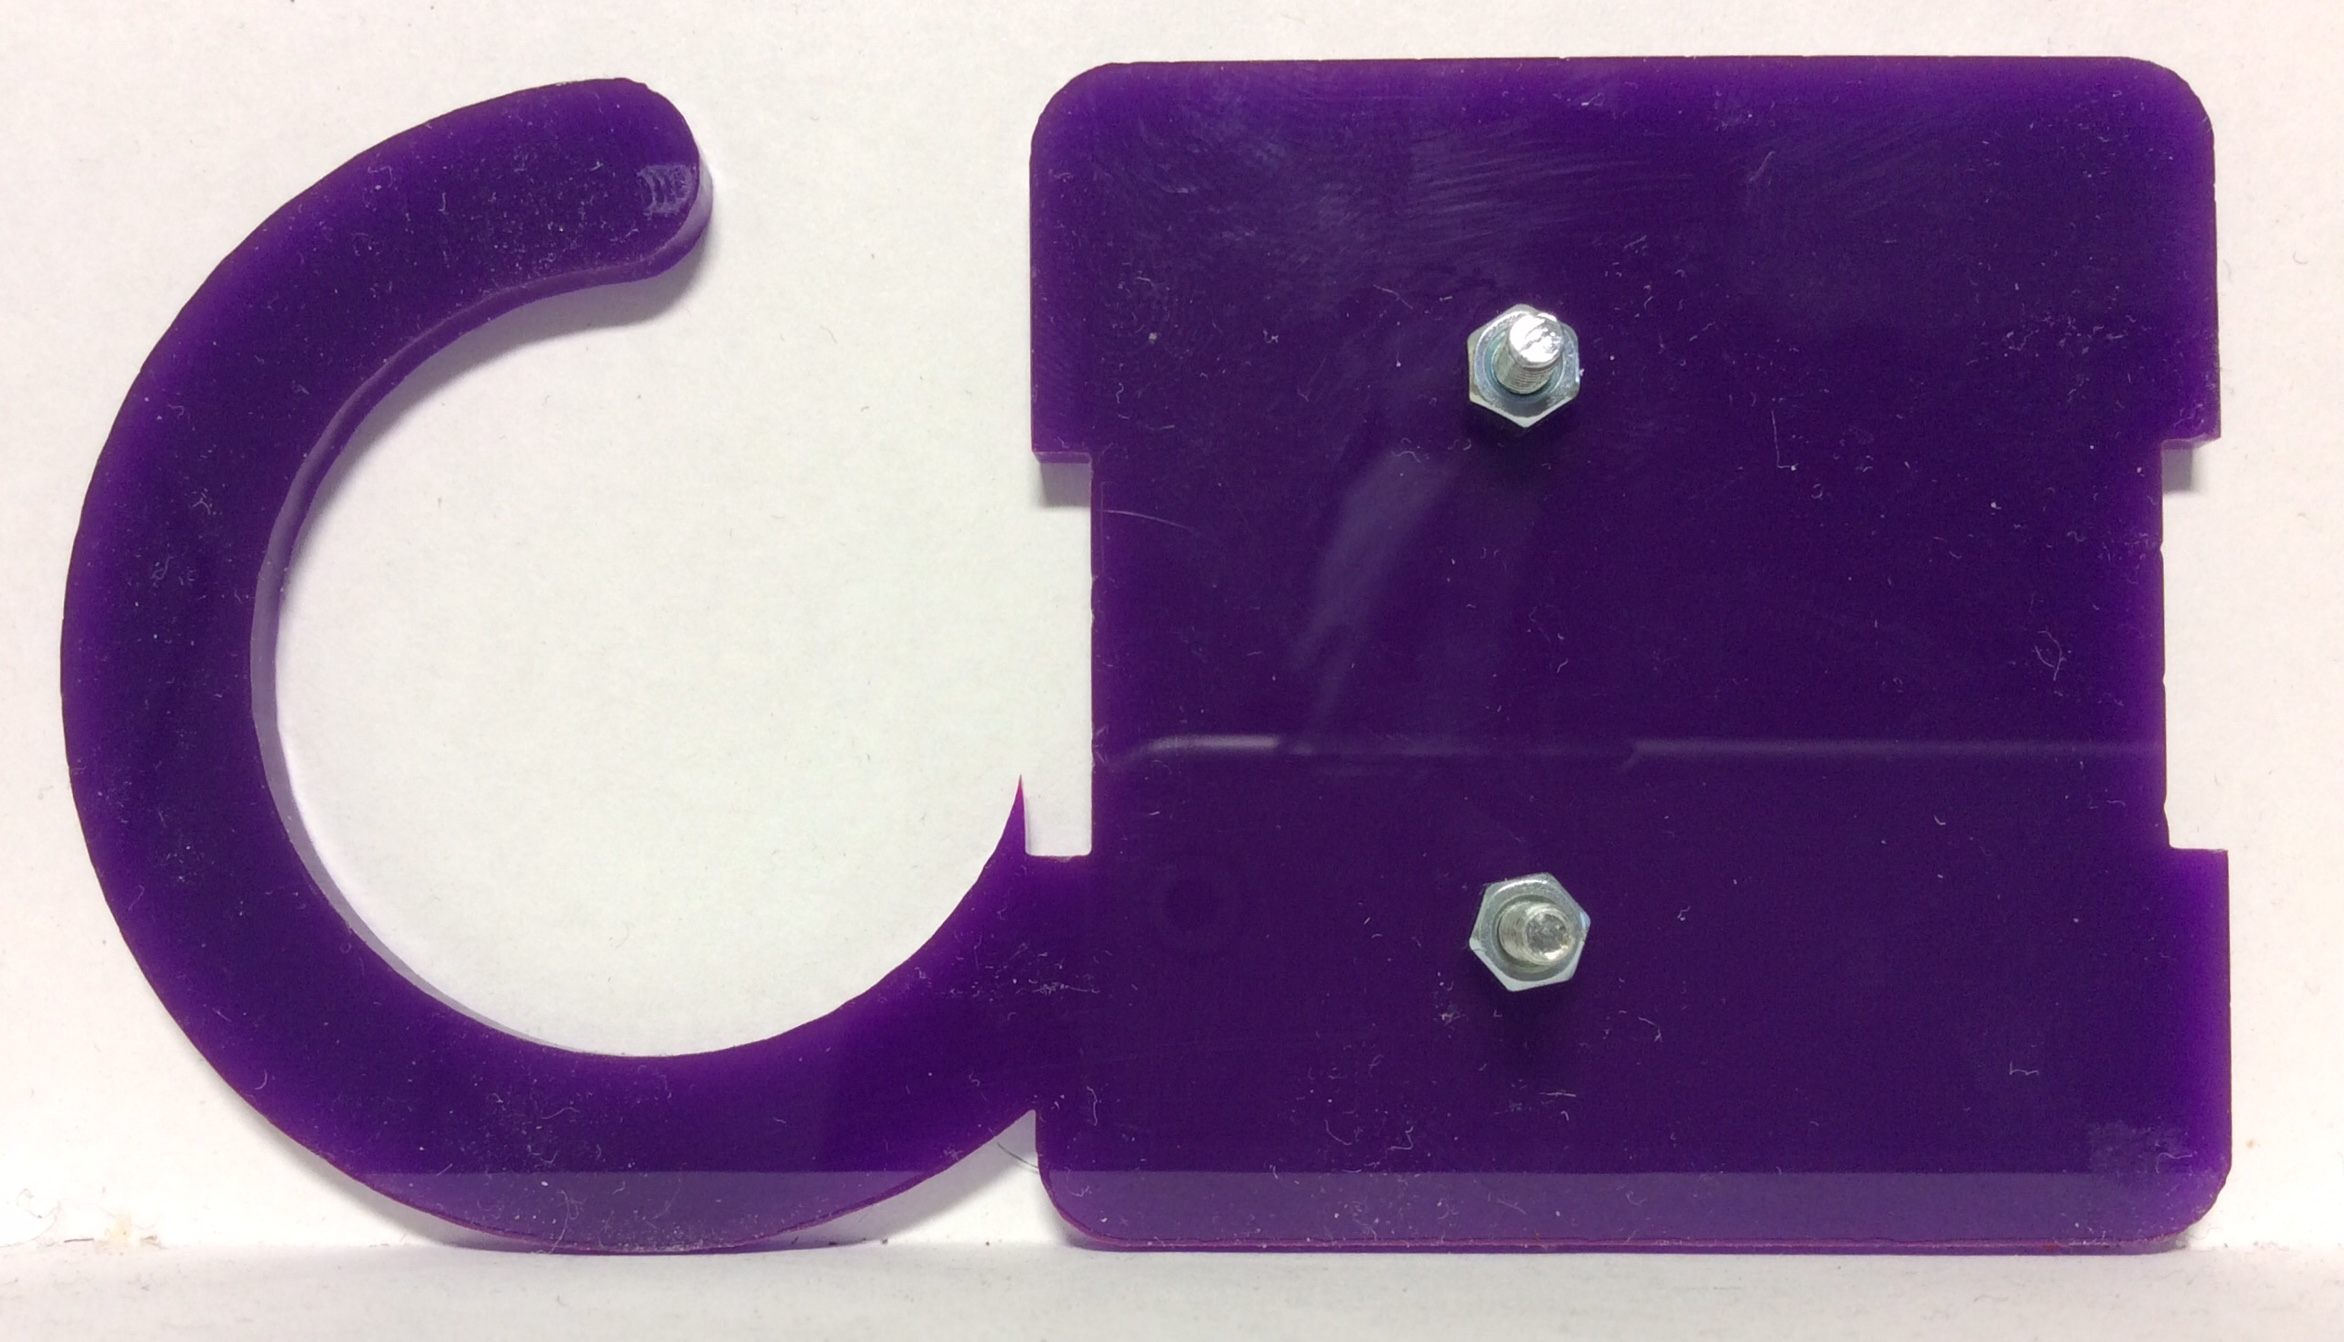
- Make sure your M3x12 machine screws sit flush to the surface of acryclic.
- Next you will need to add two M3 nuts onto the machine screws on the opposite side.
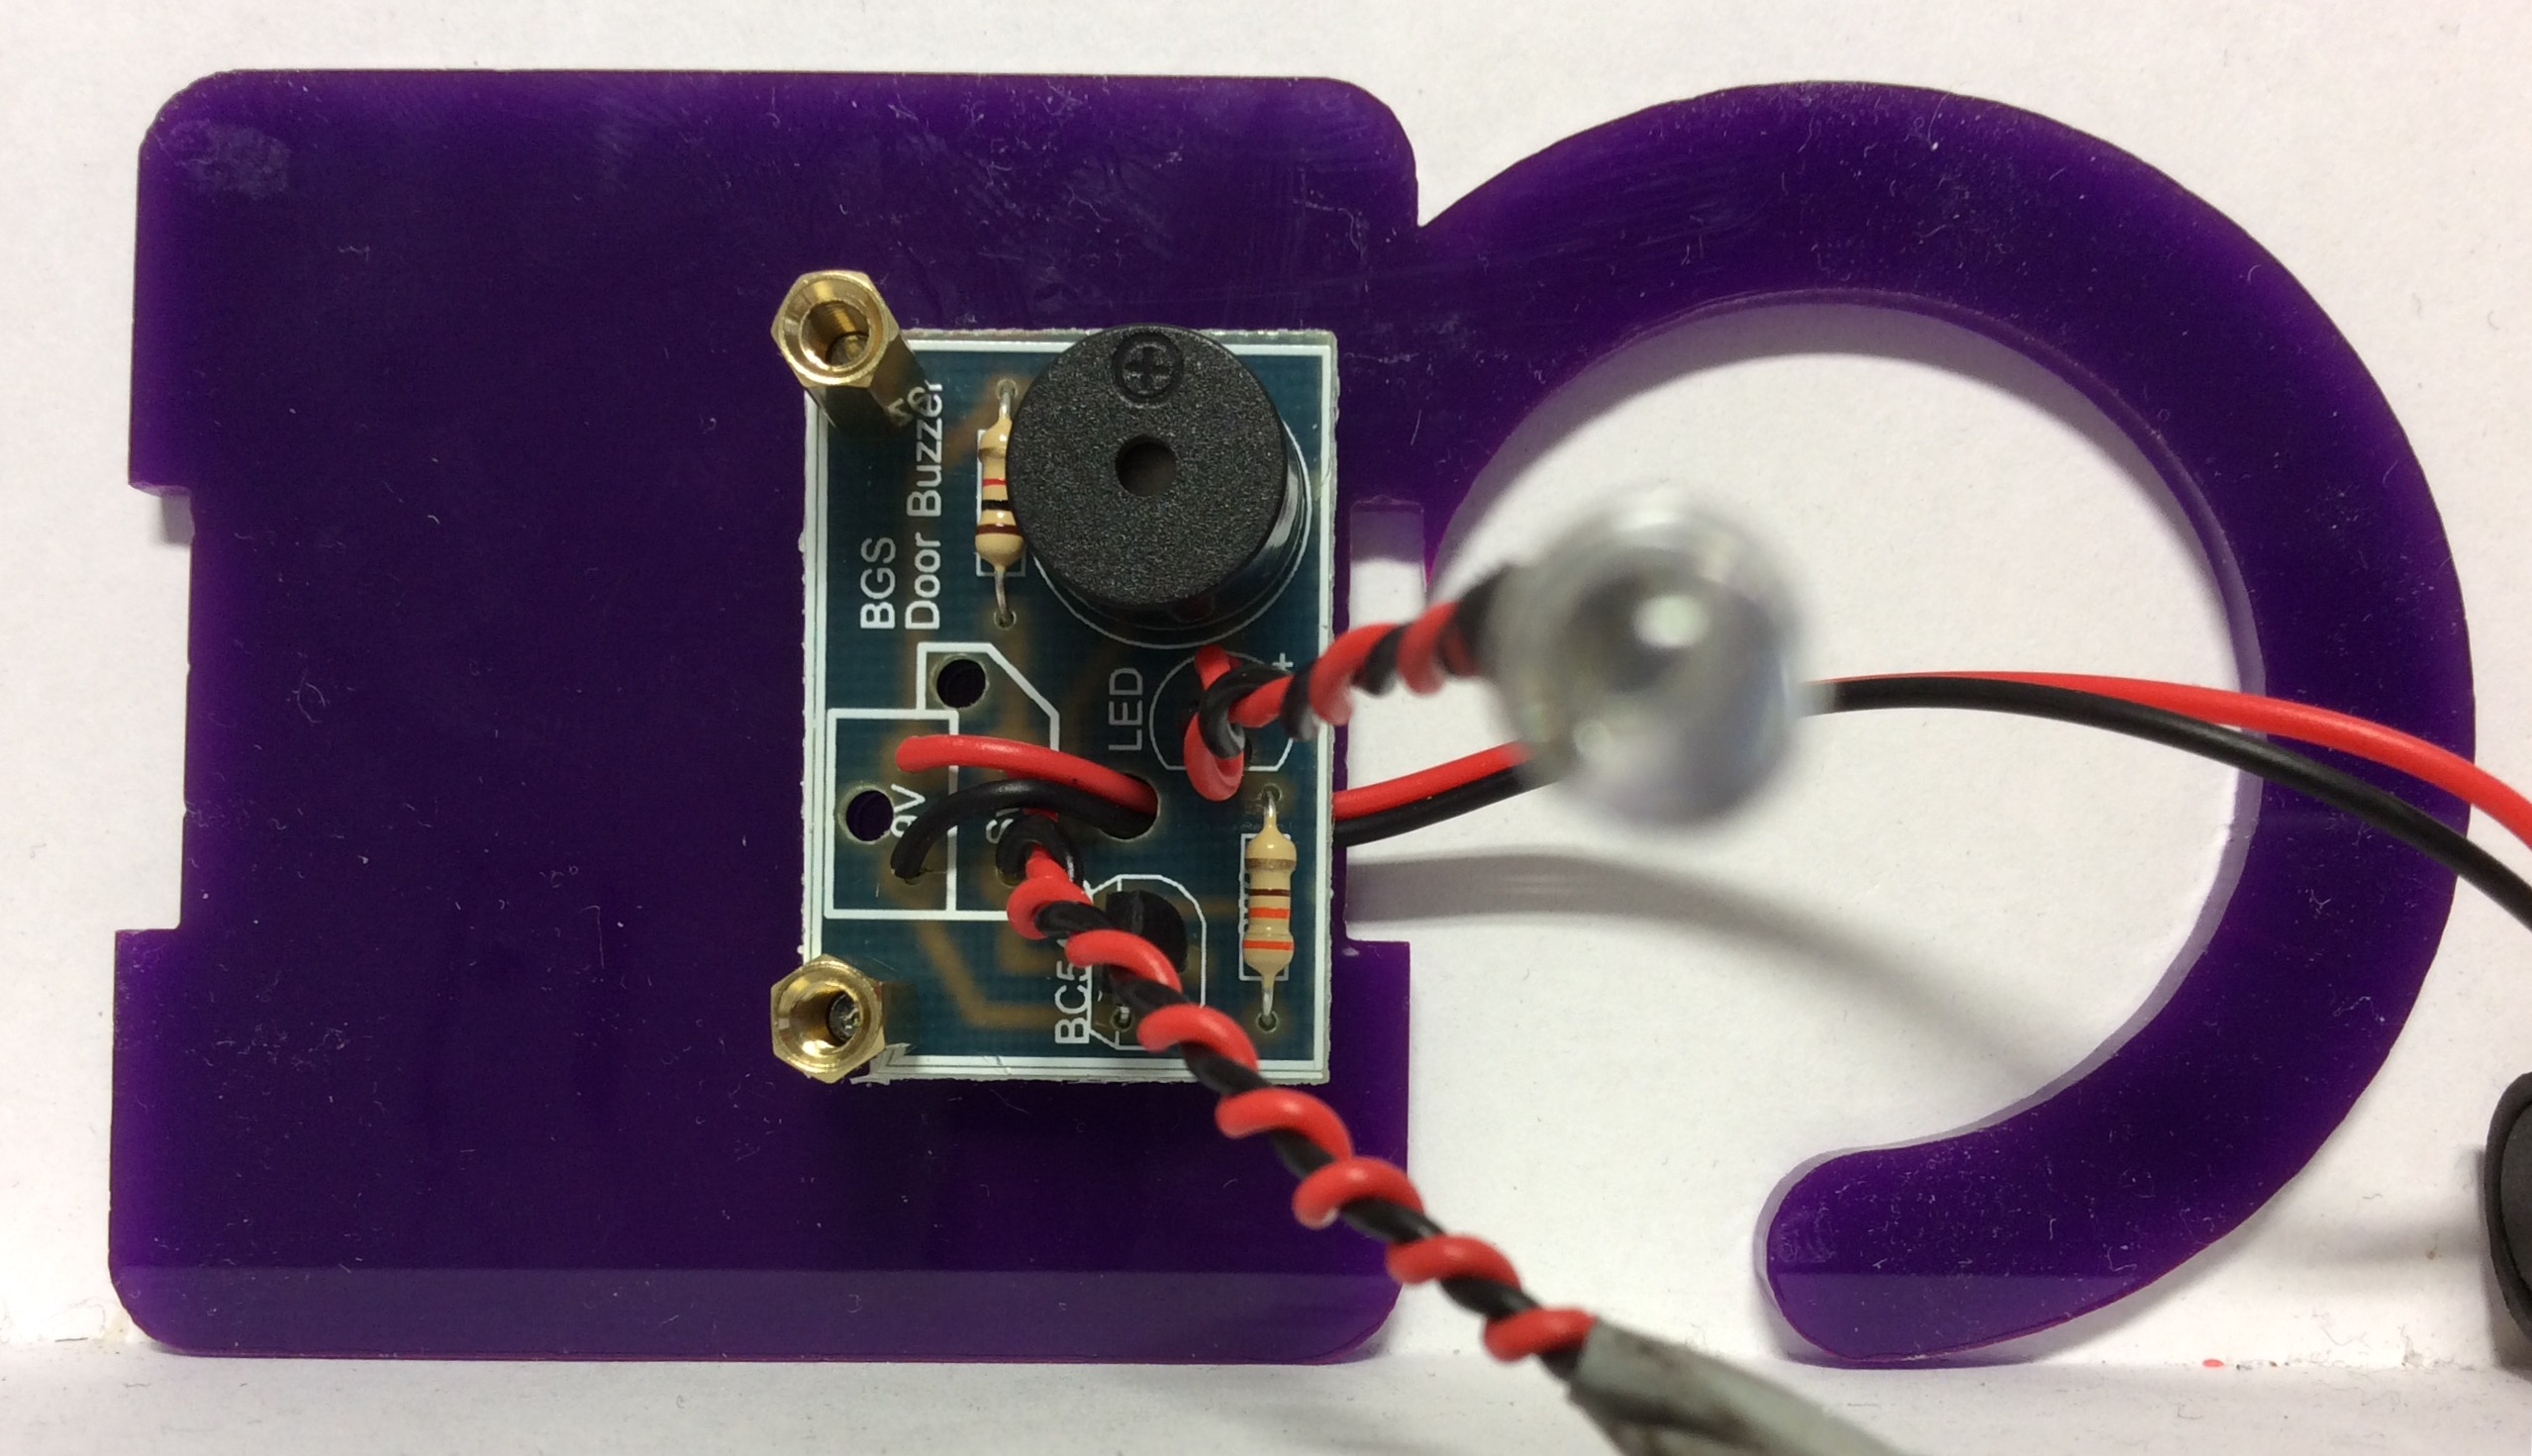
- Now place the PCB on top of the screws, and then the 2 x barrel nuts on top of these. make sure you do not over tighten the nuts.
- You can now attach the LED using a LED clip.
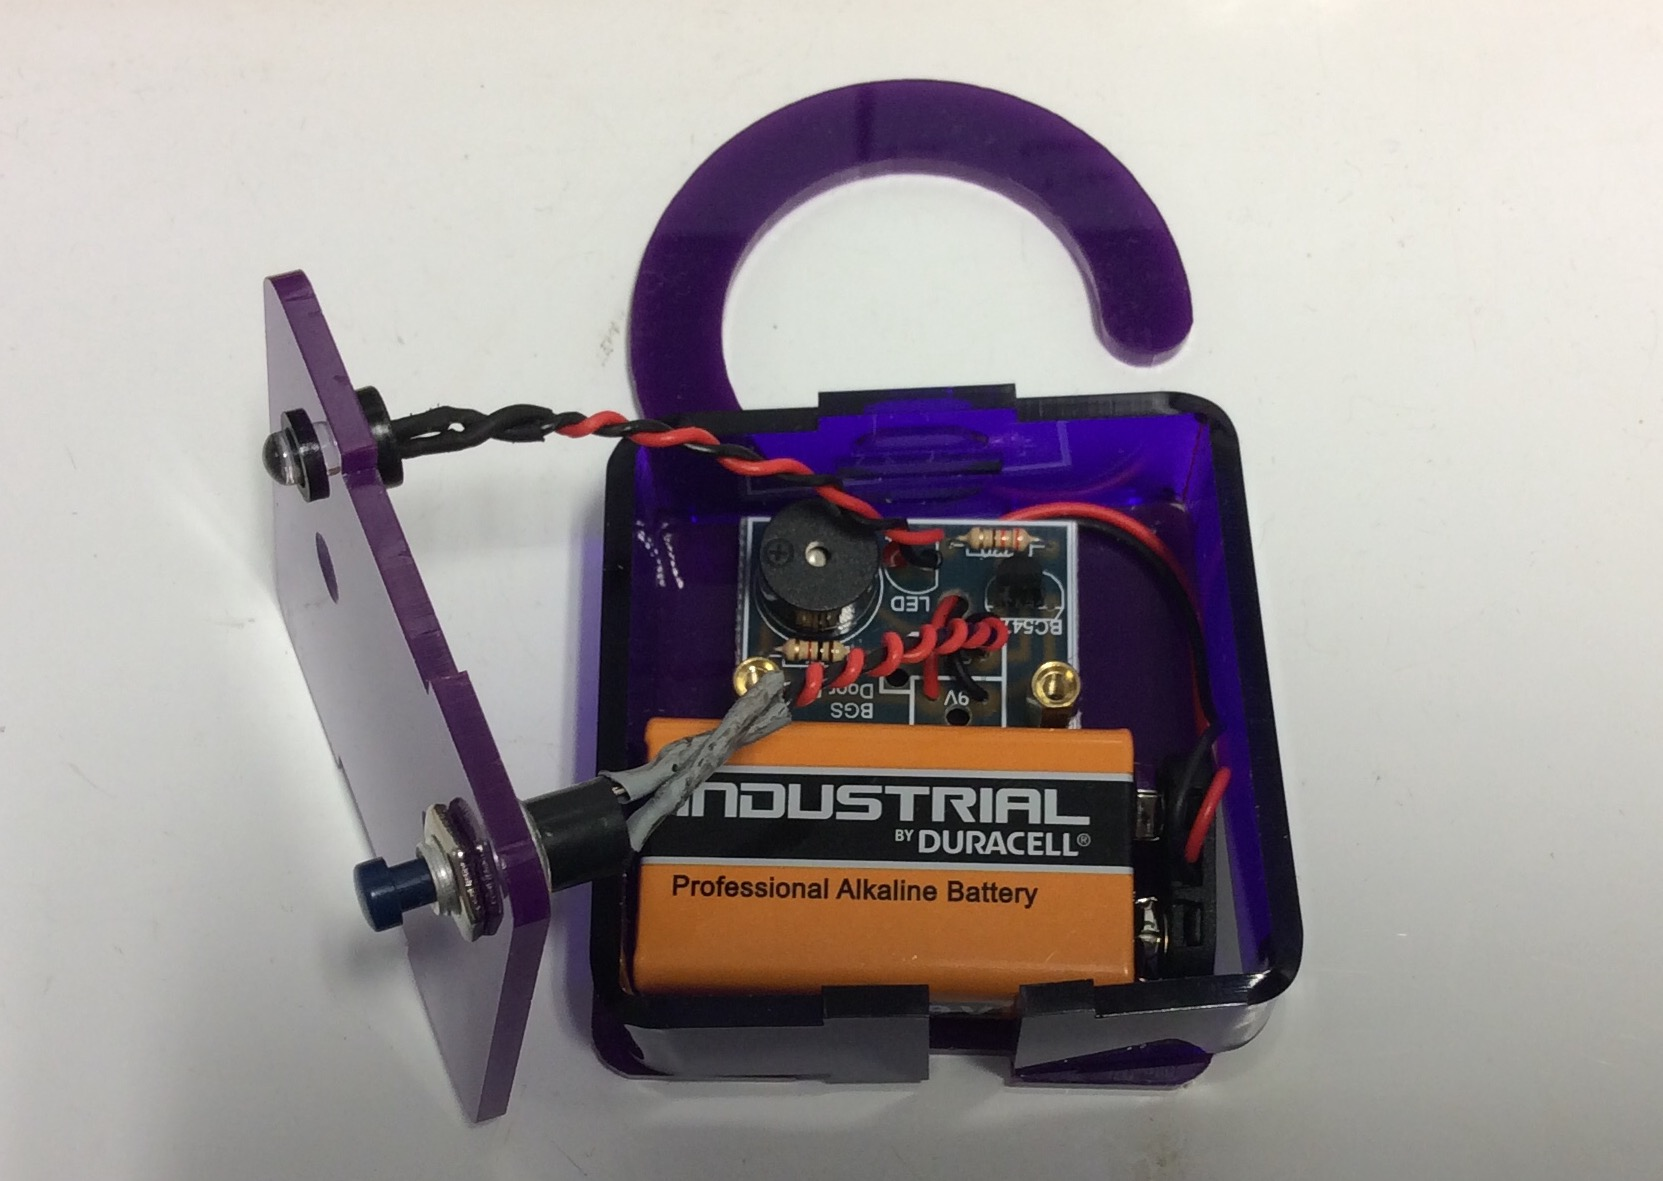
- Next unscrew the nut on the PTM switch and push it into position. Then place the nut on and tighten it up.
- Now run the wire through the line bent frame and place it in position.
- Plug in the battery and put it in place. Make sure you test the circuit now before putting the front cover on.
- Finally, place the front cover in place and put two more machine screws in place and tighten them up.
Badge It - Gold and Platinum
- Take photos of both sides of your project.
- Gold - Assemble a working door buzzer housing.
- Platinum - Assemble a high-quality, working door buzzer
Extension
- Customise the front of your door buzzer with images and text using 2D Design
