The Digital Die
1 Assembling the Housing
Build It
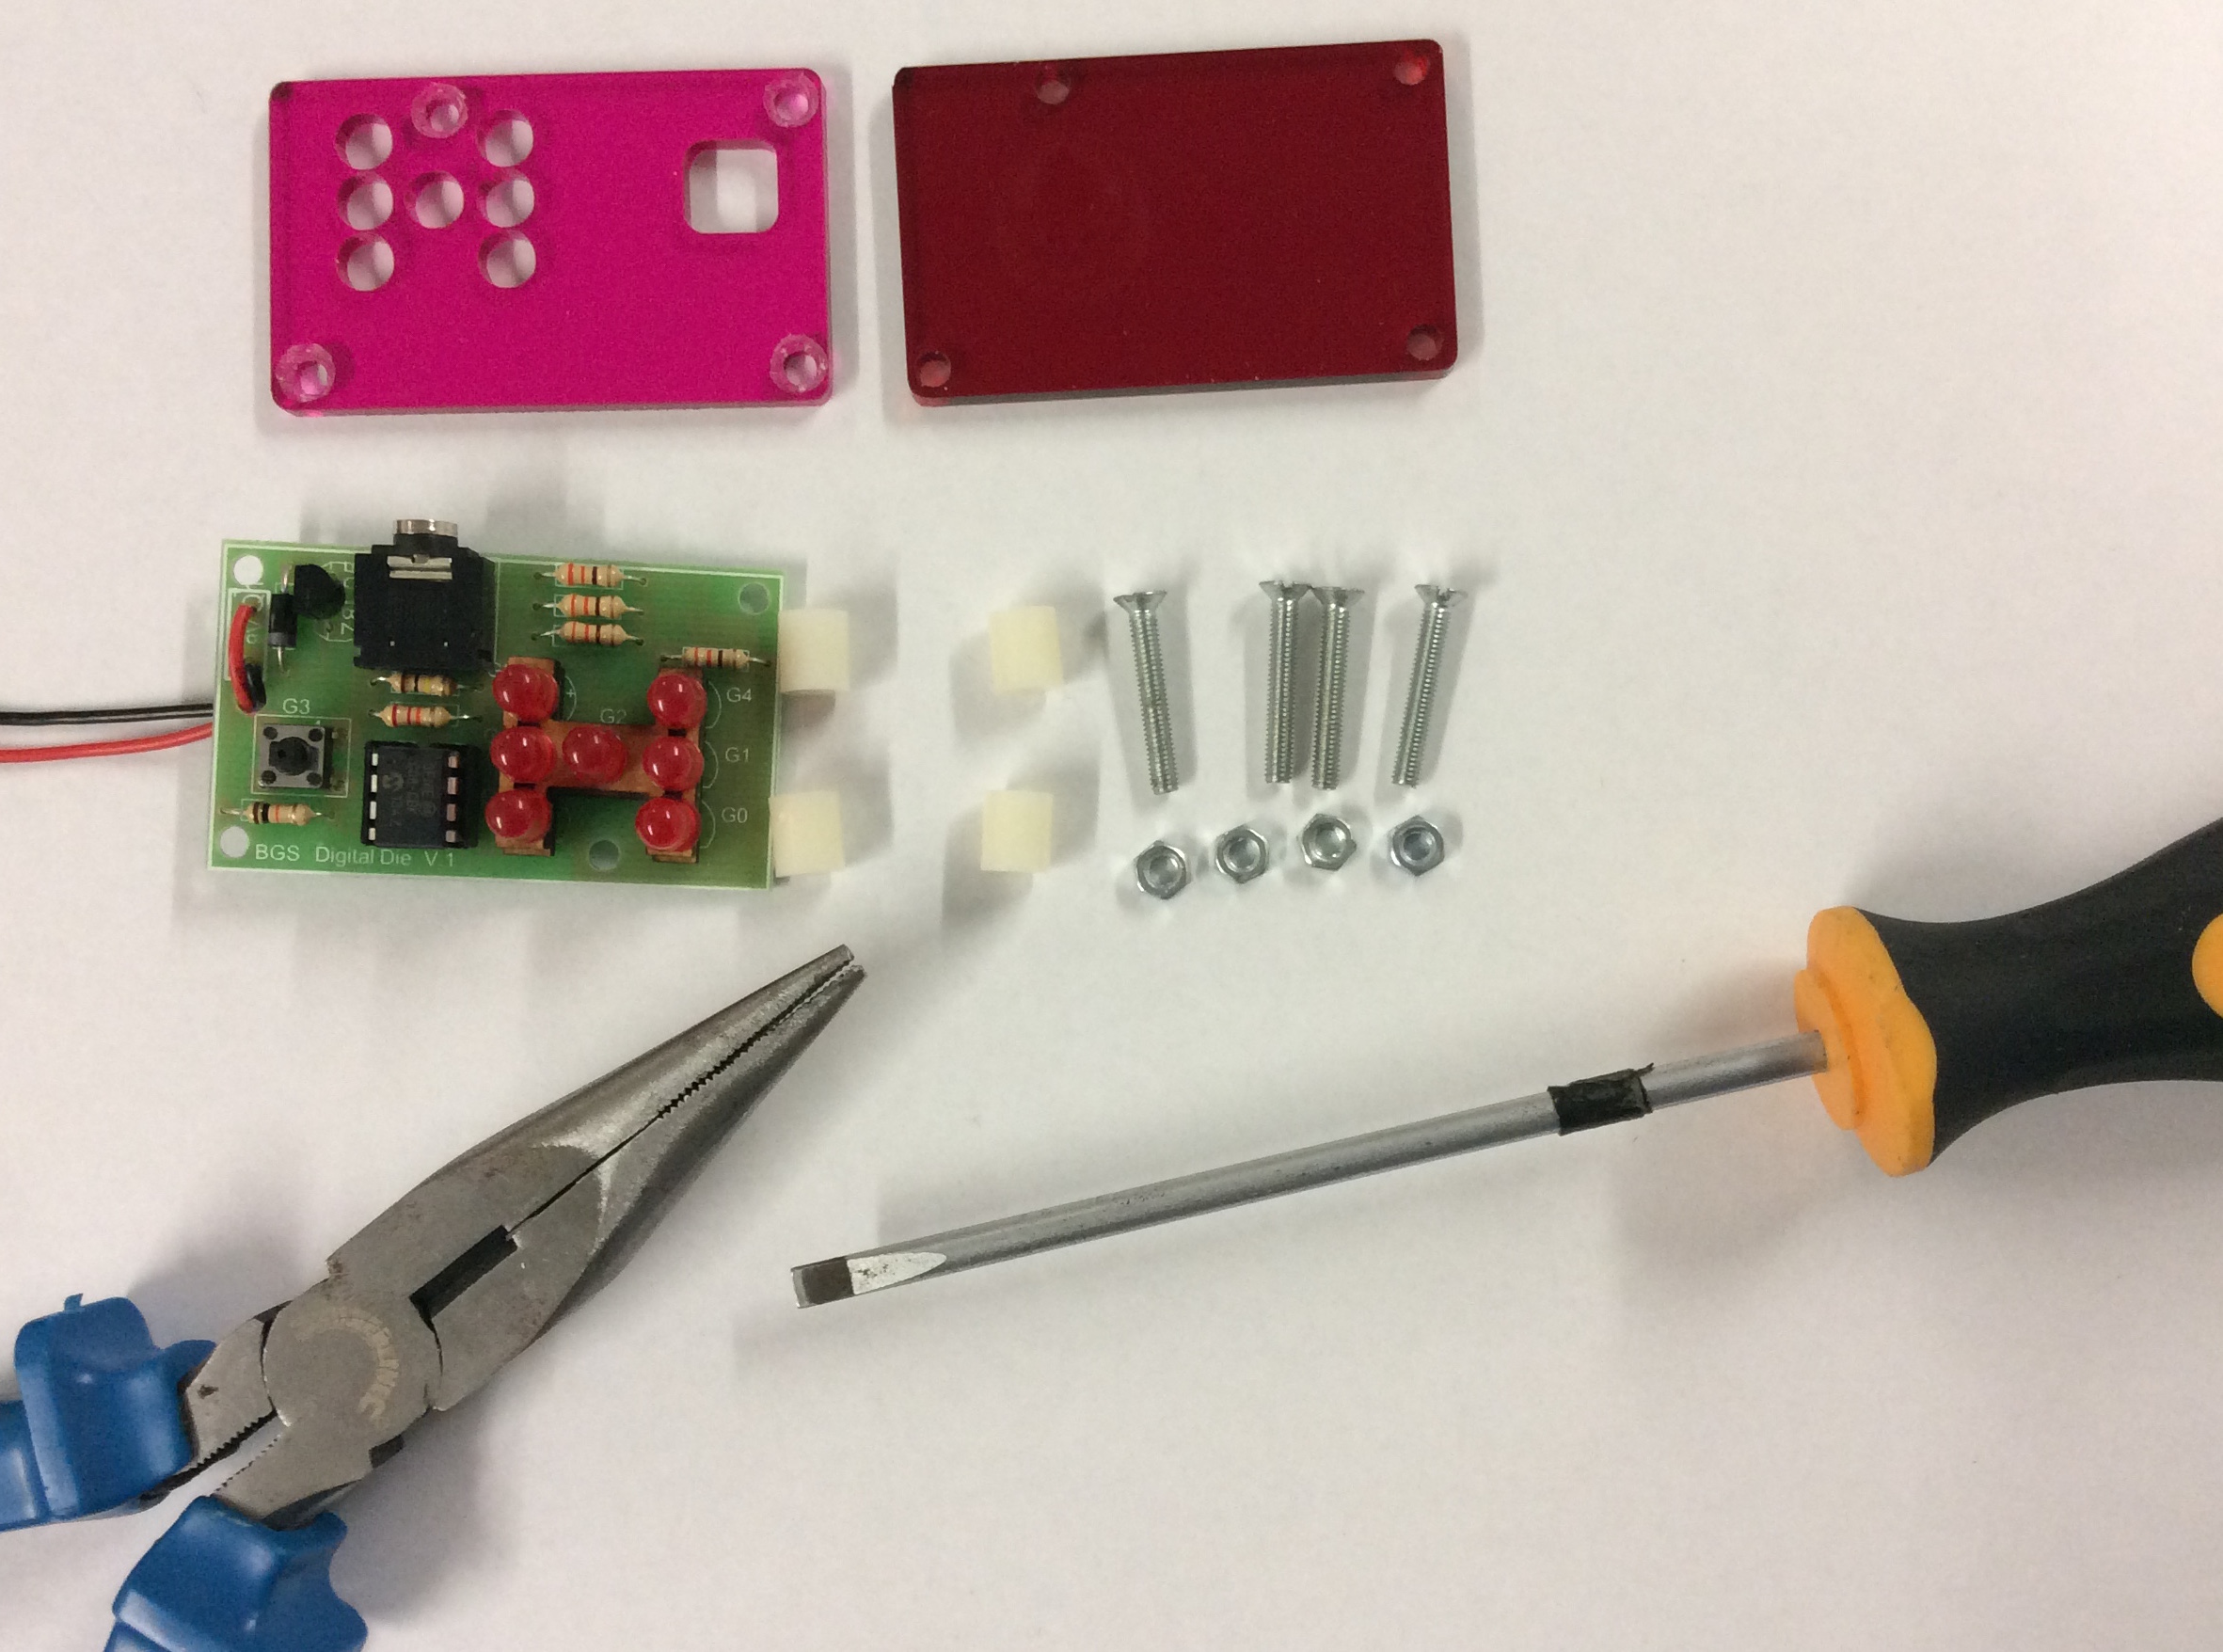
- Here are the components you'll need to assemble the Digital Die Housing.
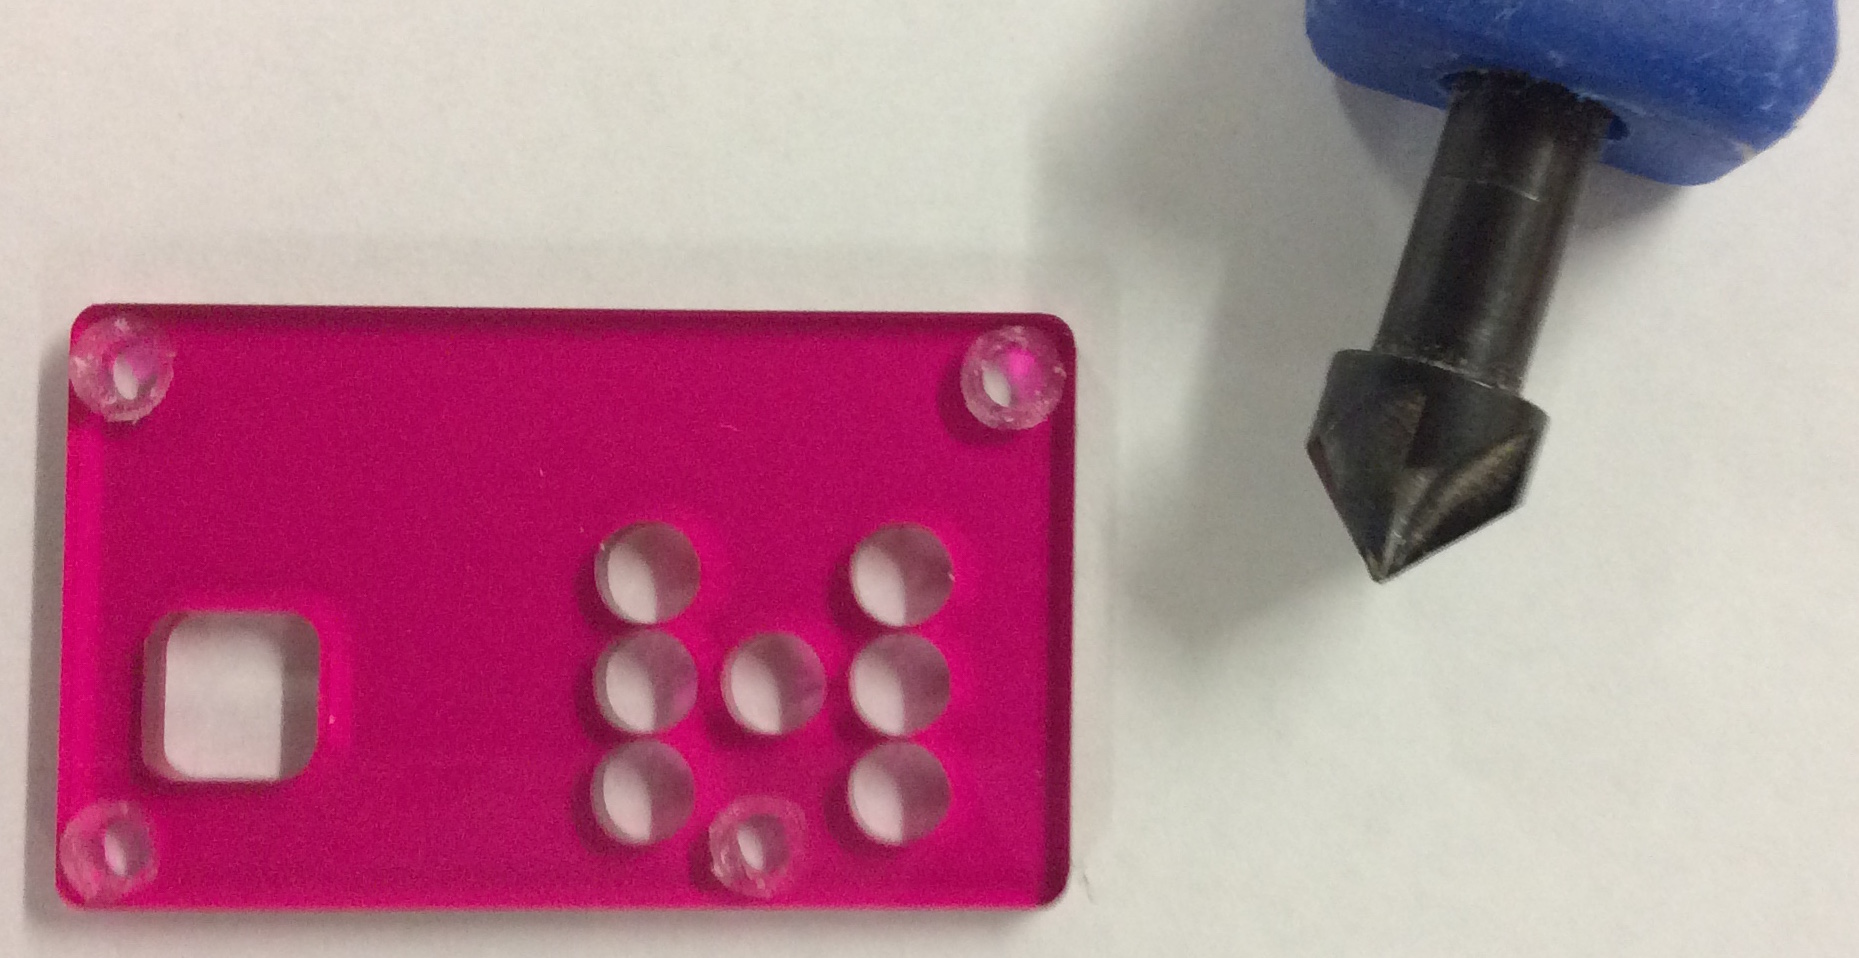
- You will need to countersink the top panel to fit the screws.
- Now place the top panel onto the board.
- Hold a spacer in place and then push a screw through the top panel, spacer and PCB.
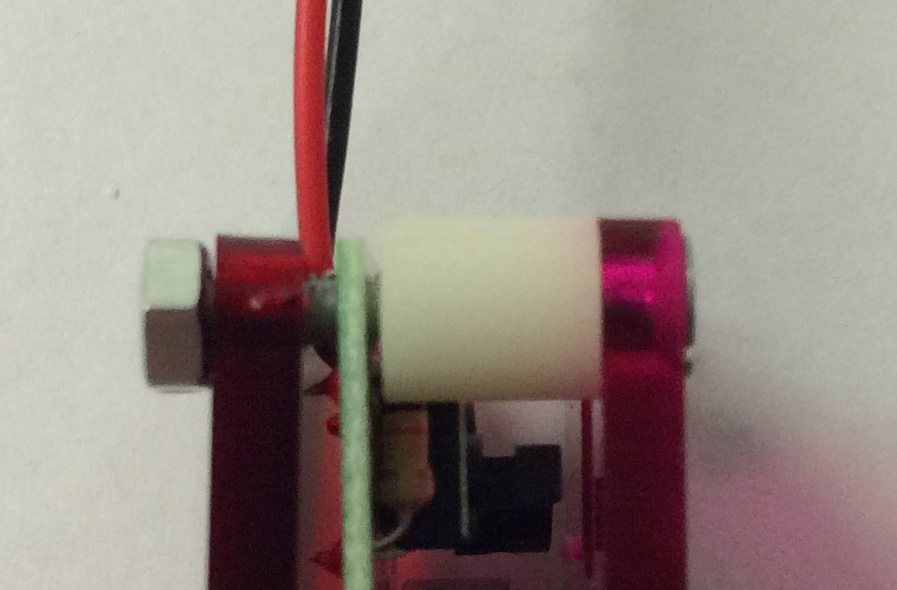
- Now place the bottom panel on and put a nut on the screw, it should look like the picture below.
- Repeat the same process for the next 3 screws.
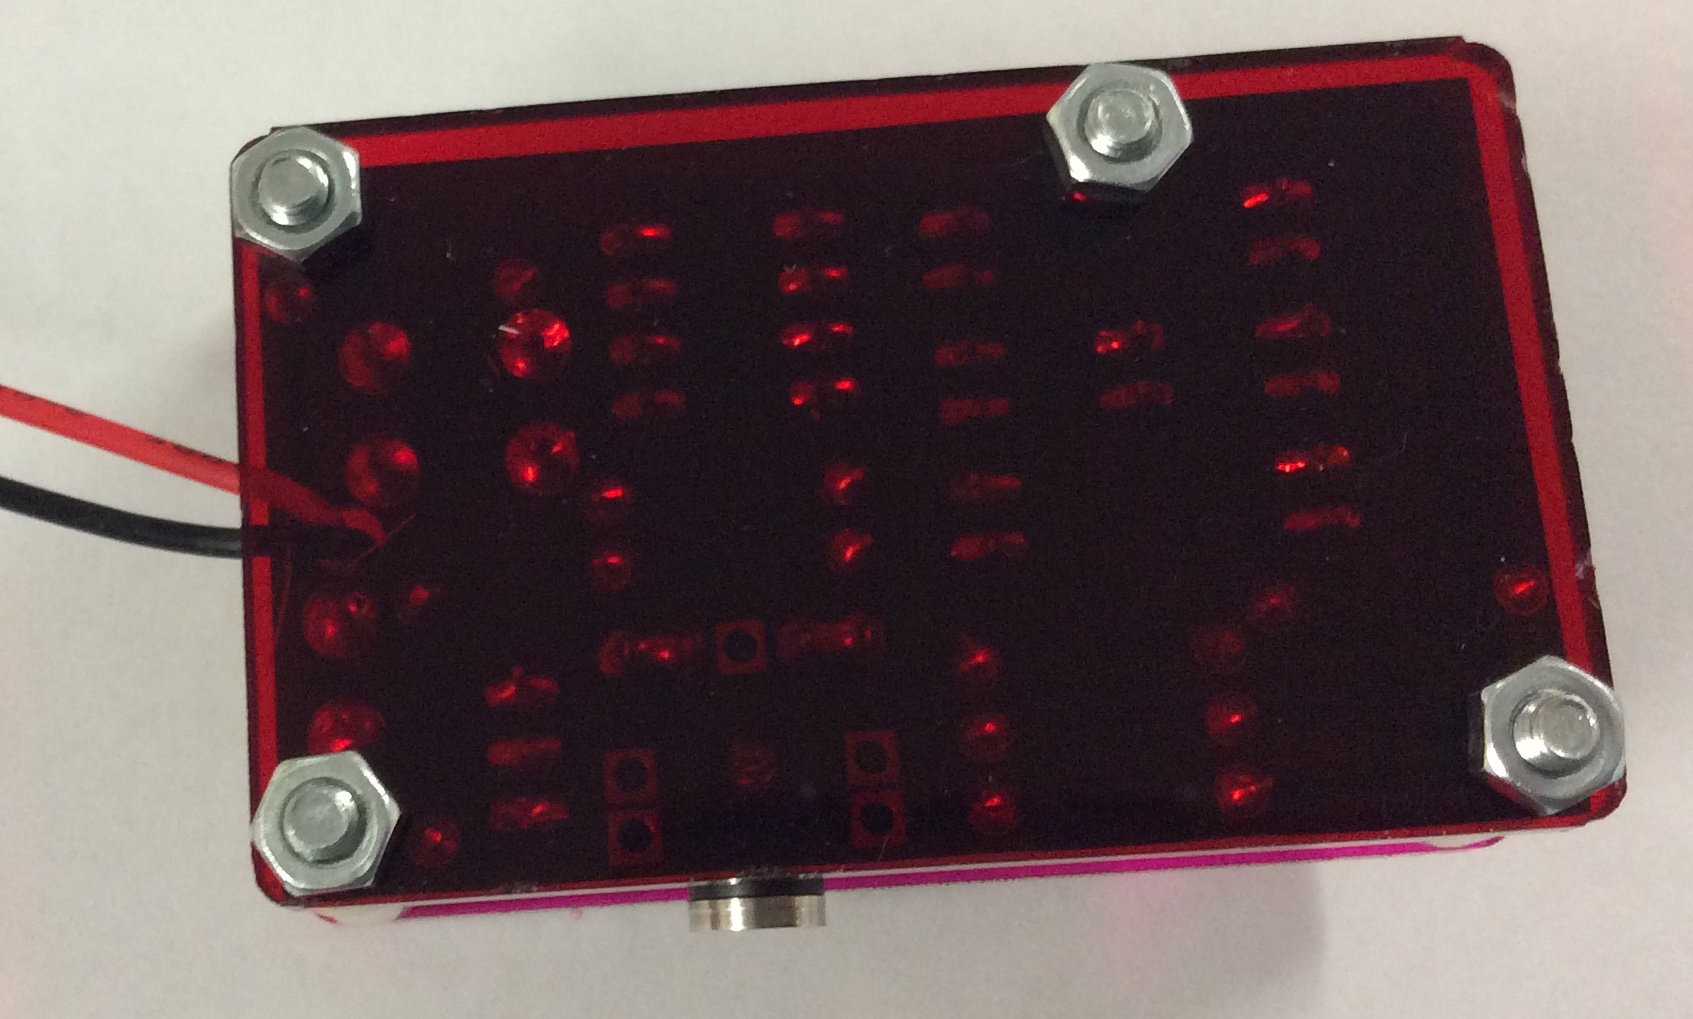
- Once all the screws are in place, you will need to tighten them using a screwdriver.
- Be careful not to overtighten the screws as you can crack the acrylic panel.


- You product is now complete and can be tested.
Badge It
- Take pictures of your digital die for assessment.
- The silver badge is progress ladder green - Produce a working model from parts supplied by a teacher, with limited assistance.
- The gold badge is progress ladder blue - Produce challenging, high-quality, working products with very limited teacher assistance.
- The platinum badge is progress ladder indigo - Independently produce fully working, high quality products.


