The Digital Die
Build It
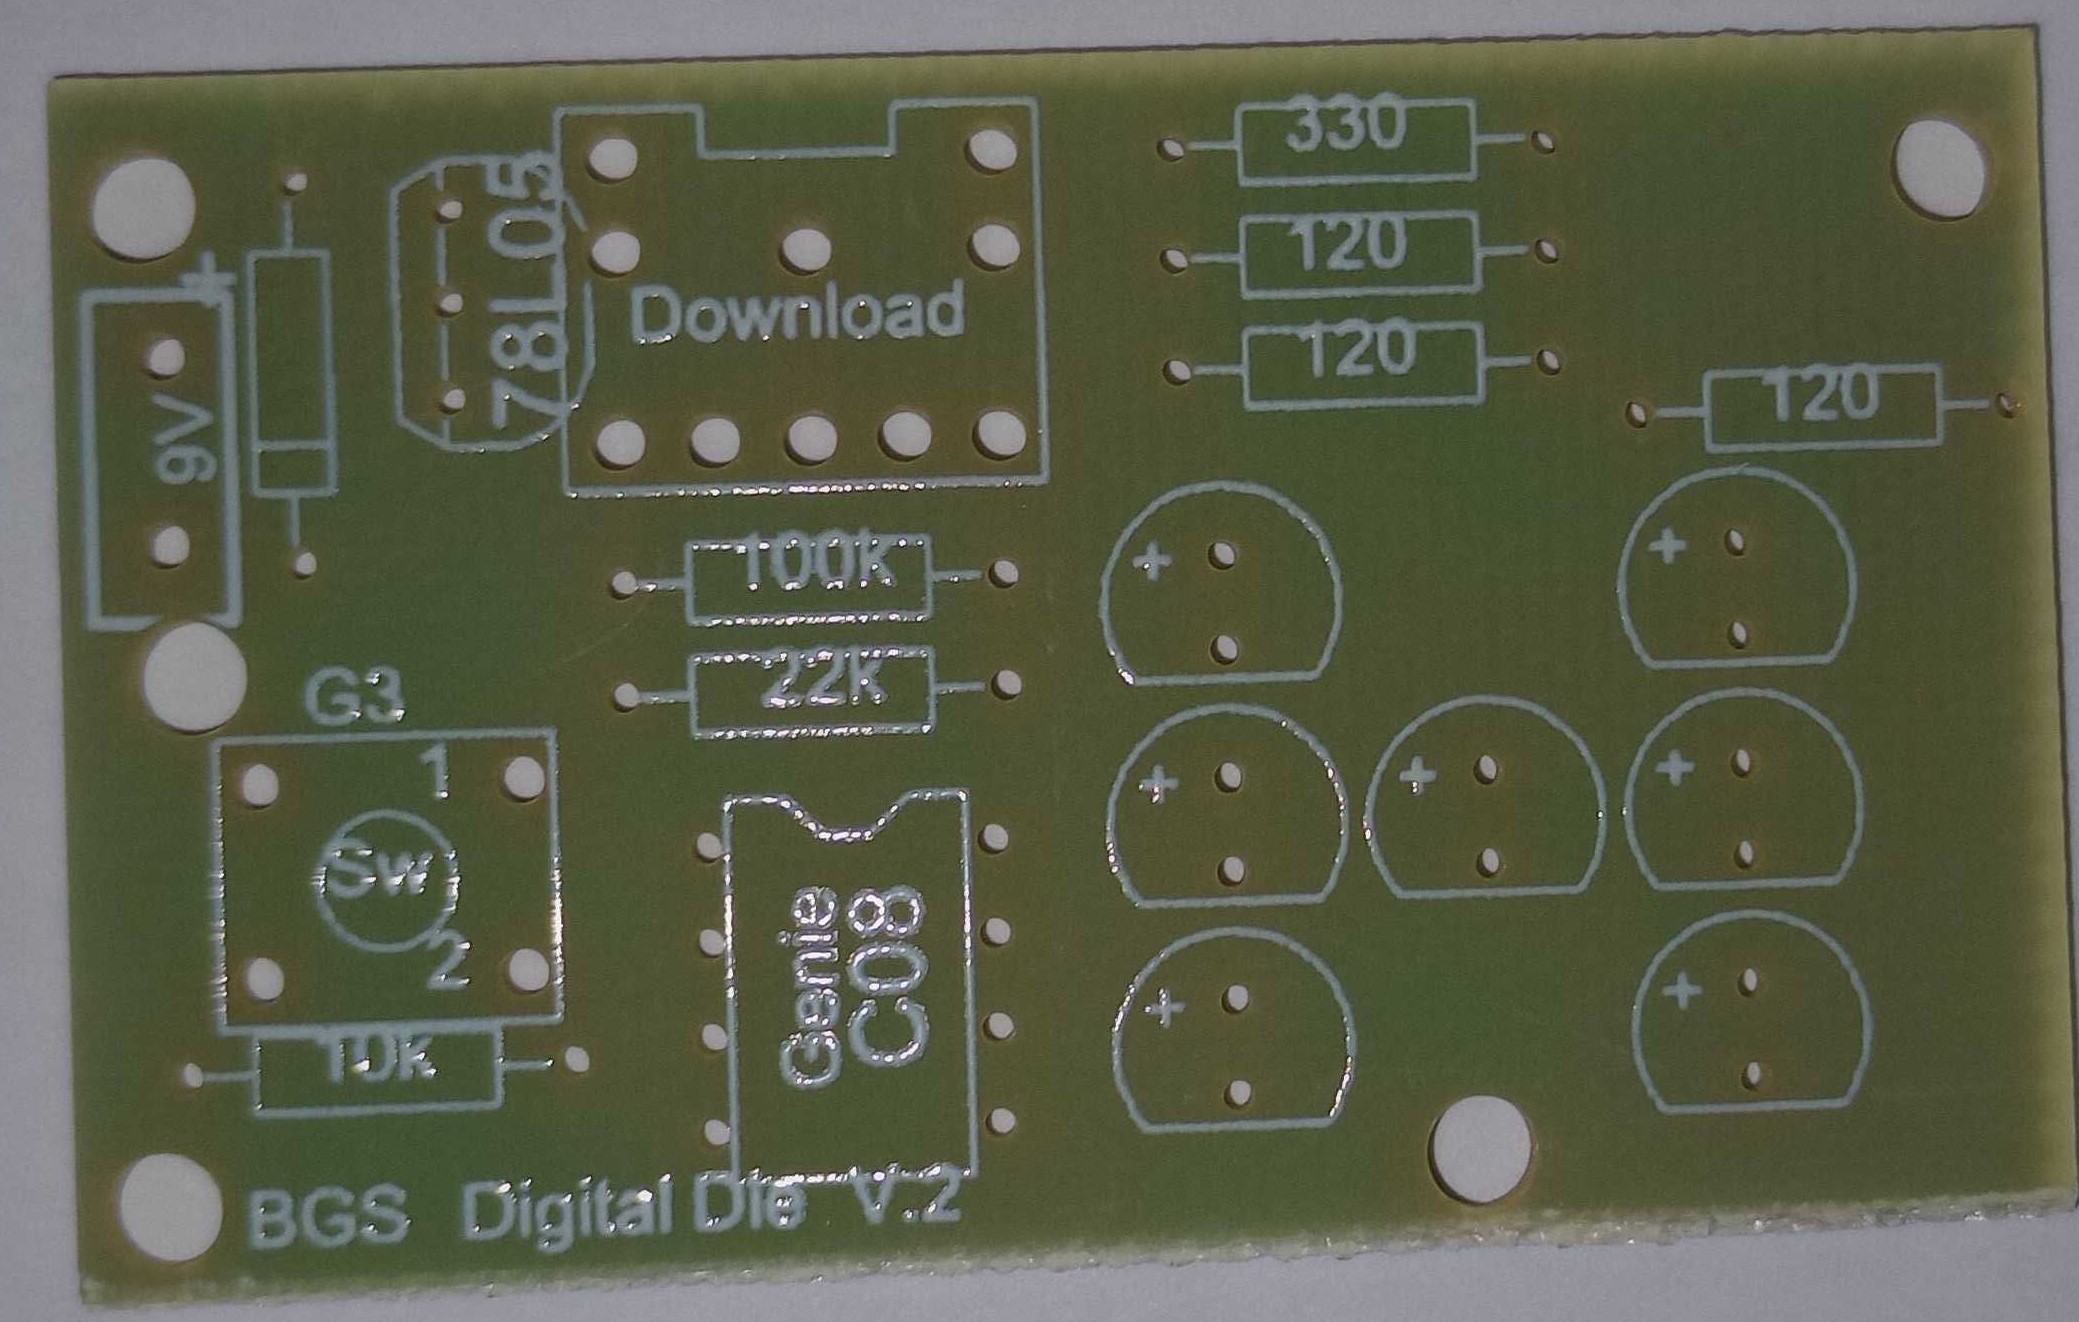
- Your initial board should look like this.
- You should be able to solder on the first few components without any guidance.
- Start with the smallest components first.
- Make sure the diode and the 78L05 voltage regulator are in the correct way around (or you might give yourself a bit of a suprise).
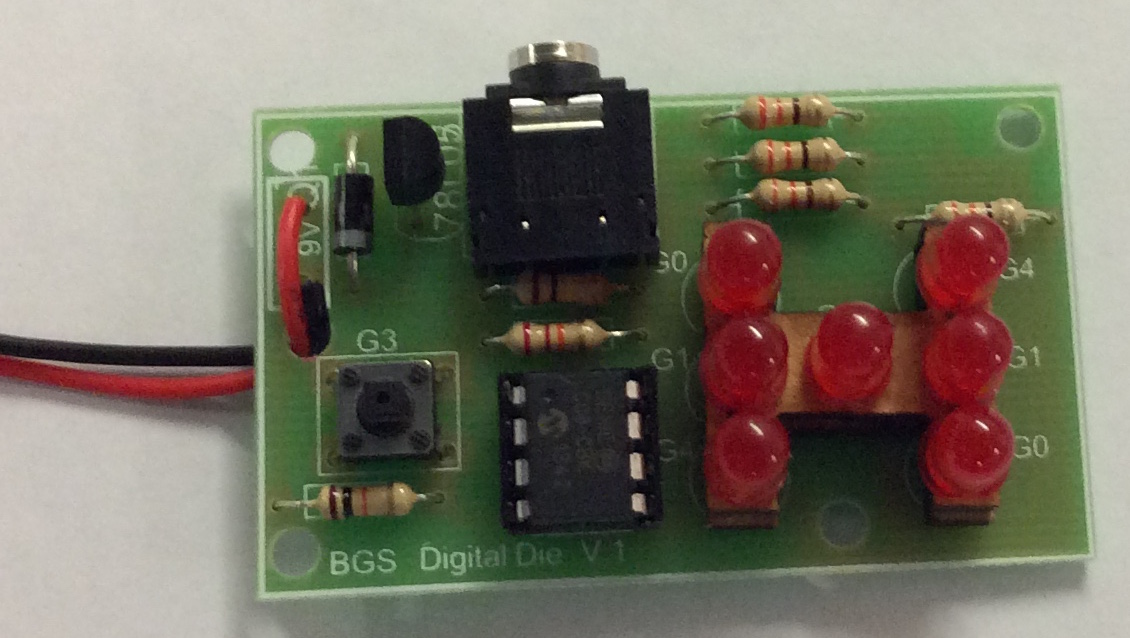
- Your board should look like this when it is finished.
Build It
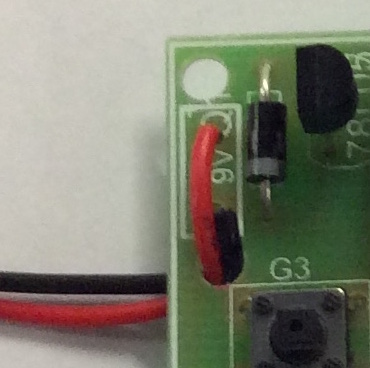
- Don't forget to pass your battery snap through the strain hole as shown below before soldering it on.
Build It
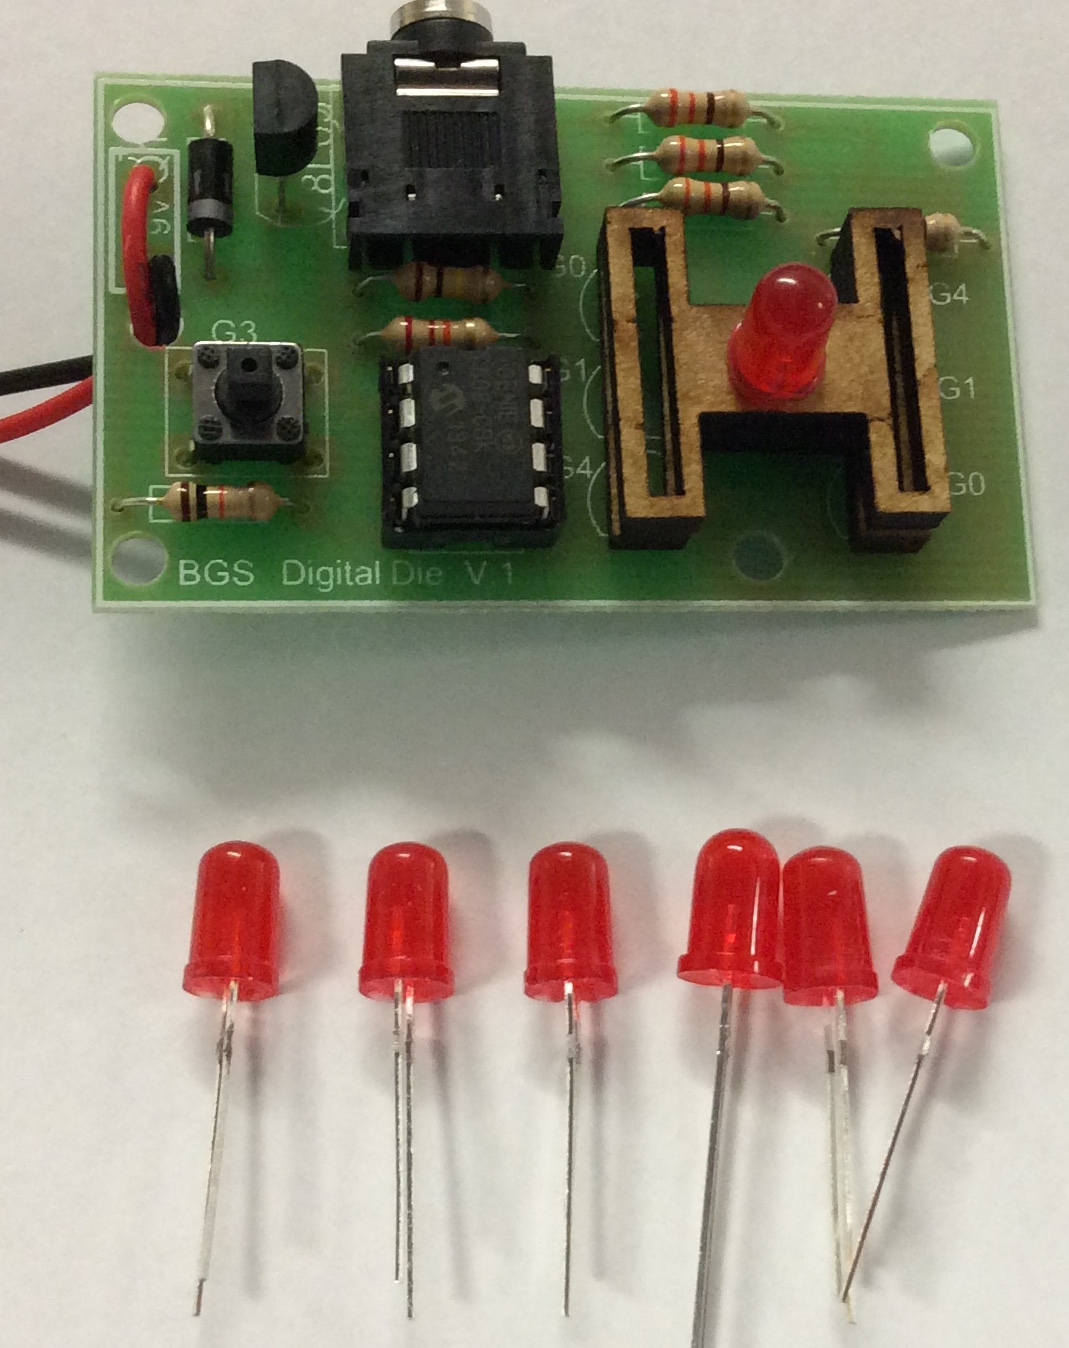
- With the basic components soldered to the board, you now need to add in the LEDs.
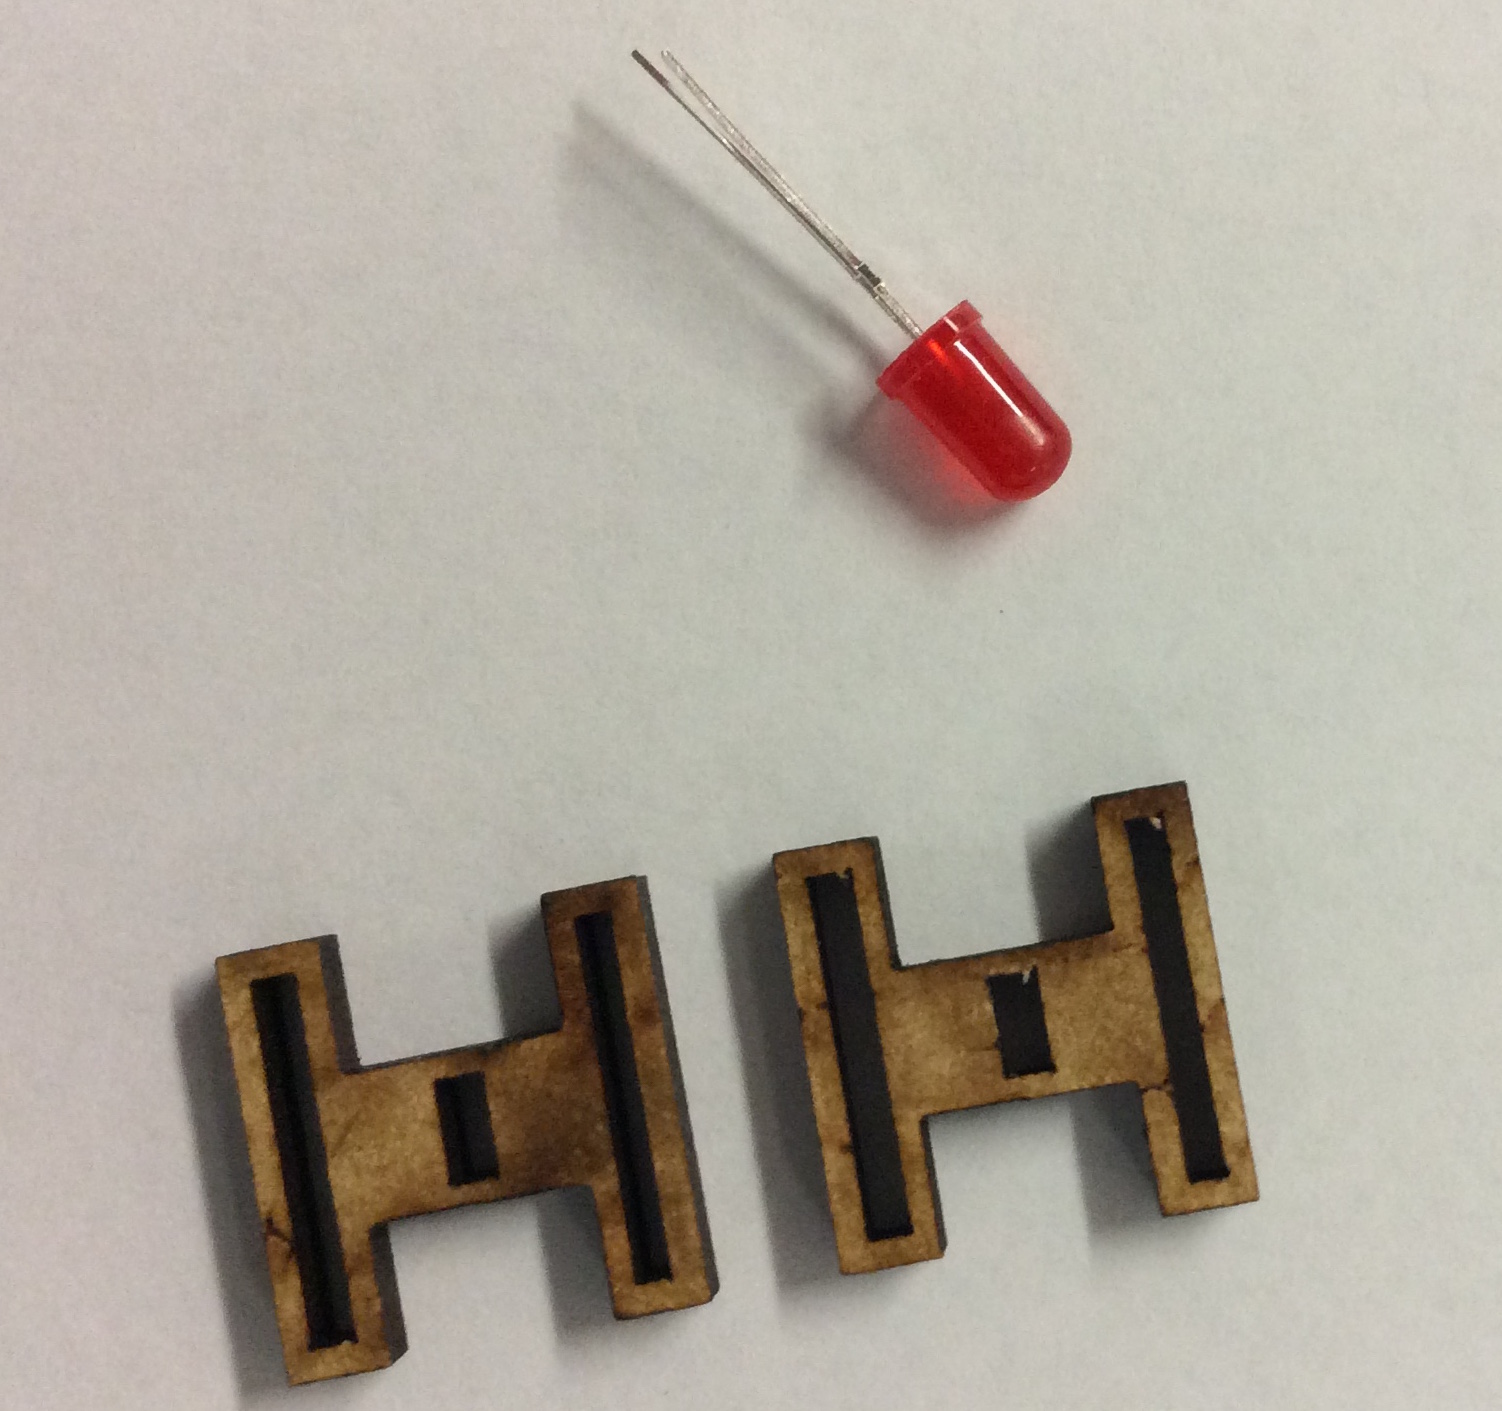
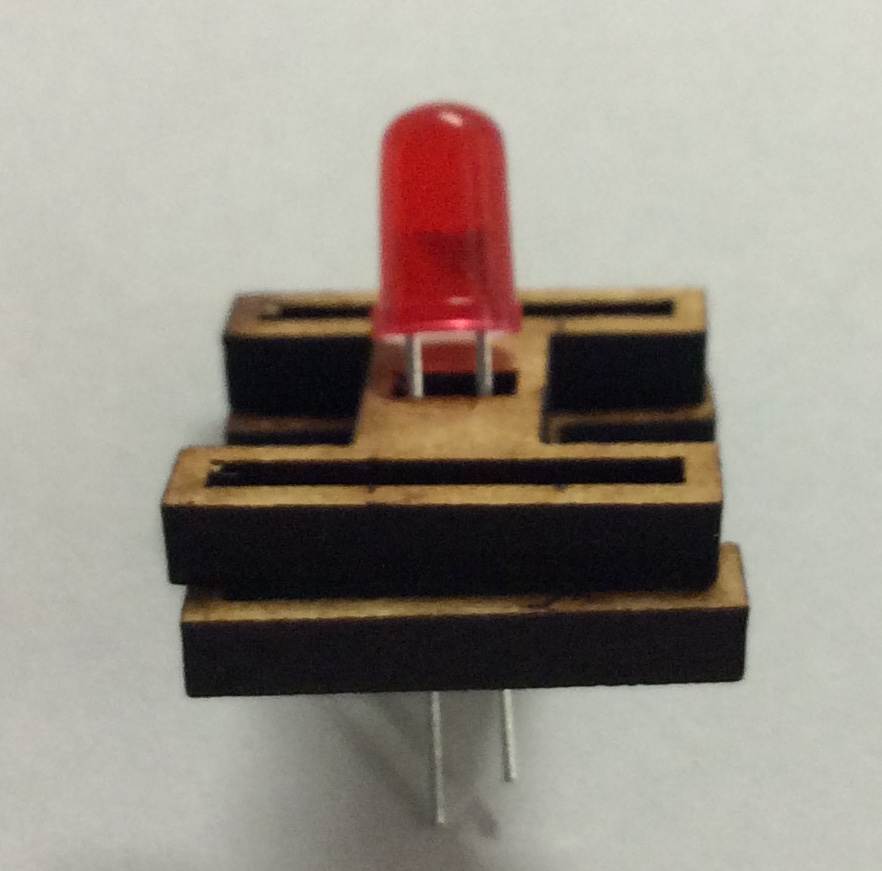
- The LEDs will be fitted using 2 spacers.
- Follow the guide below carefully.
- Take an LED and the two spacers.
- Place the one LED through the centre of the spacers.
- Now holding the LED and spacers together, place the carefully on the PCB and solder the LED in place.
- Make sure the LED is as close to the spacers as can be when you are finished soldering.
- You can now get the next 6 LED's ready.
- You can now add the rest of the LED's. Make sure you have the long leg(+) in the correct hole.
- Now you must download your program to the board and test it before continuing.
Badge It
- Take a picture of the solder side and component side of your board.
- Upload your program to your board and make sure it works. Take a photo of your board working.
- Your badge will be awarded according to the quality of your work.
- The silver badge progress ladder, green - Solder more challenging components (e.g. ICs) to a PCB, with assistance.
- This gold badge progress ladder, blue - Confidently and consistently solder components to a high standard.
- This platinum badge progress ladder, indigo - Produce working boards to a high standard, ensuring wires are correctly dressed and soldering is tidy.
