The Door Buzzer
1 Soldering your board
Build It
- Gather the following components.
- A 9 or 5V Buzzer
- A BC547B Transistor
- A 330Ω resistor
- A 1kΩ resistor
- and your board.
- Solder these components directly to your board as shown below (ensure you get the transistor and the buzzer the right way around)
Build It
- Now we need to solder on the LED.
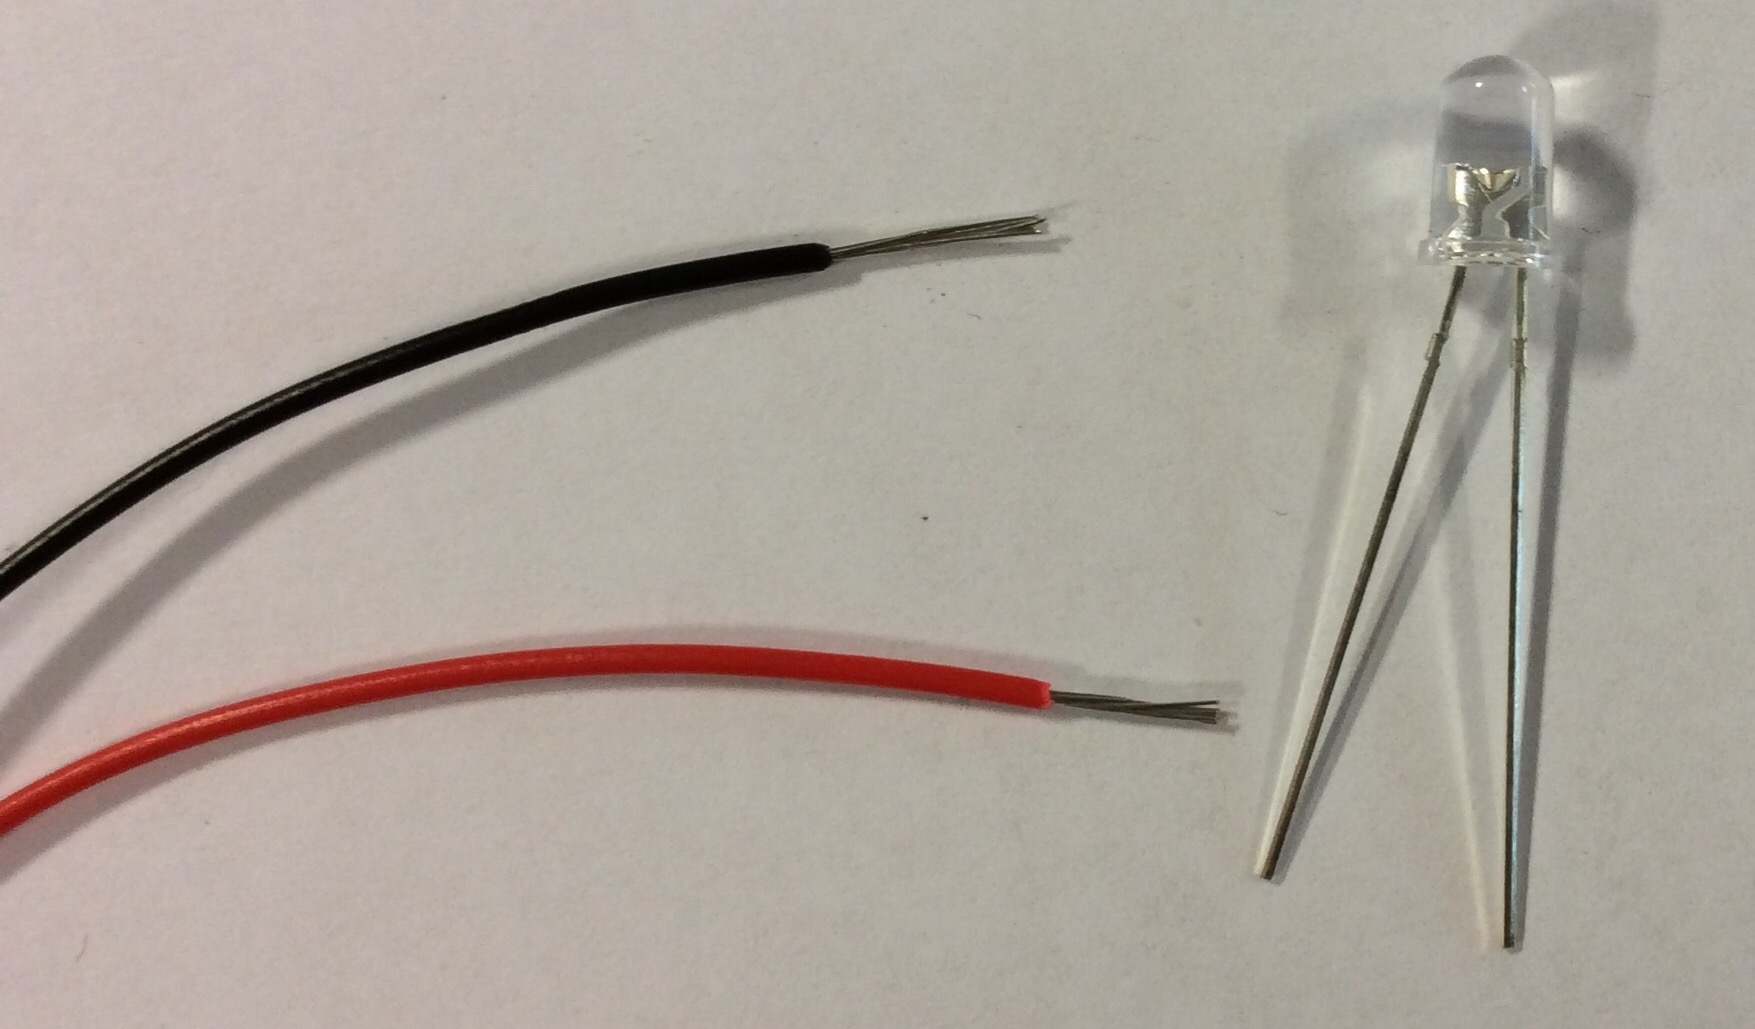
- To allow the LED to be mounted in the case, we're going to solder it onto flying leads.
- Firstly, cut around 10cm of red and black
multicore wire and strip the ends. Also find an 5mm LED in the colour you desire.
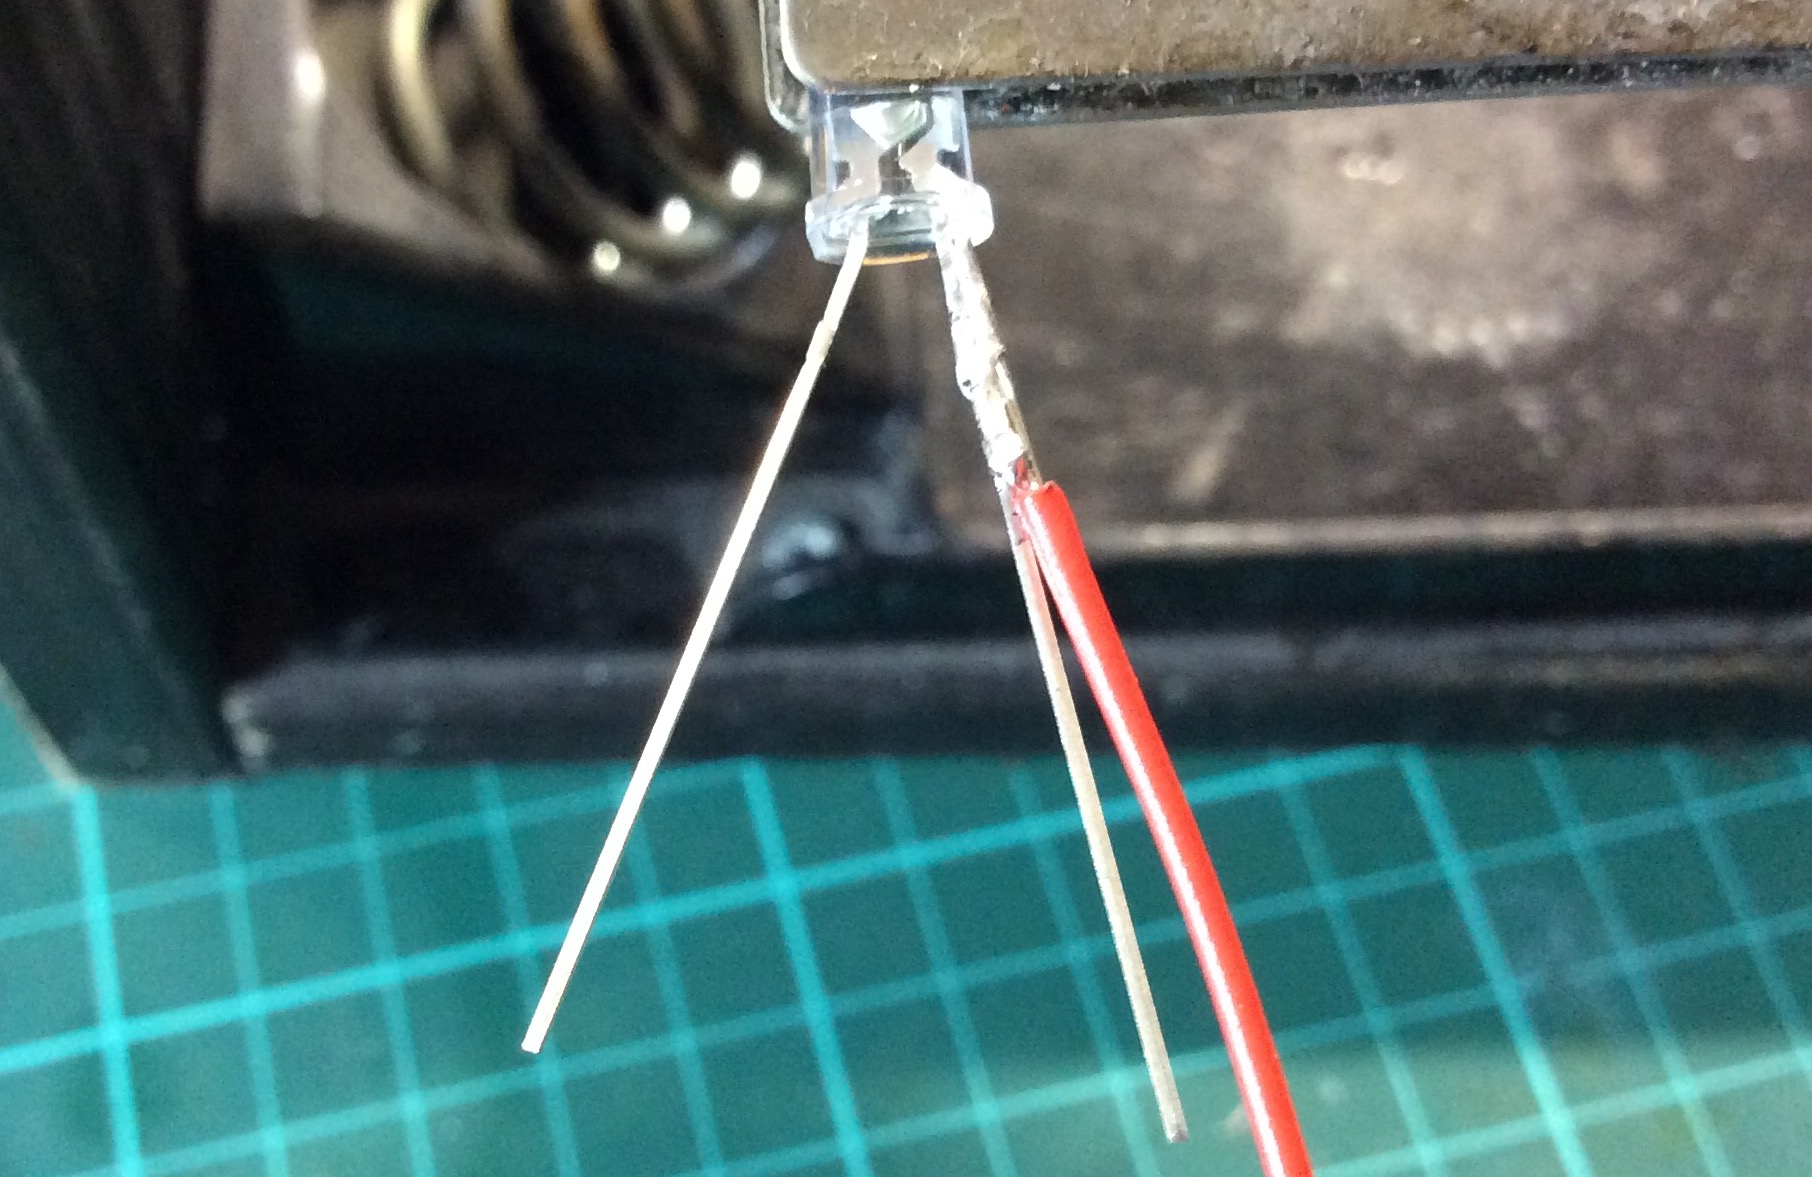
- Now apply a little bit of solder to the long leg of the LED.
- then apply a little solder to the stripped end of the red wire.
- Now you can hold the two together, and use your soldering iron to apply a little heat. The solder will melt and bond the two together.
- Now slide some heatshrink up the wire so that it covers the solder join. Use the edge of your iron to heat the heatshrink.
- Repeat this with the short leg and the black wire, then twist the wires together.
- You can now solder the flying leads into the board.
Build It
- We need to do the same with the push-to-make switch
- Twist red and black multicore wire through the holes in the legs of the switch.
- Then add solder and heatshrink to secure the leads in place.
- Then solder the leads to the board.
Build It
- Lastly you need to solder your battery snap in place.
- Feed the leads of your battery snap through the strain hole and then down into the solder holes as shown.


- Then solder them in place.
Badge It
- Take photos of your board from both sides.
- Silver - Produce a soldered PCB (Mostly complete)
- Gold - Produce a working PCB has neat wiring OR neat soldering
- Platinum - Your working circuit has both neat wiring and soldering - IMAGE of the SOLDER SIDE


