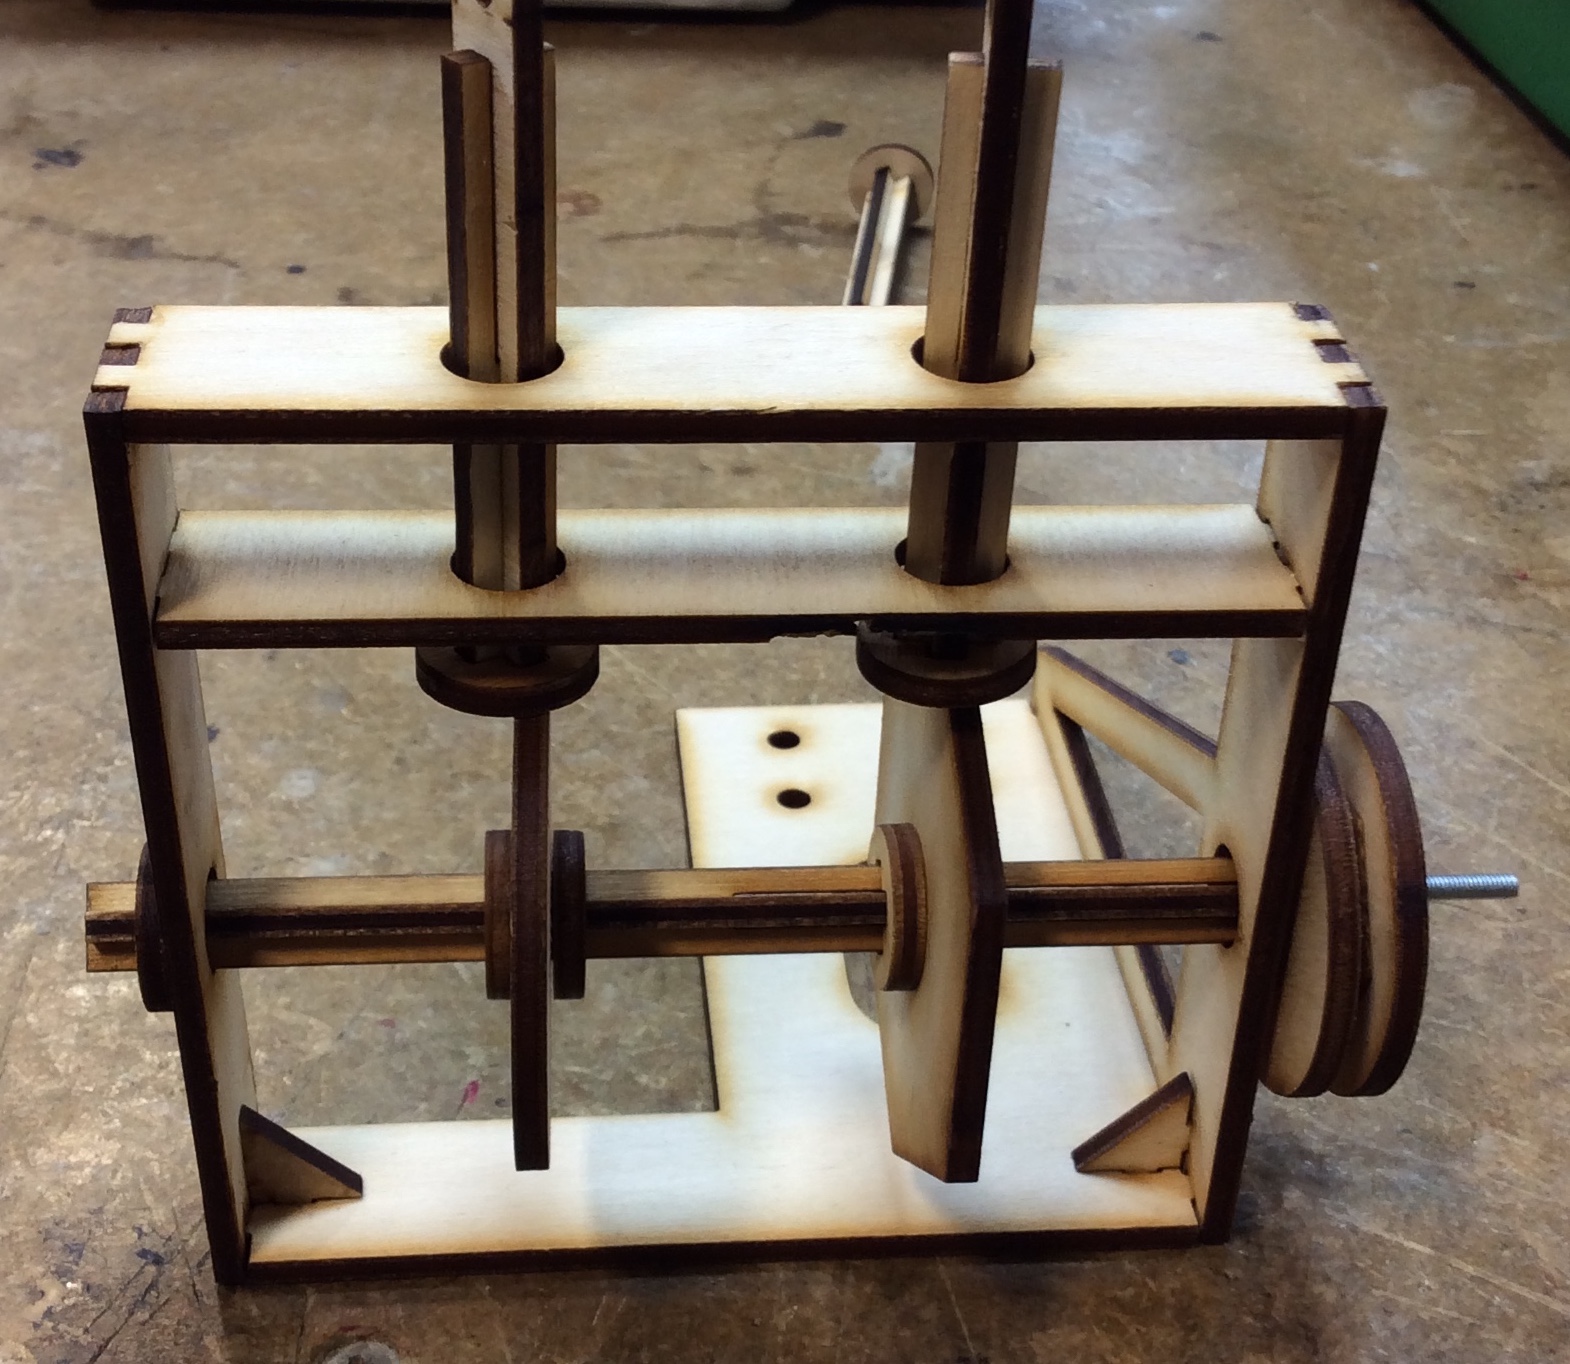
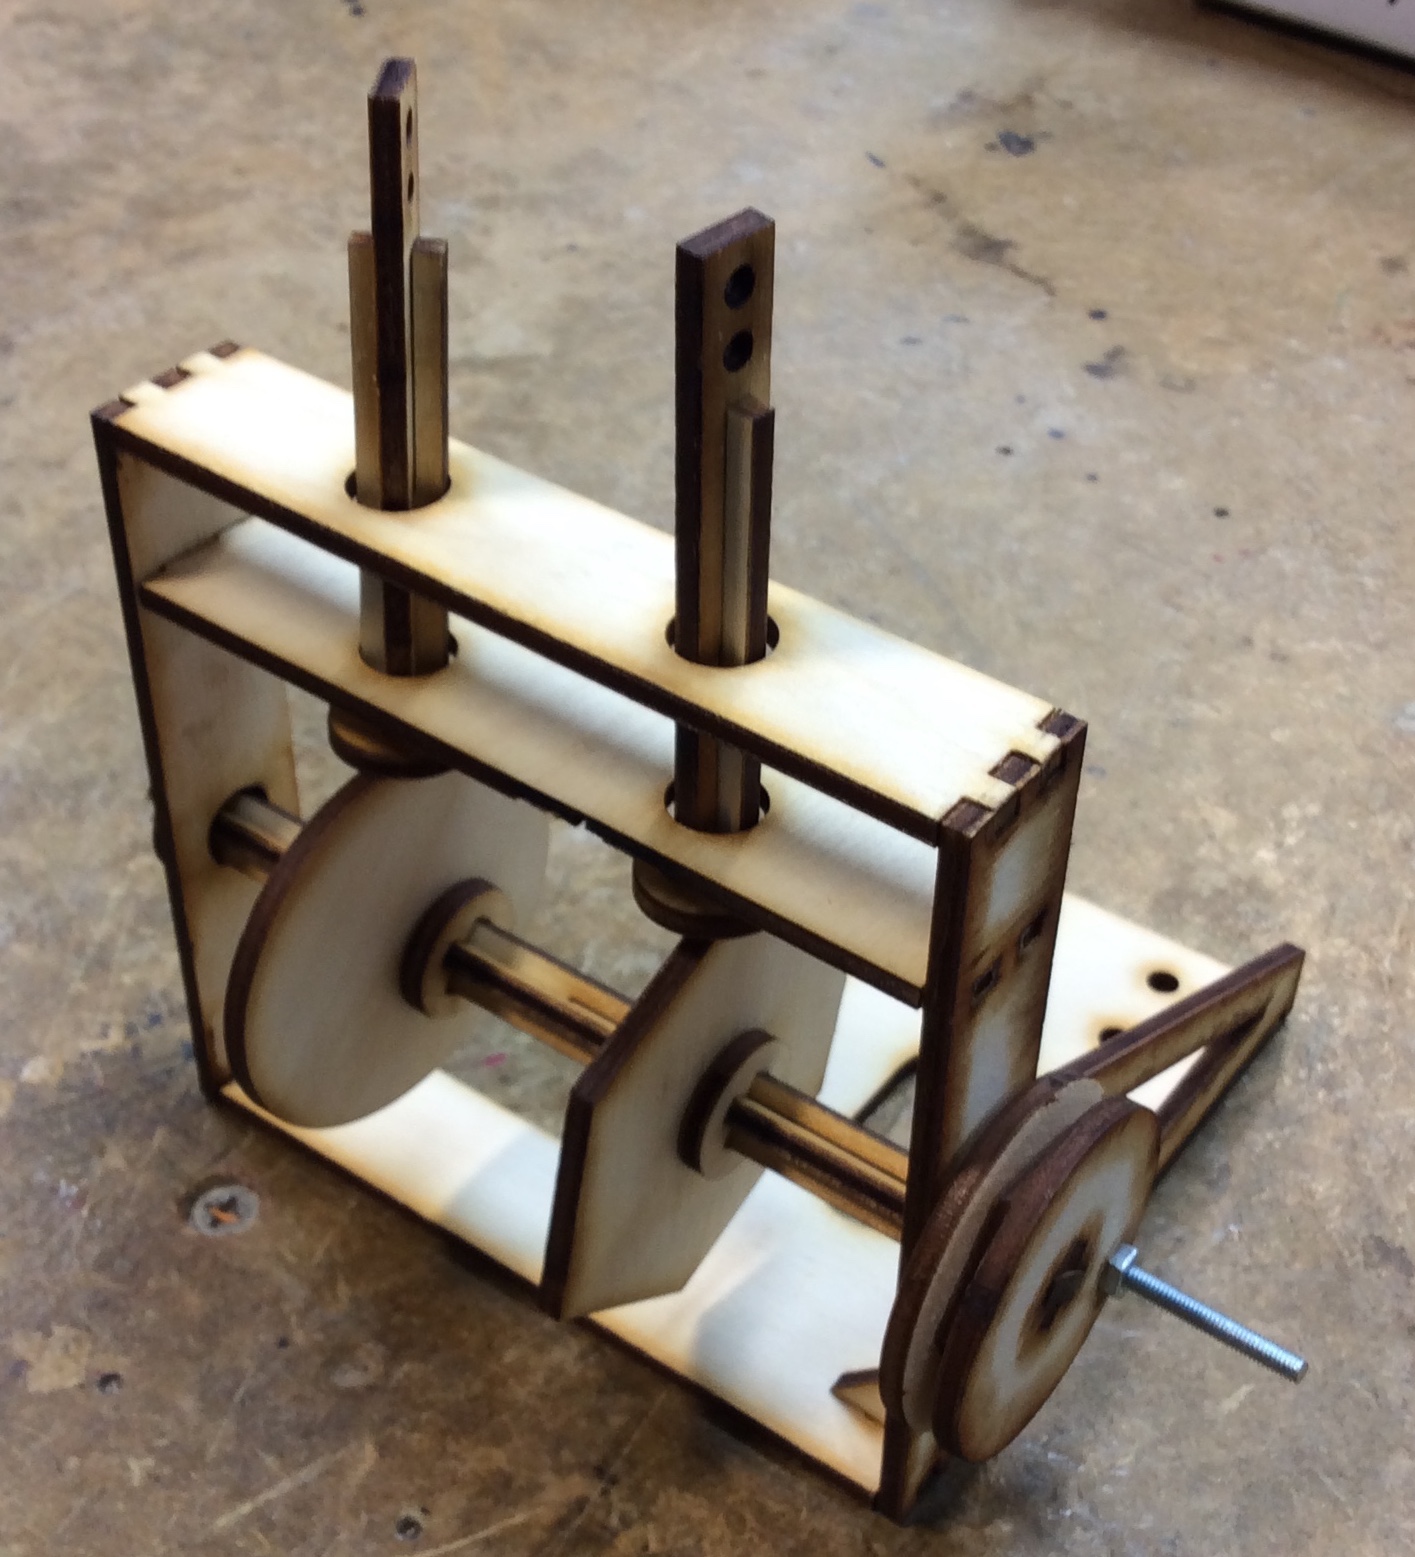
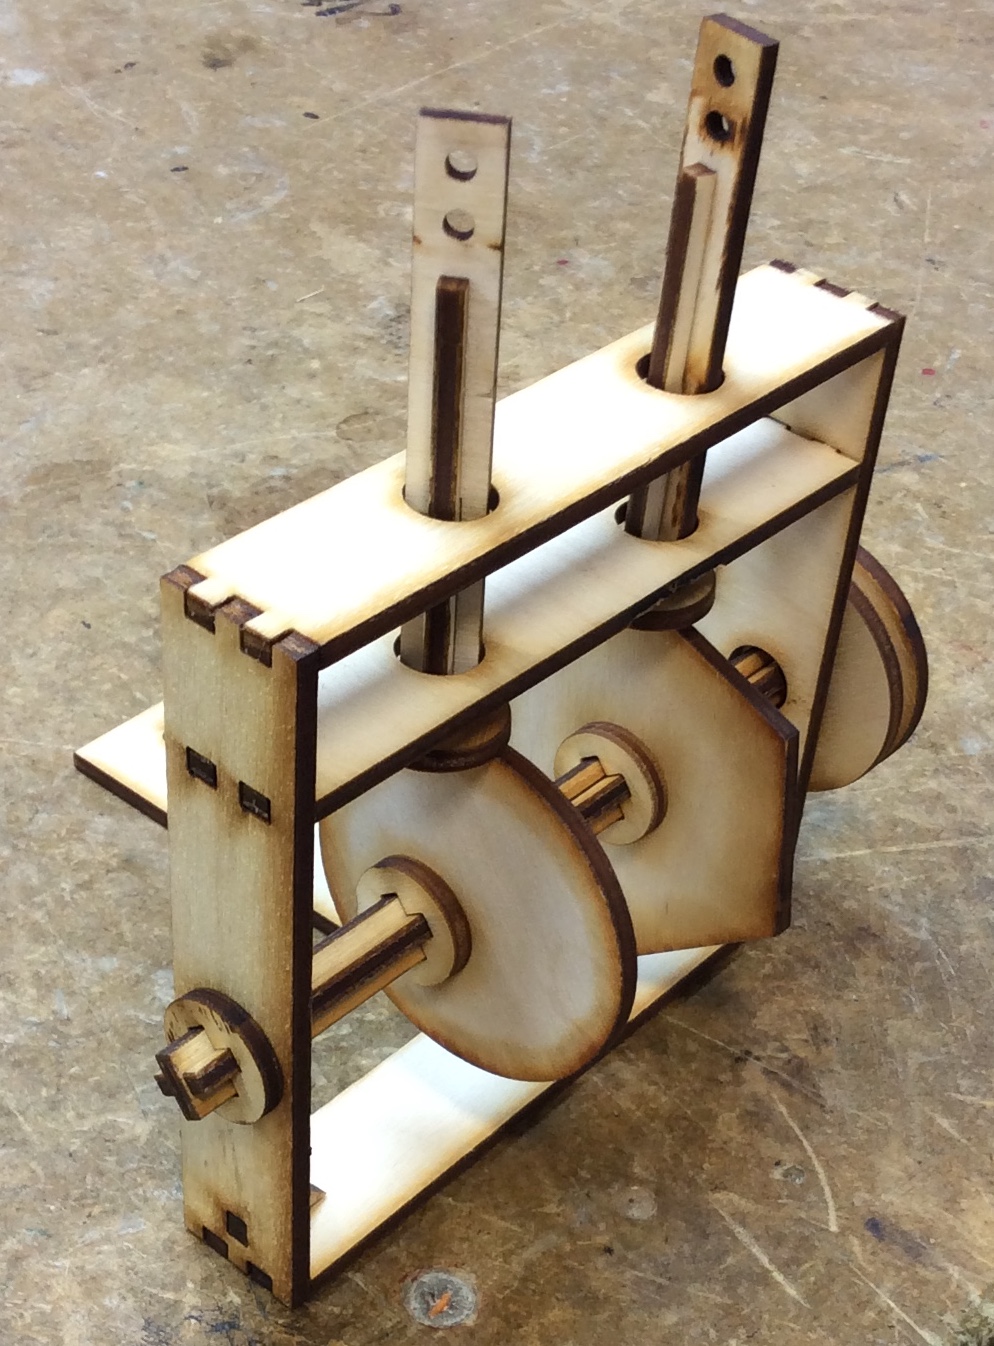
| Introduction | Week 1 | Week 2 | Week 3 | Week 4 | Week 5 | Week 6 | Week 7 | Week 8 | Week 9 | BBL Tasks |
An Introduction to Mechanisms
1 Build
Learn It
- The initial build for this project won't take long.
- You're going to build the basic frame of your mechanisms project, before designing the cams.
Build It Part 1
- Collect the pieces you will need.
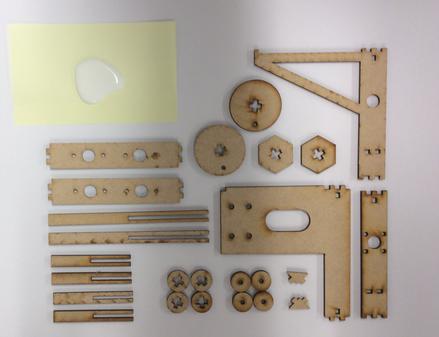
- First you'll need the base and the two corner supports.
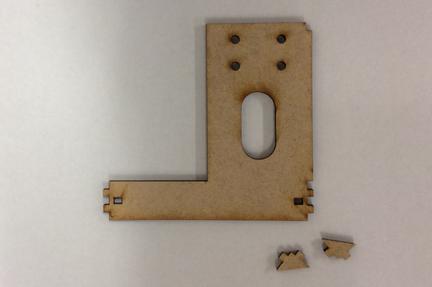
- Apply some PVA glue to the finger-joints of the supports.
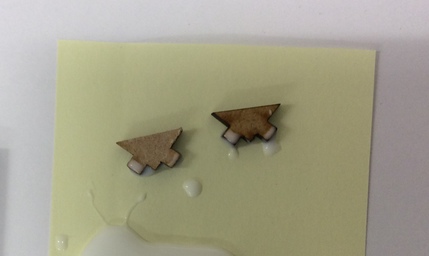
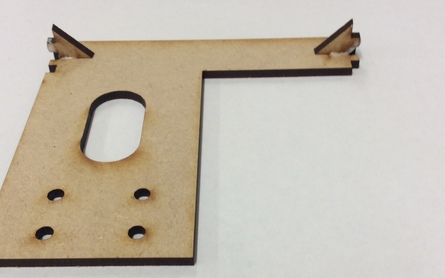
- Then insert them into the base.
- Now take the side struts and apply a little more glue to the finger-joints and along the edges.
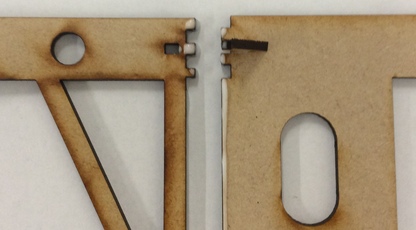
- Fix them using the corner supports, so that they are perpendicular to the base.
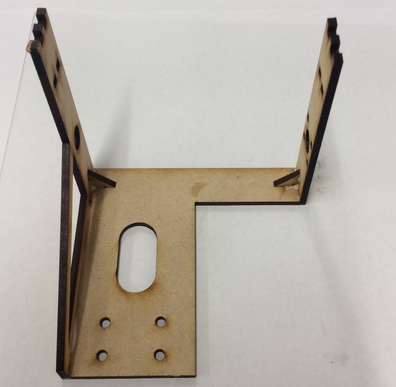
- Next you'll need the follower guides.
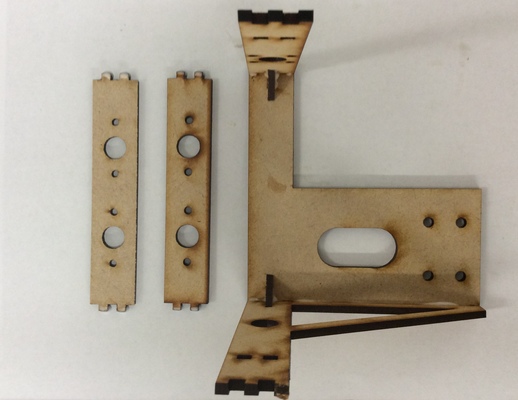
- Apply glue to the finger joints, and insert them between the verticle struts.
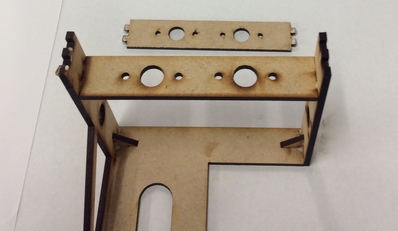
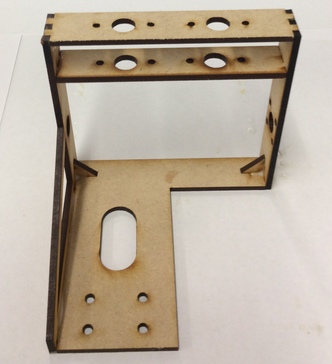
- And that's the first part of the build completed.
Badge It - Silver
- Take a picture of your completed frame and upload it to www.bournetolearn.com.
Build It Part 2
- Collect the pieces you will need.
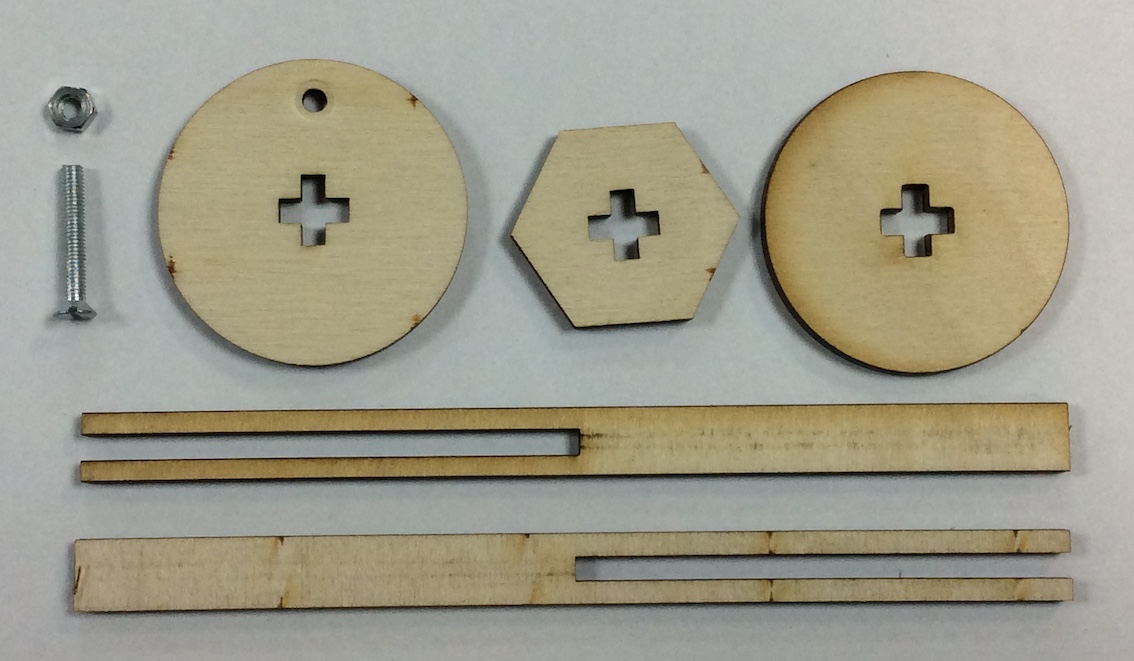
- First you'll need the pulley crank handle part - with the hole in it.
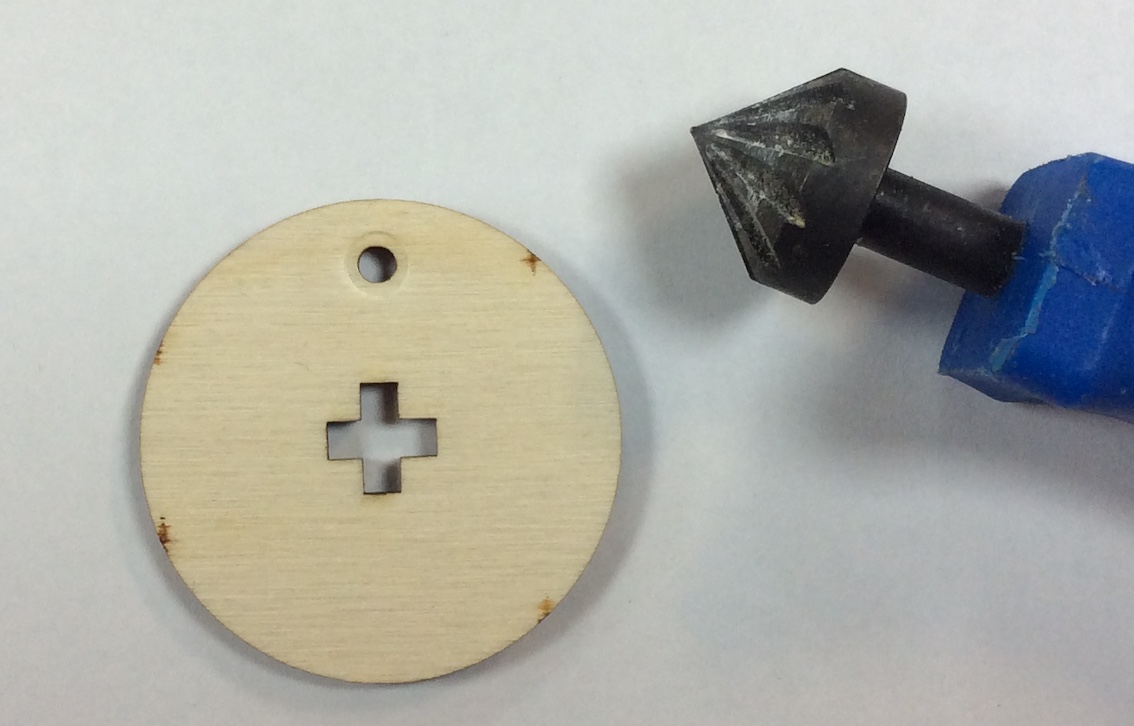
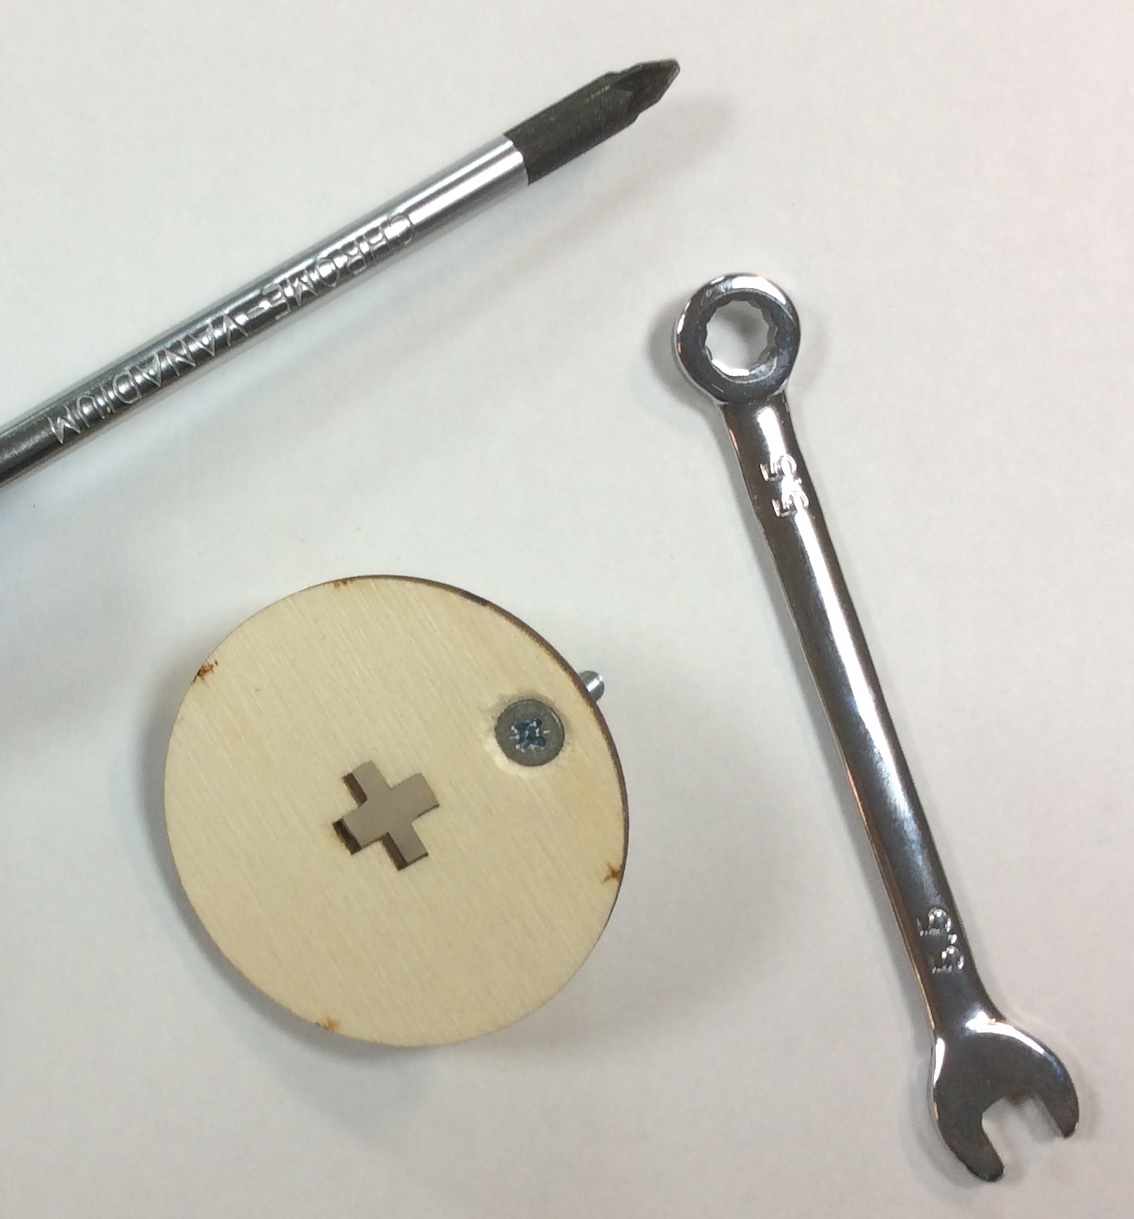
- Use the countersink tool to countersink the hole and then place the machine screw through it and tighten the nut on the opposite side using the spanner.
- Next collect the following 2 parts and place them together as seen below.


- Now use some PVA glue and glue the one end.
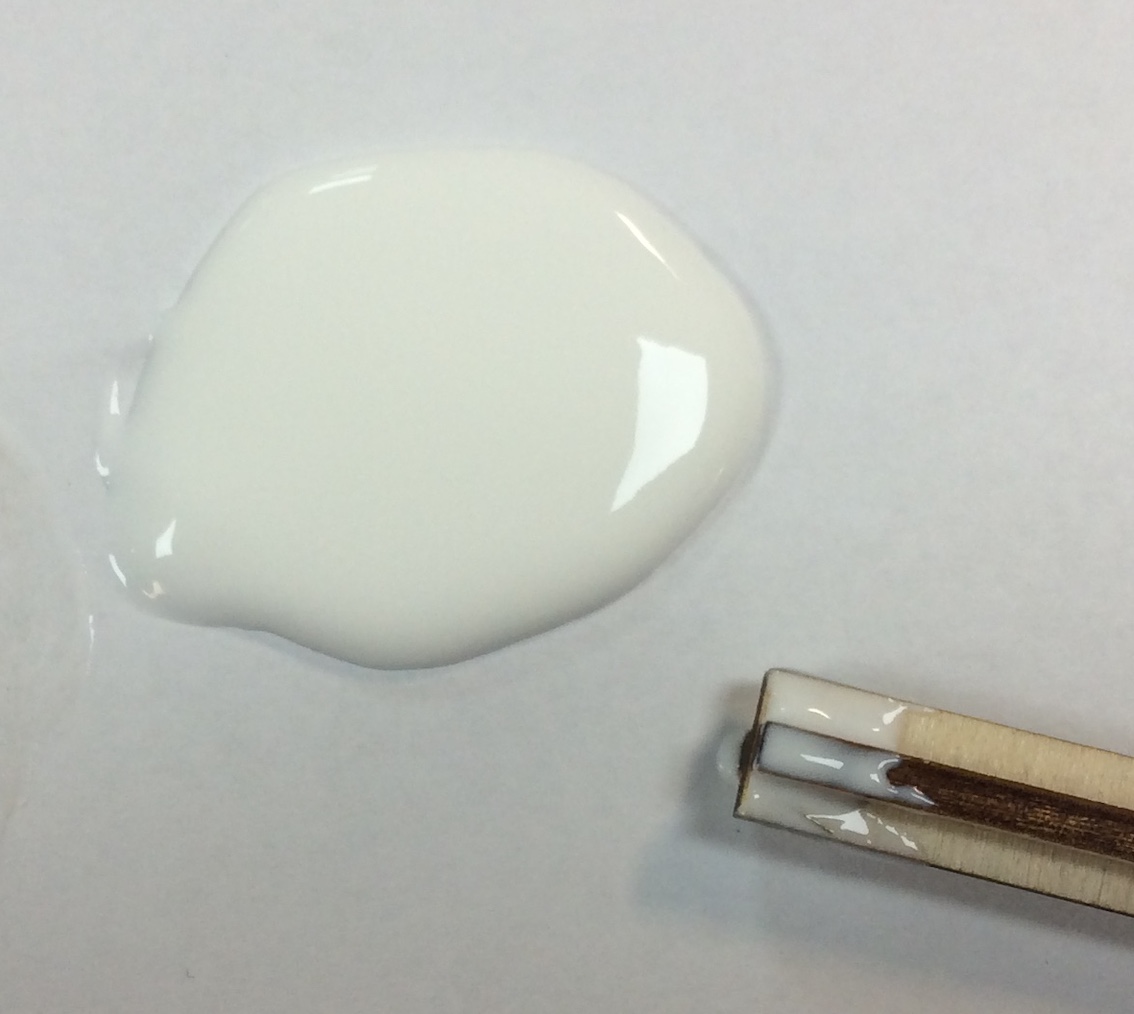
- Now slide the other pulley side (no hole) over the cam shaft.
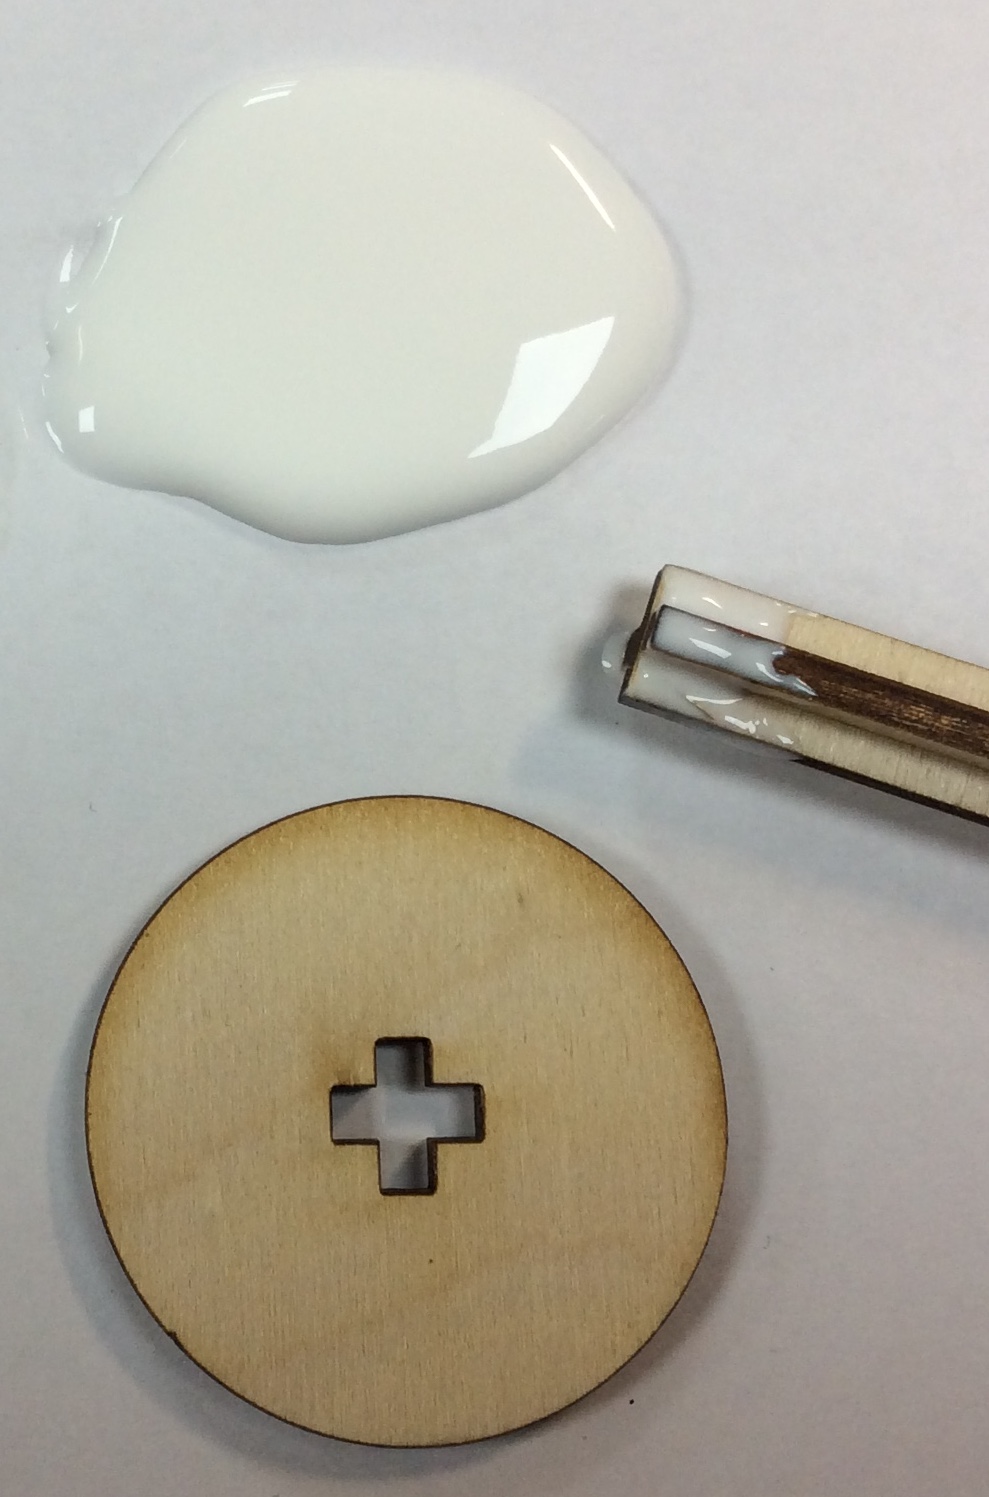
- Next slide the pulley into place and put PVA glue on the flat surface.
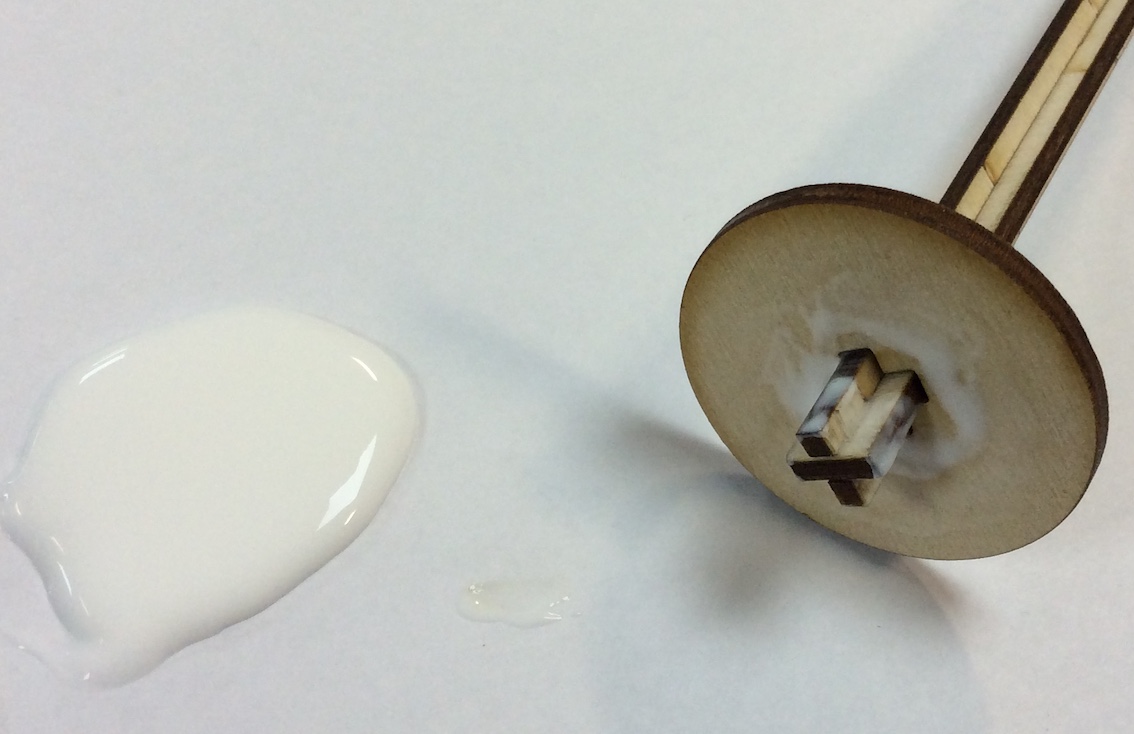
- Next, place the hexagonal part in place and then glue the flat surface.
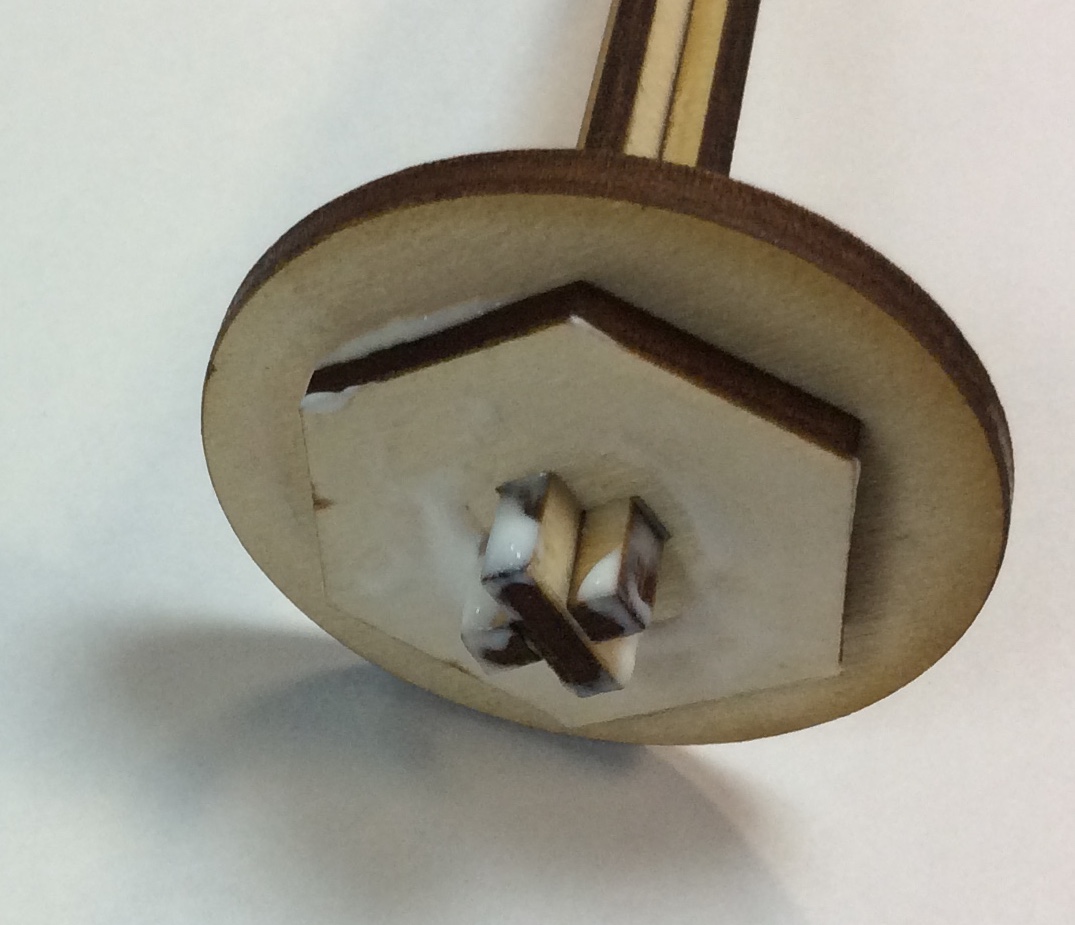
- Finally, place the first pulley handle in place and slide them to the end.
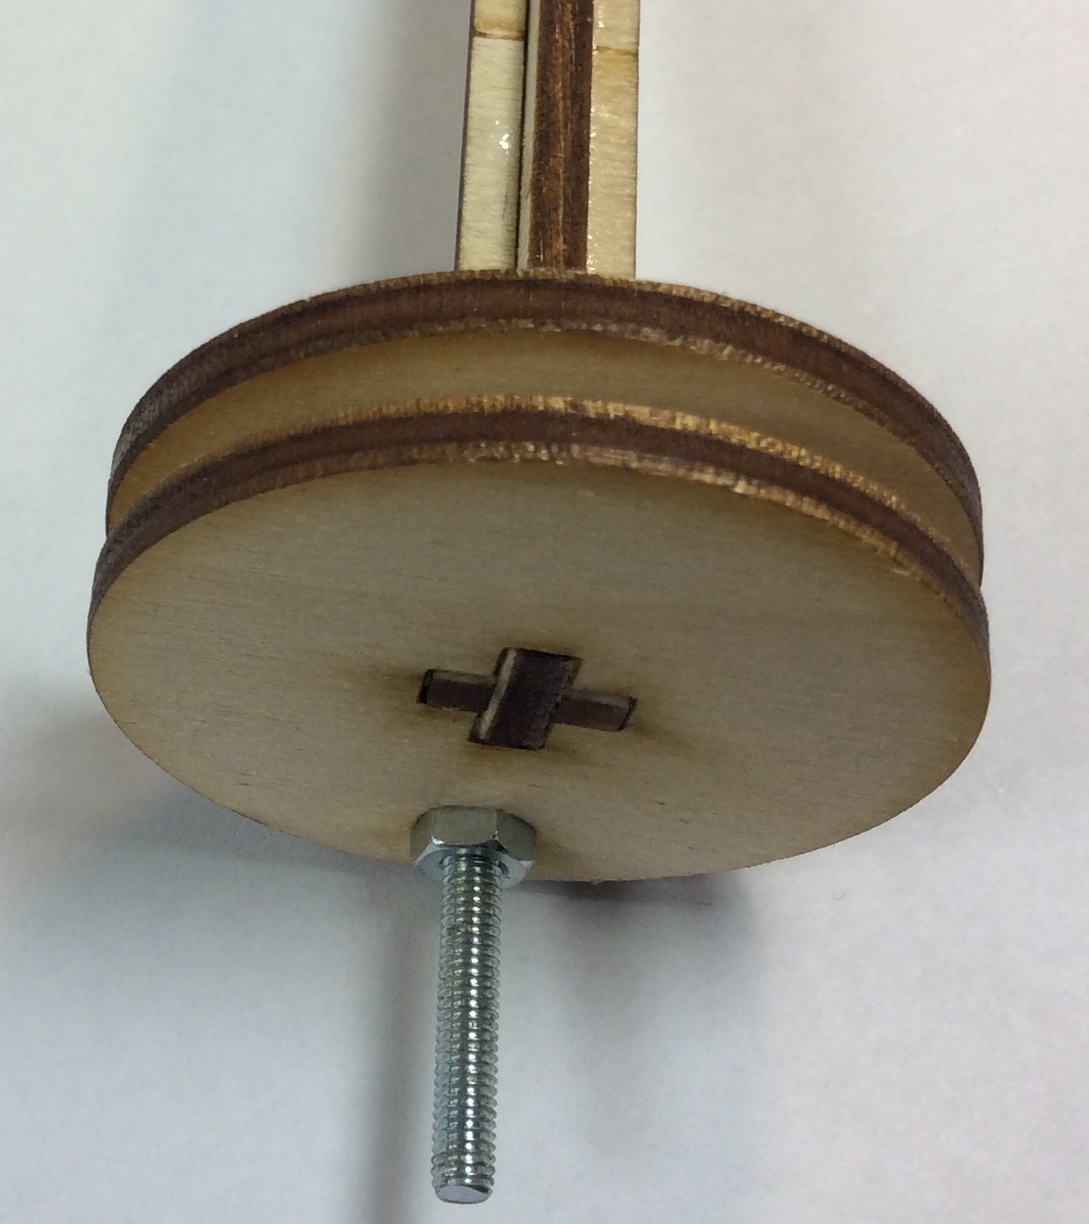
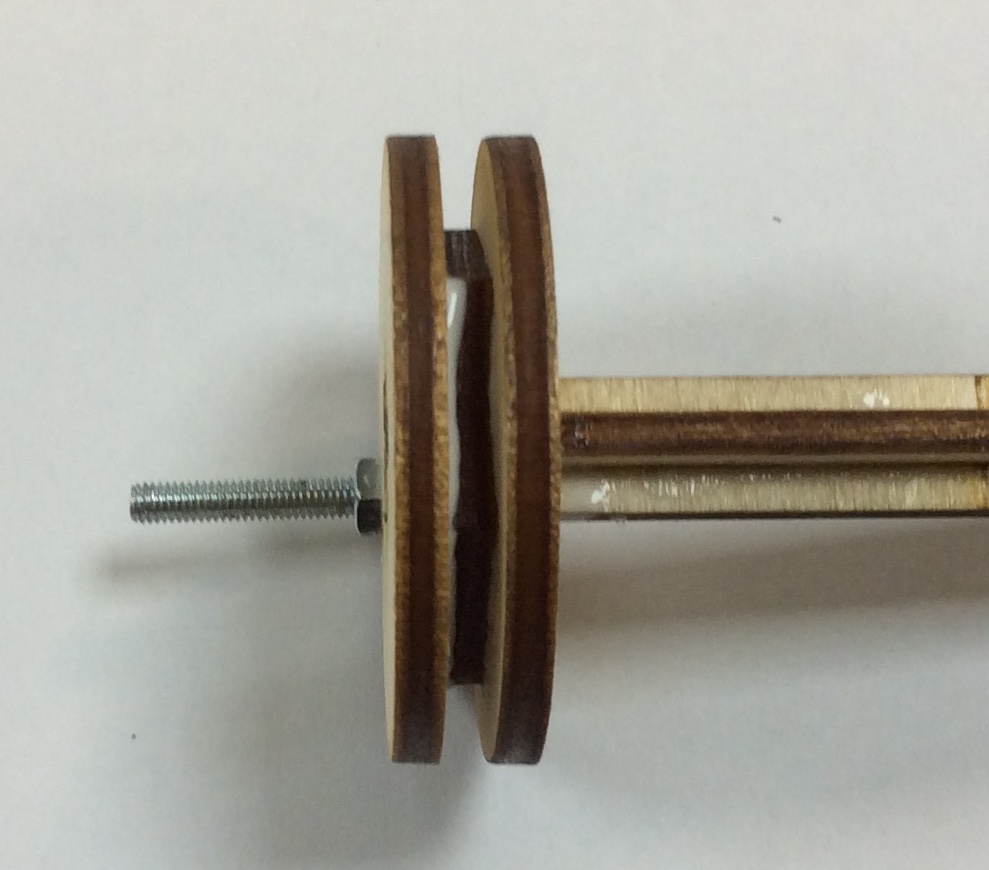
- Now tape these parts to the side of your frame, Do not push it through the frame, as this will glue it in place.
