| Week 1 | Week 2 | Week 3 | Week 4 | Week 5 | Week 6 | Week 7 | Additional SolidWorks help | BBL tasks | Assessment guidance |
A Project Storage Box
1 Building the box
Learn It
- It's time to start manufacturing your box.
- Before you start, it would be worth checking out the Badge It section at the end of this page, as you're badge will depend on the care and precision with which you assemble the box.
Research It
- Before you start, use the web to identify and describe some different types of glue that can be used to bond wooden surfaces.
- Write up your findings in a table in your portfolio.
Build It - The base
- The finished box should look like this.

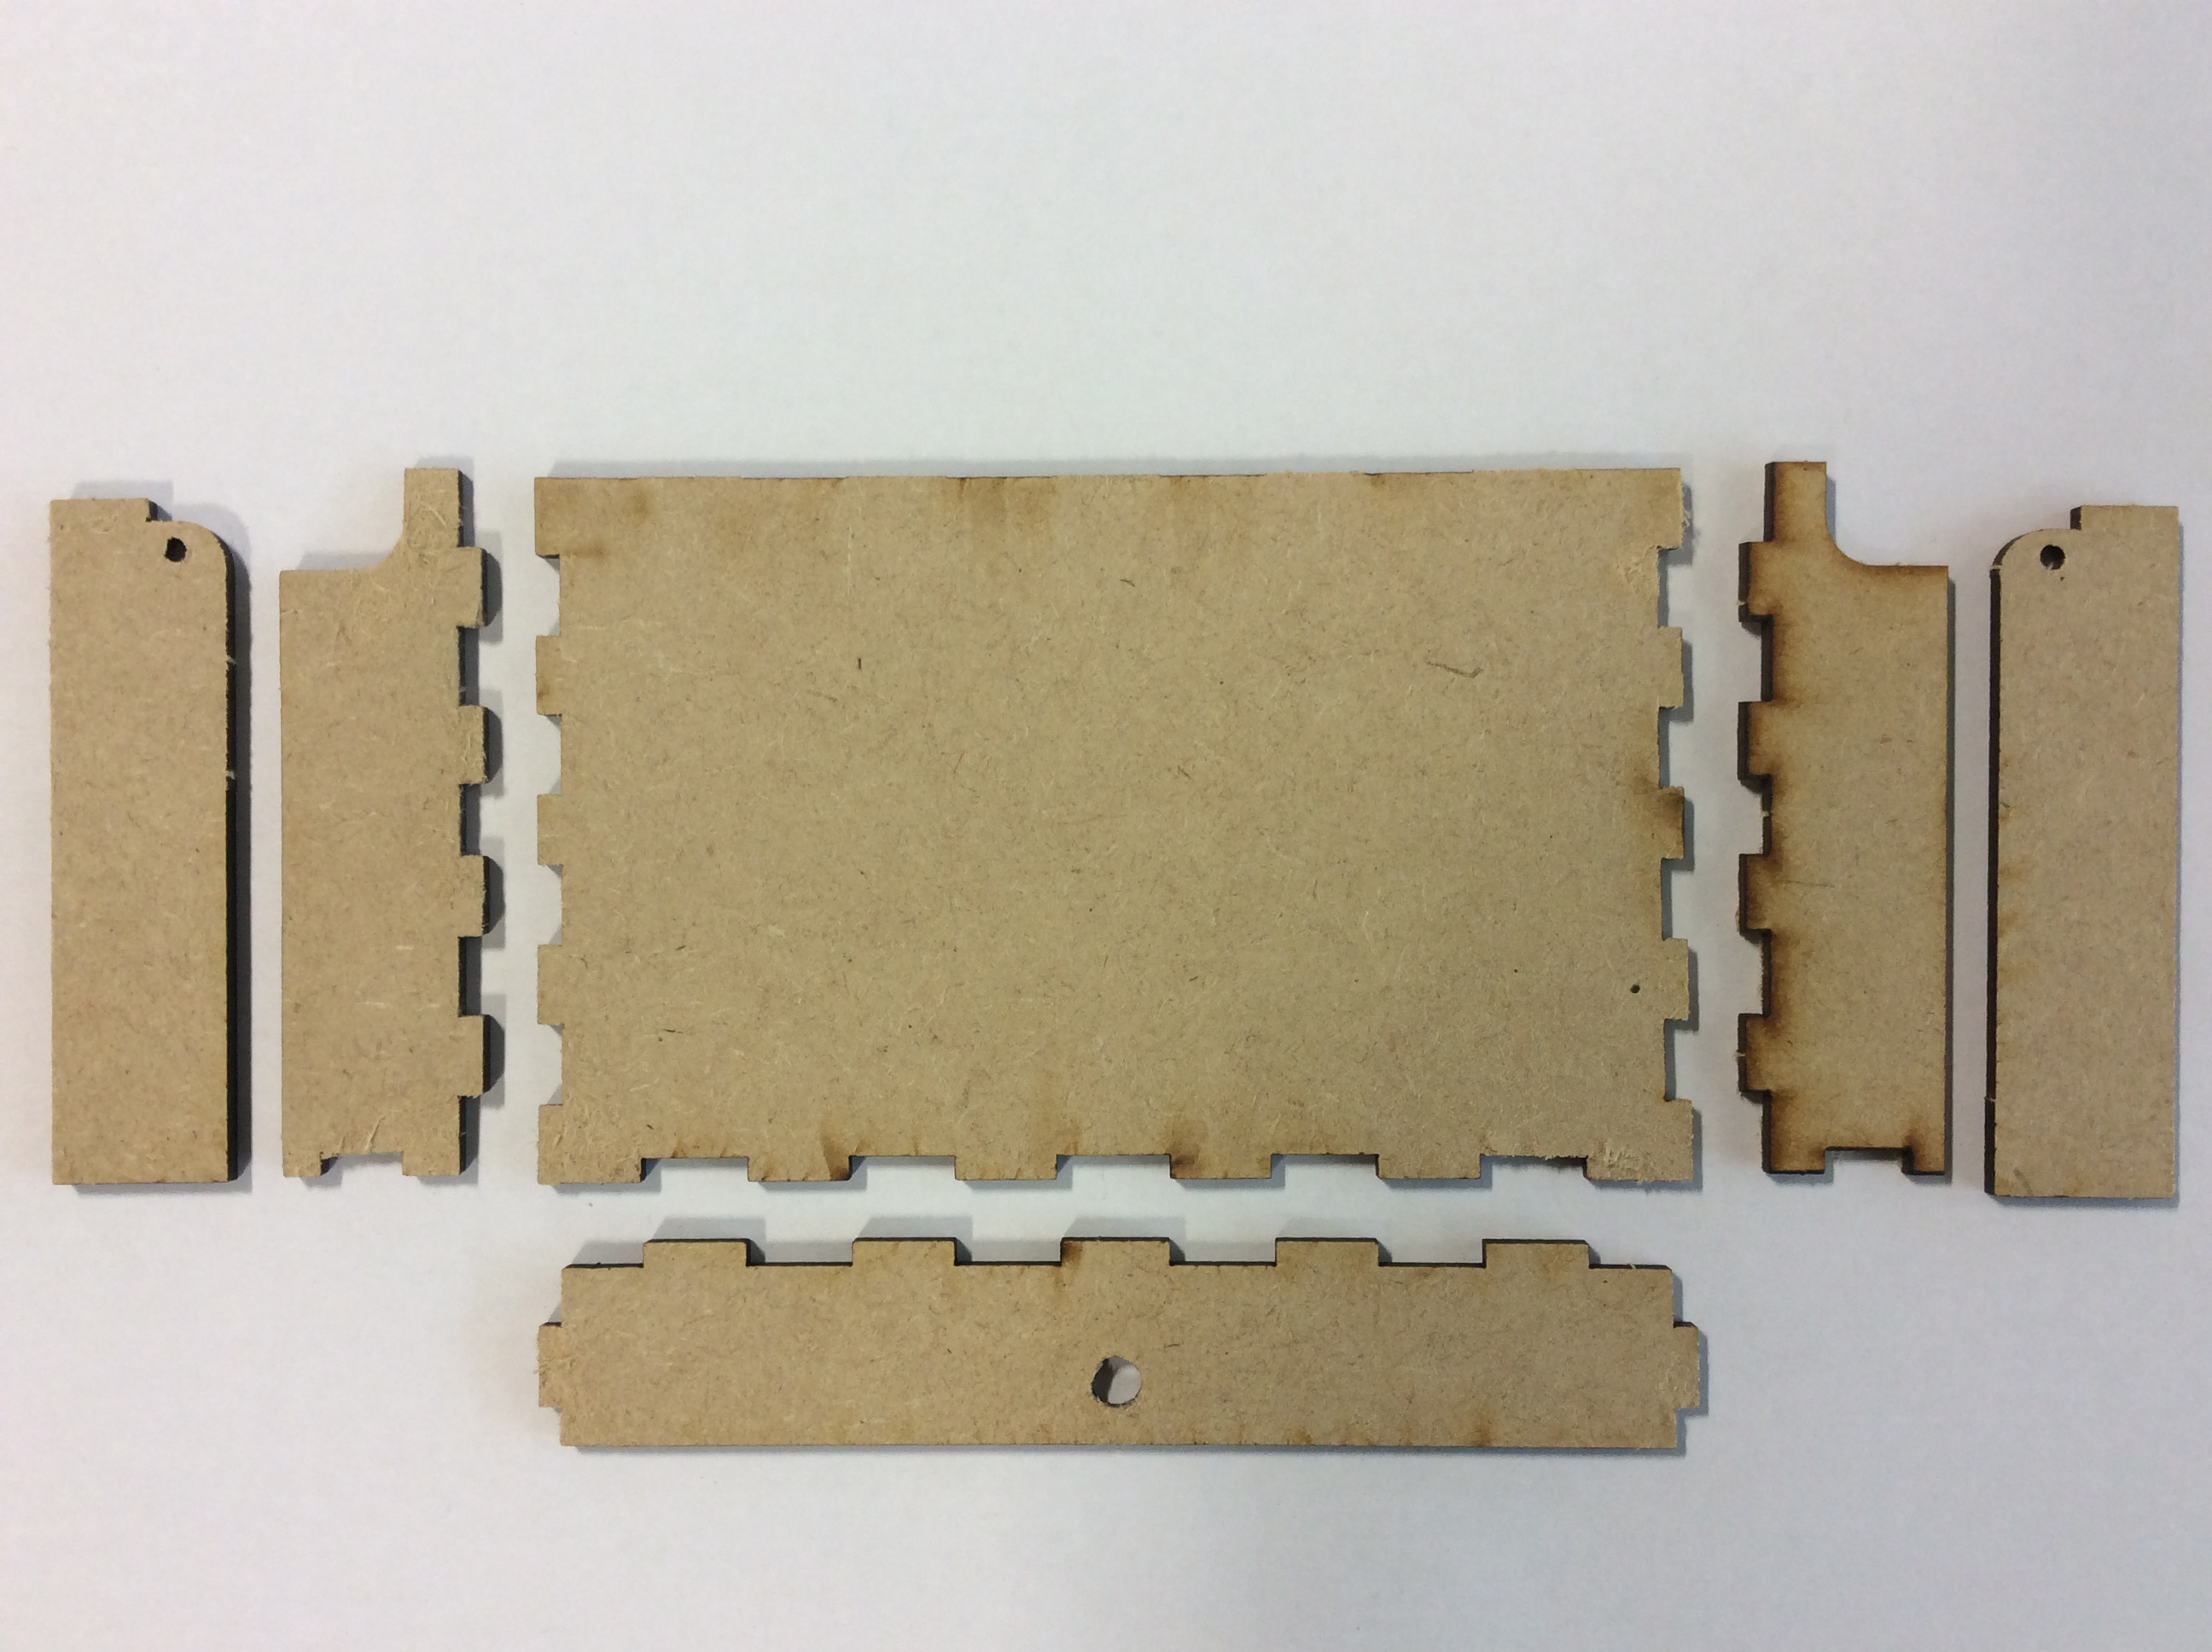
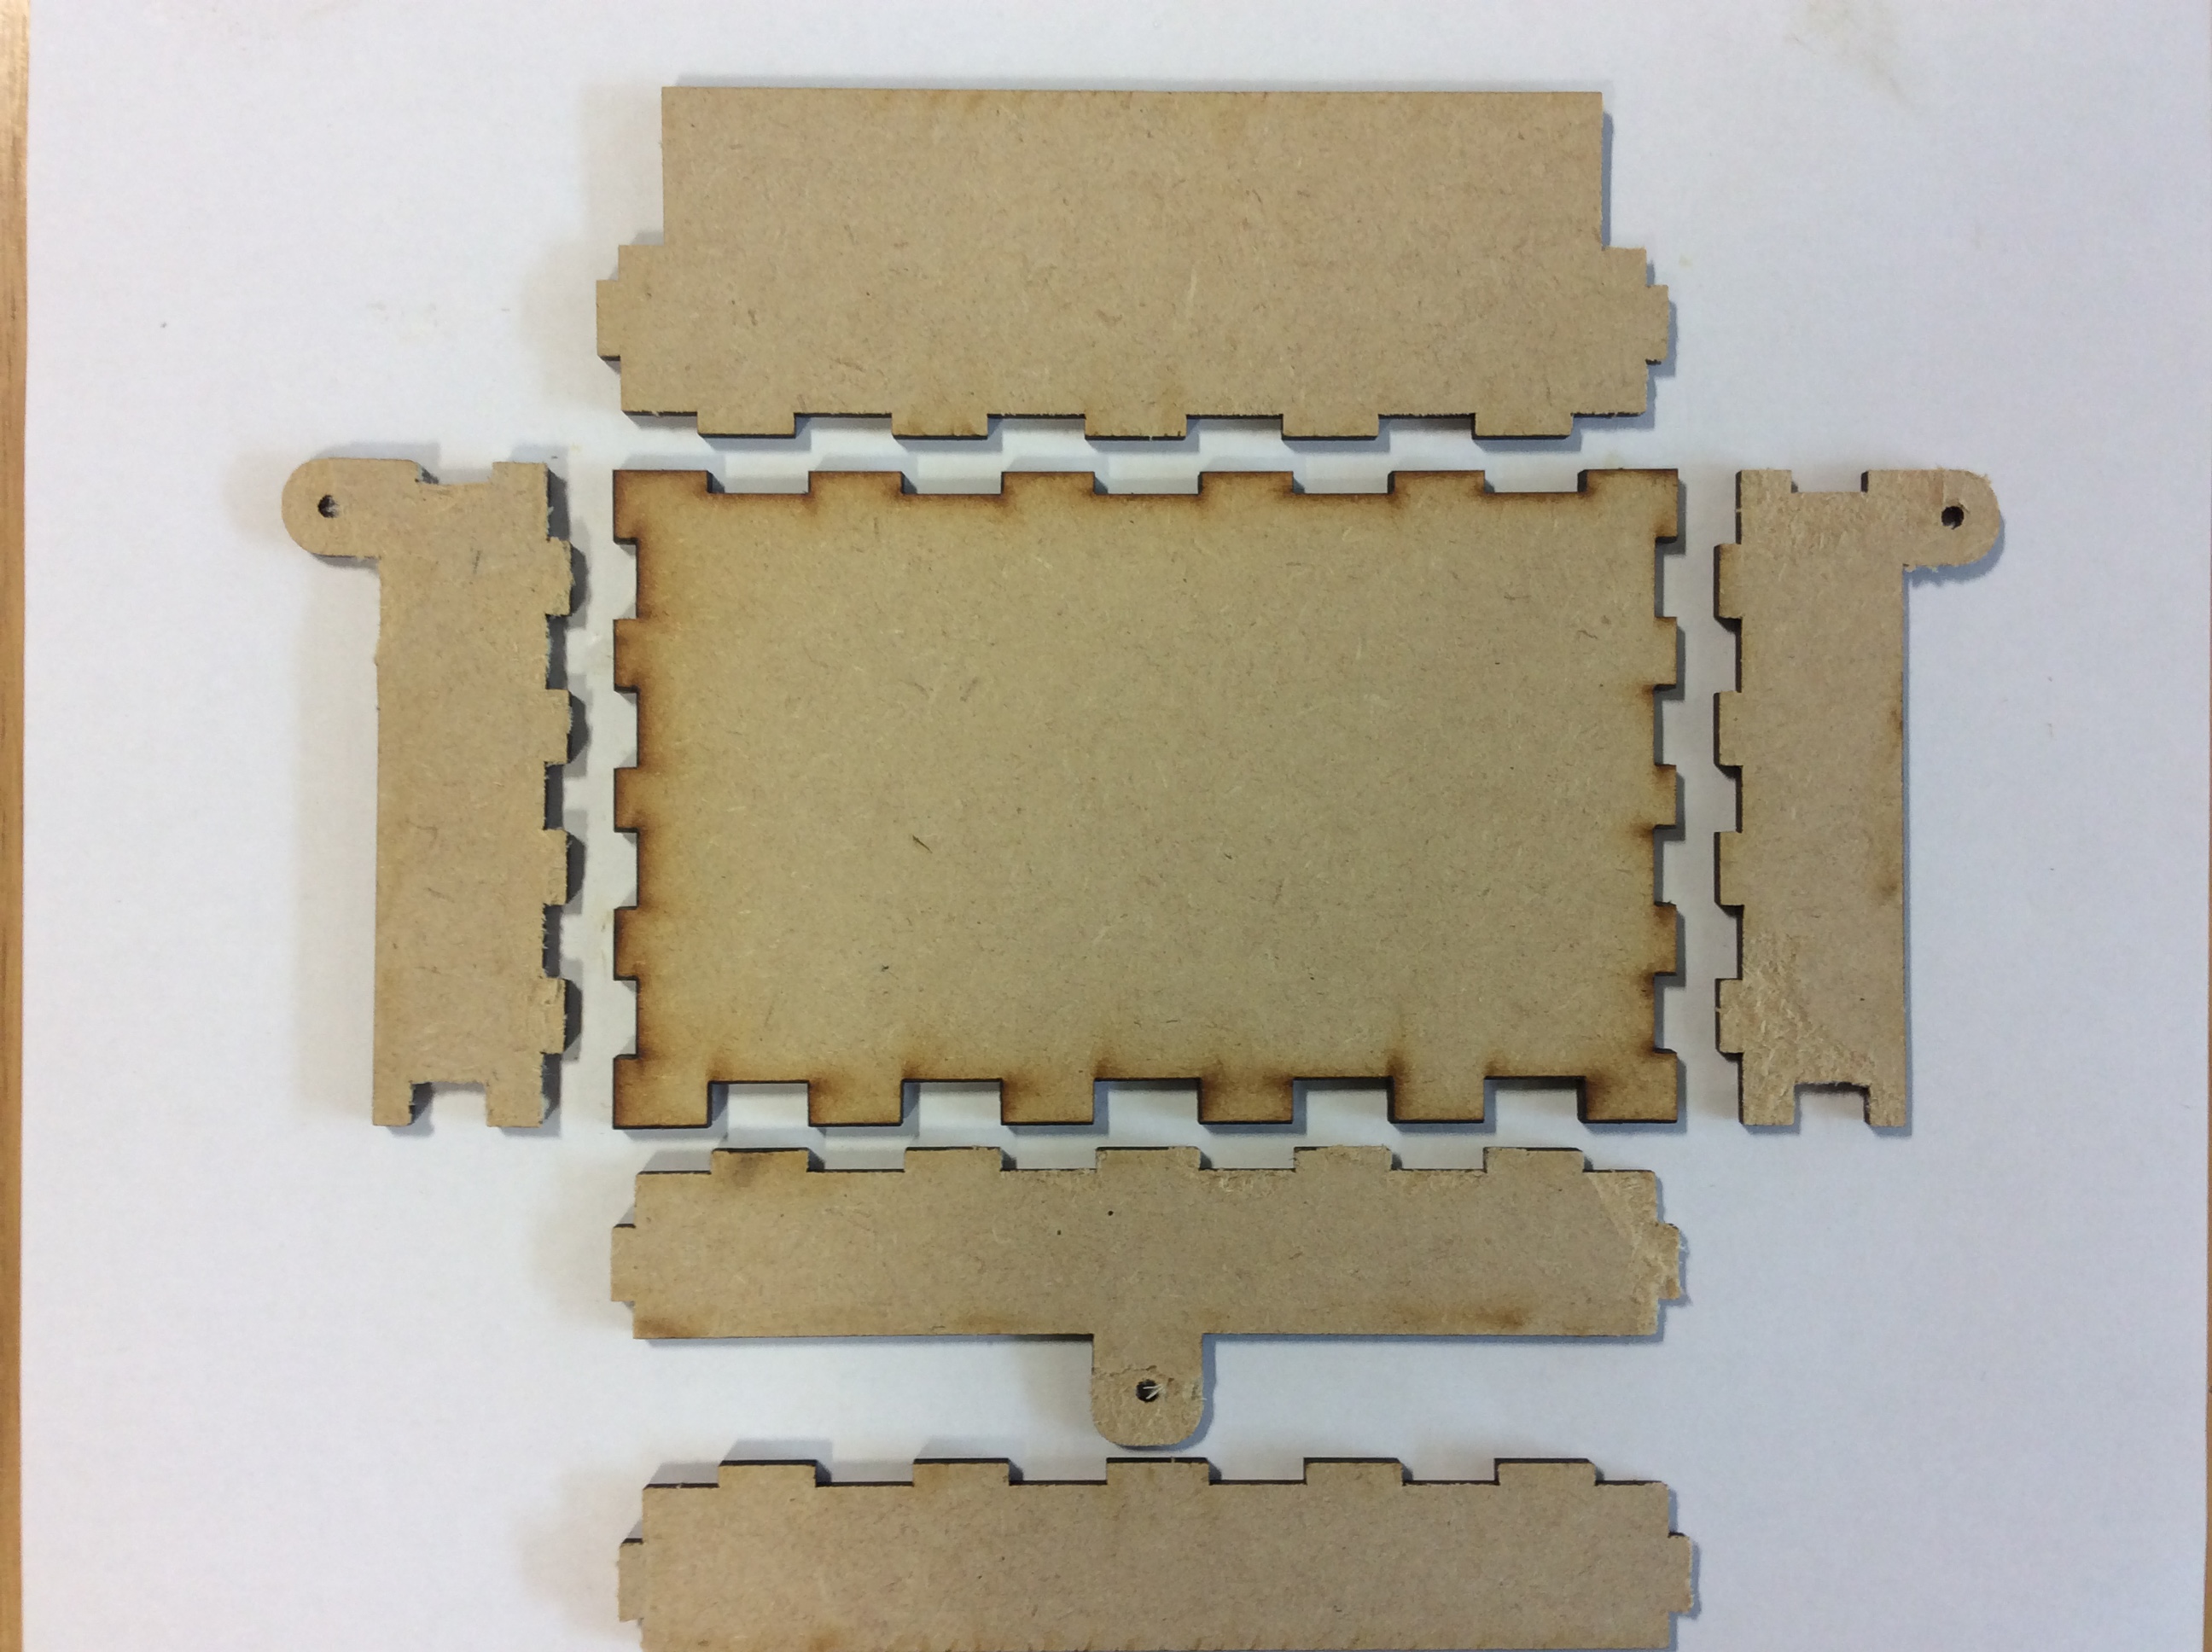
- We'll build the lid first. Check that you have all the correct MDF parts, as shown in the picture below.
- Important: The back end of the lid does not have and finger joints, make sure the curved side edges point to the back of the lid. Look at the picture below carefully.
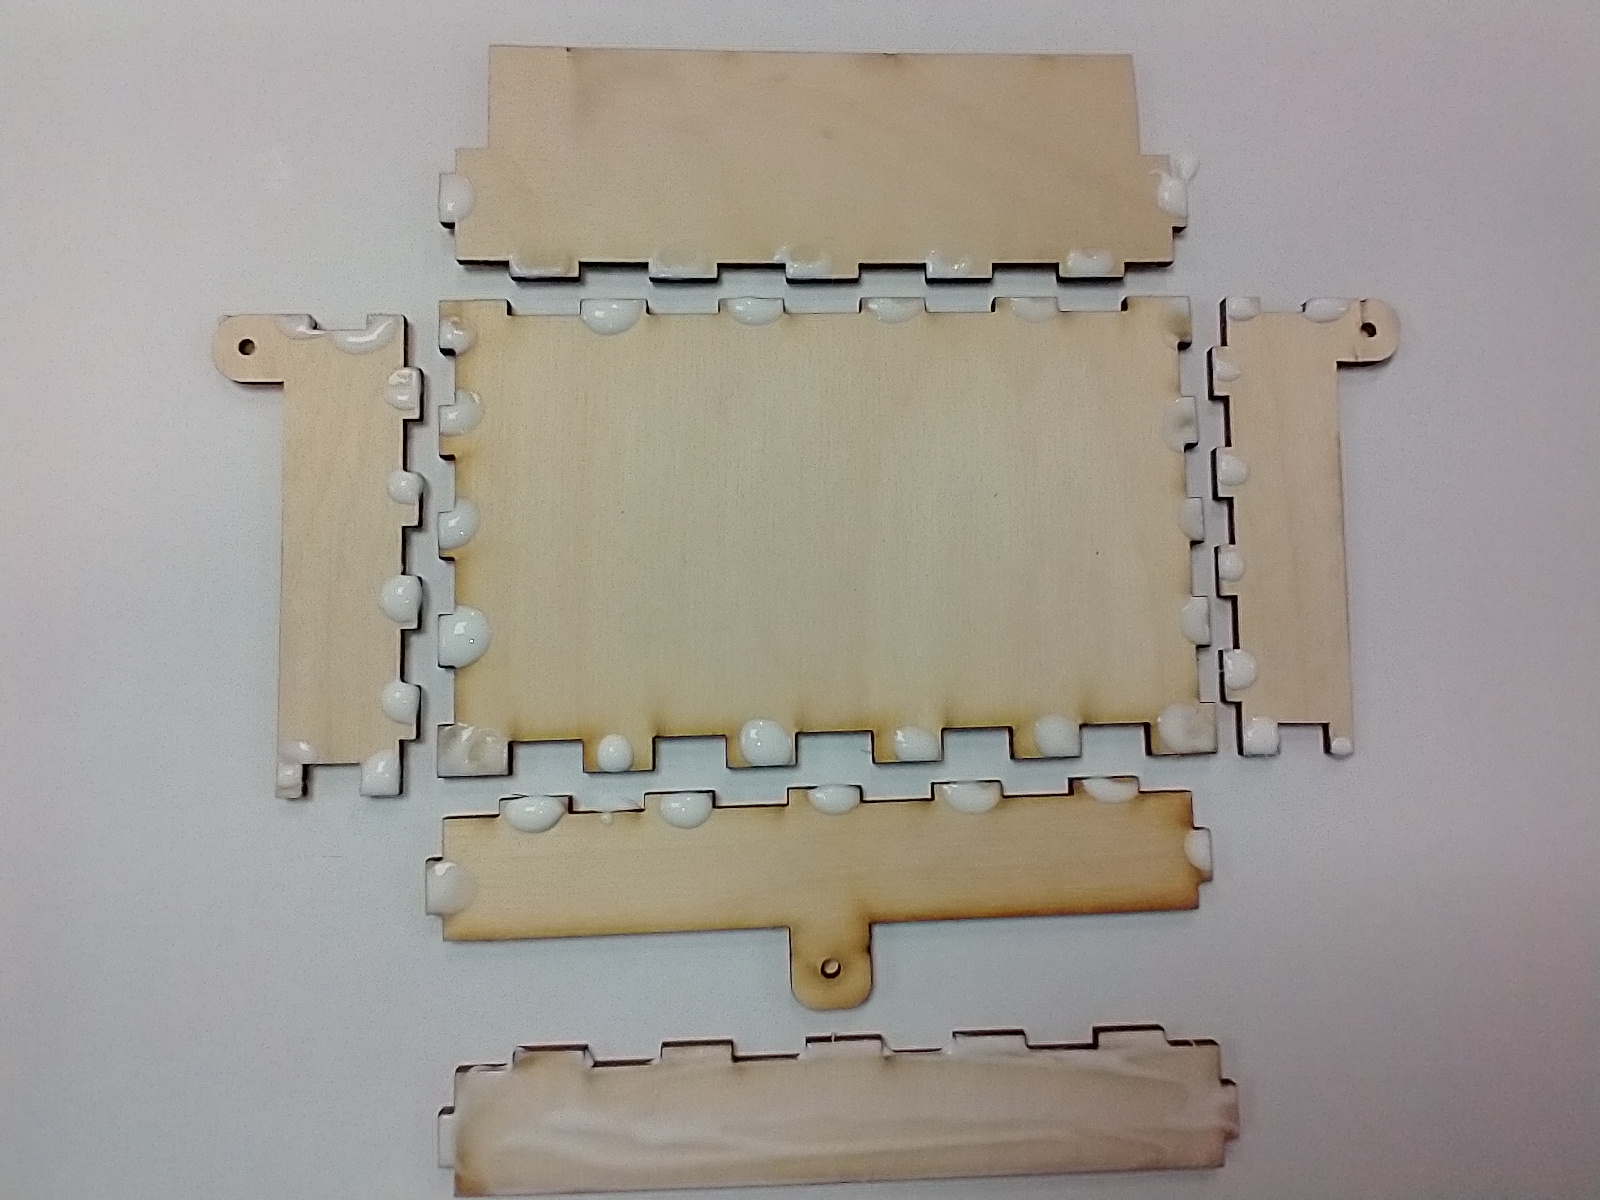
- Put a small amount of PVA glue on a Post-It note or a piece of paper, and use your fingertip to apply a small amount to all the edges.
- If you apply too much, it'll look messy when finished.
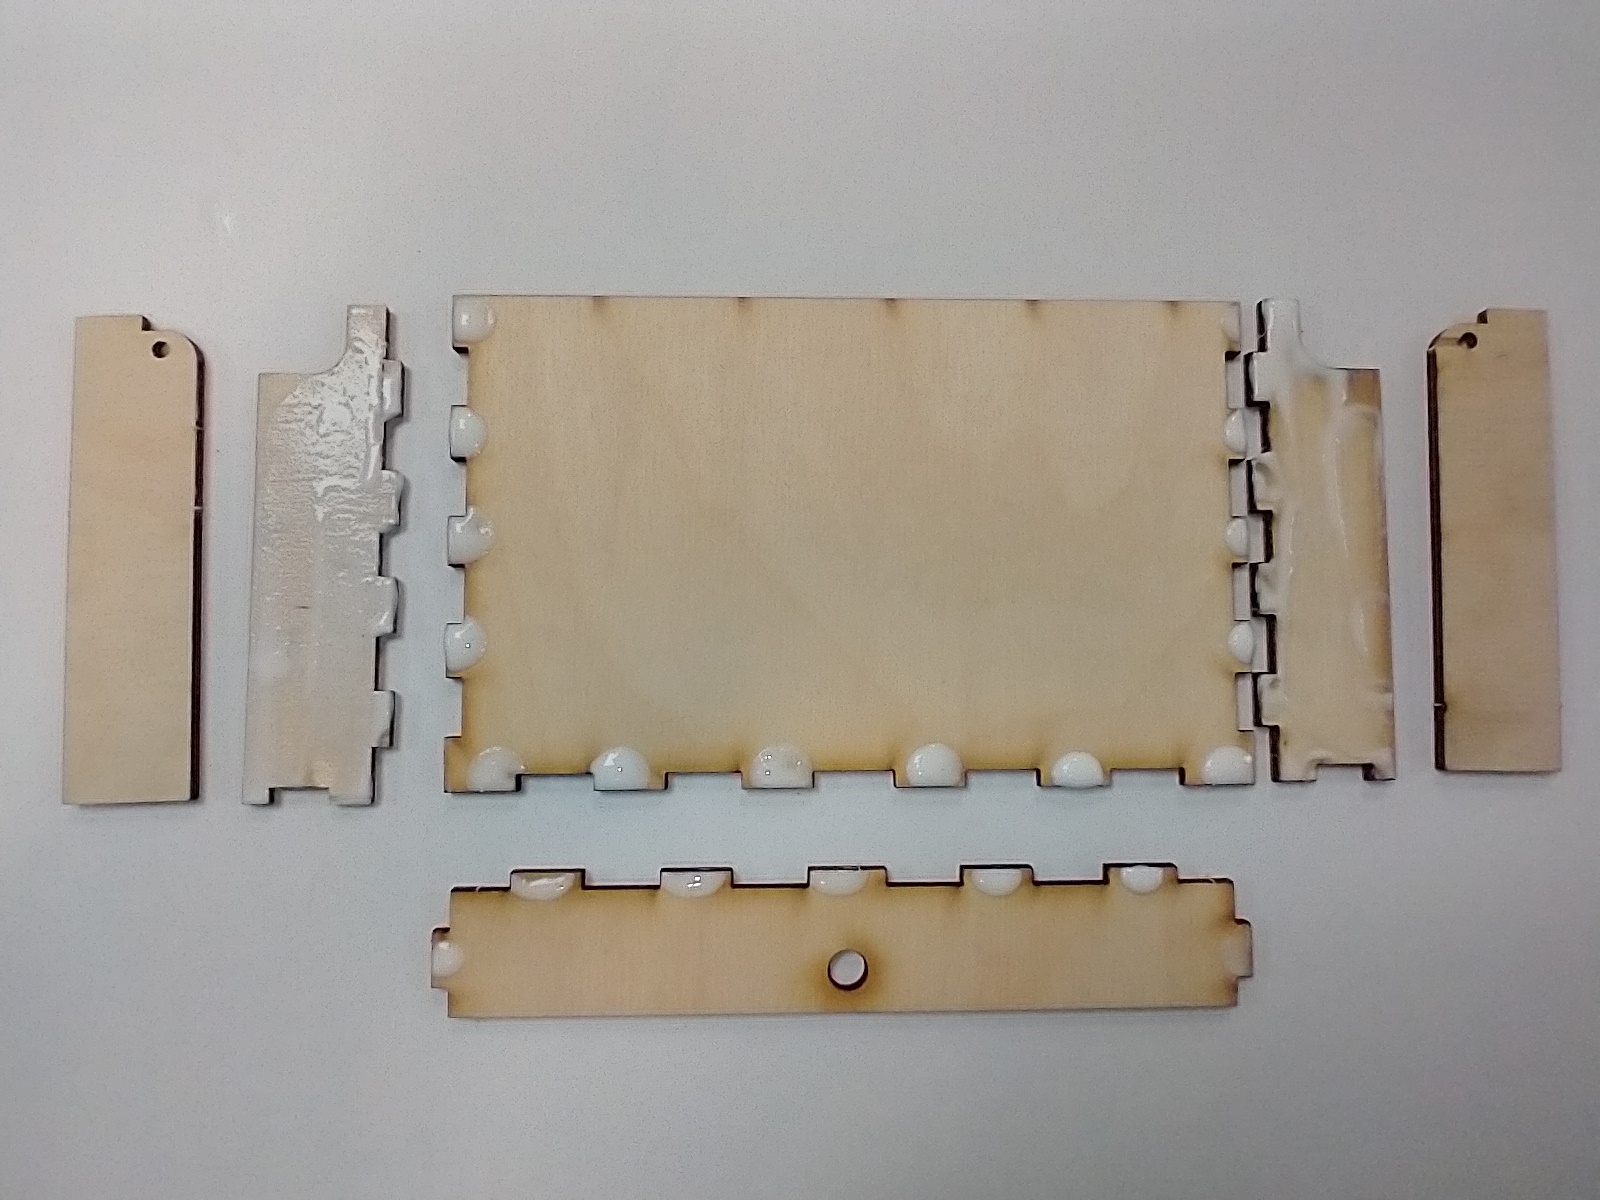
- Assemble all the parts for the lid like so…
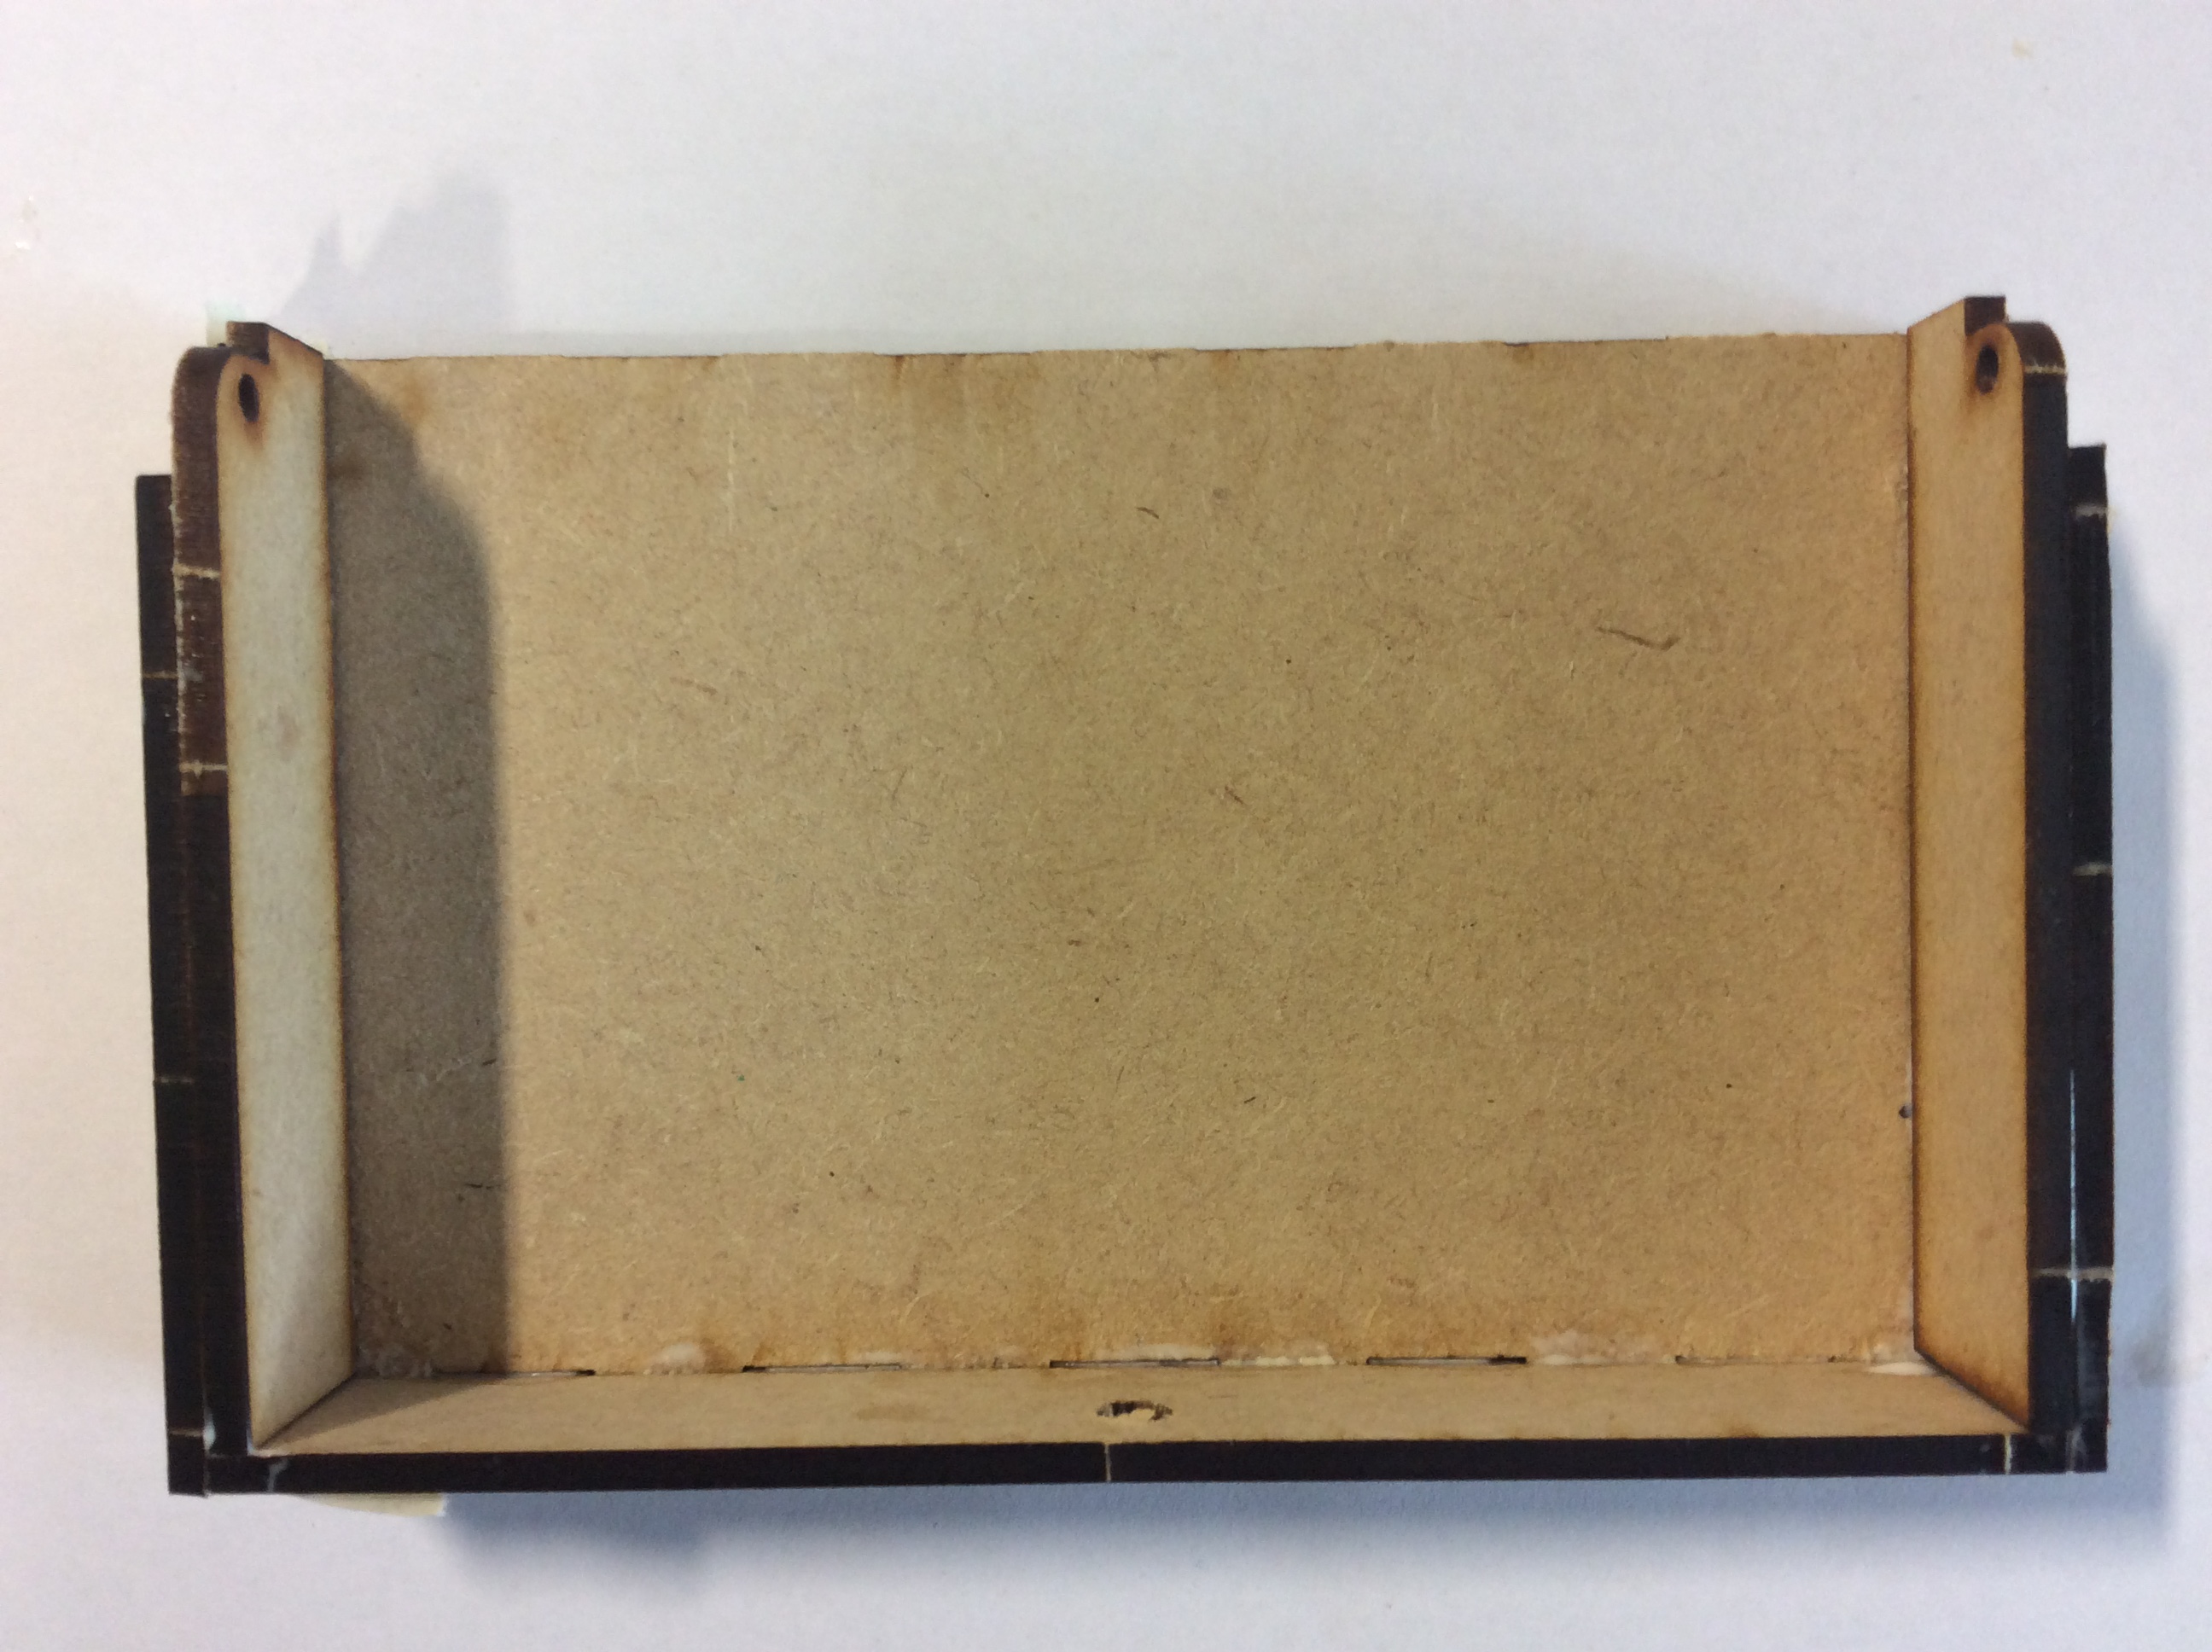
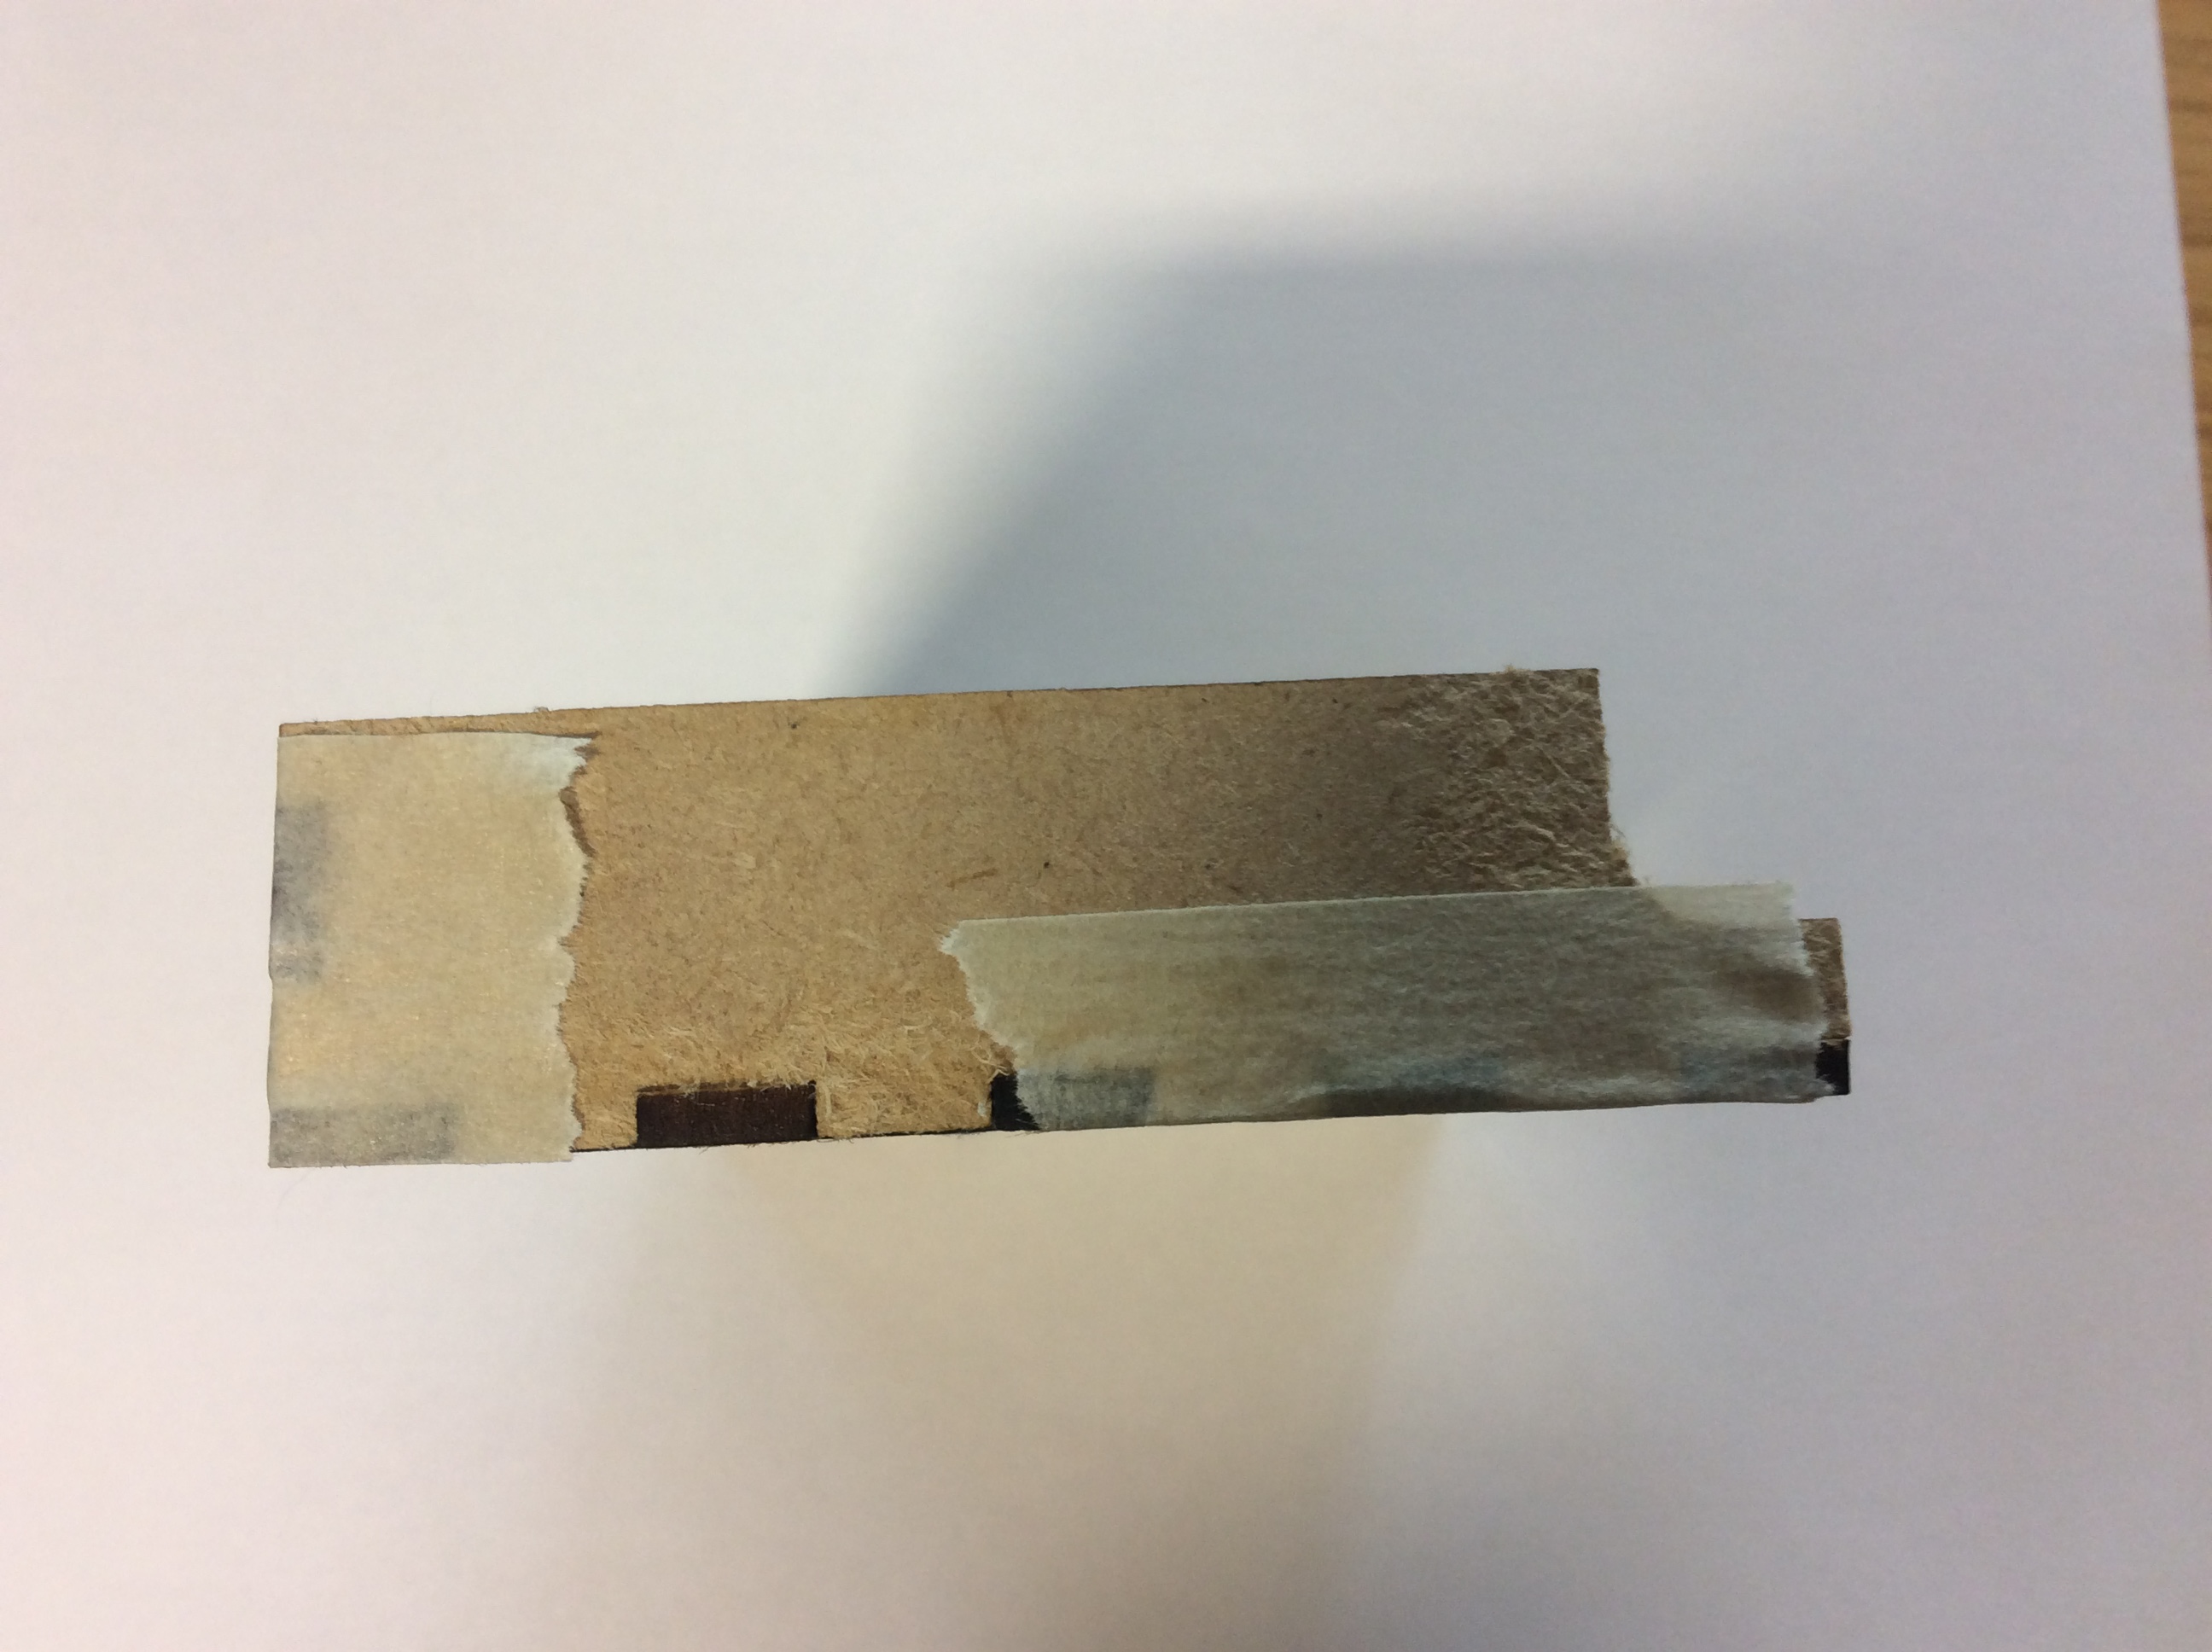
- Use small amounts of masking tape to help hold all the corners in place while the glue dries.
- While your glue is drying, get all the parts ready to build the bottom half of the box, as shown below:
- Apply the PVA to the edges, and put some on the back of the locking mechanism. Don't use too much glue, to ensure a neat finish.
- Then add tape to the edges to hold the parts together, as you did for the lid…
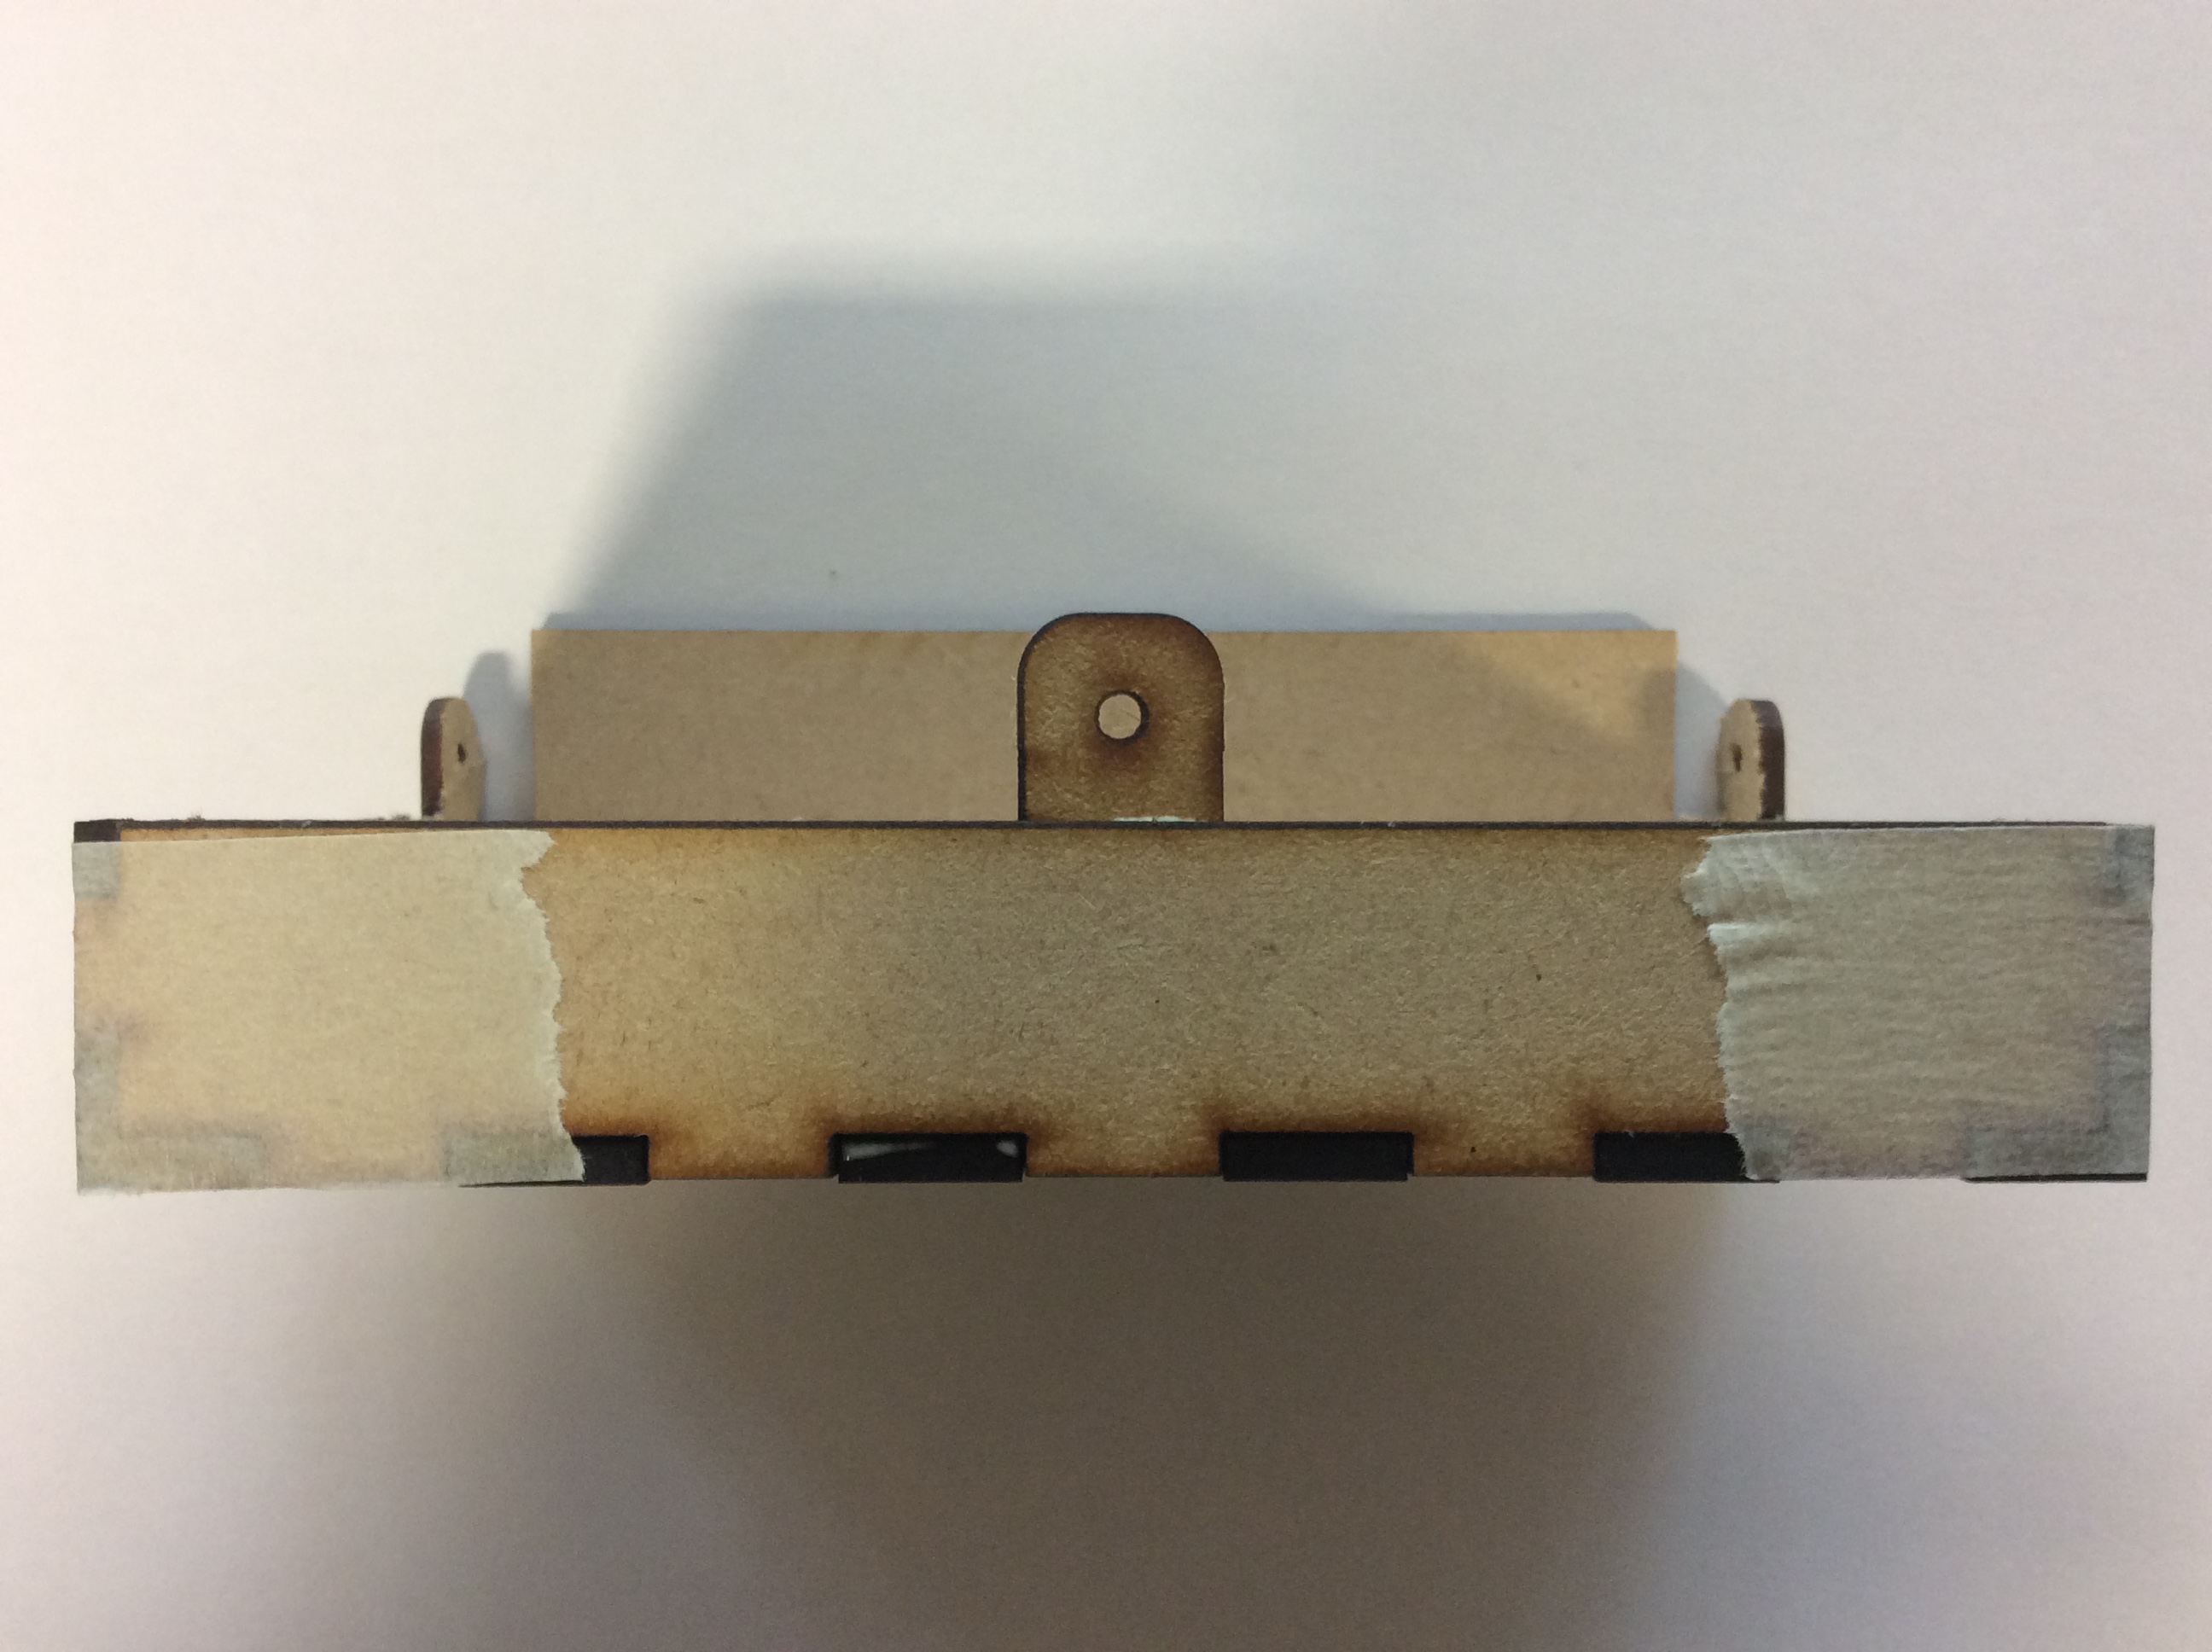
- Just like before, use masking tape to hold everything in place while the glue dries.
- Before the glue dries, make sure you clean it away from the corners of your box.
- Tip: It takes about 20 minutes for PVA to dry(if you put the right amount of glue on).
Build It - The locking mechanism
- Next we'll add the lid to the base and assemble the locking mechanism.
- Go to the ironmongery drawers, and get the following:
- 2x M3x6 Countersunk machine screws
- 2x M3 Nyloc nuts
- You'll also need some long-nose pliers, and a flat-head screwdriver.
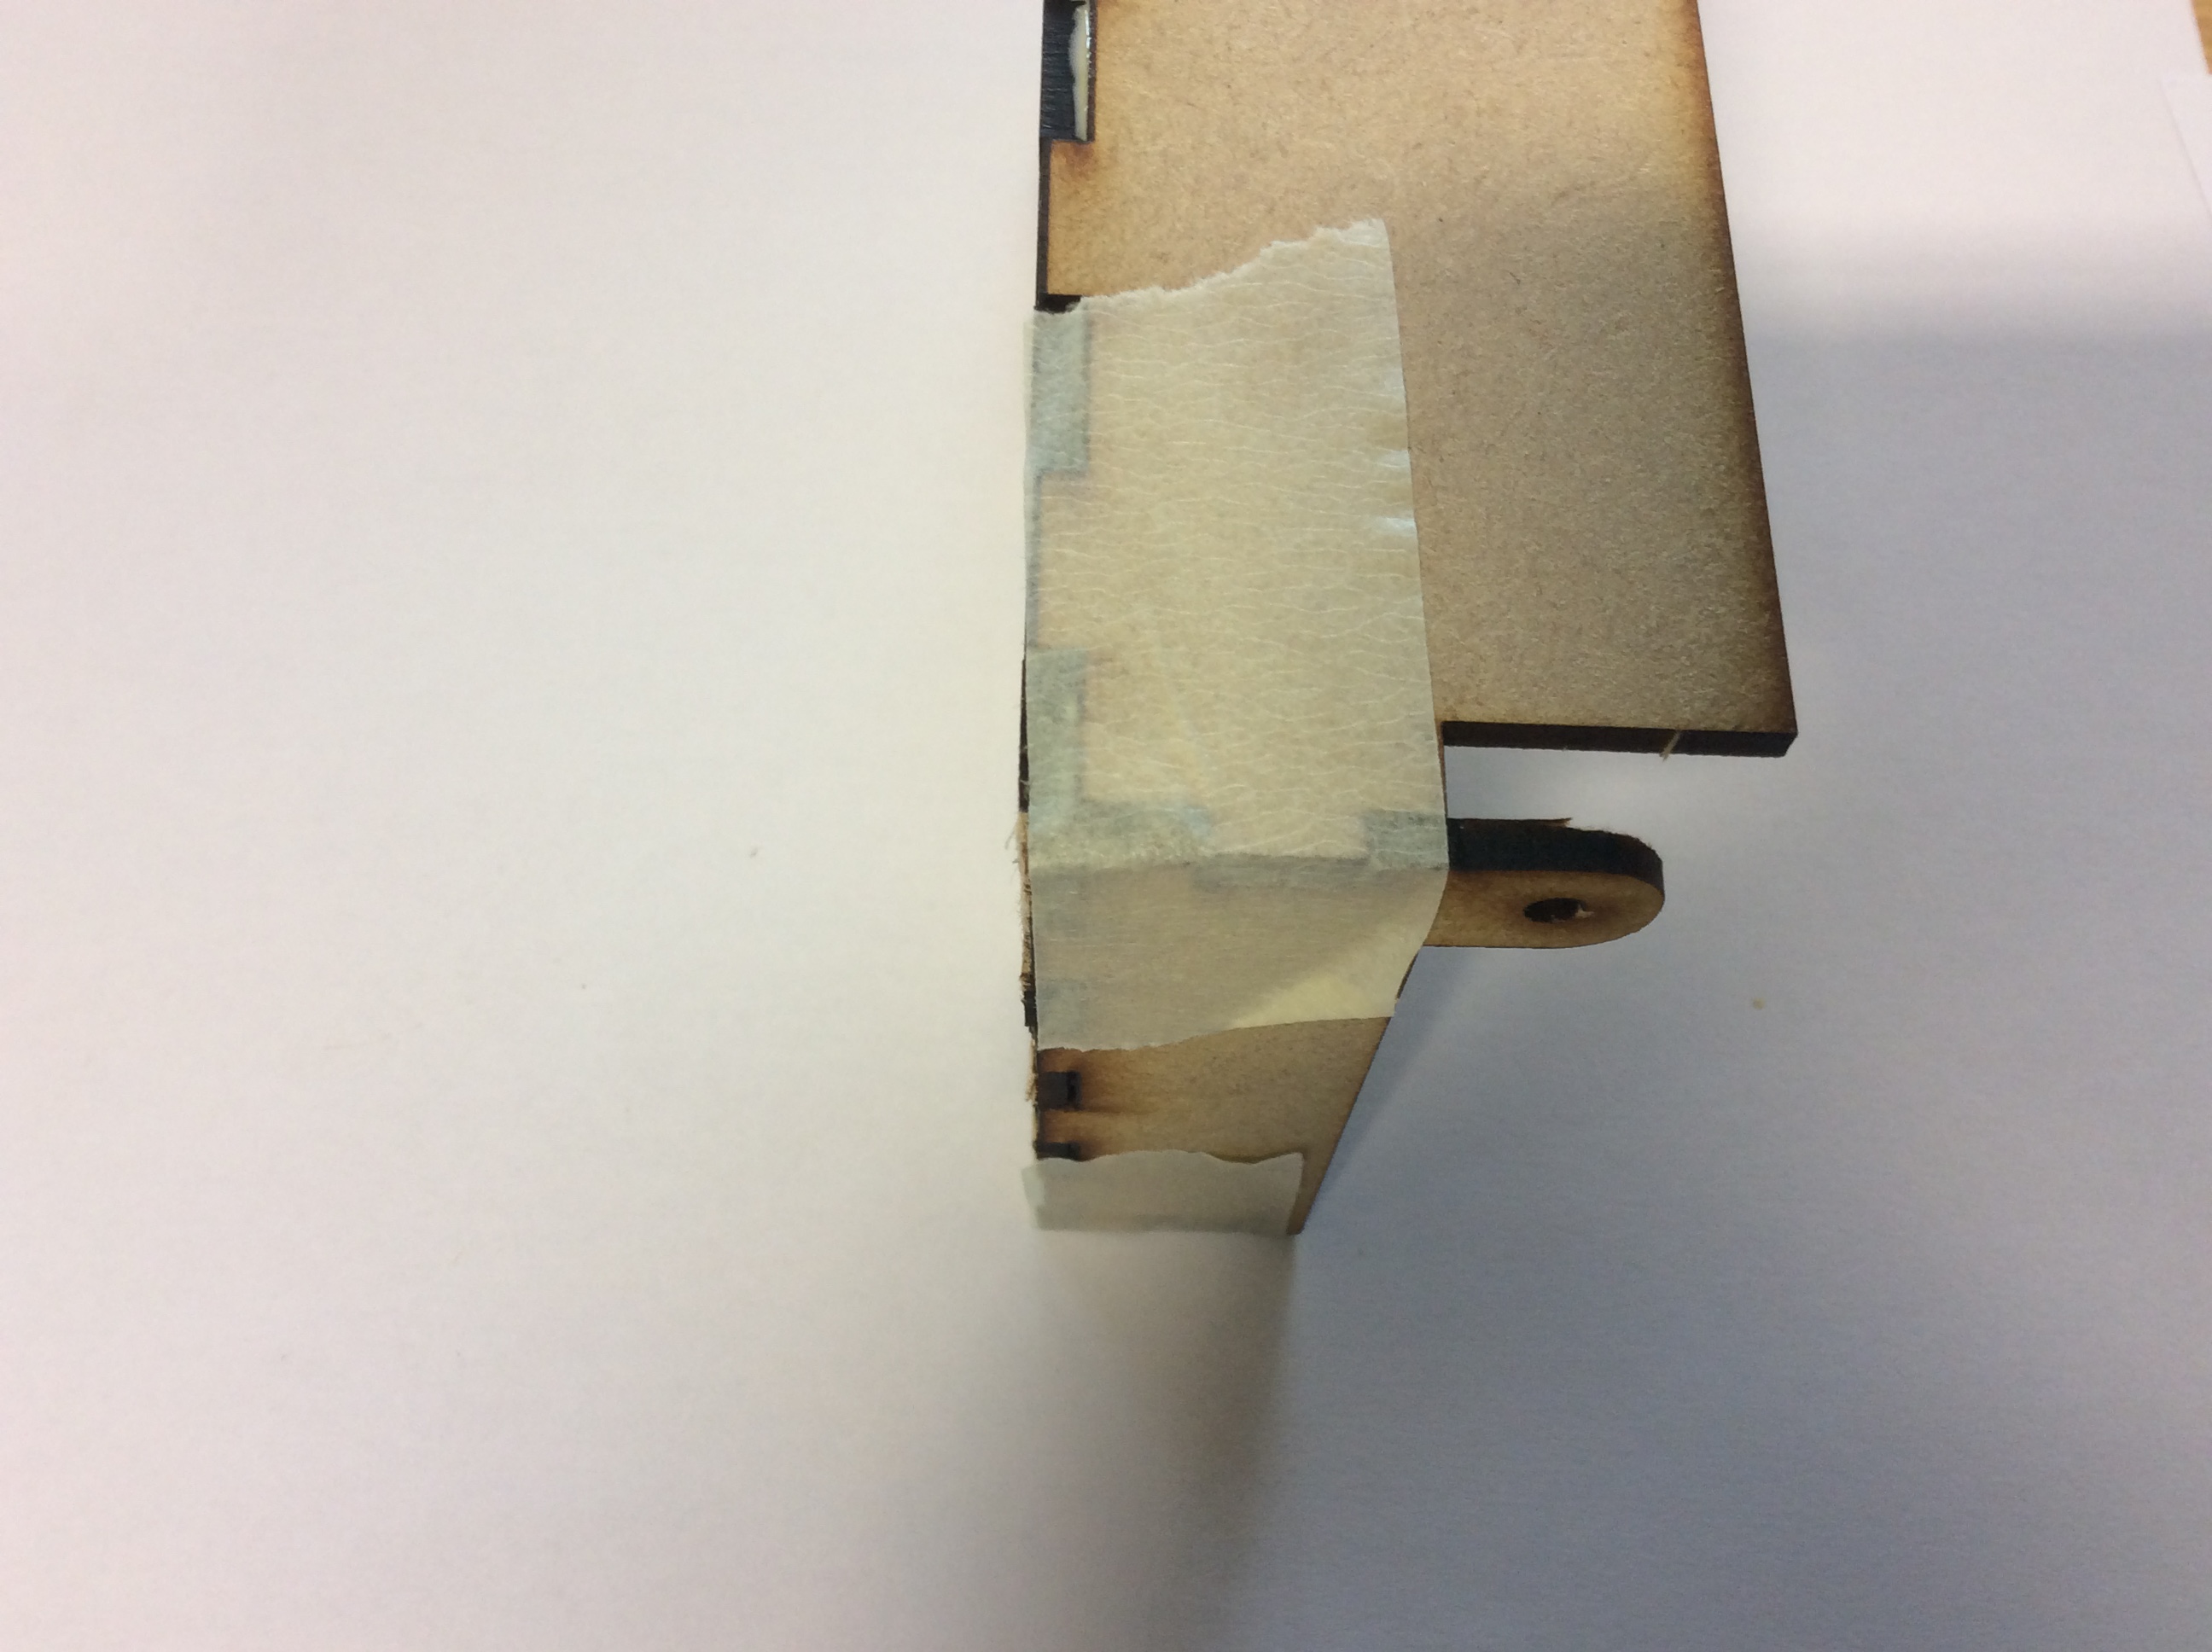
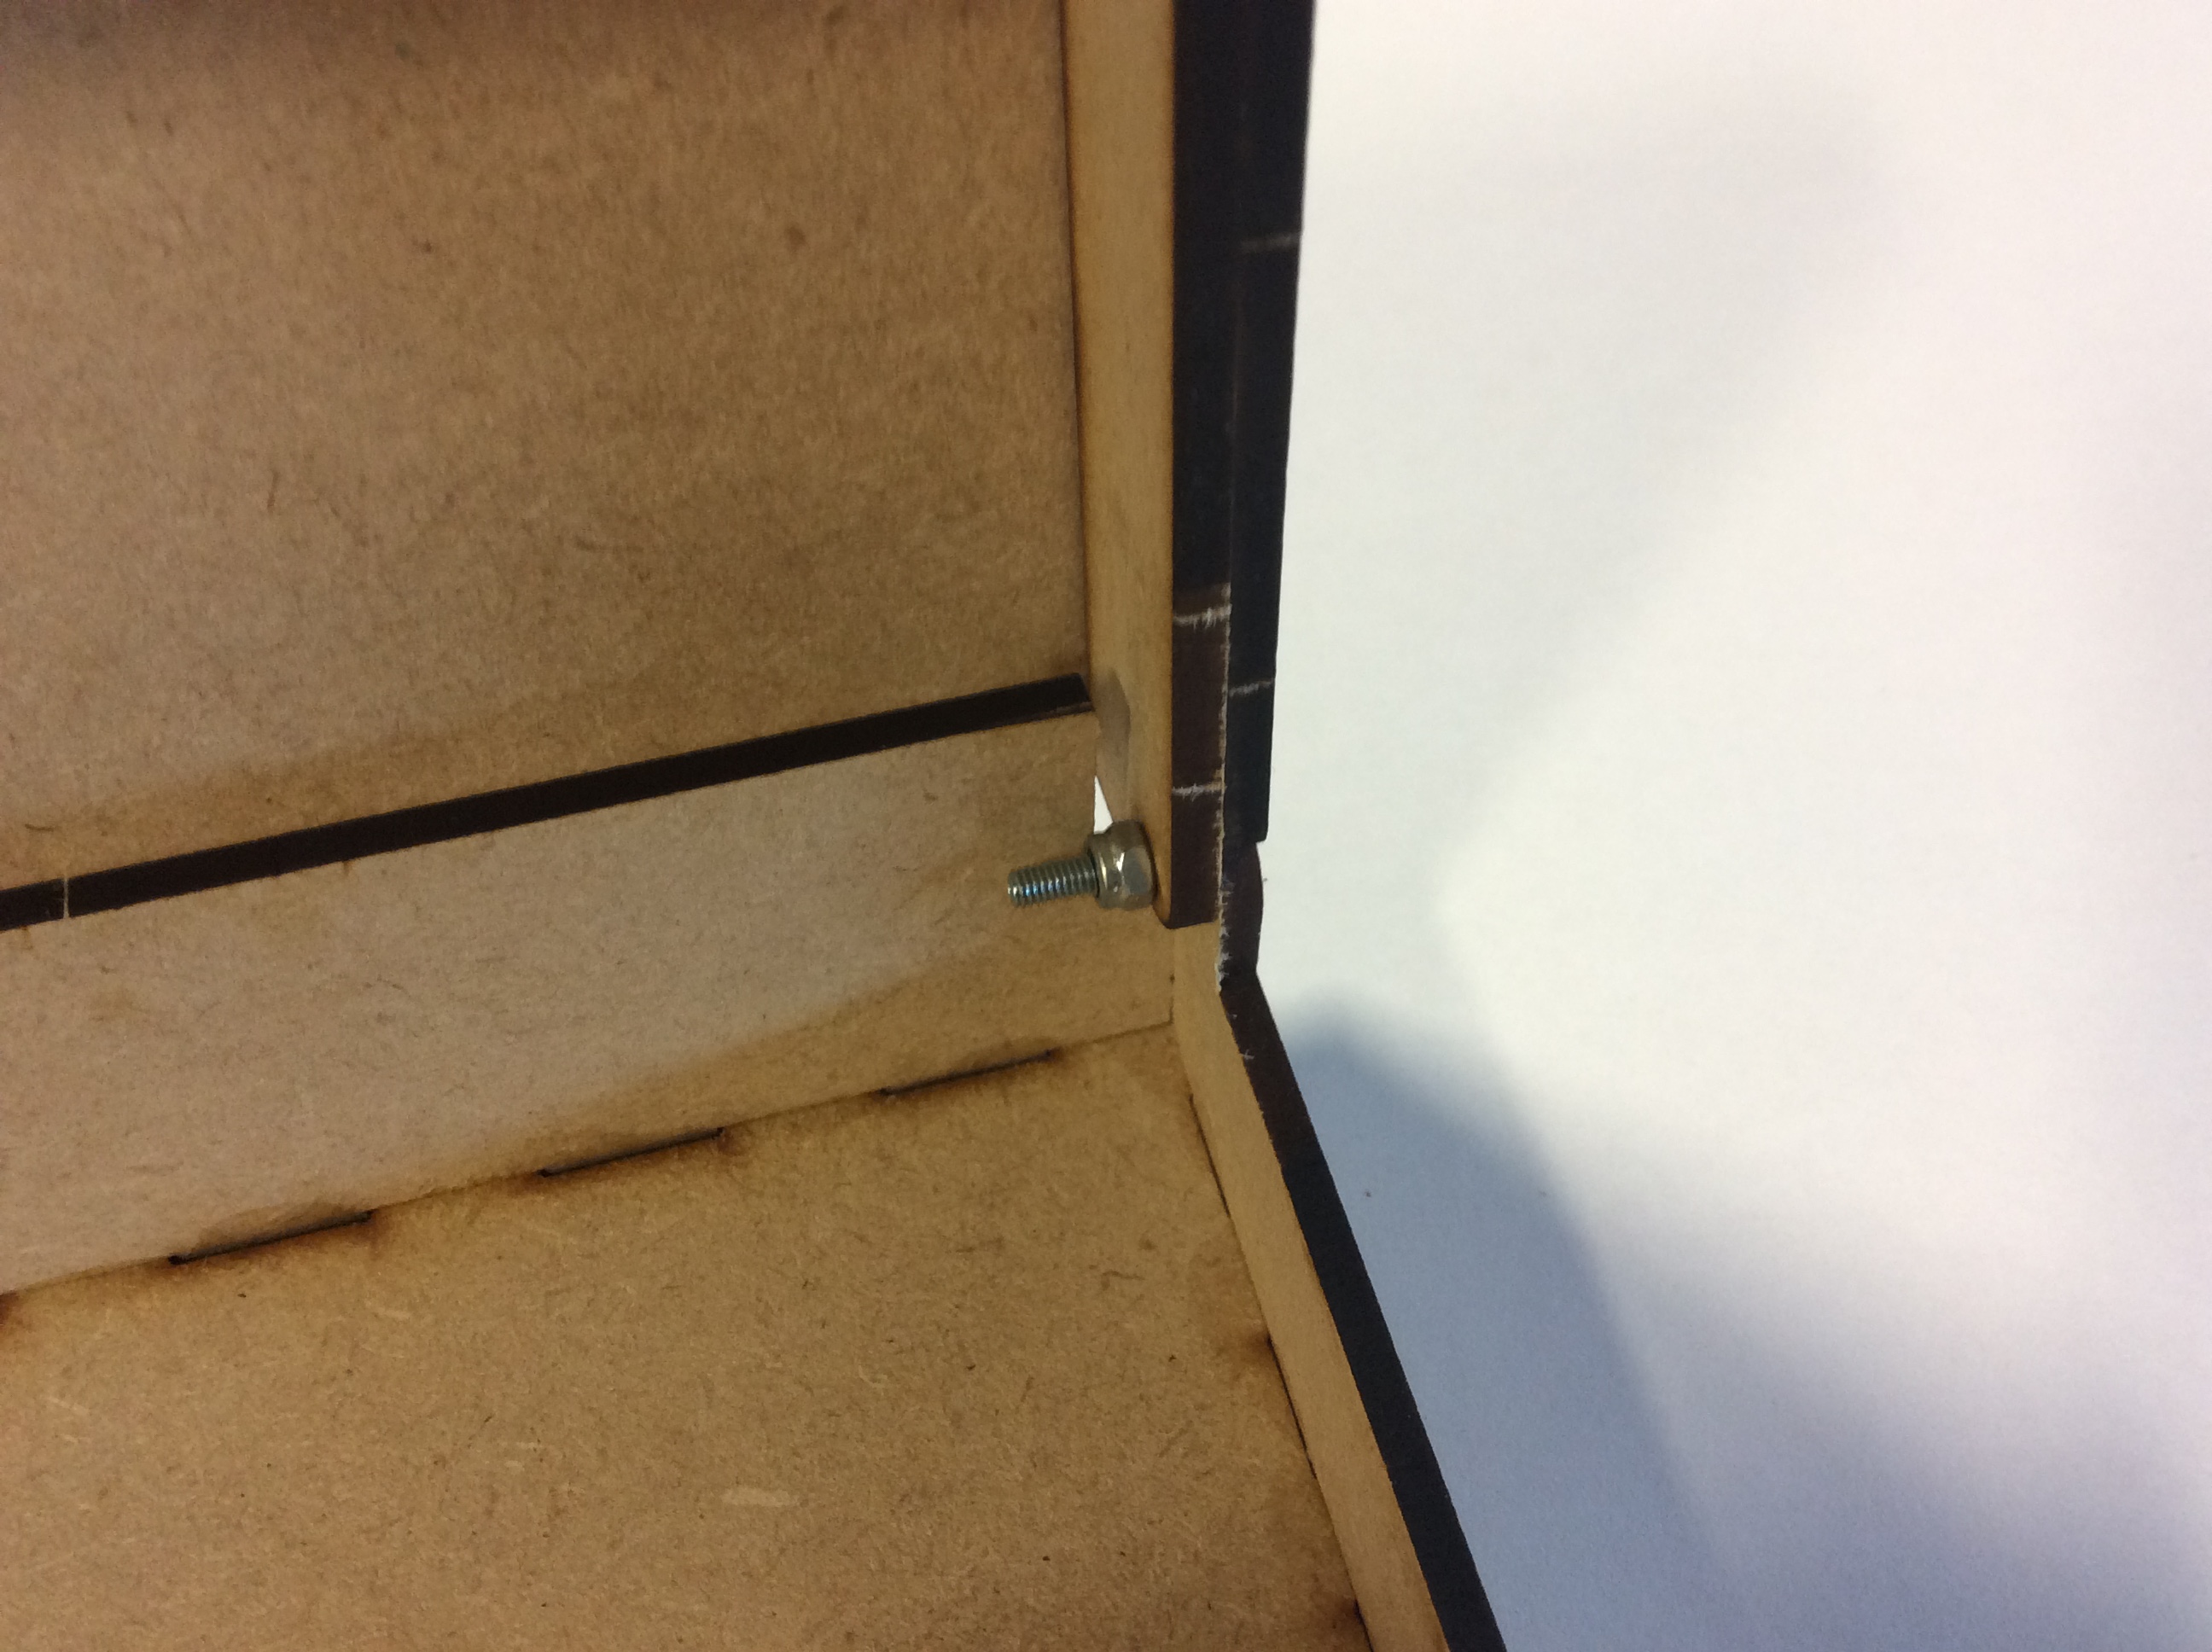
- Place the flat face of one side of your hinge over the holes in the back of your lid, and place the M3 machine screws through it…
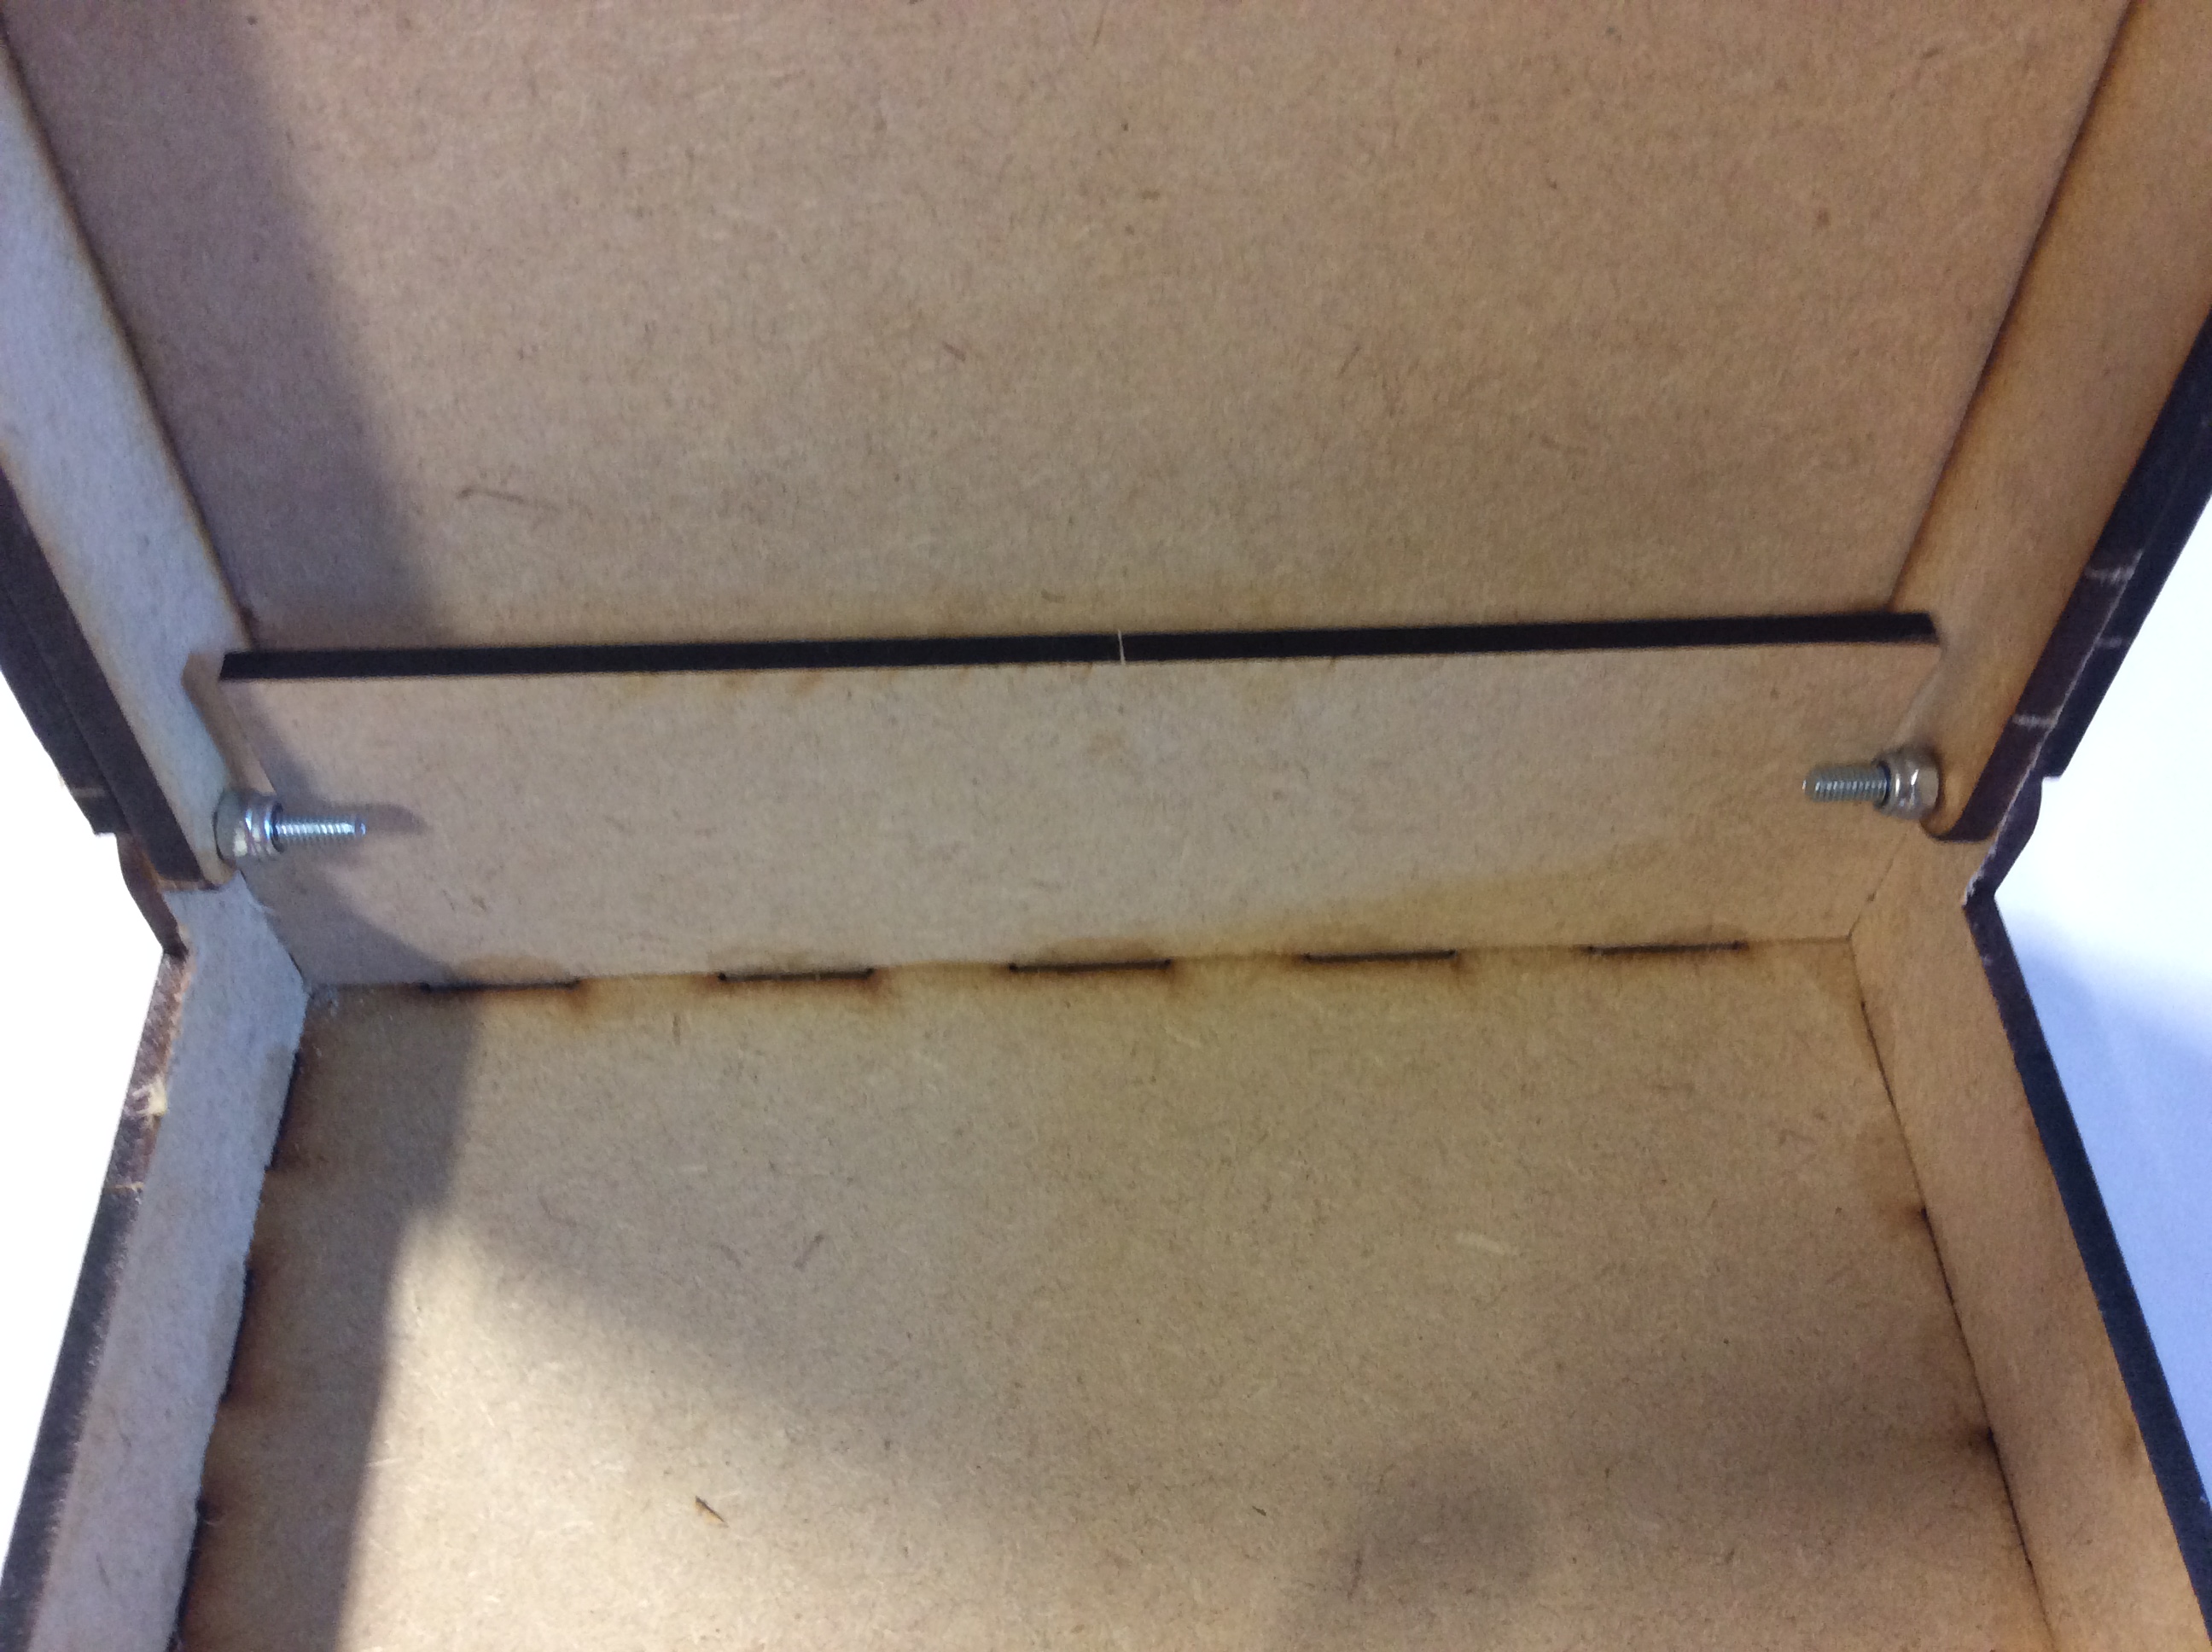
- Now lay the box box on the table, and put the nuts onto the ends of the machine screws. You'll quickly find that they're too tight to do up much.
- Grip the nut with your long-nose pliers, then with your other hand, use the screwdriver to tighten the nut.
- Tip: Doing up nuts isn't a strength competition, so don't get too carried away. They're designed not to slip off once they're on. Make sure the lid can still move once you have tightened them.
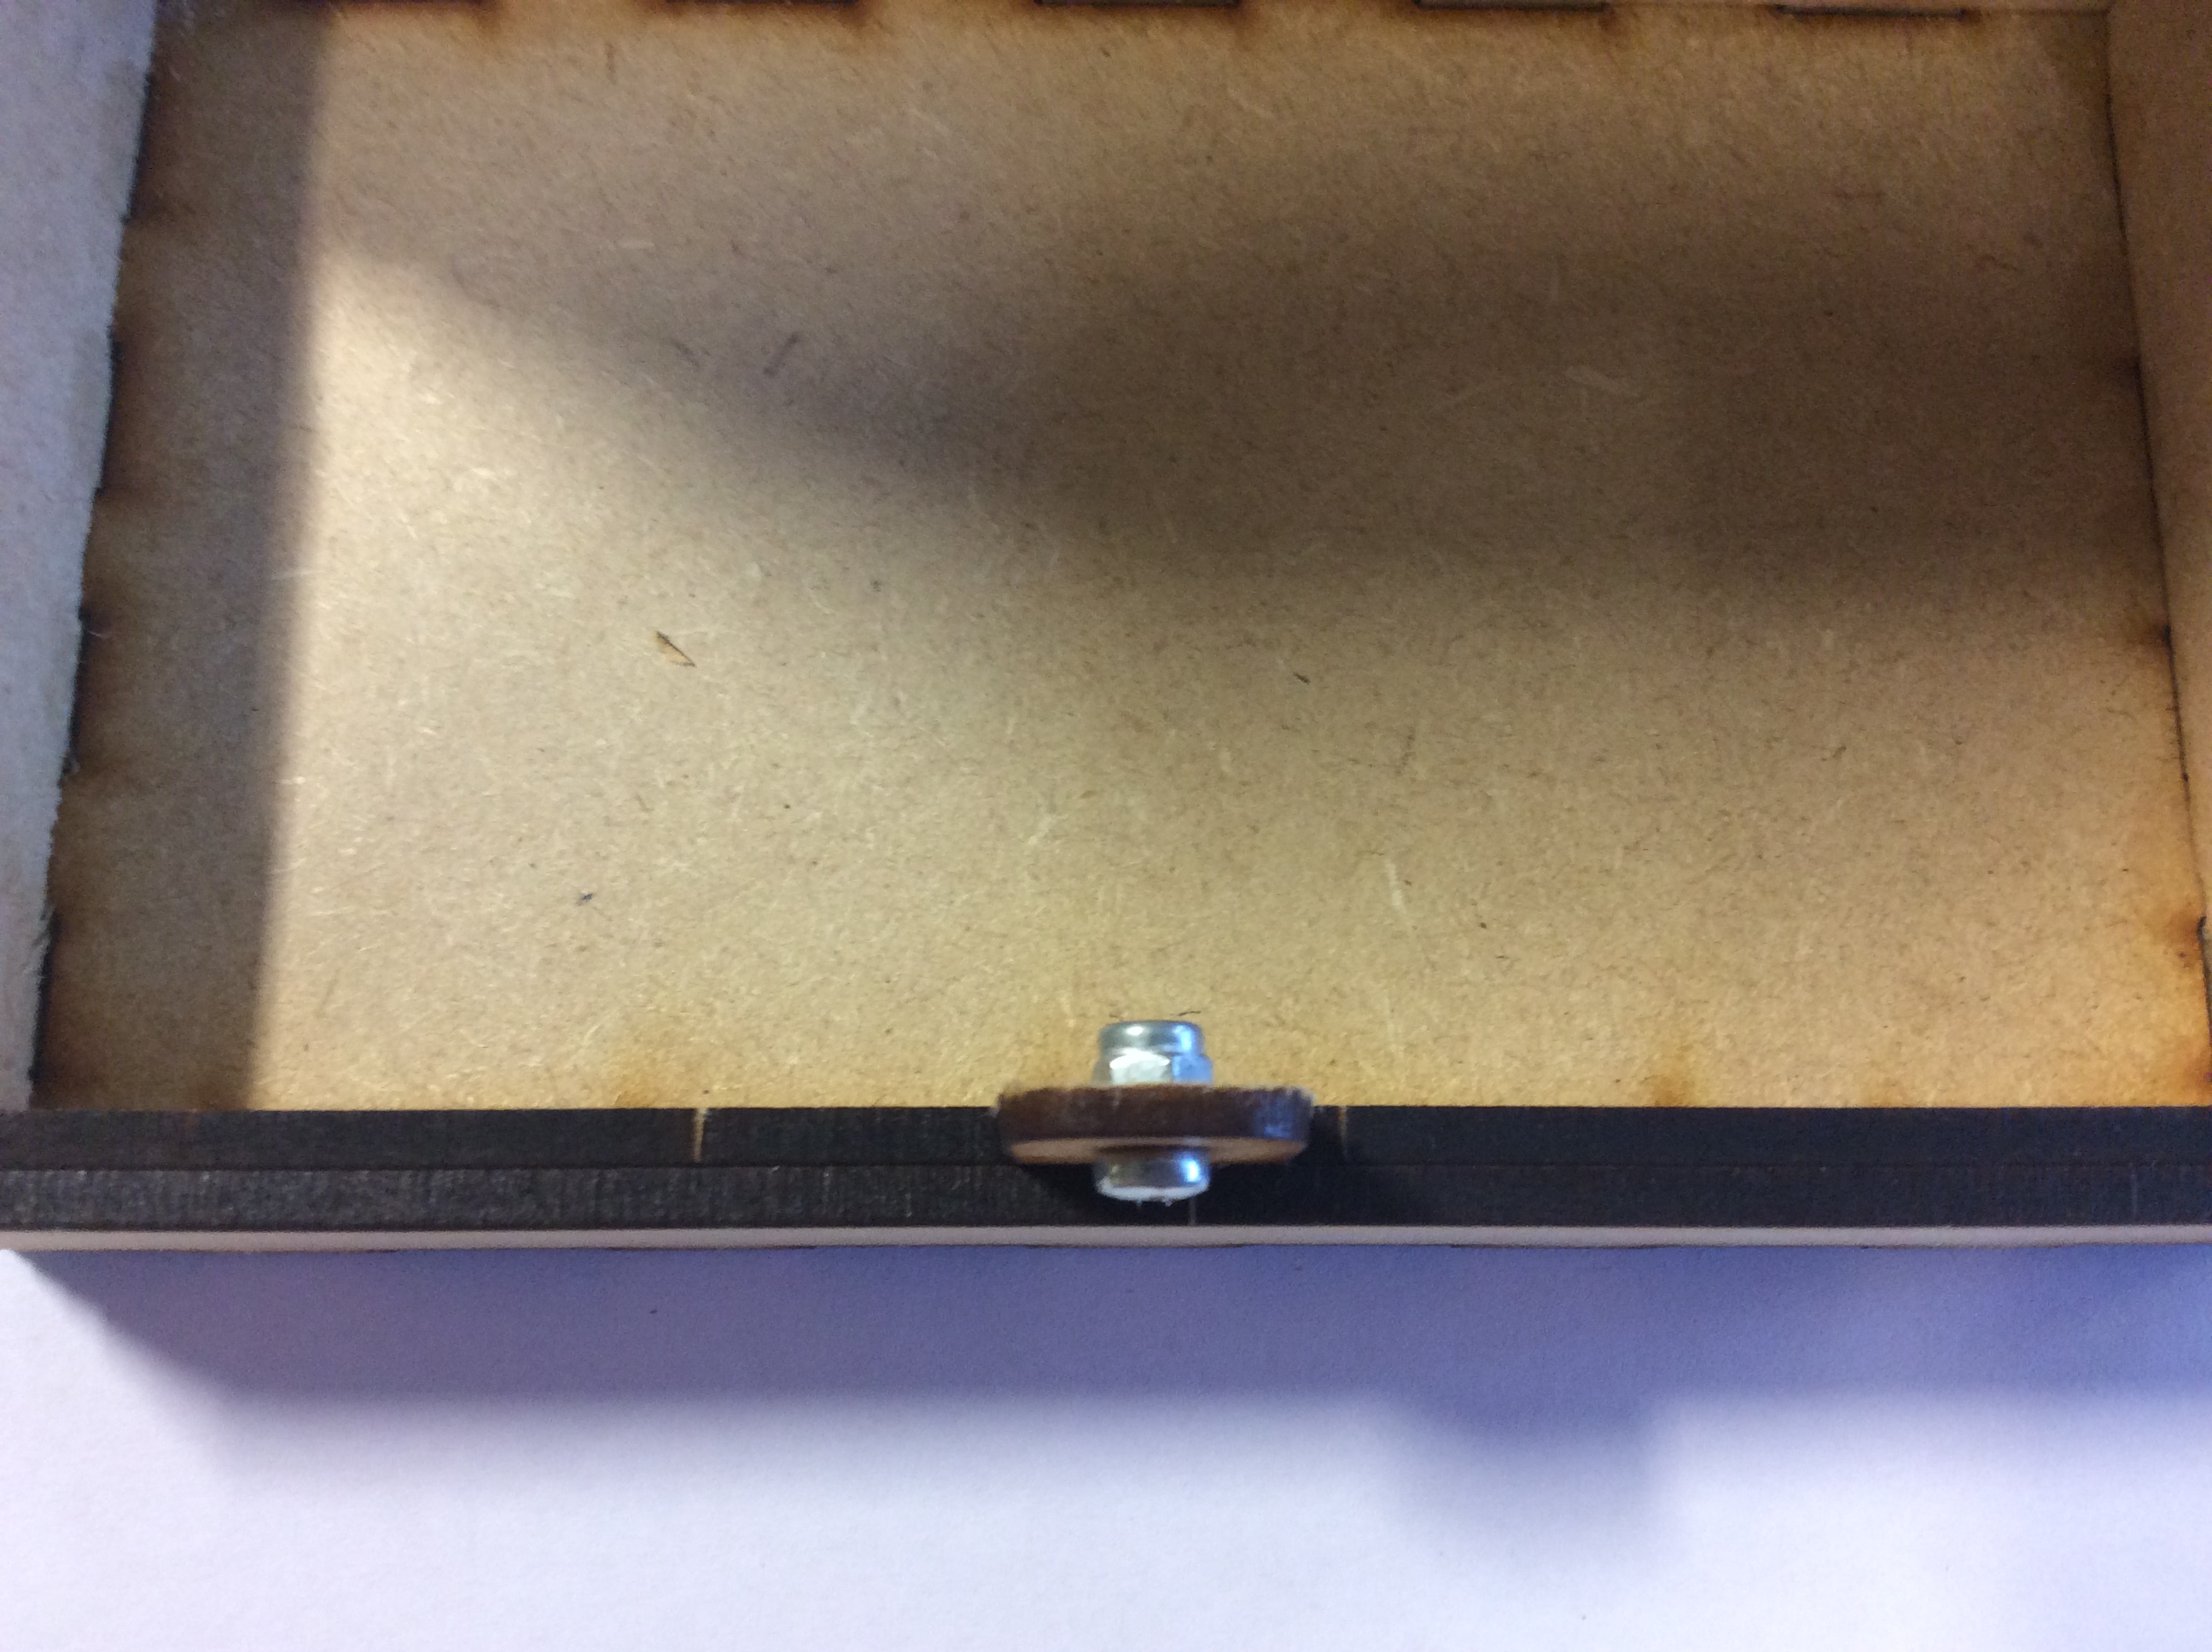
- Pass the screw through the front of the box, and secure it like before from the back. This will hold the box closed when it's shut.
Build It - Finishing off
- The box looks a little rough, and probably has some scorch marks from when it was laser cut. Let's fix that.
- Get a sheet of glasspaper, and lightly sand the outside edges of the box. You could even gently round off the corners and edges if you're careful.
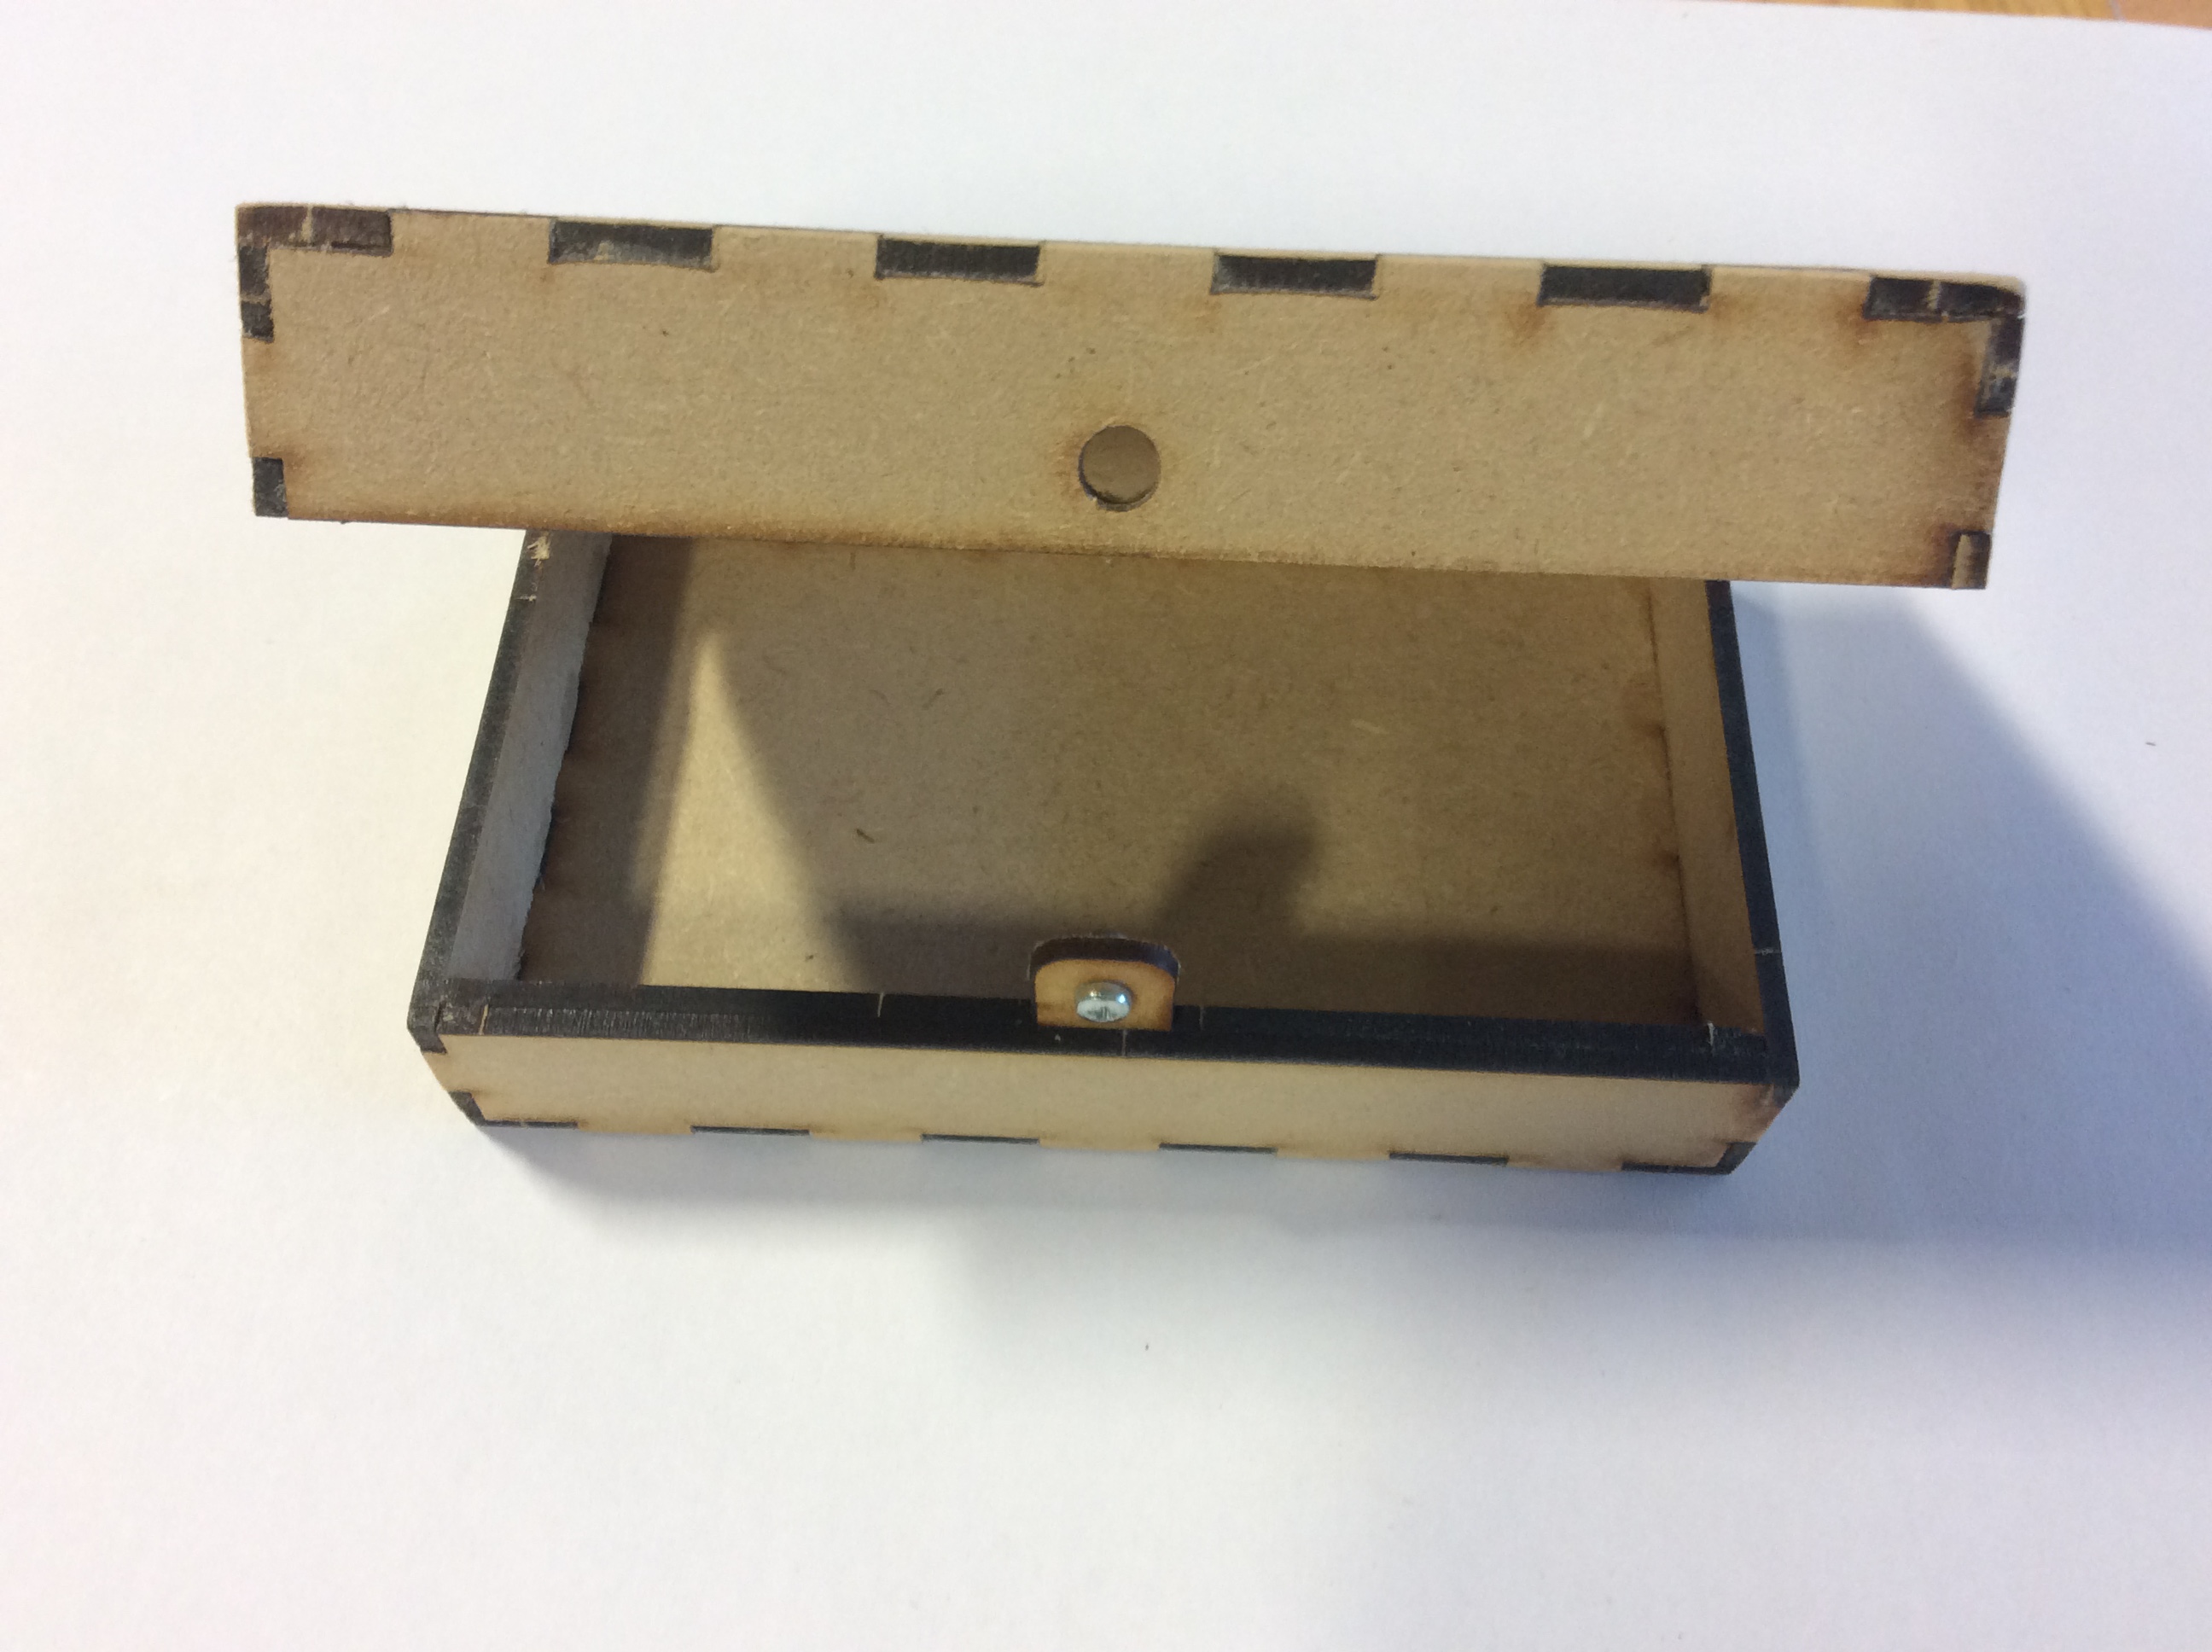
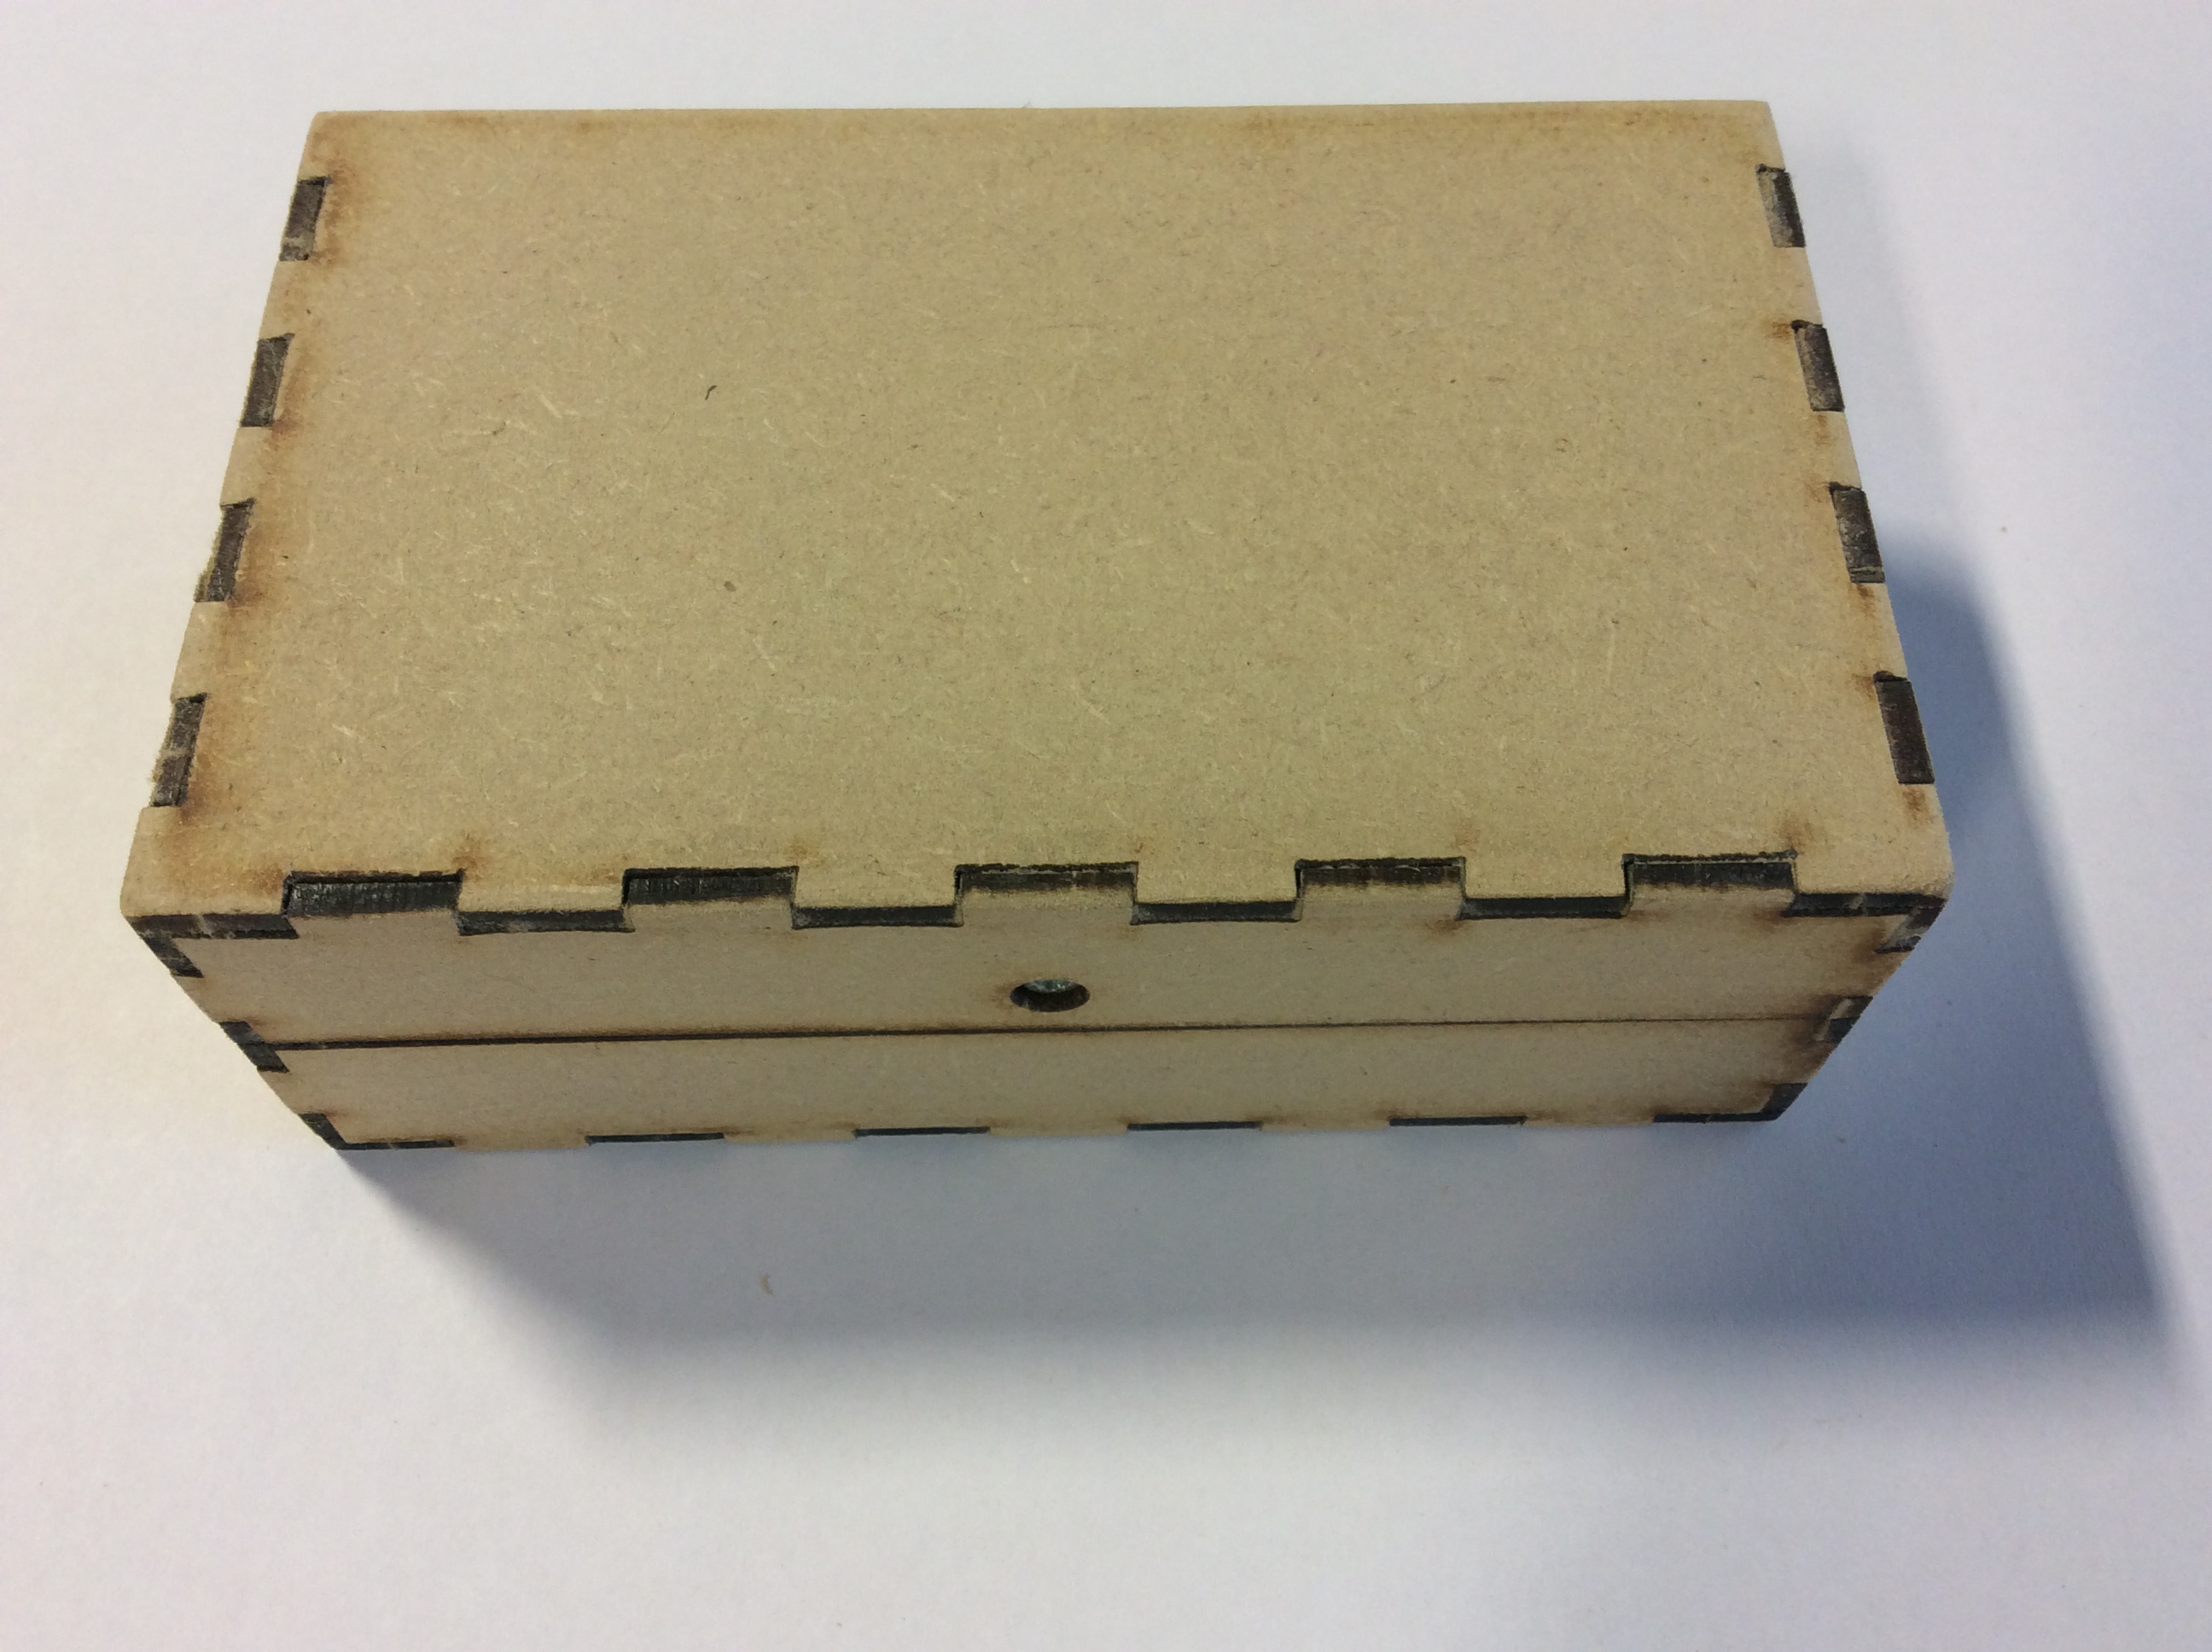
- You now have a finished box.
- Why not take it home and decorate it?
- If you can find some scrap felt or fabric at home, you could line the inside to make it look even nicer.
2 Assessment
Badge It - Boxer Silver and Gold
- Upload two photos of your box (from different angles) to the Badge site.
- Silver: Progress ladder - Yellow - Select appropriate tools and equipment to accomplish tasks.
- Assemble the storage box.
- Gold: Progress ladder - Green - Produce a working model from parts supplied by a teacher, with limited assistance.
- Assemble the box neatly, with little or no excess glue, and all the parts neatly mated together.
- Platinum: Progress ladder - Blue - Produce challenging, high-quality, working products with very limited teacher assistance.
- As for gold, but decorating the box nicely, OR laser cutting a bespoke lid for your box.