Wooden LED Torch
1 Introduction
Learn It
- In For this project, you will create your own bespoke LED torch by laser cutting the top and bottom of the LED torch.
- You can download and edit the TechSoft 2D Design file here.
- I you can't remember how to add images to a TechSoft 2D Design file, go back to week 6 of the year 7 Storage box project.
Make It
- You will need to edit the file and then laser cut it. If you need help with the laser cutter, here is a video tutorial.
- Once you have laser cut the lid, you can then solder the PCB.
- To find out how to solder the PCB, you can go back to the LED torch project to see the details.
- Here is a quick link.
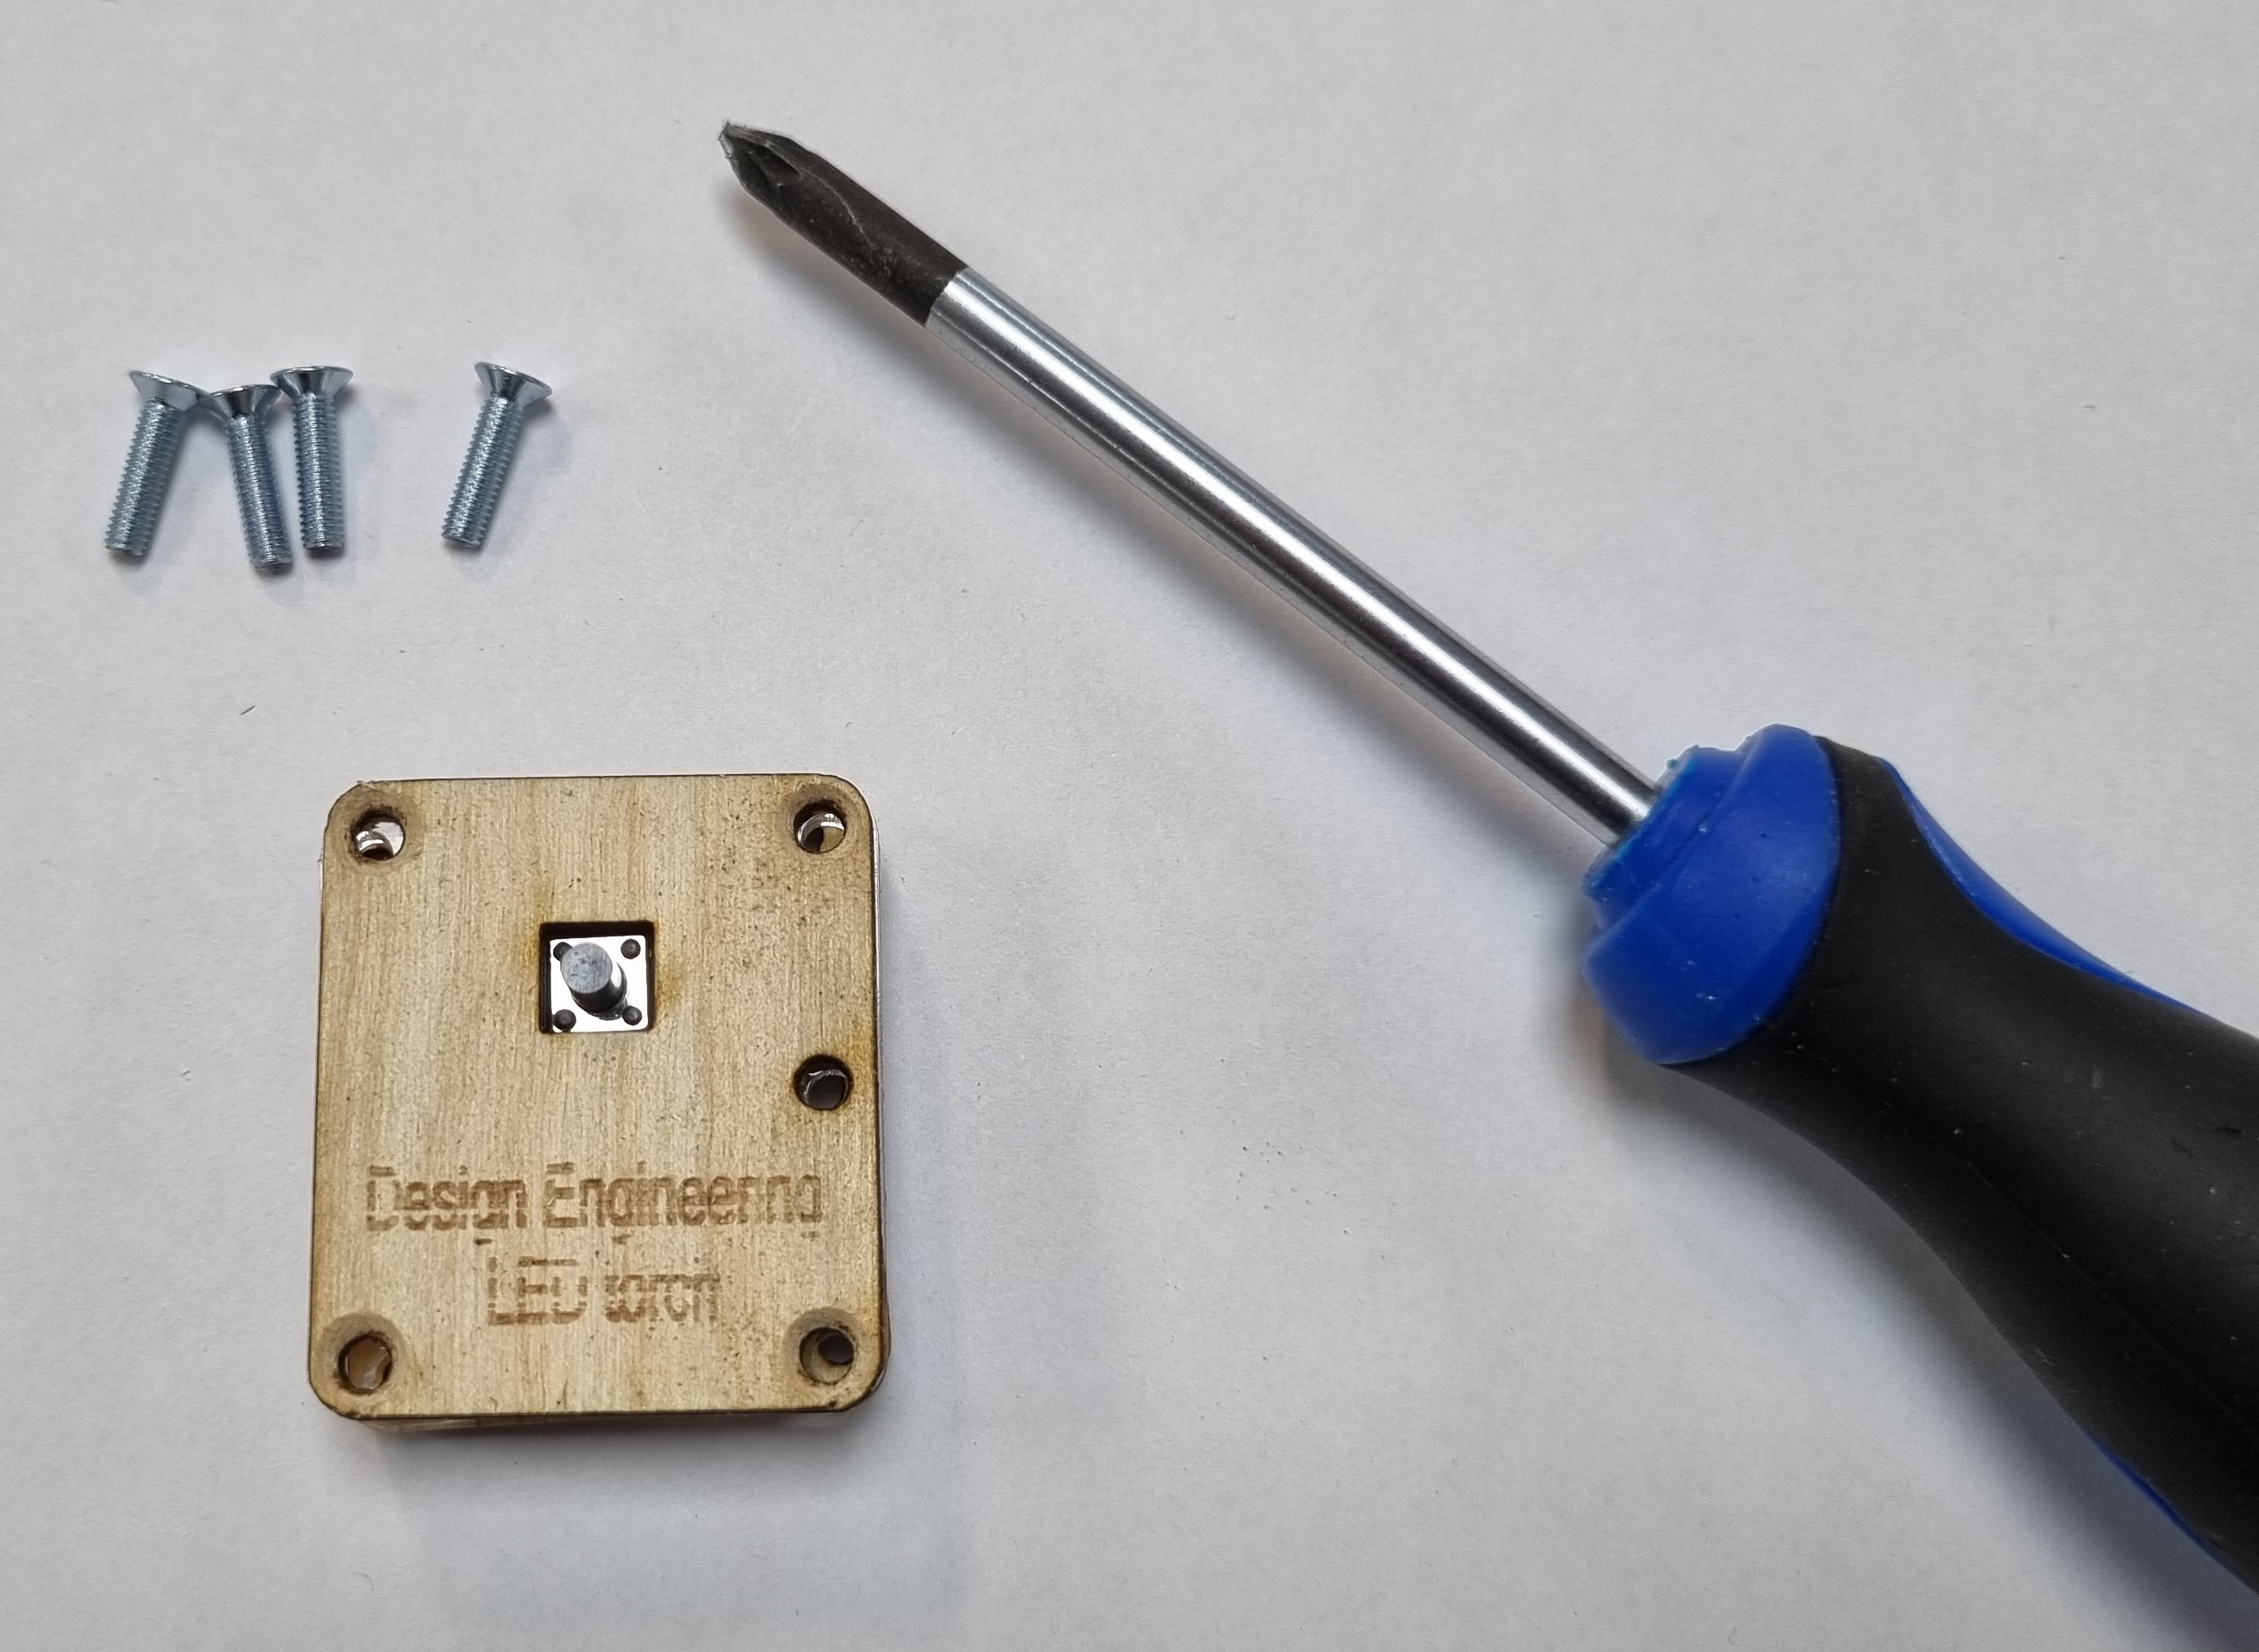
- Below are all the parts you will need, excluding the screws.

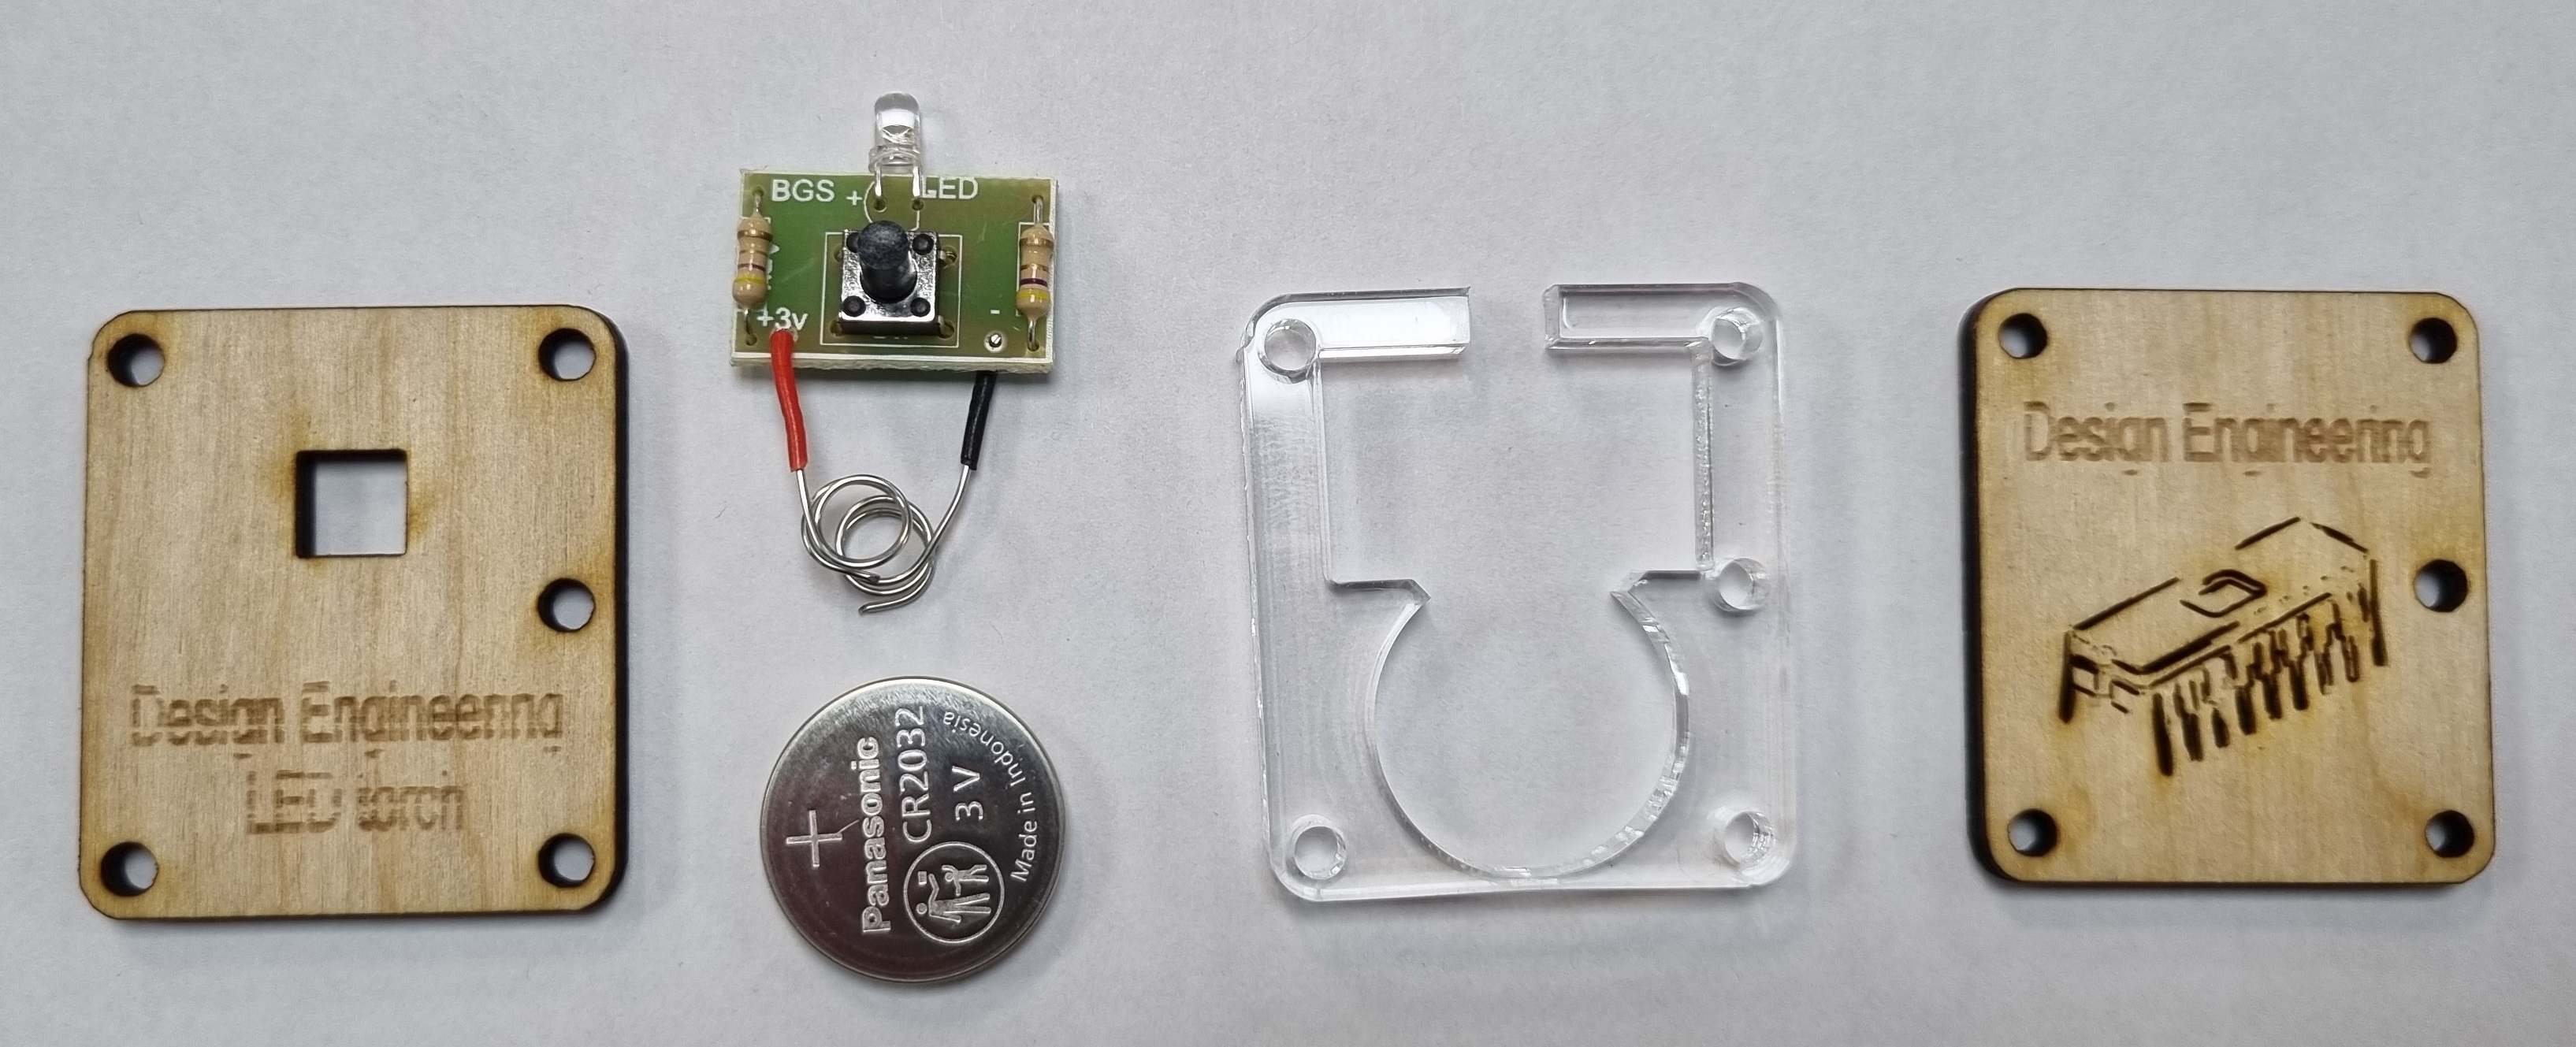
- You will need to counter sink the 4 corners of the lid only.

- Now, the bottom and the middle acrylic parts on top of each other. Making sure the holes for the keyring holder line up.
- Then place the PCB in place and bend up the positive/red wire.
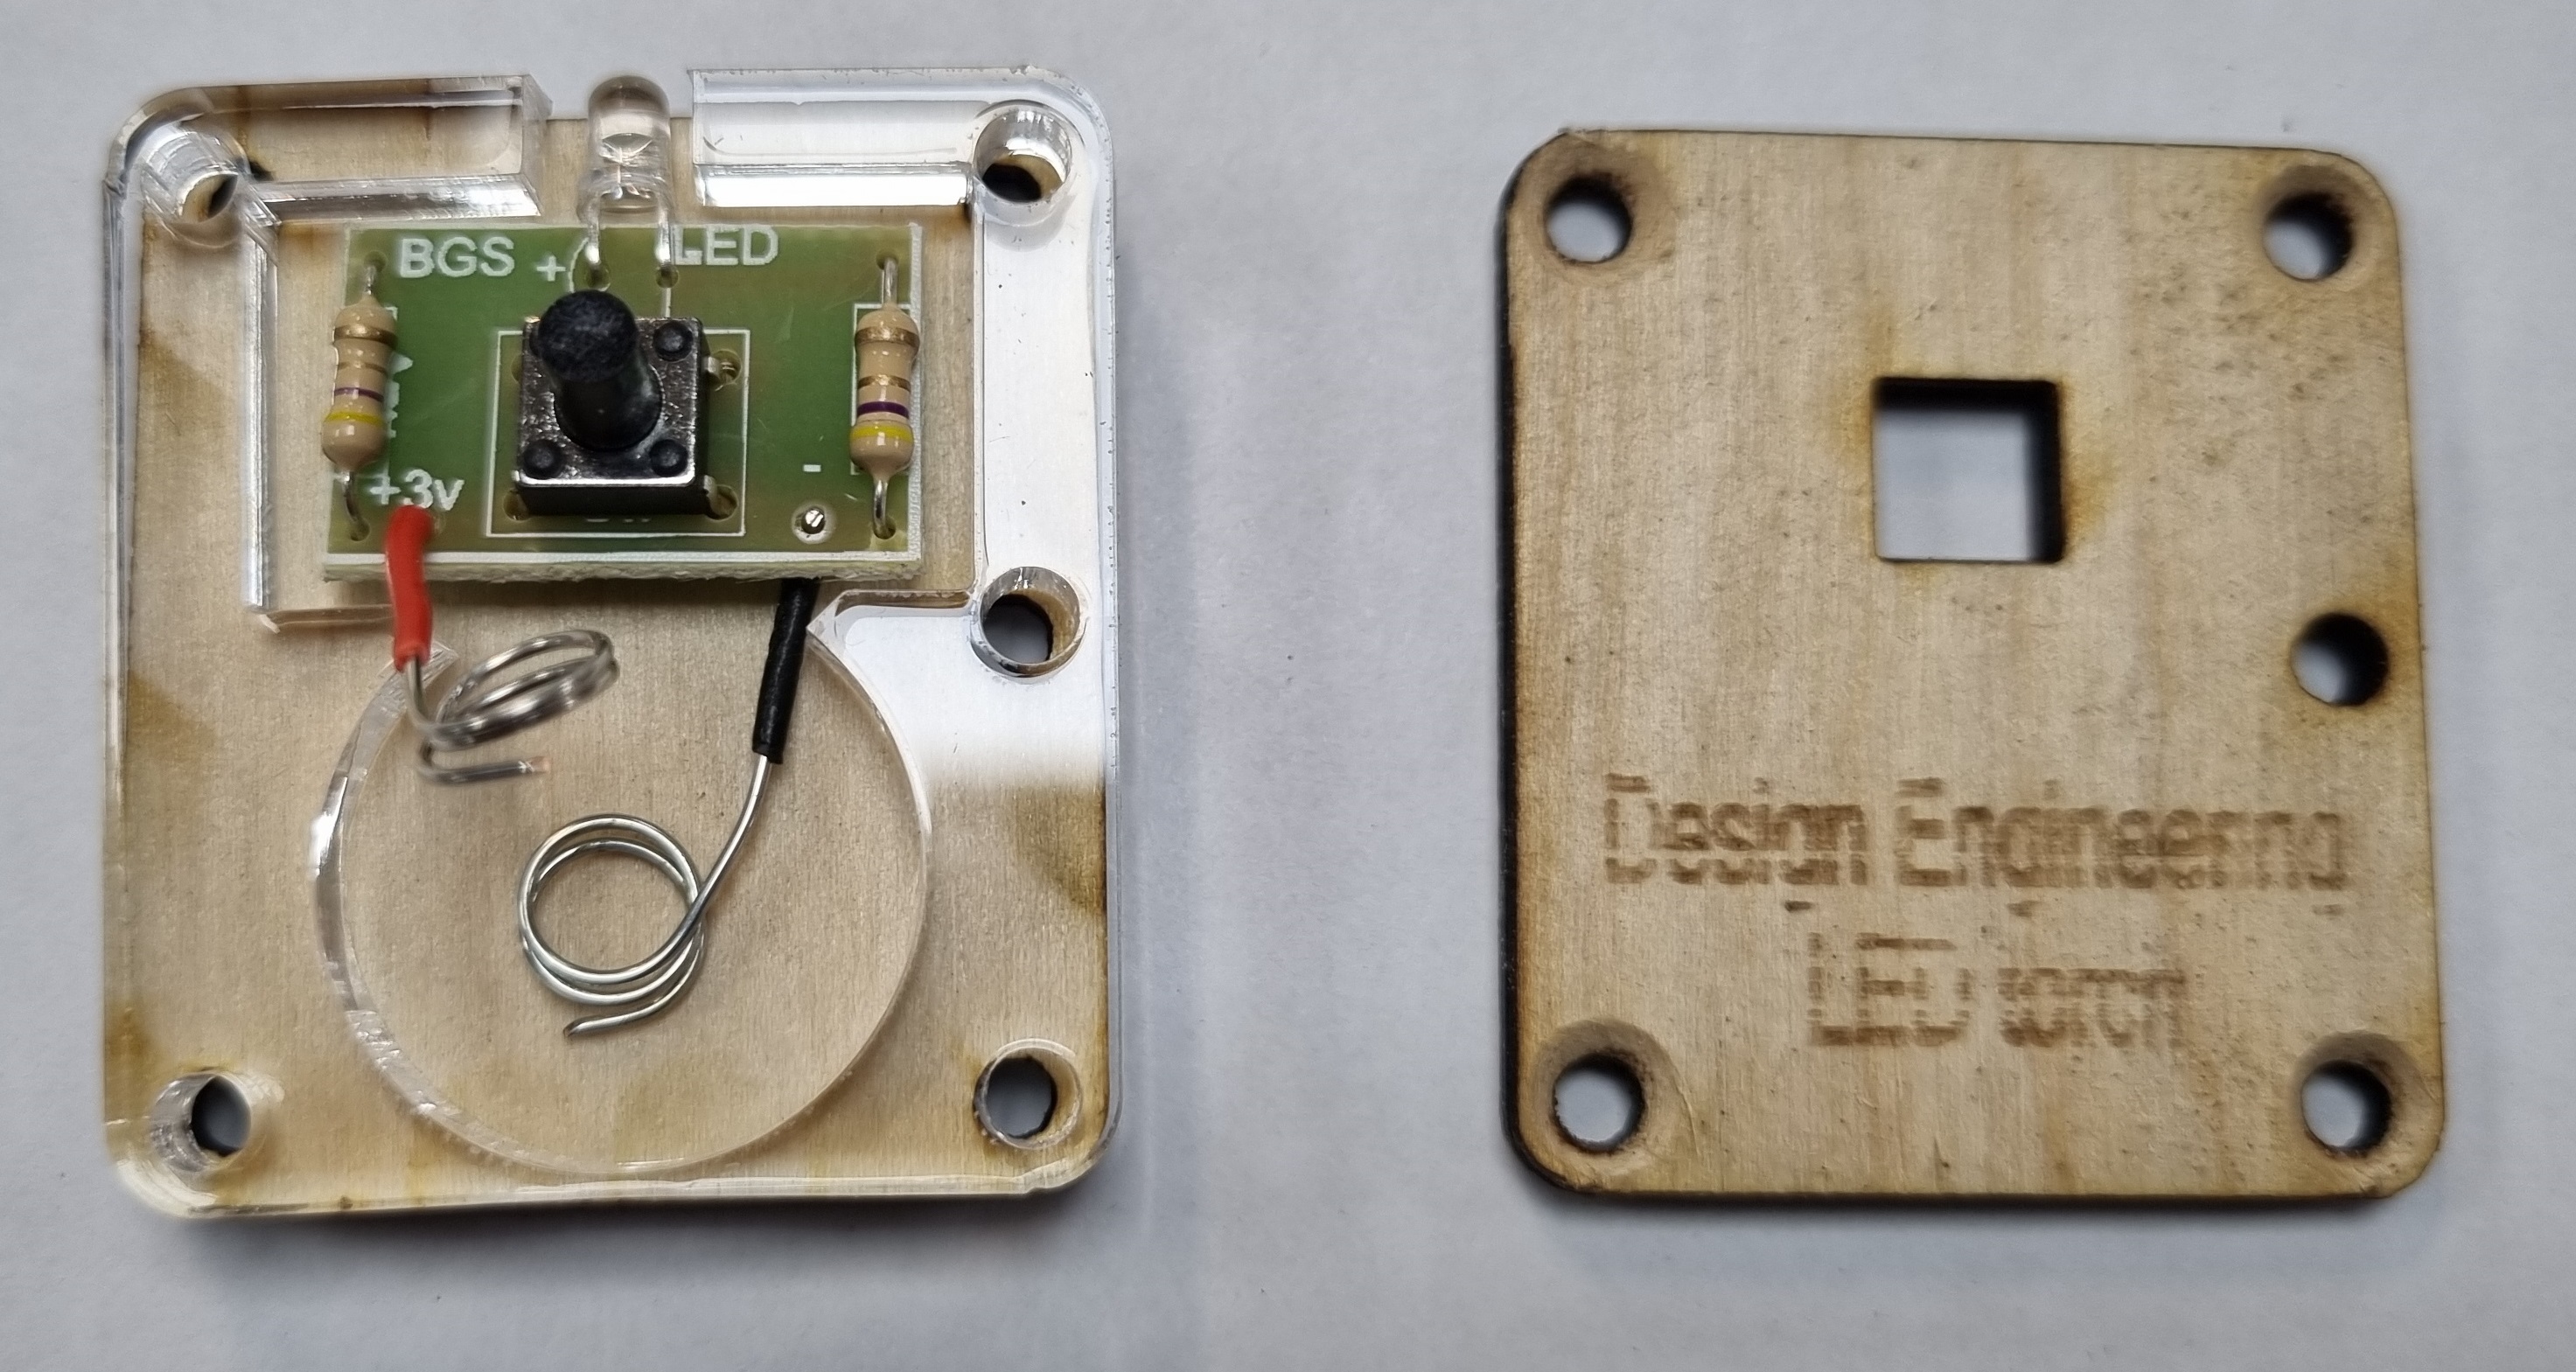
- Now place the battery in place and bend down the positive/red wire. Make sure the Positive/+ of the battery is the correct way around.
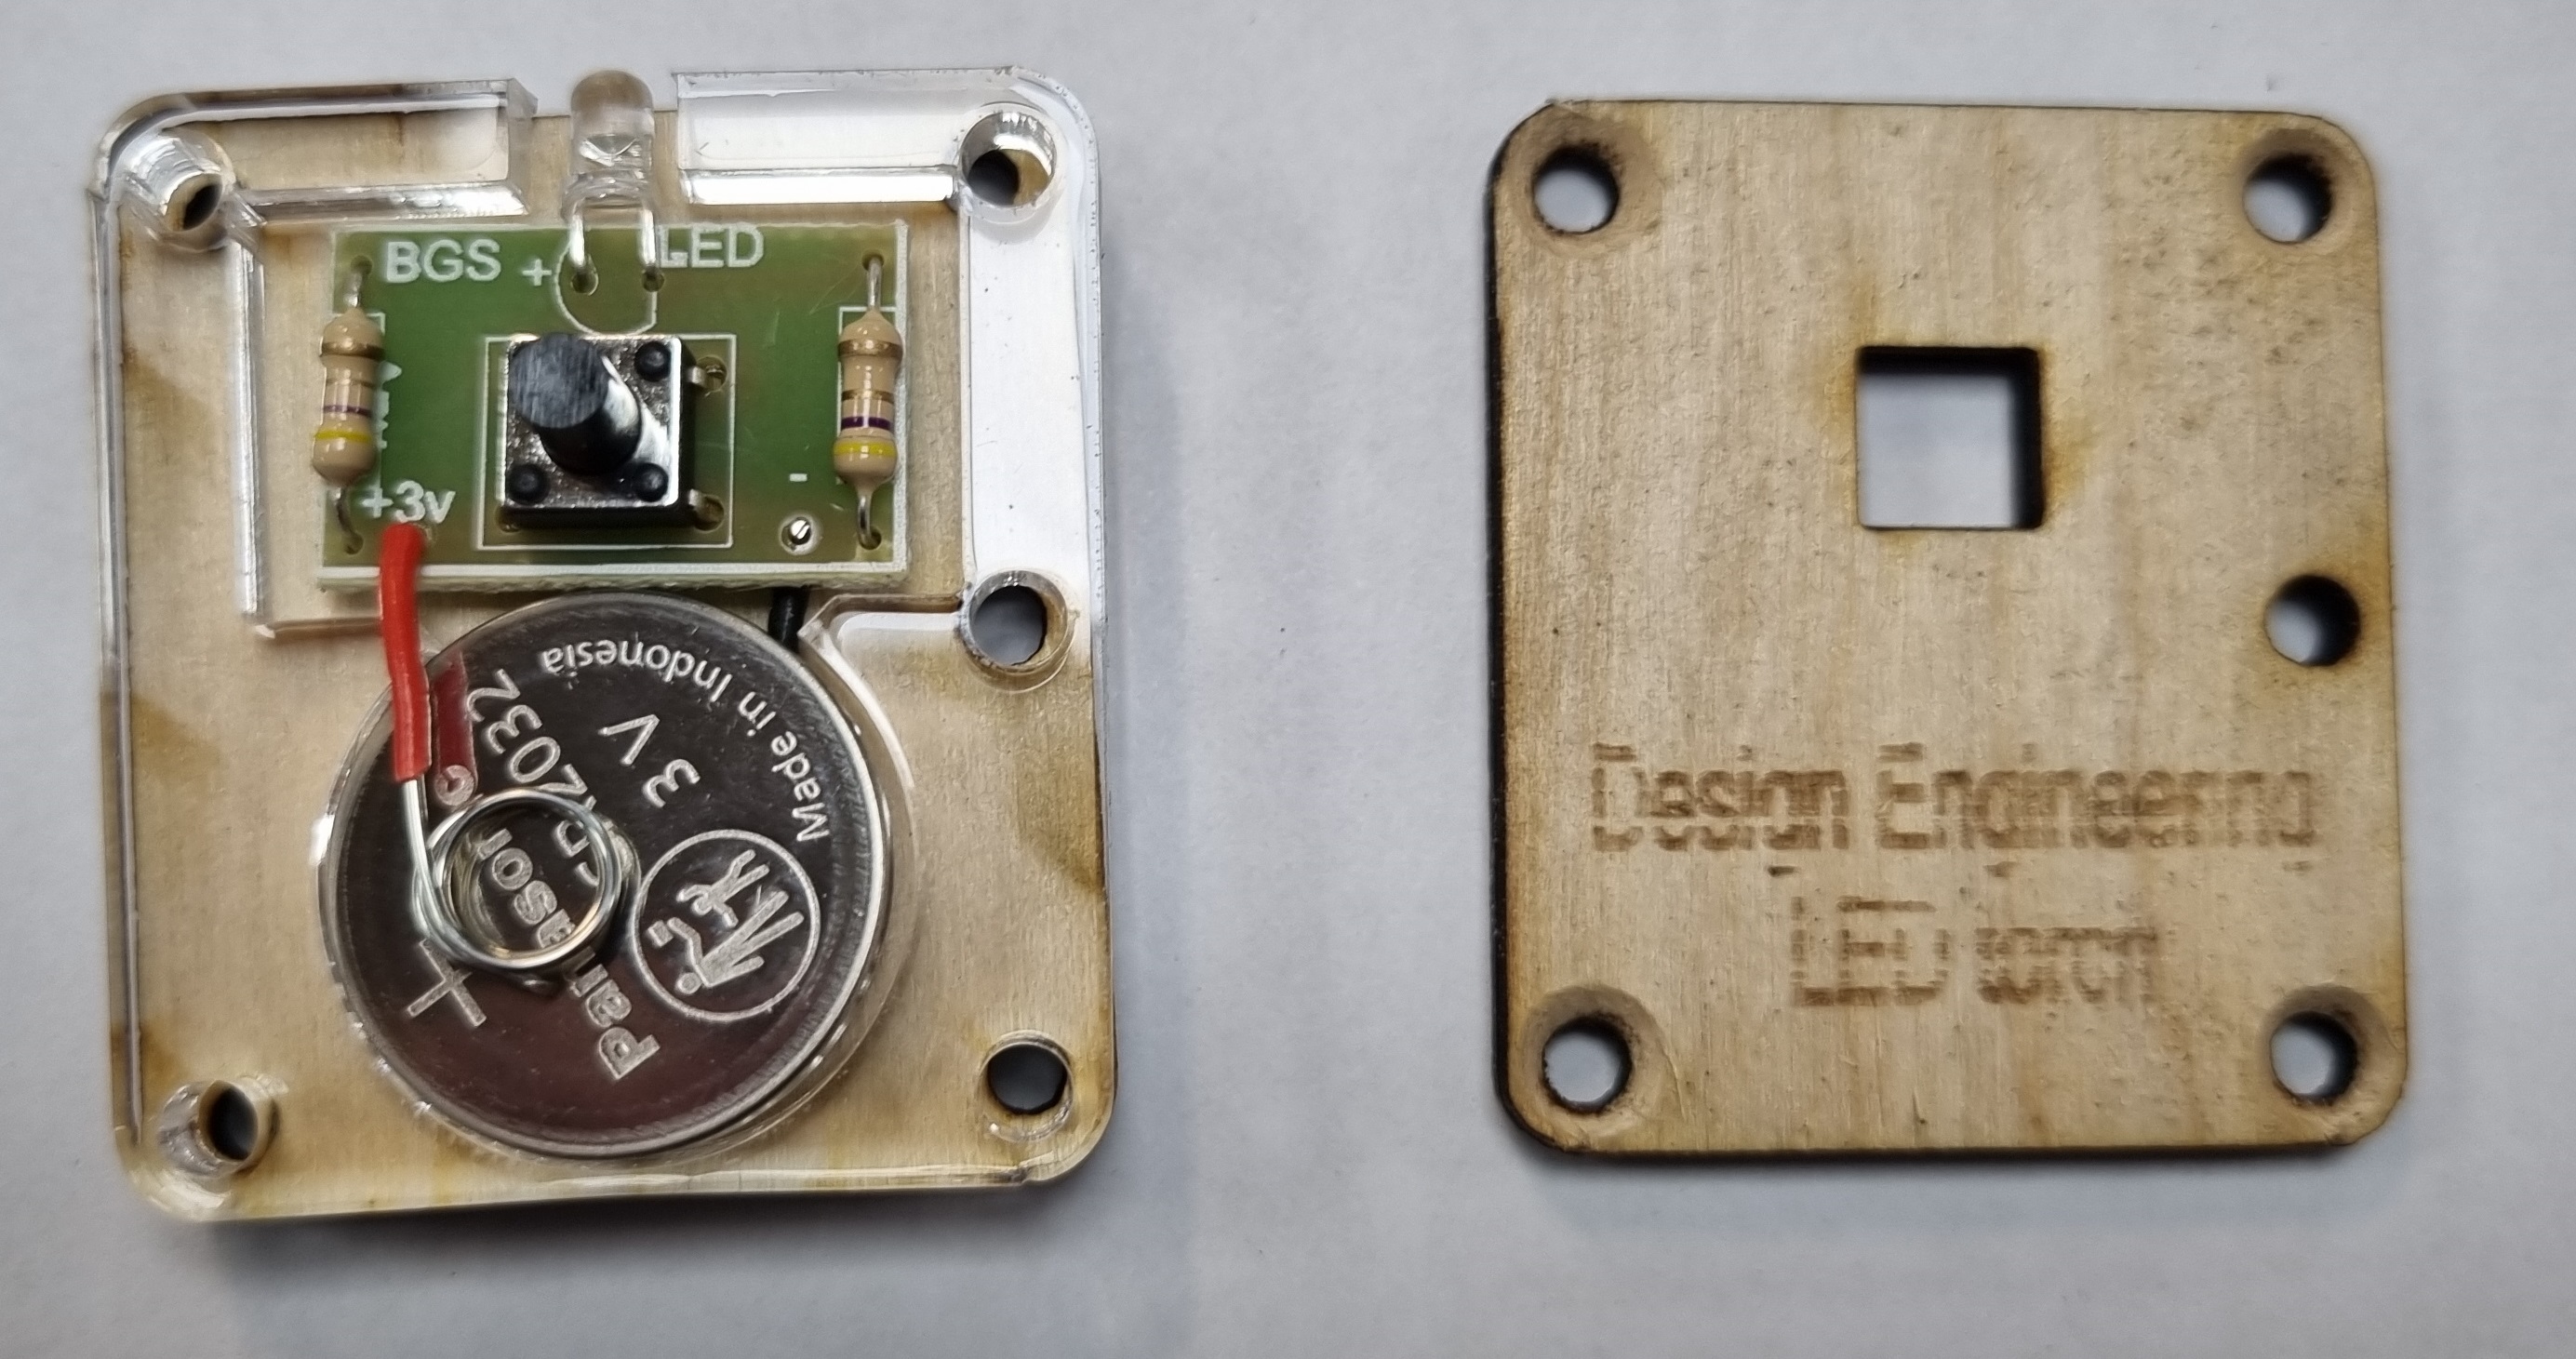
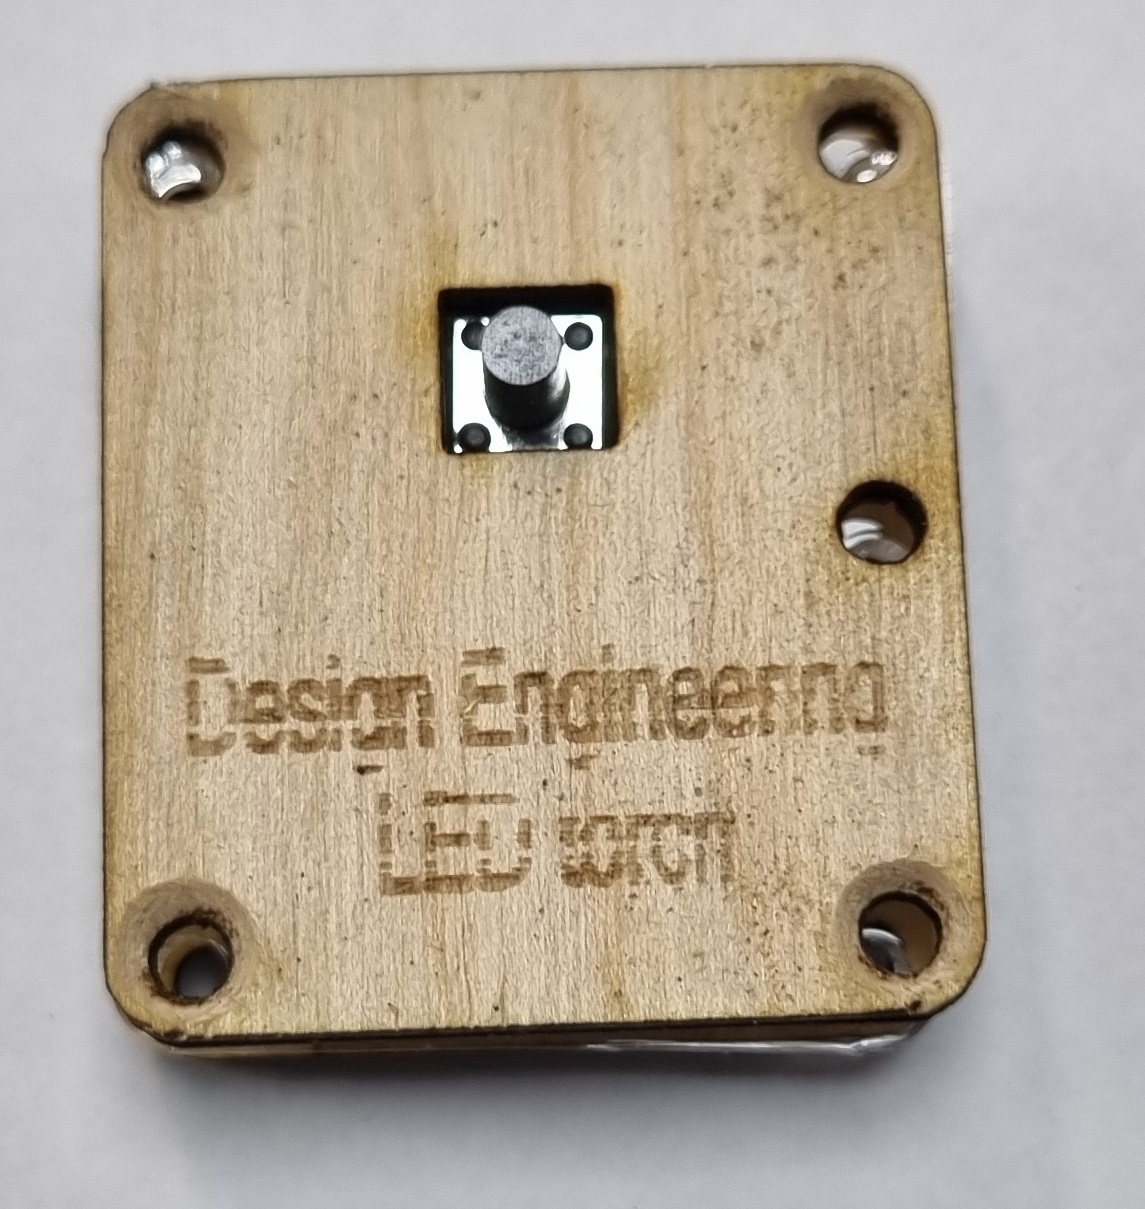
- Now place the lid on top, making sure the keyring hole lines up.
- You can now screw the 4 screws into the 4 corners.
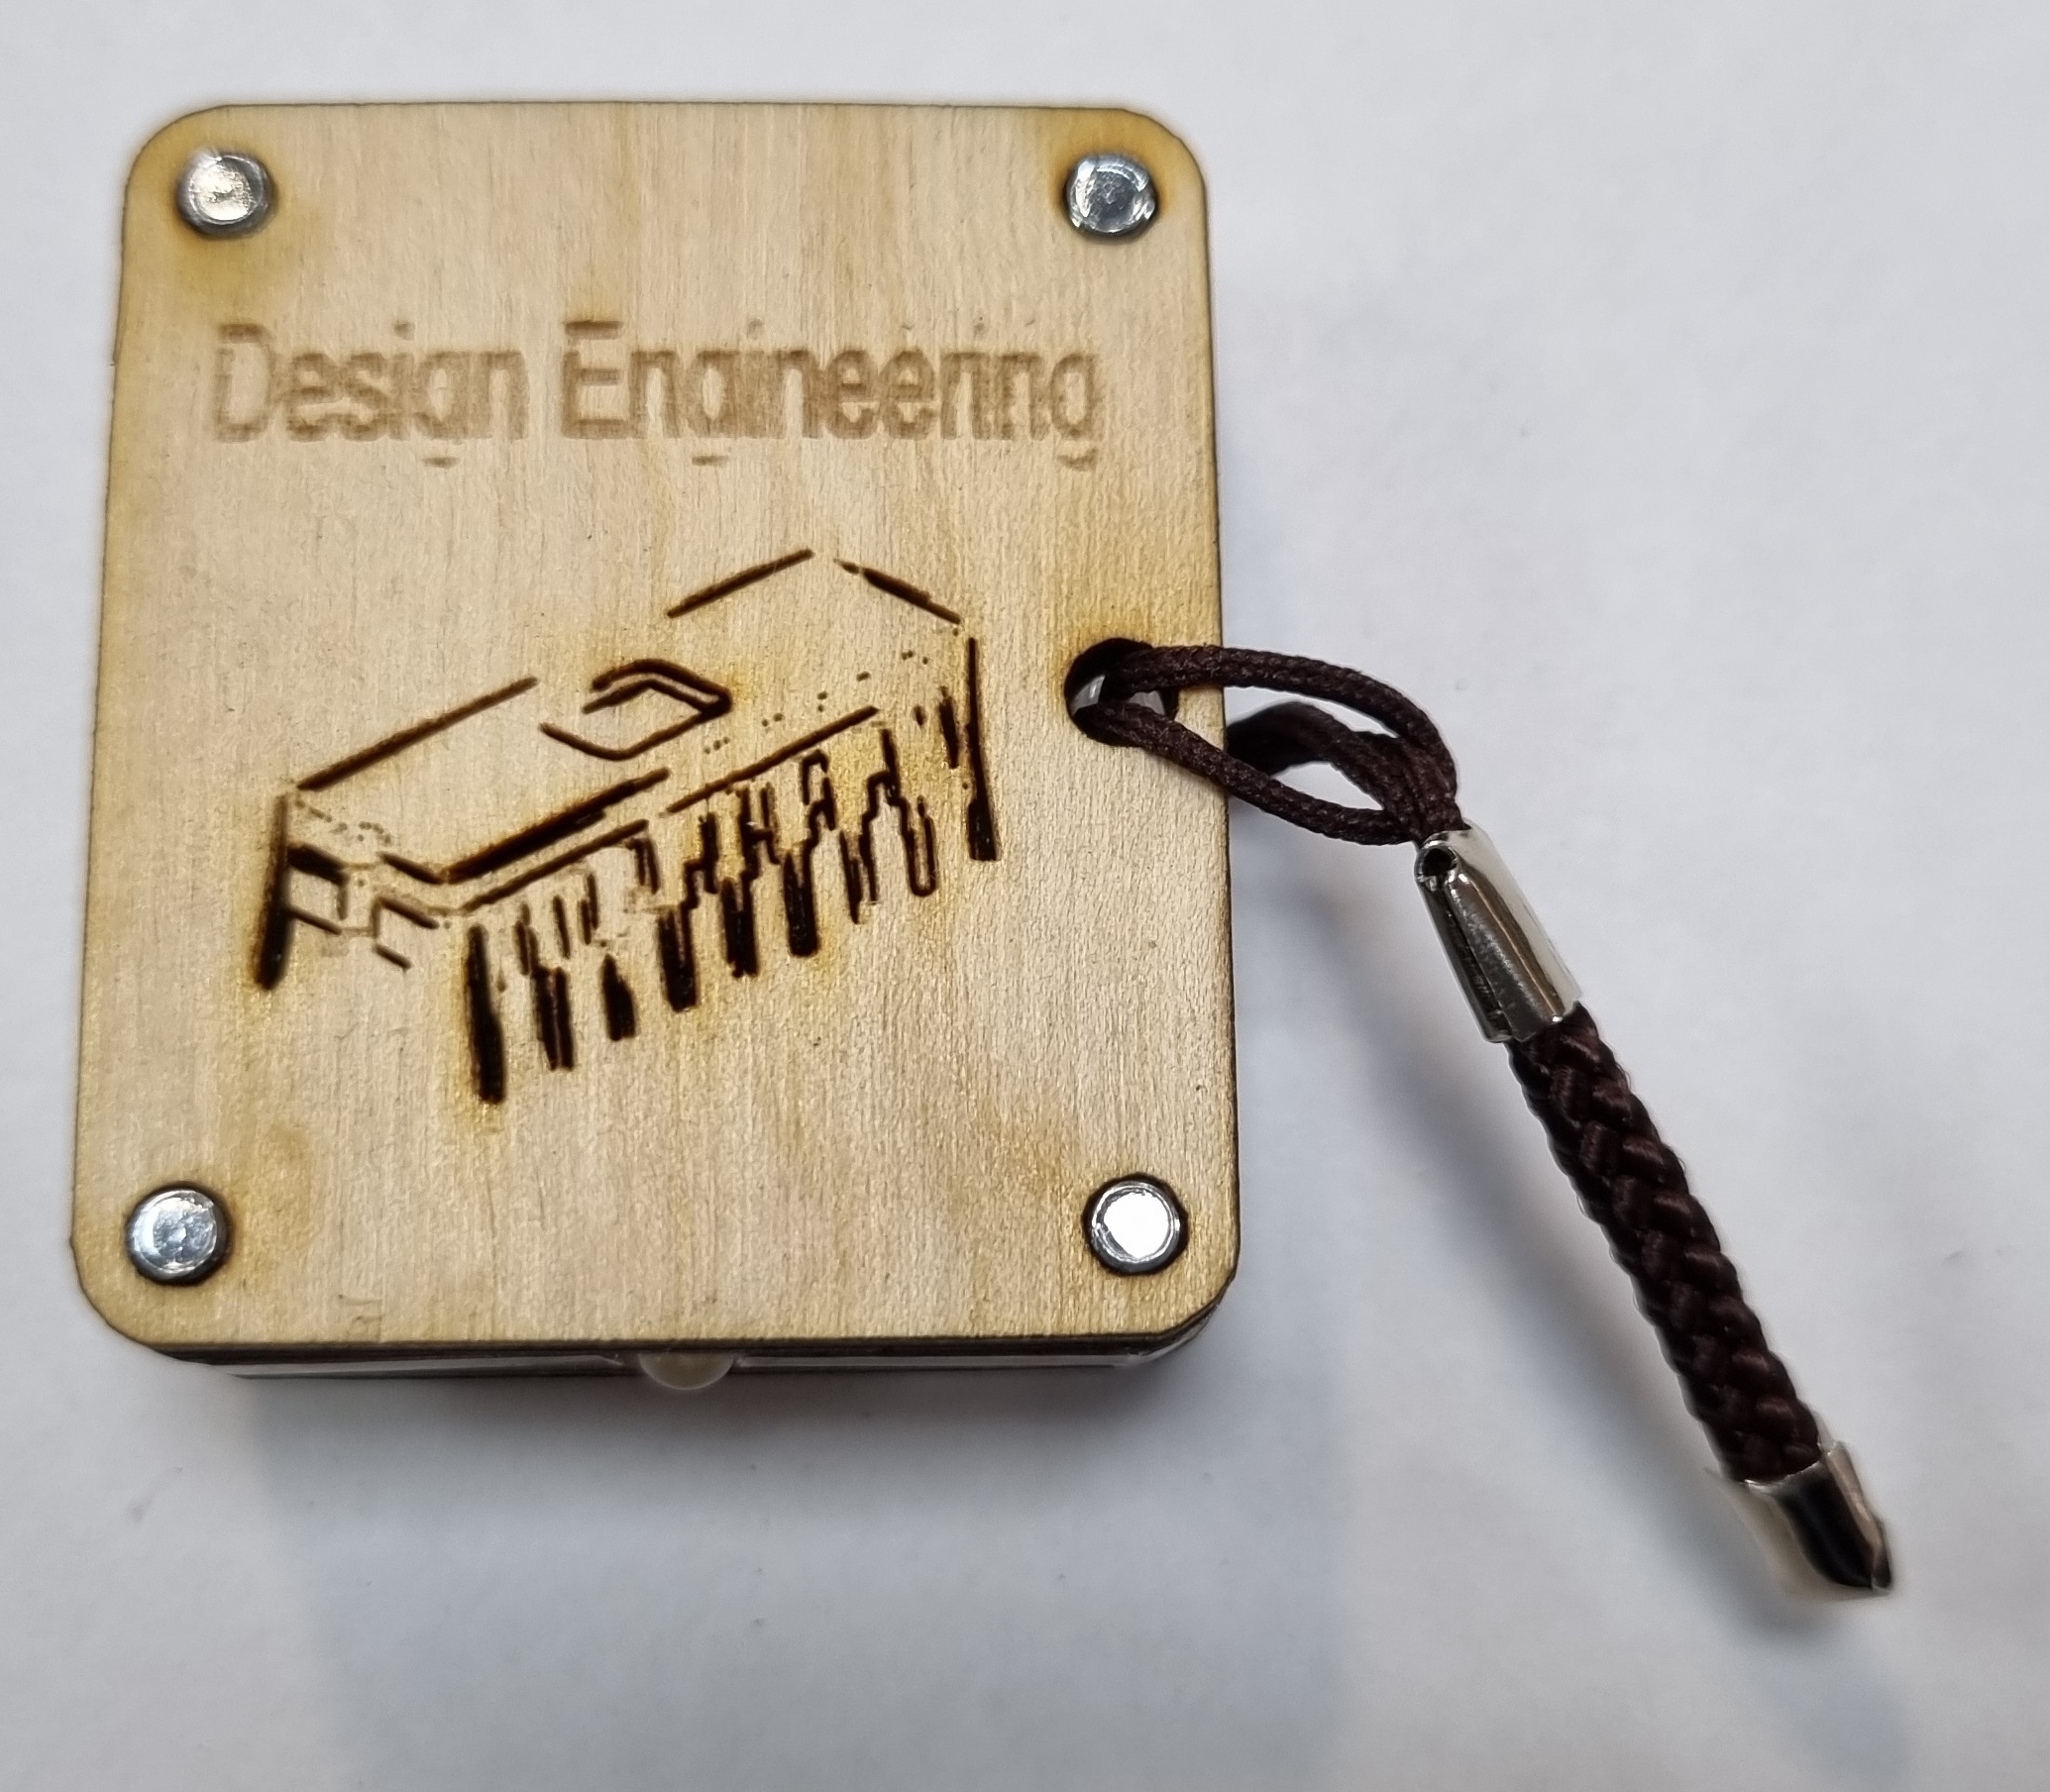
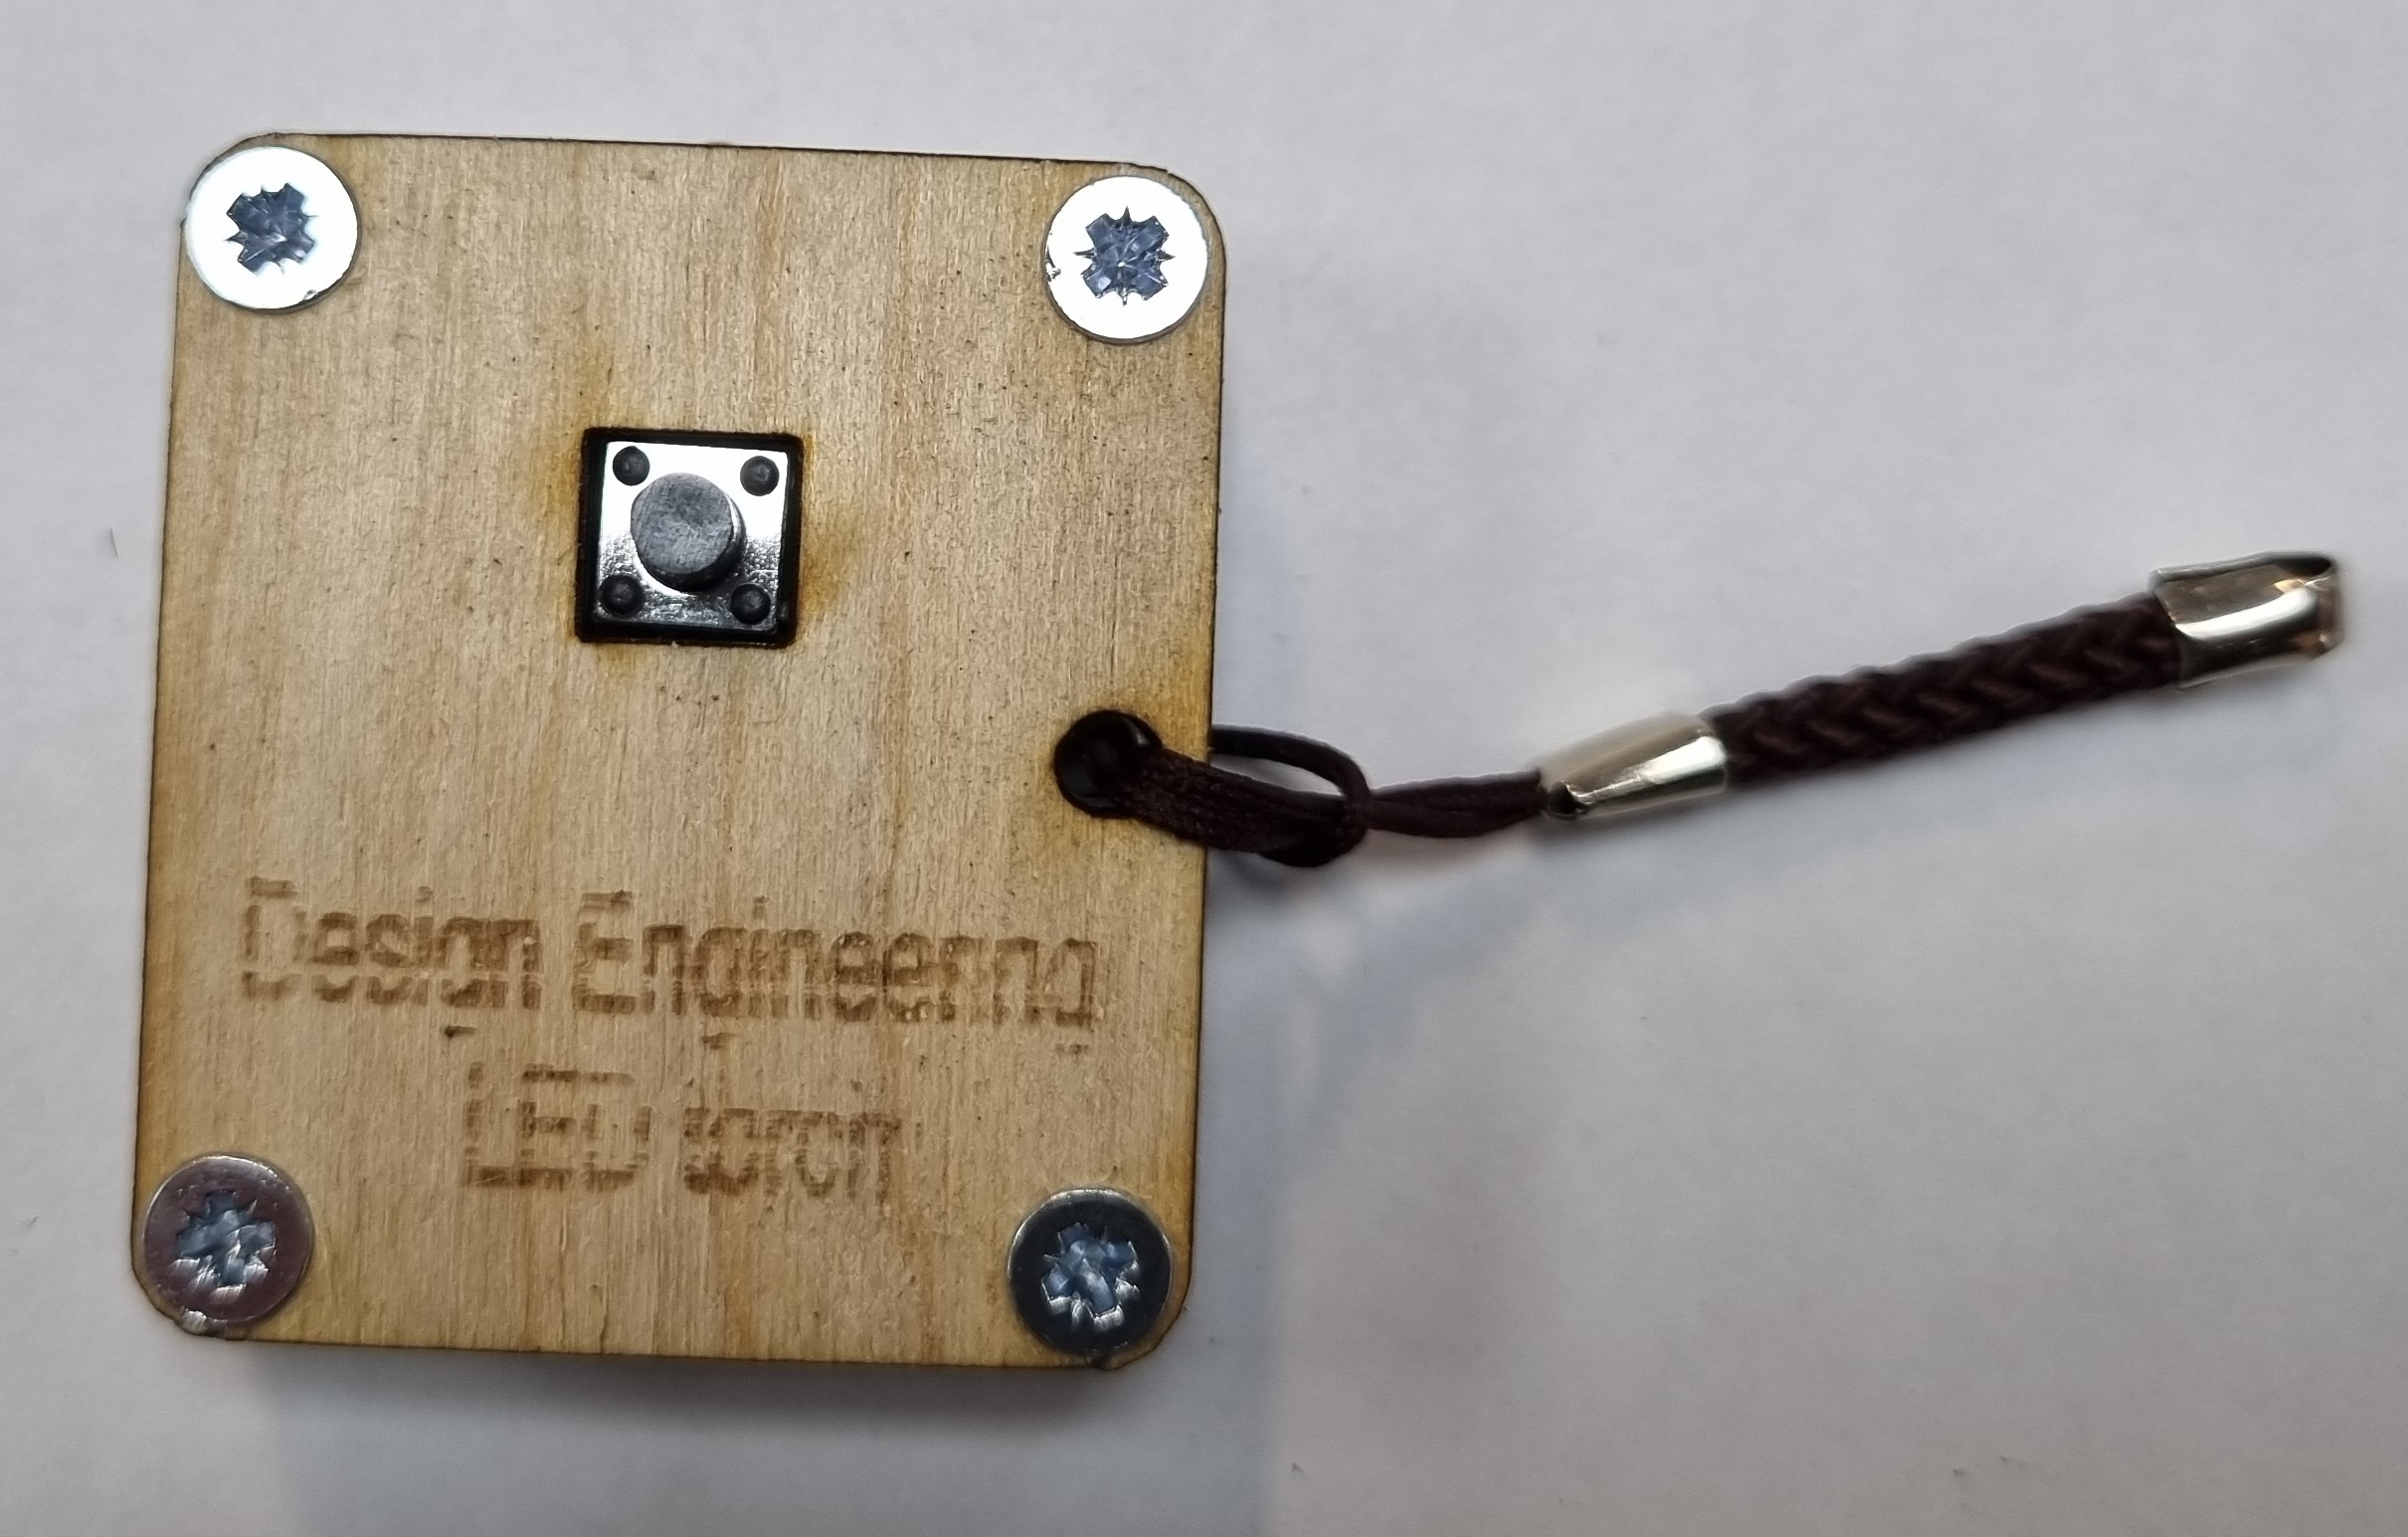
- Here is the finished Torch from both sides.