| Week 1 | Week 2 | Week 3 | Week 4 | Week 5 | Week 6 | Homework Tasks |
The 555 Fan
1 Assembling the case.
Build It
- Put together part of the case as shown below.
- Do not proceed any further unless you have taken pictures of your PCB.
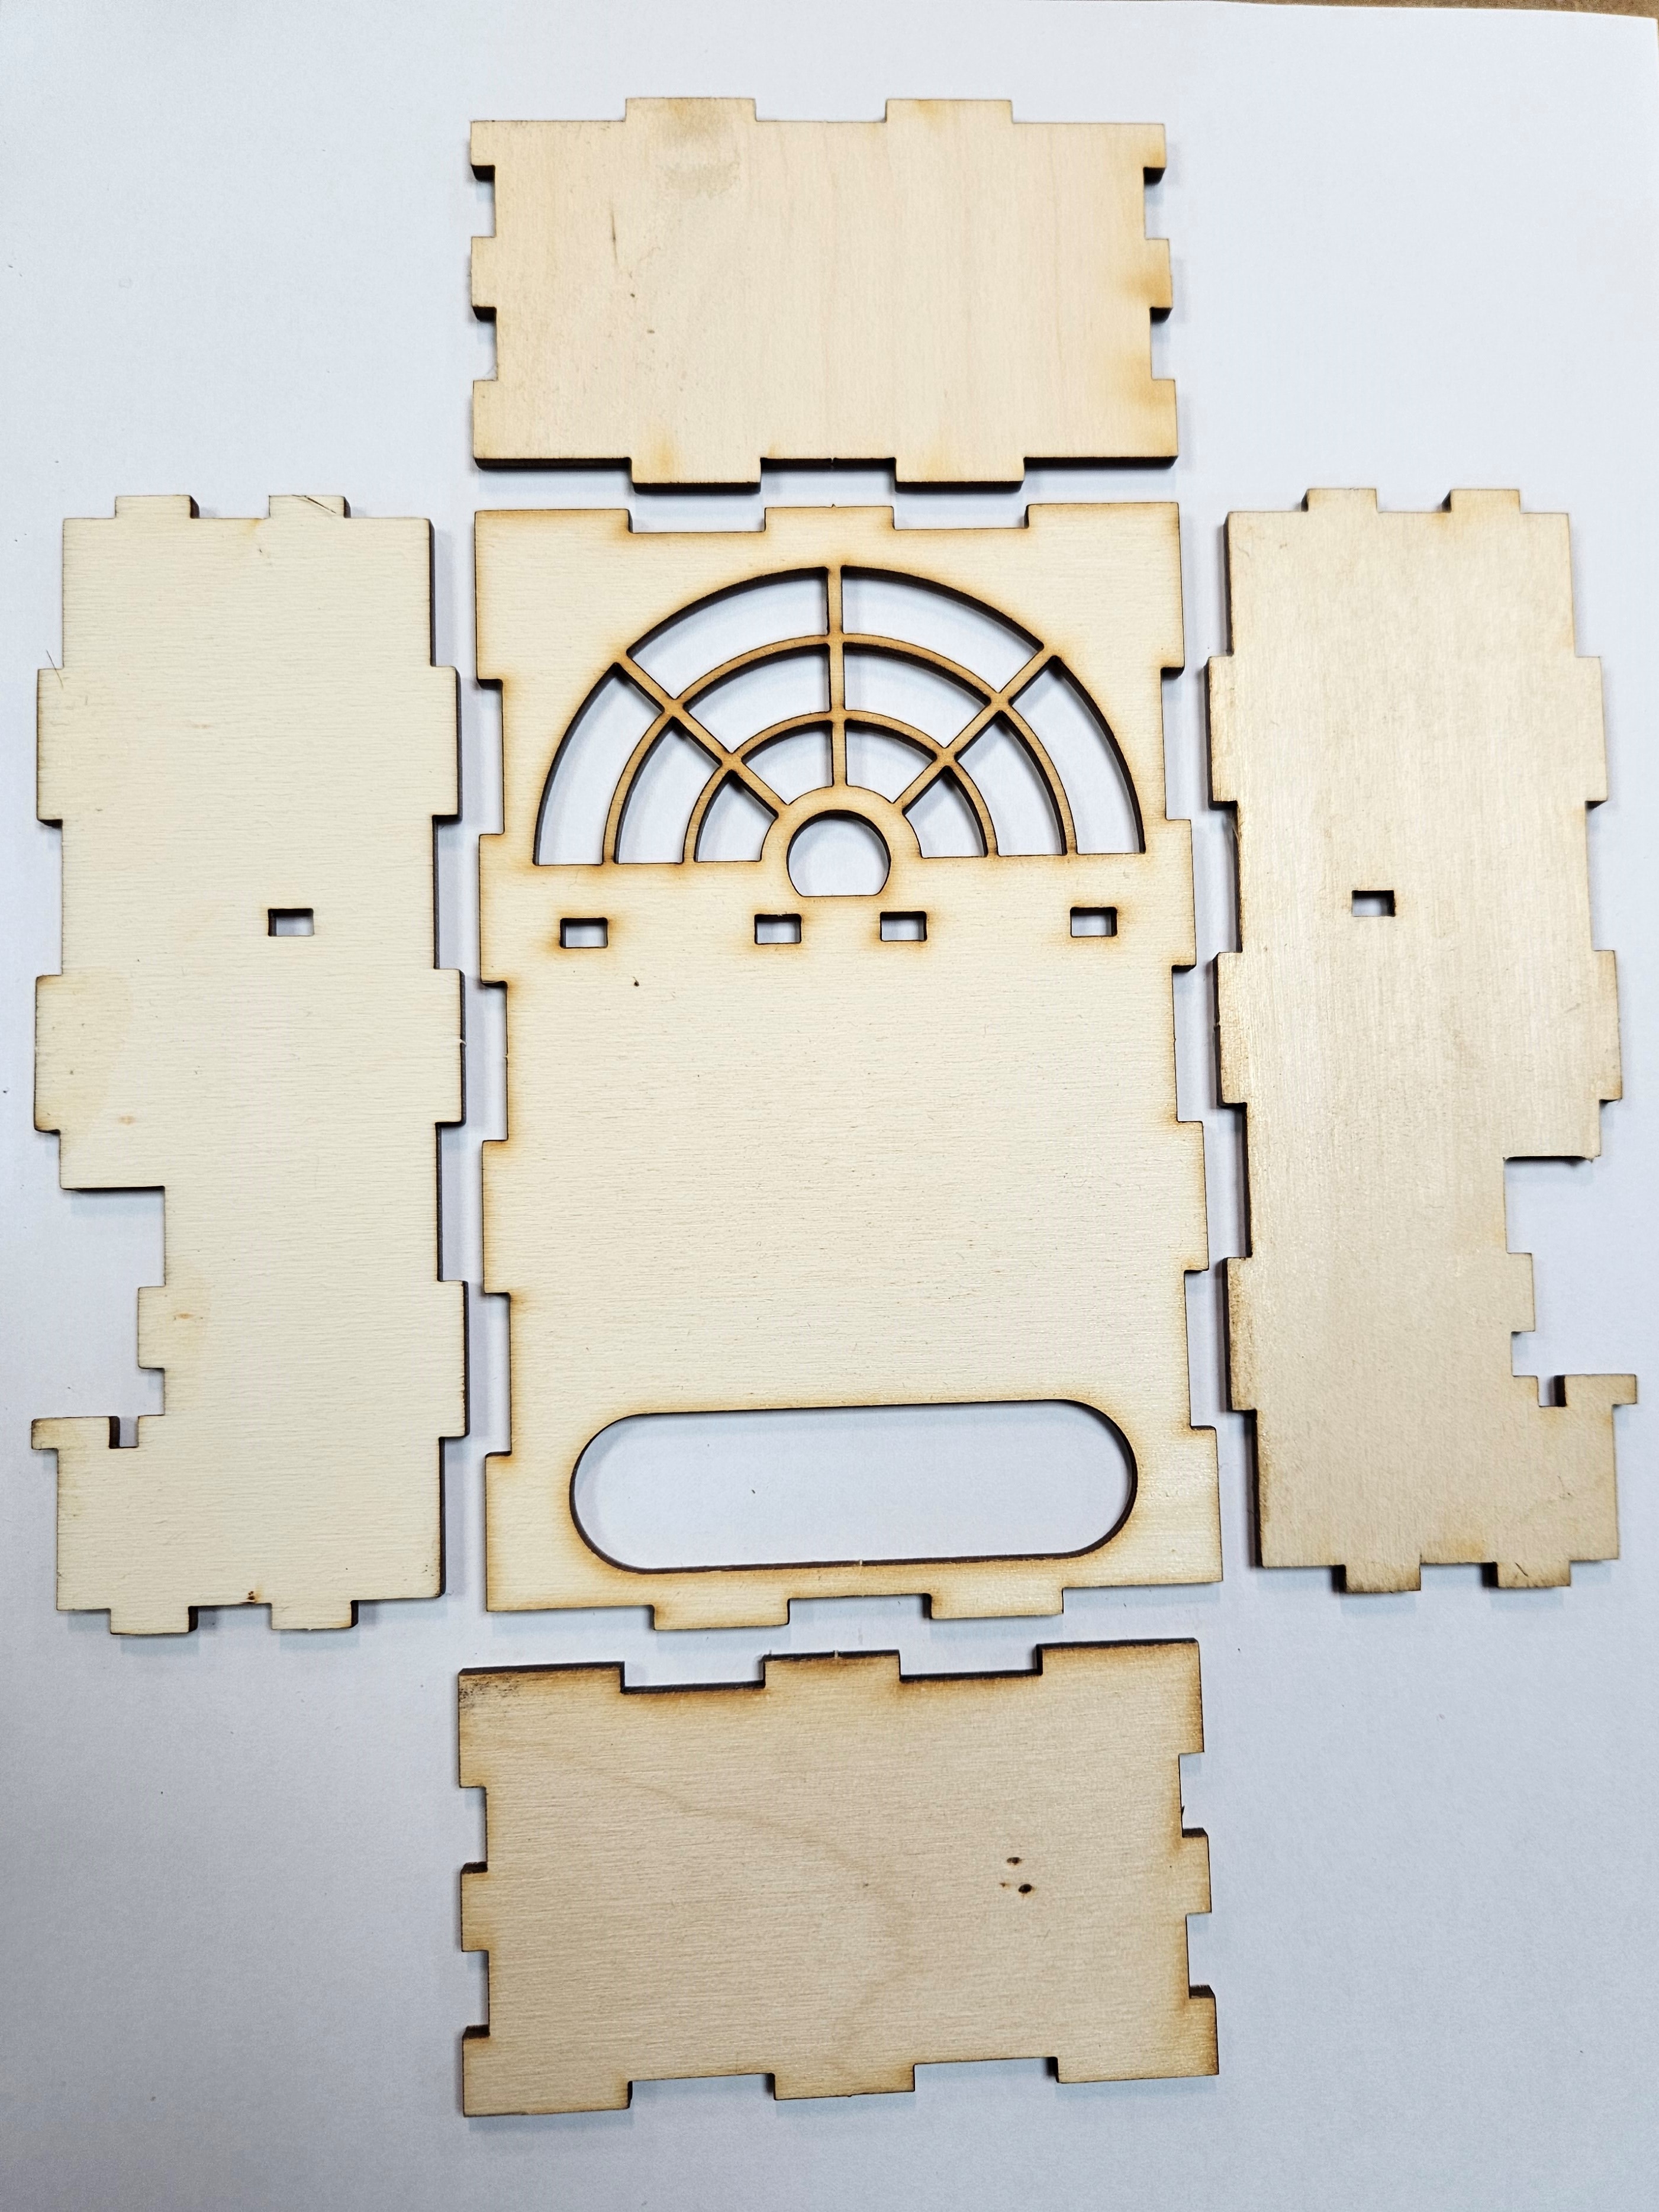
- You are going to need to start with the parts below. Please note, the top and the bottom are not the same and there is a specific way around they go.
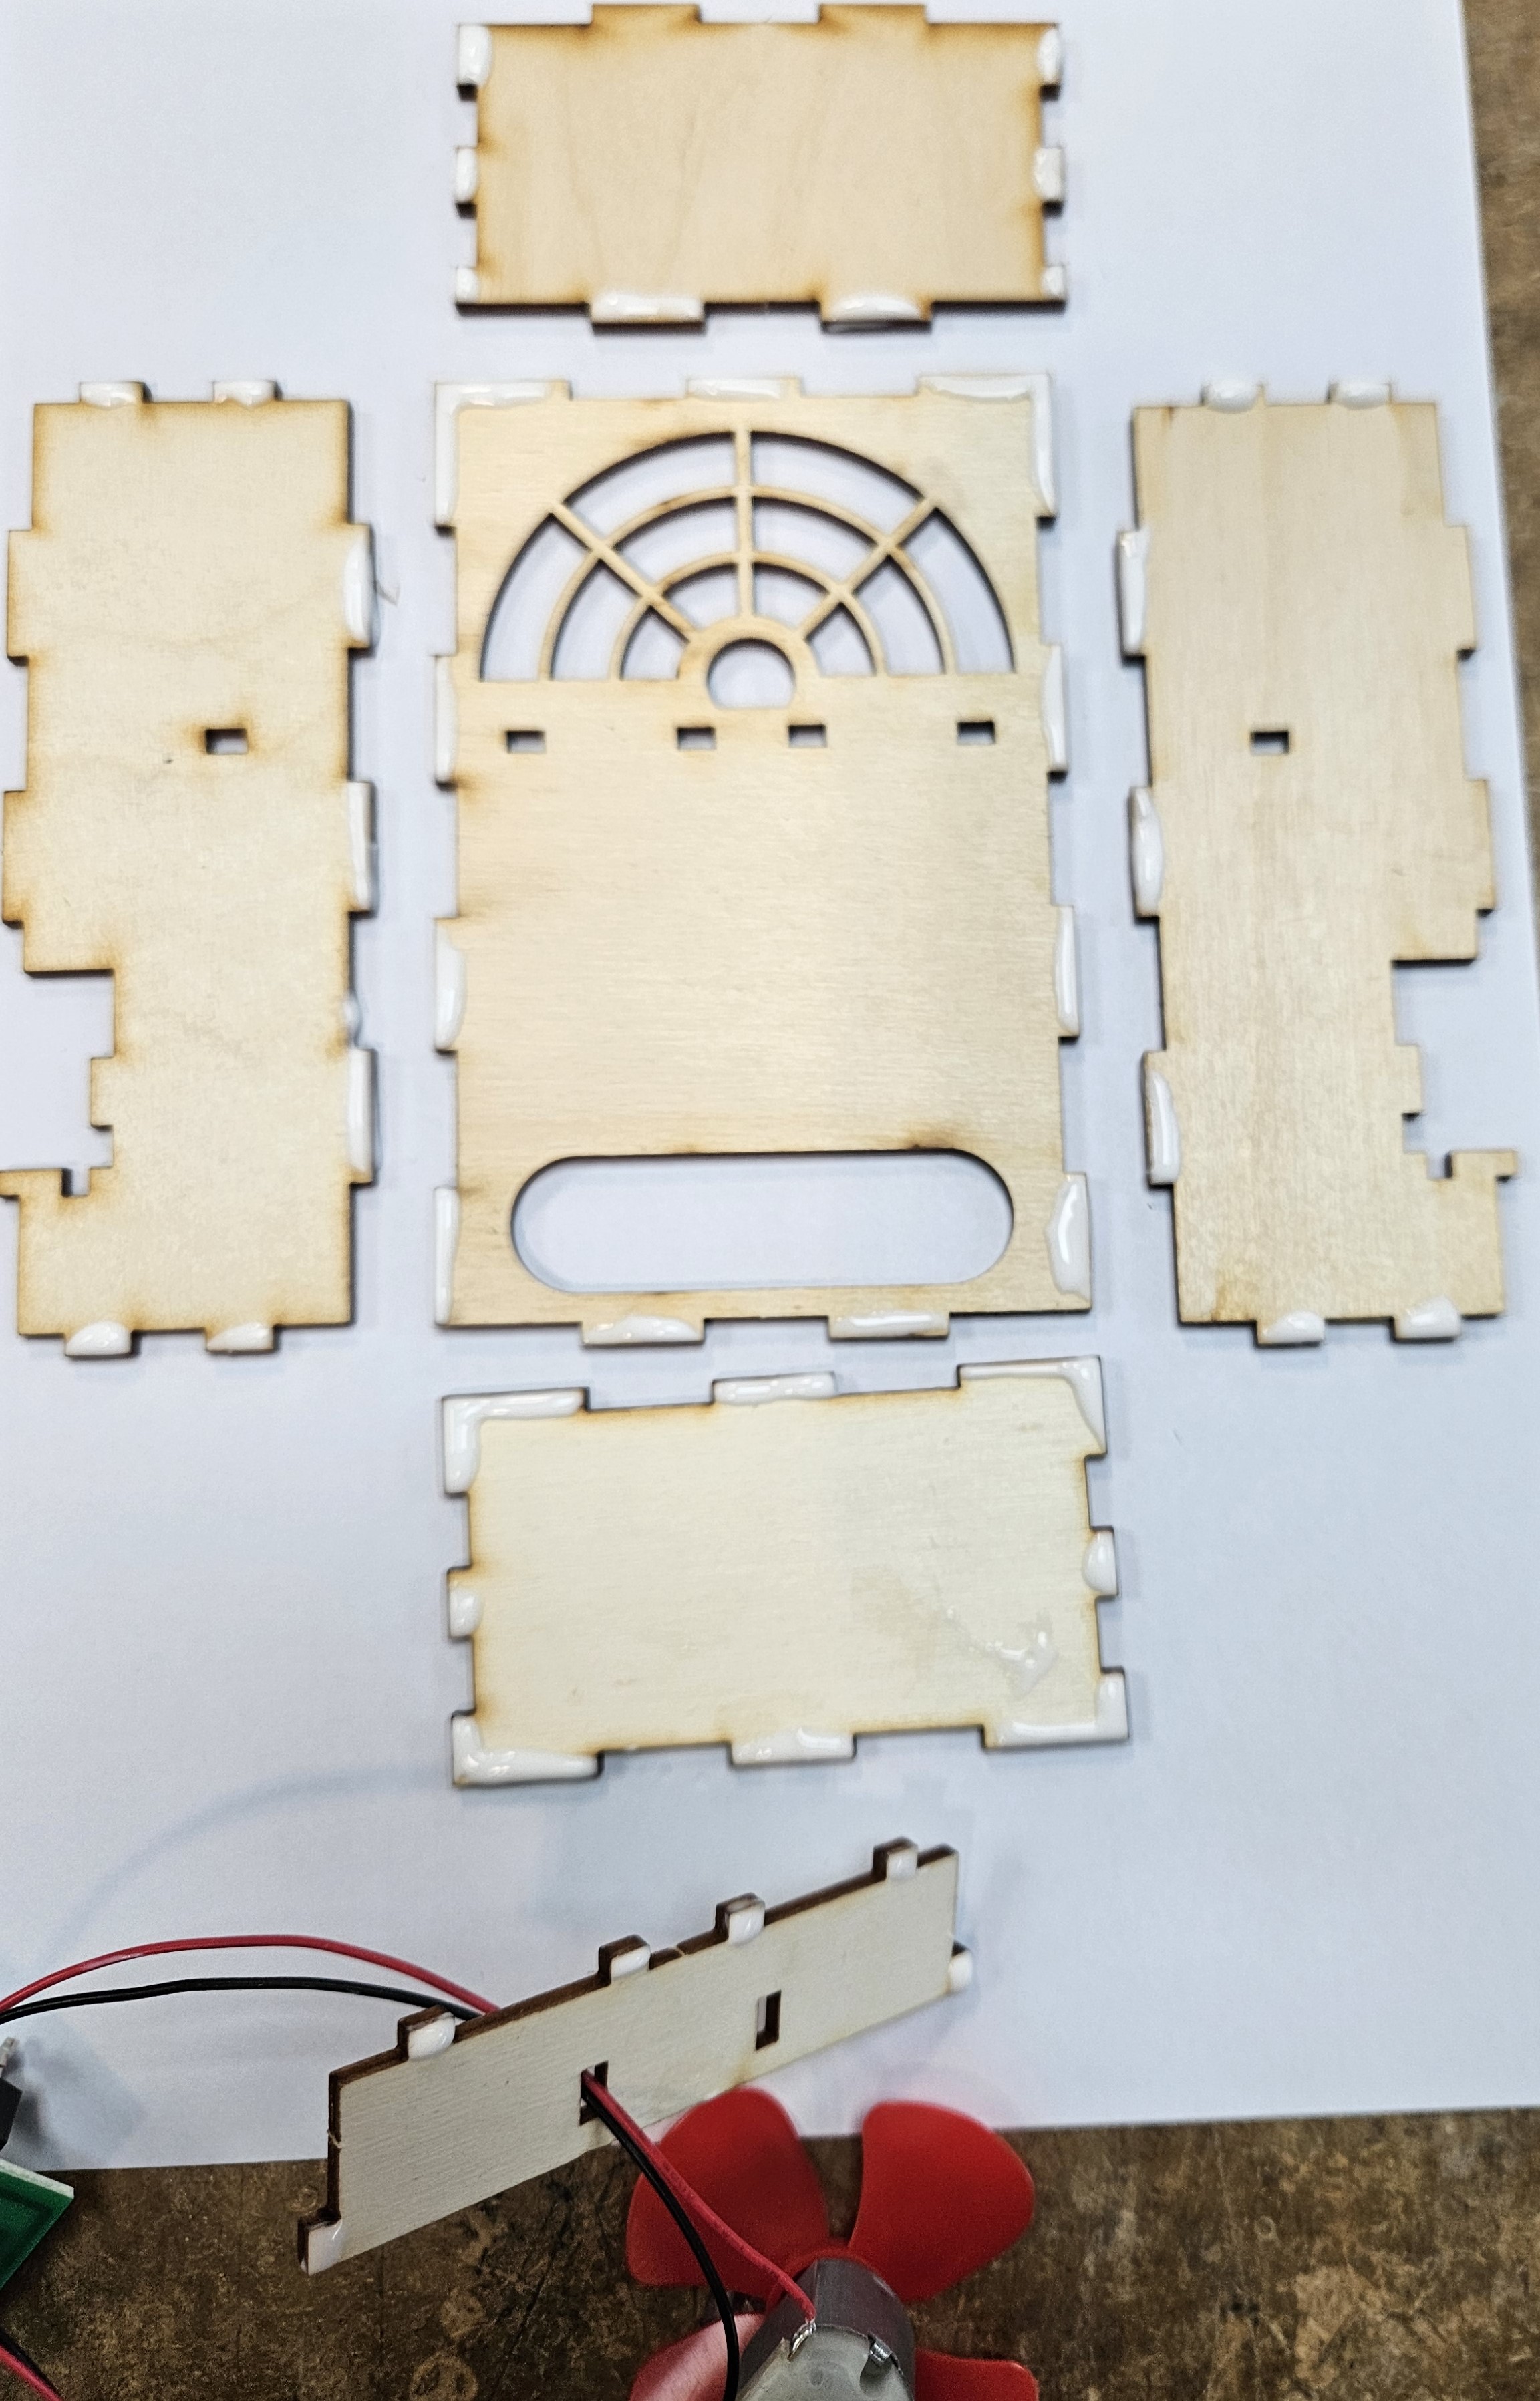
- Now add glue to the following edges.
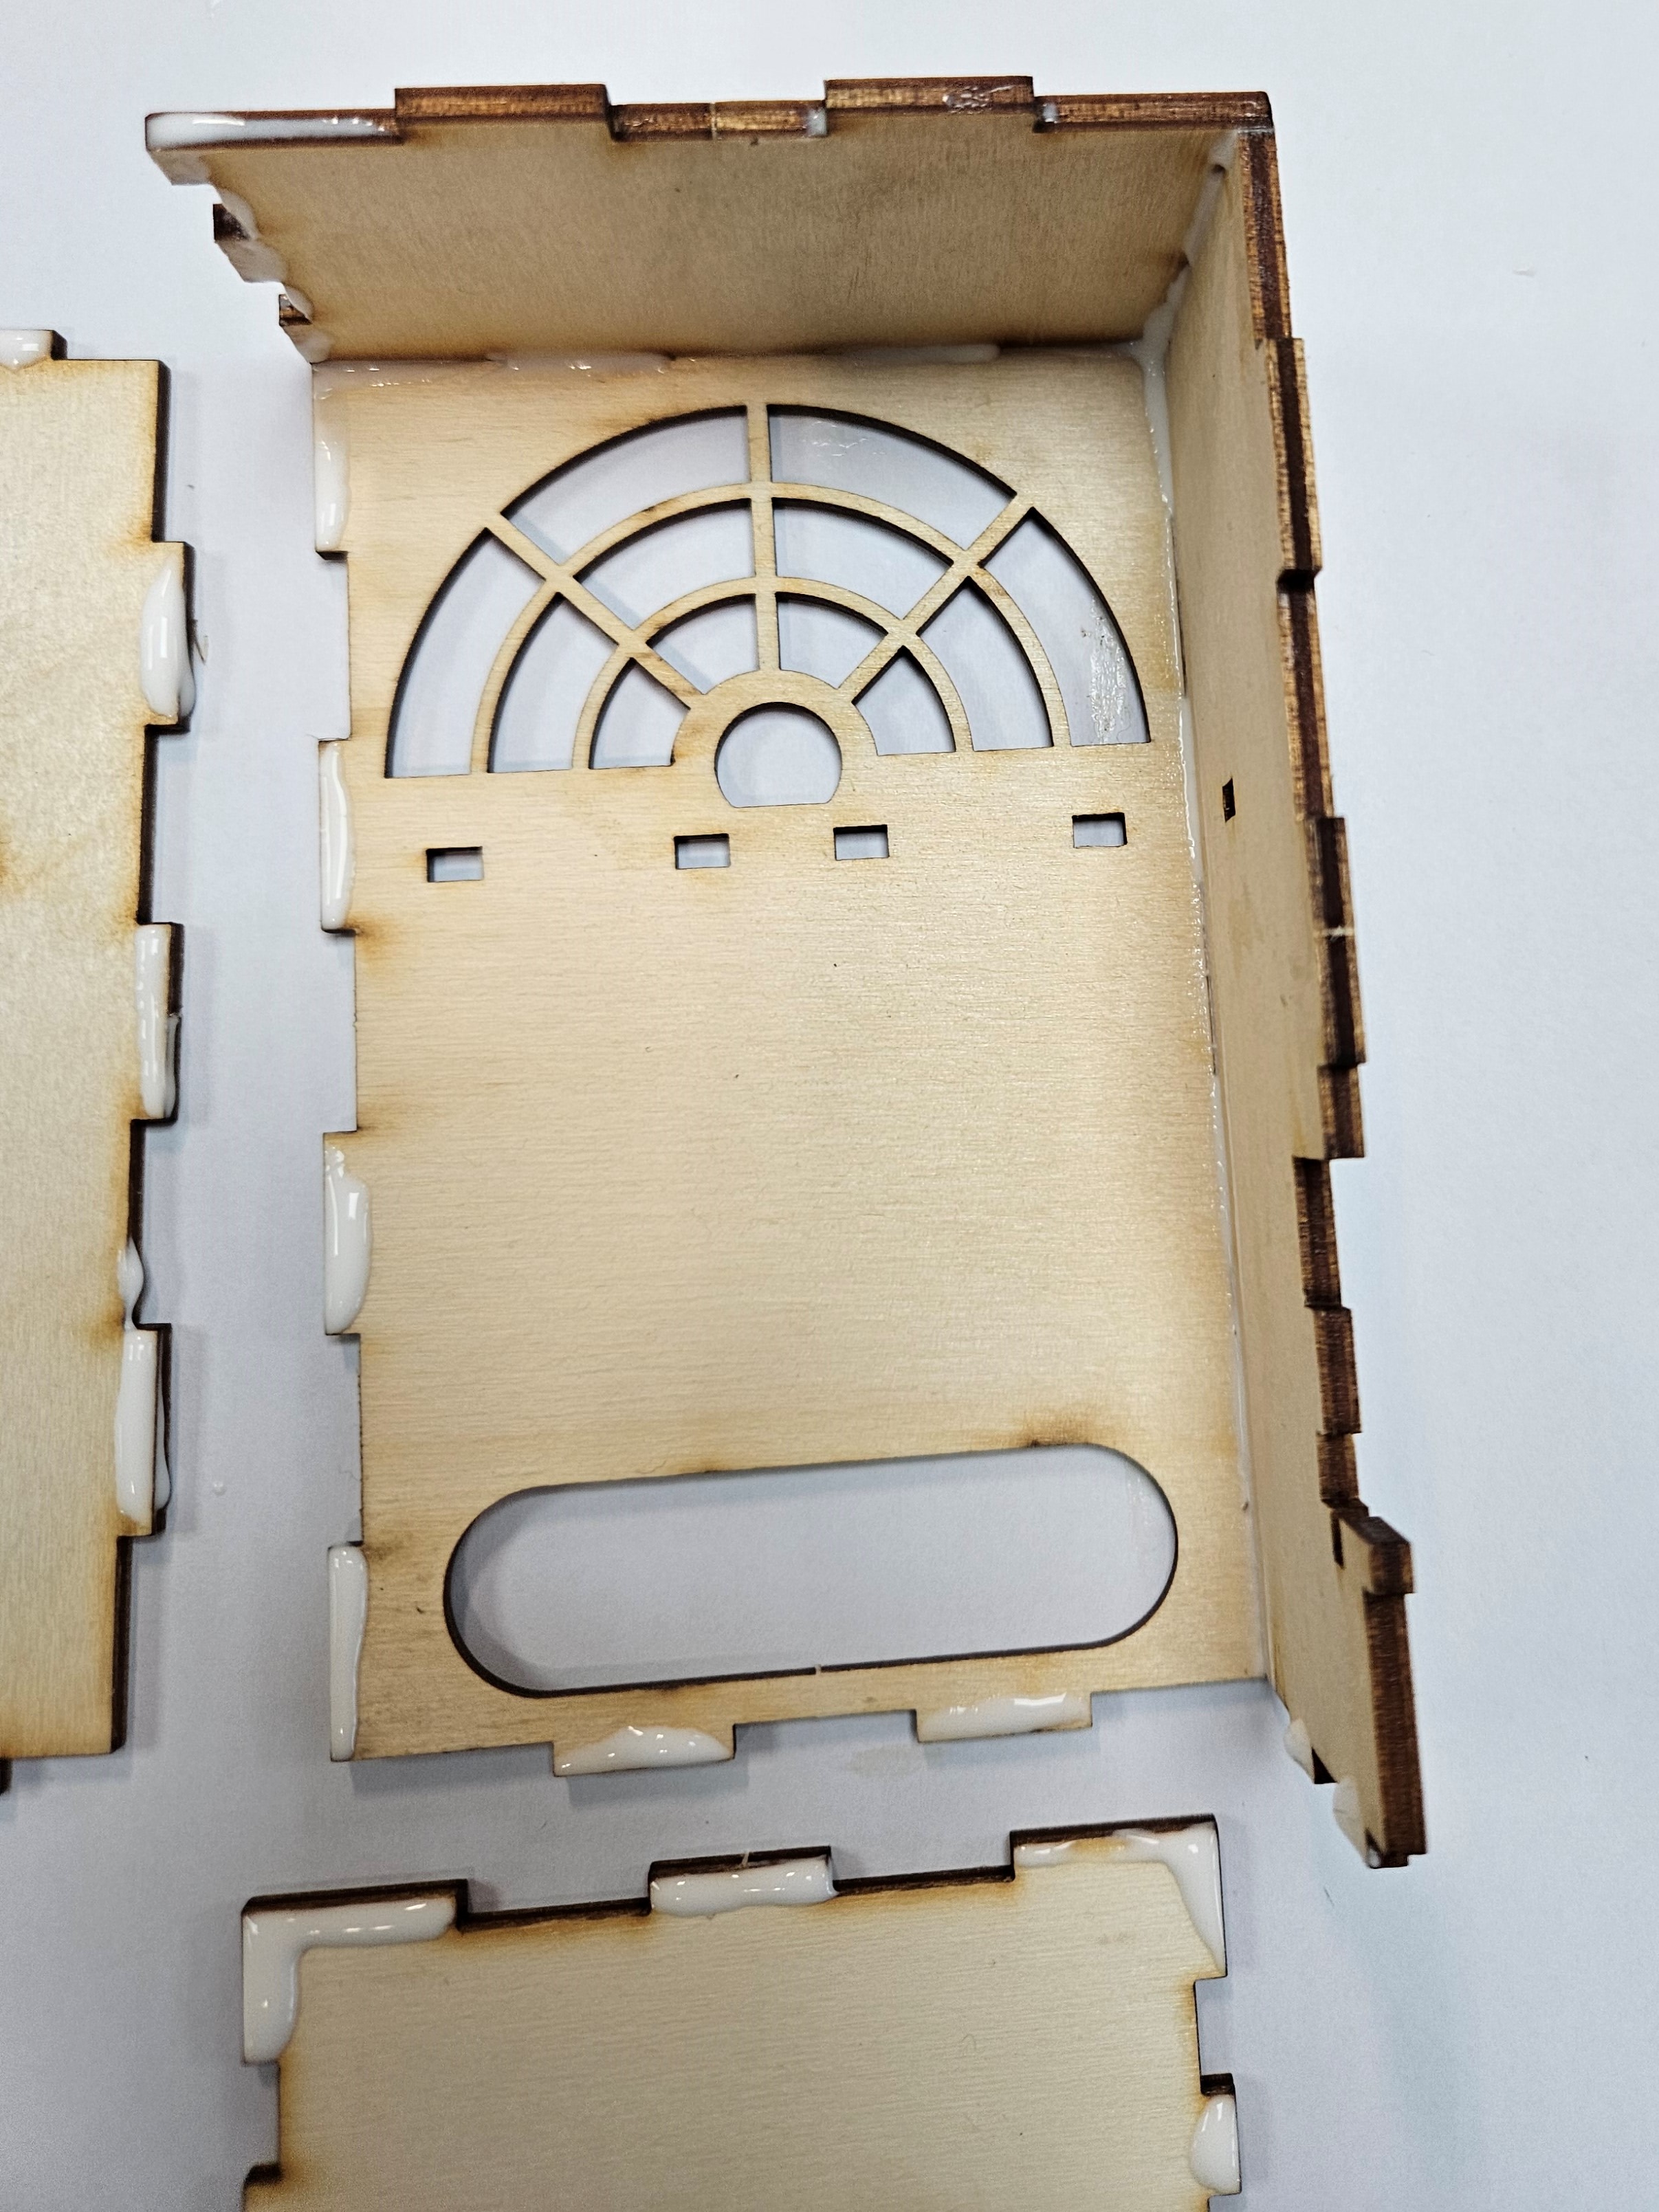
- Start with a corner, make sure you use masking tape to hold it together.
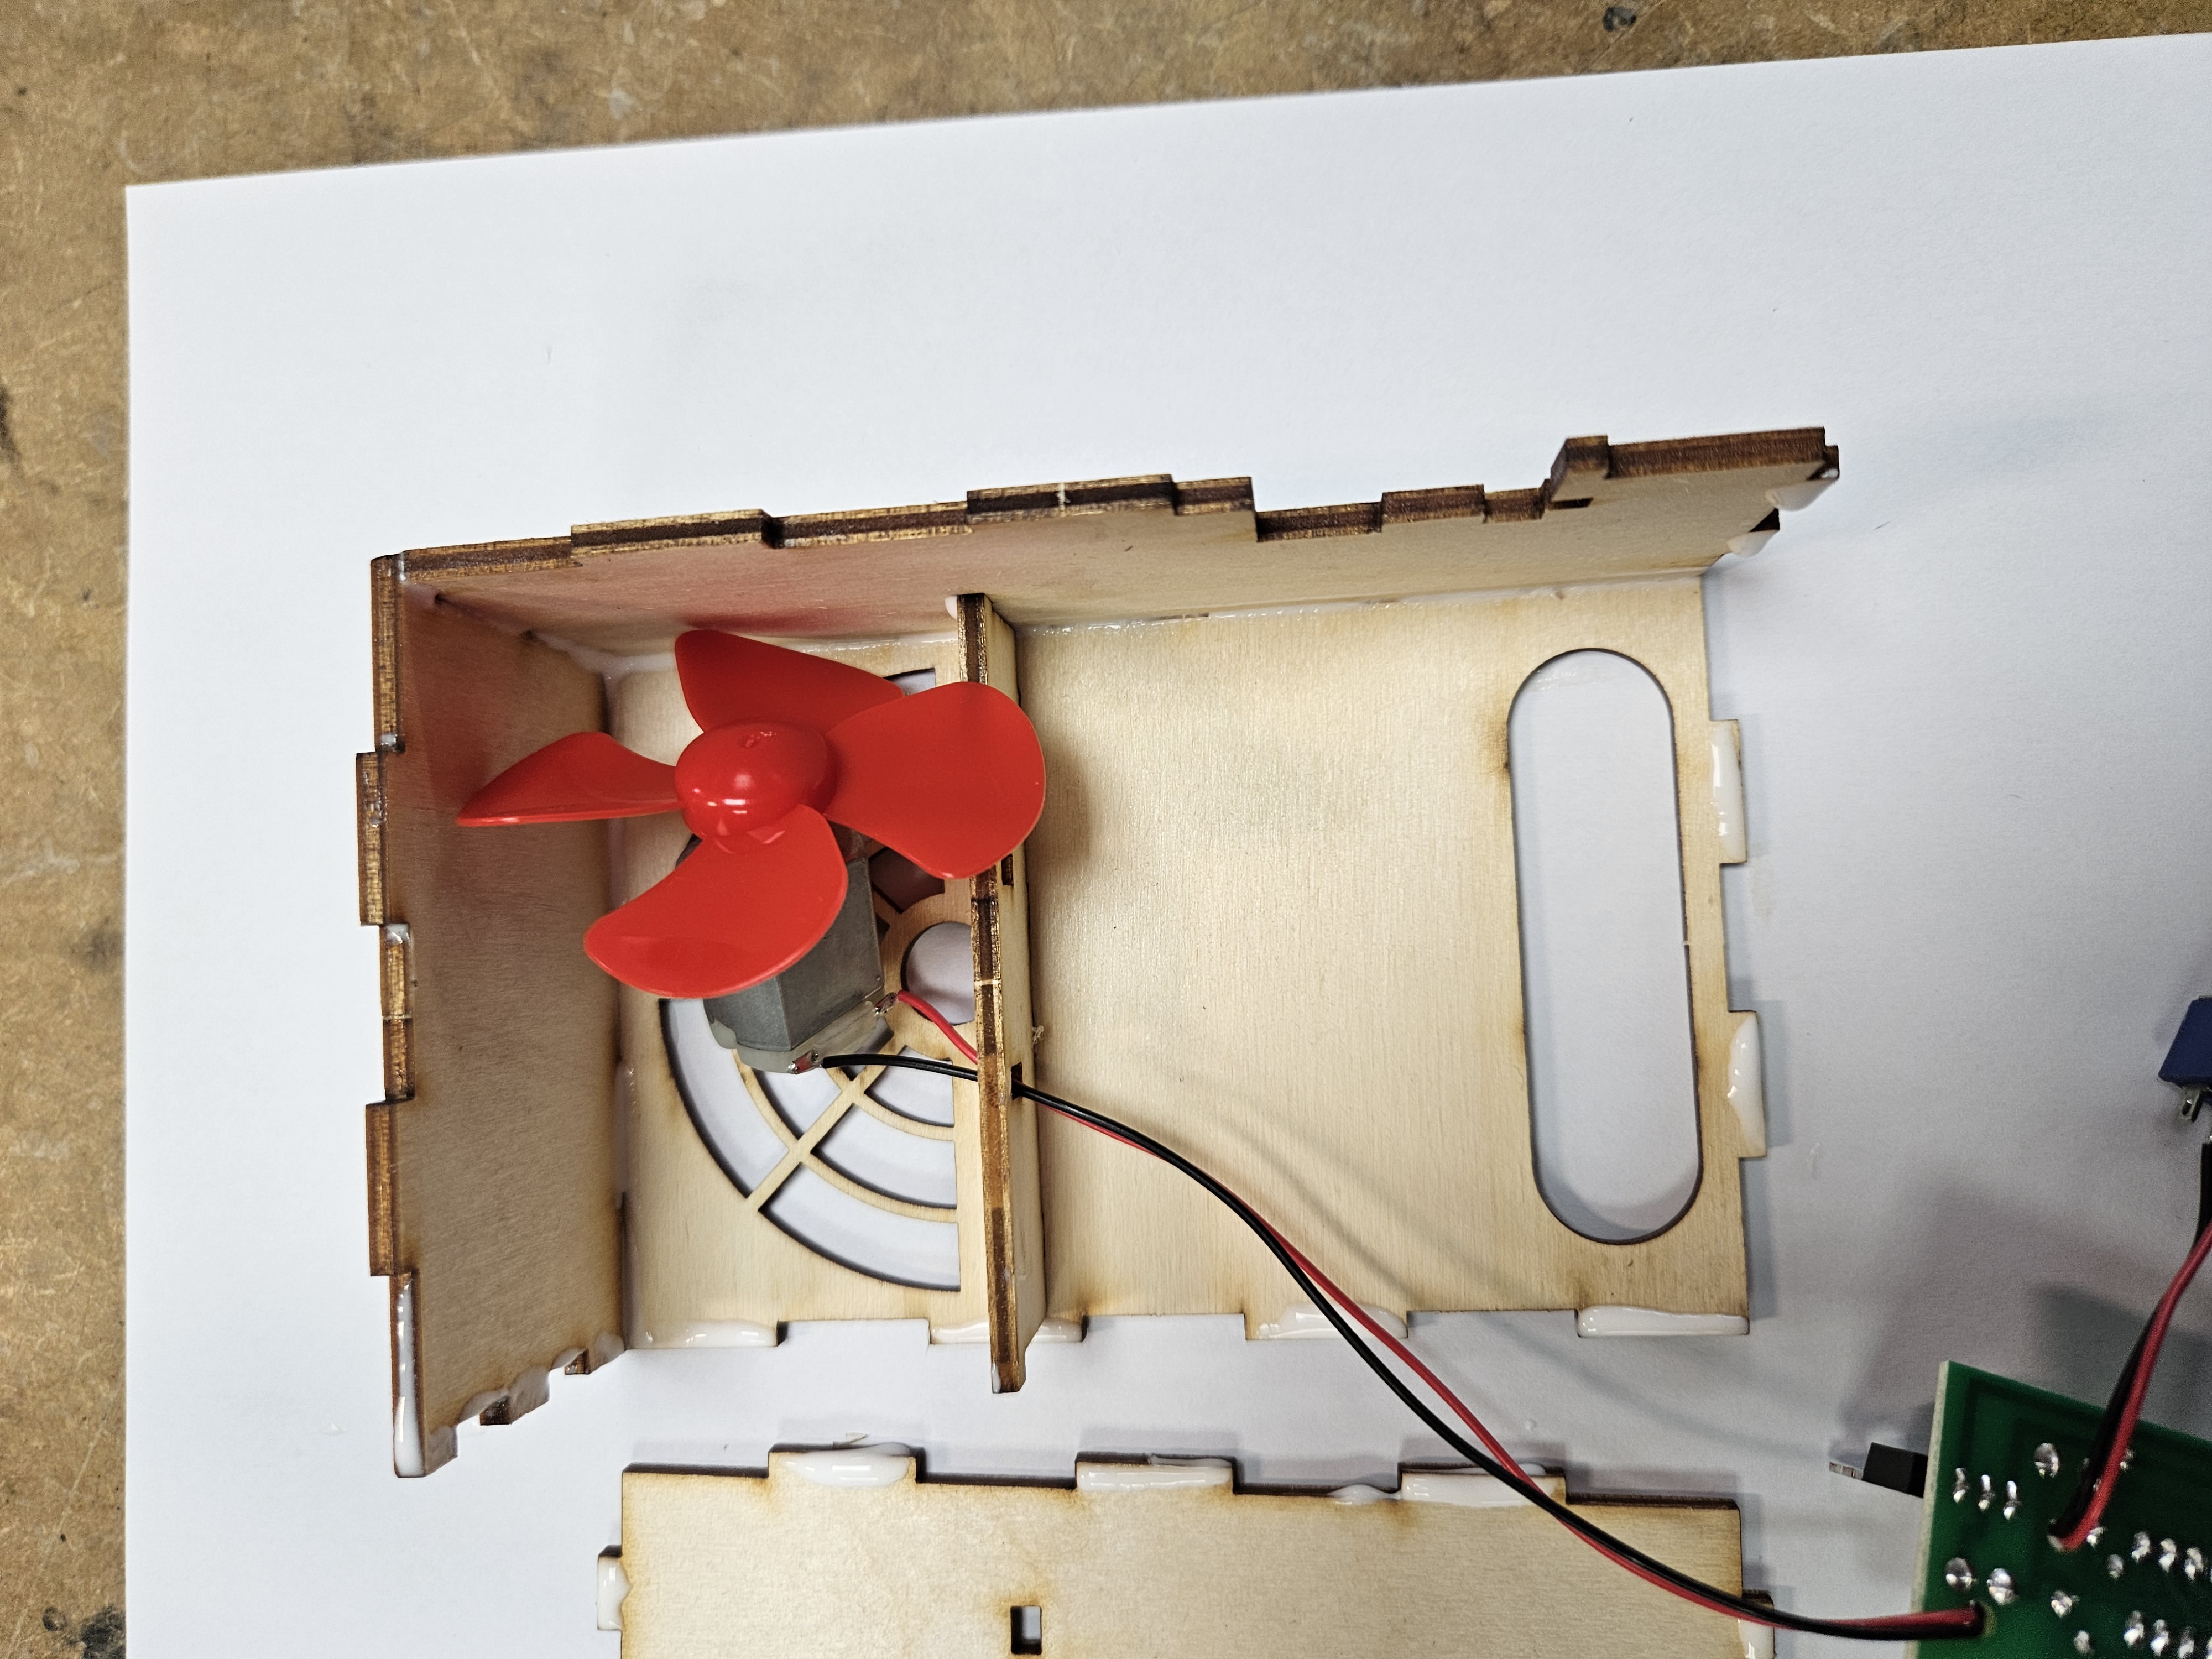
- Now add the motor shelf, ensure the motor is facing the top side.

- Now you will need to glue the base in place. Collect the parts and put the glue on the edges.

- Start by placing the small top edge in place.

- Now glue the bottom front in place. Don't forget to use masking tape to hold it together.

- You will now need to collect the nuts for the switch and the Potentiometer.

- Start by placing the switch through the hole and adding the nut to the other side.
- Check that you have this on the correct side - note the smaller cut outs on the sides.

- Now you can add the Potentiometer.

- This can now be glues in place - the battery snap feeds through the hole at the back of the project.
- Place glue on the edges.


- The motor now needs to be cable/zip tied in place.
- Remember, the rough side faces inwards.
- The motor terminals need to face up.

- Once tied in place, the excess cable/zip tie can be cut using a side cutter.

- Note the motor terminals at the top and the cable tie over the motor.

- At the point, you must test your project again before gluing the front panel in place.
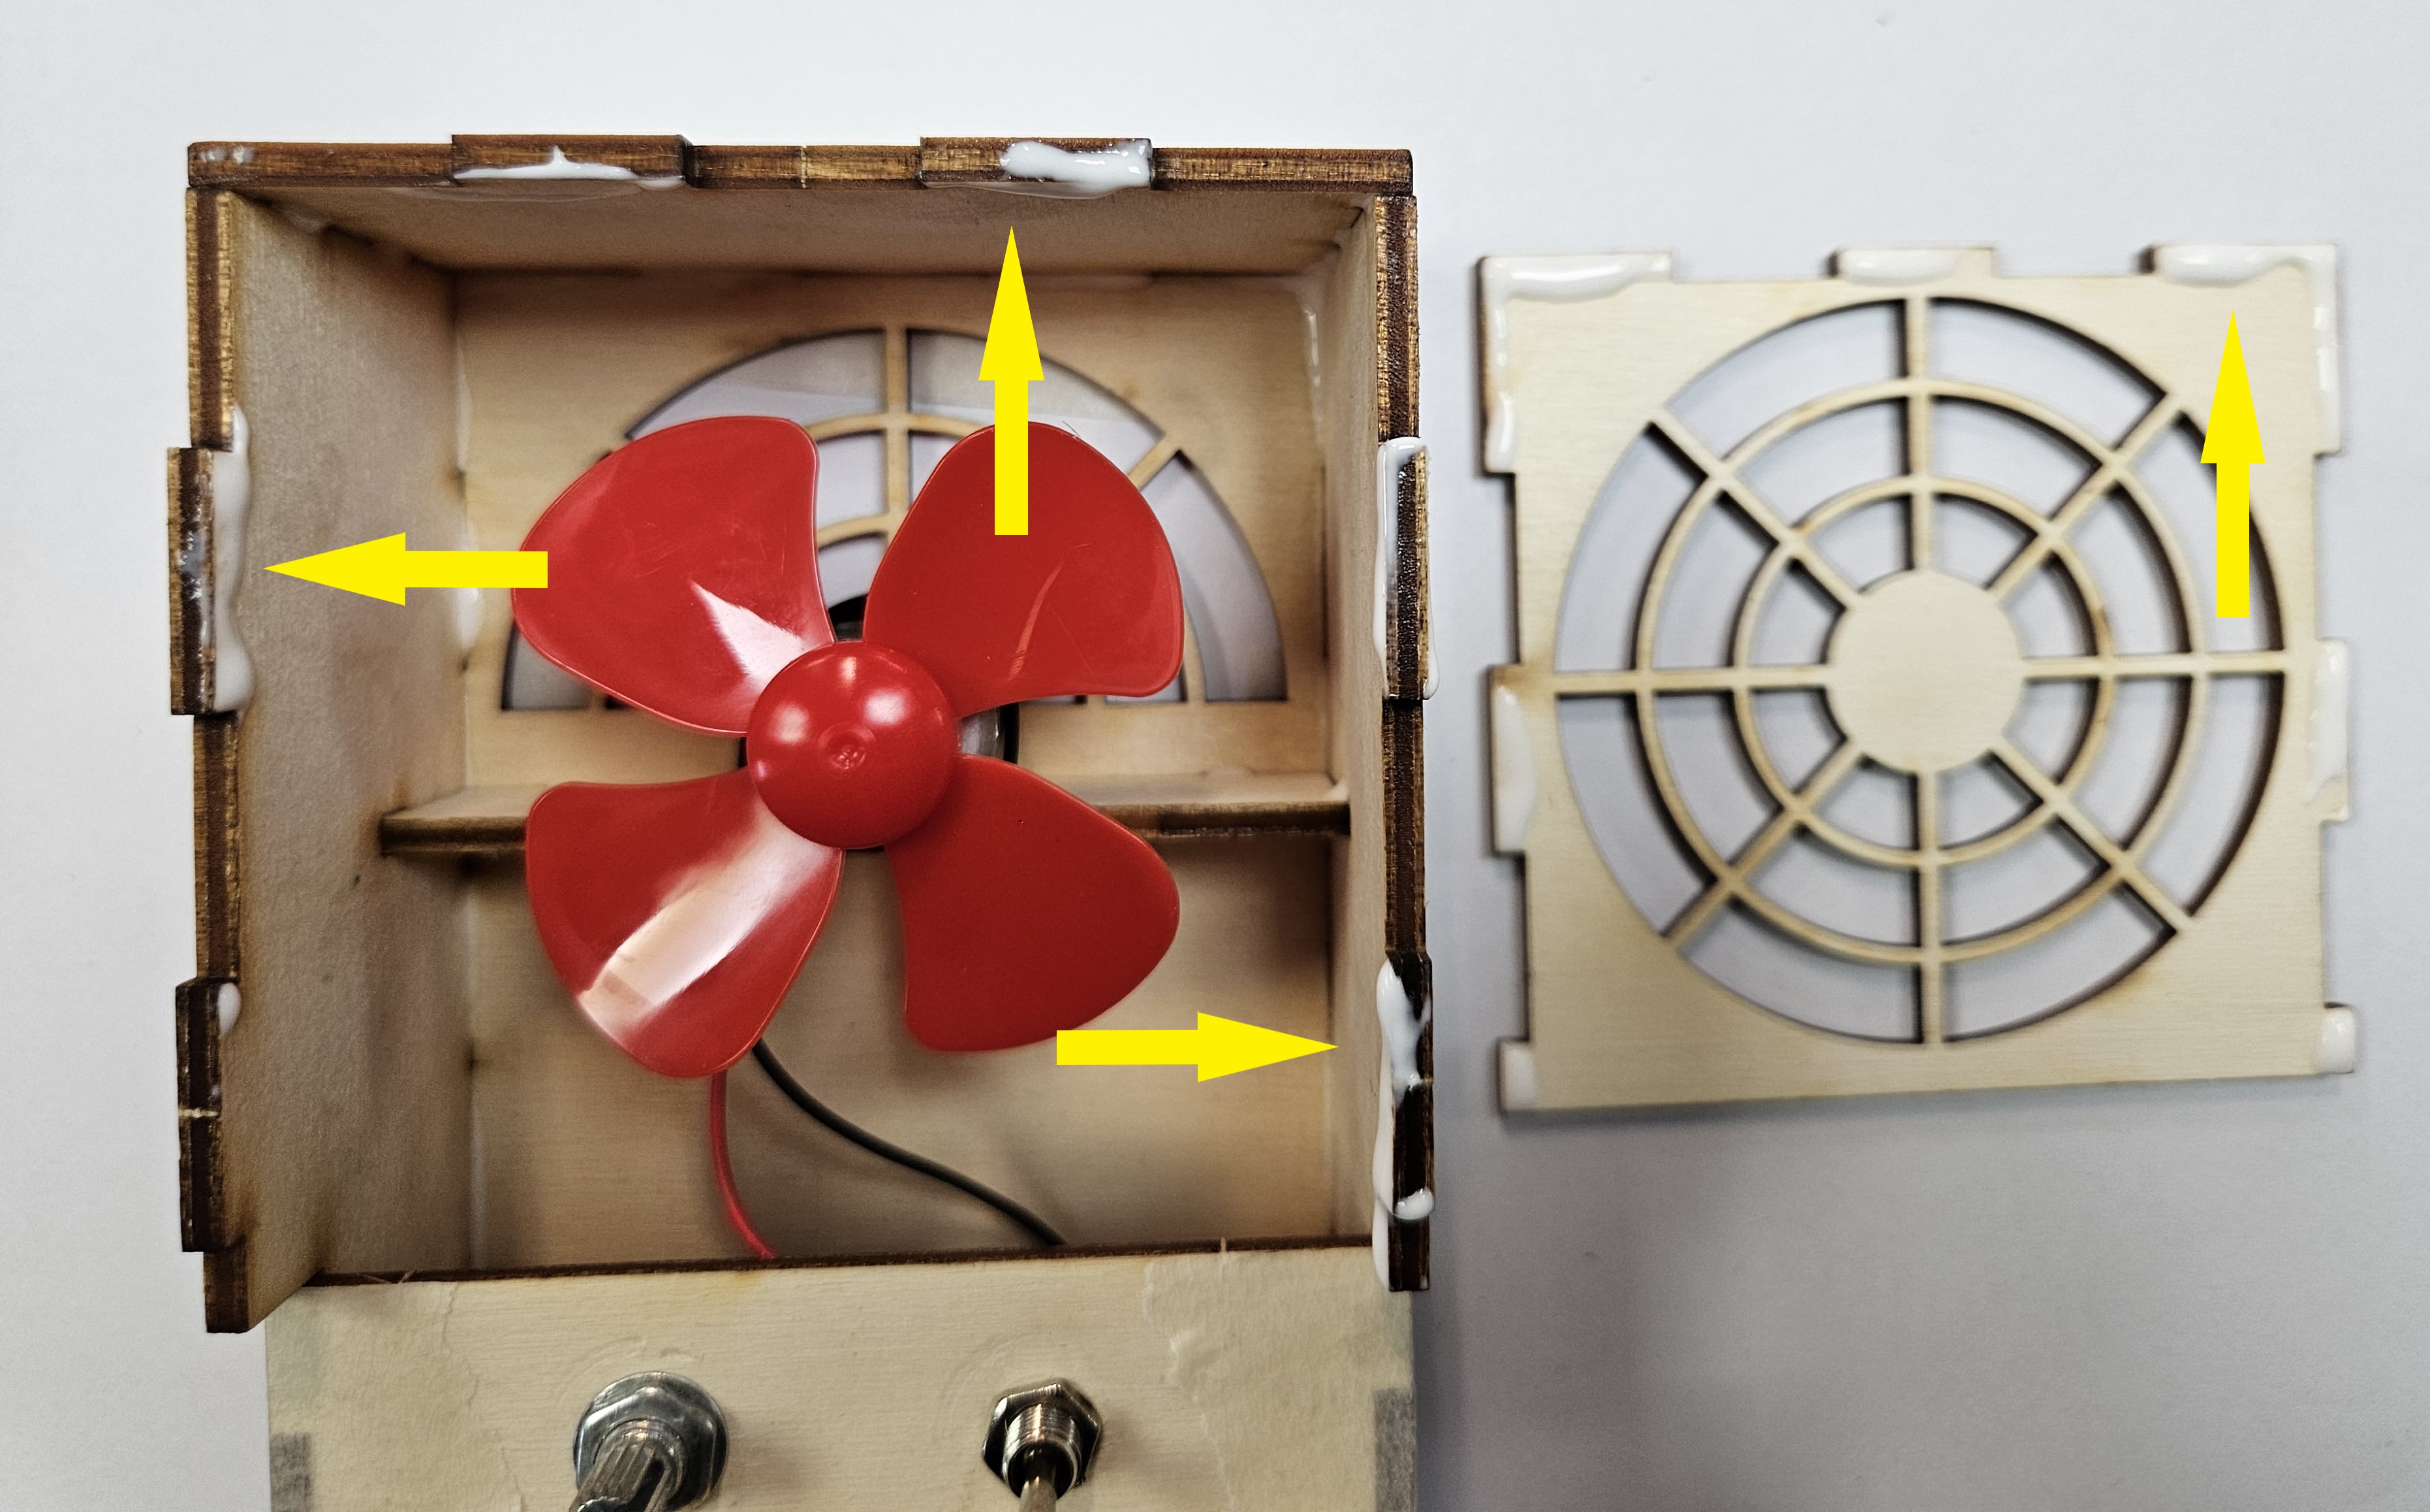
- Once you have tested it, you can the add the glue and the front panel.
- Make sure you put glue on all the edges. Note the yellow arrows show some of the places.
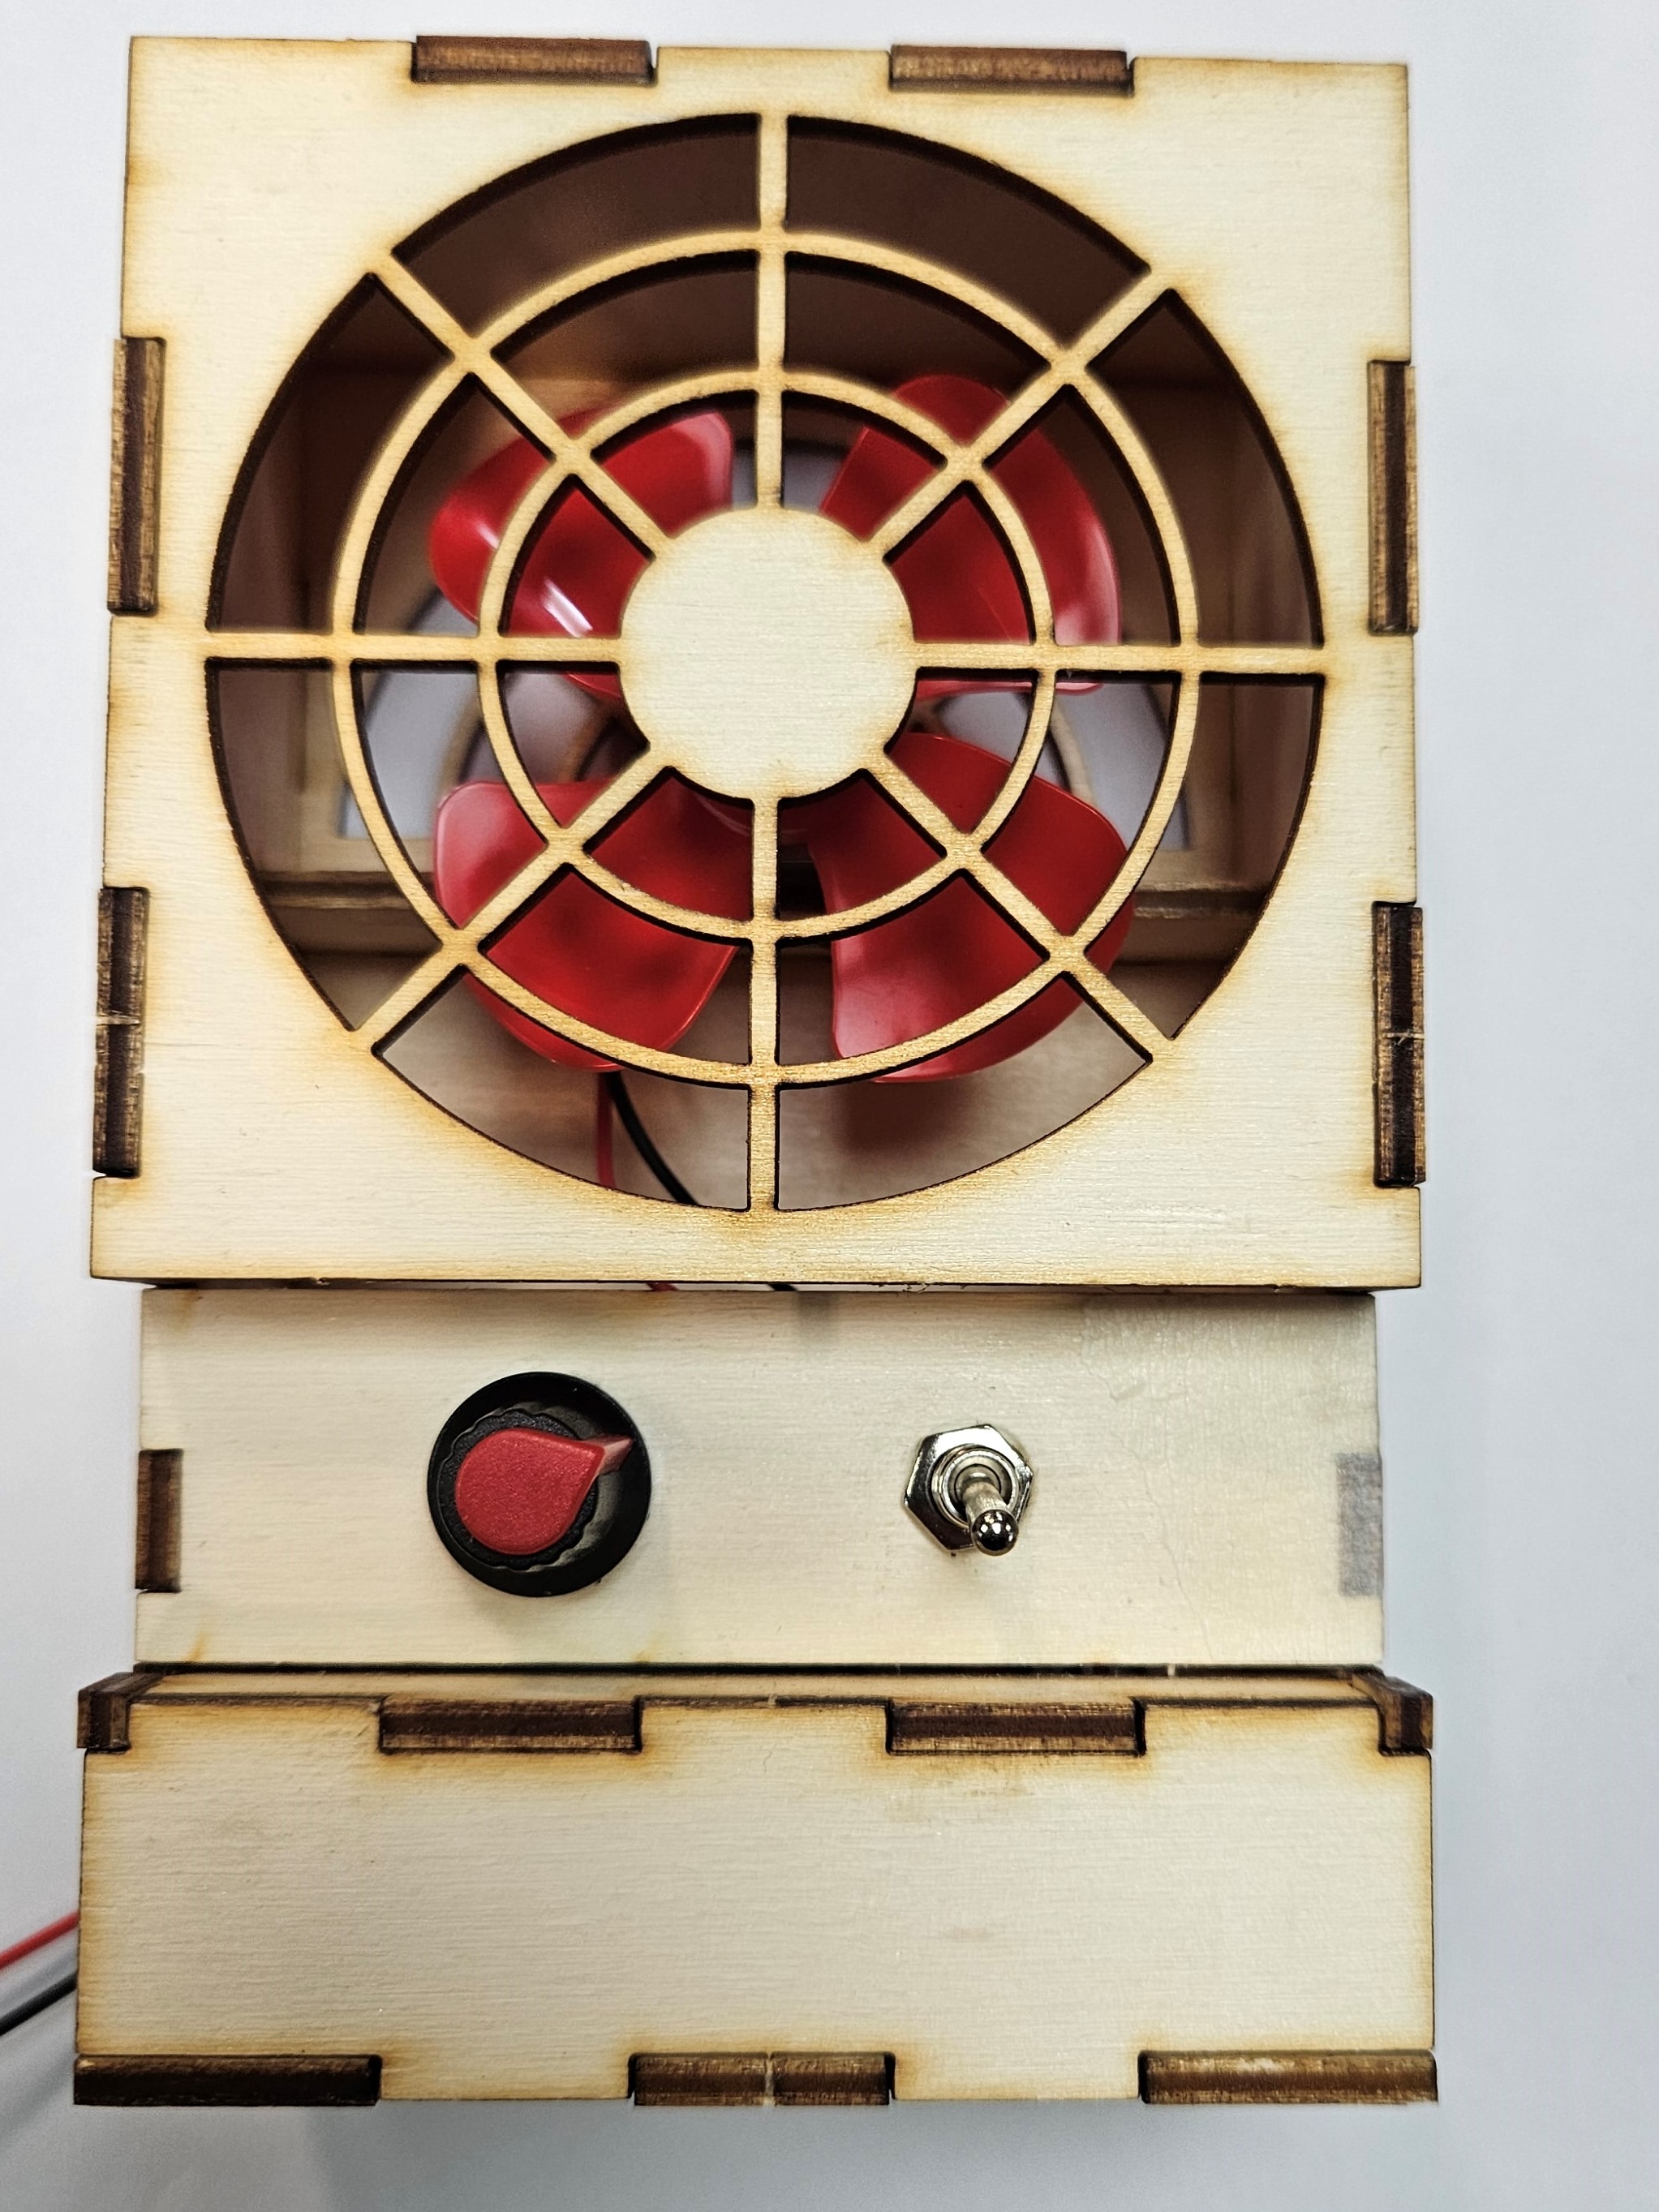
- Here is the finished product.
- Note the battery in place.

Badge It
- Take photographs of your fan (without the front cover) from front, side, top and perspective elevations.
- Your badge will be awarded according to the quality of your work.